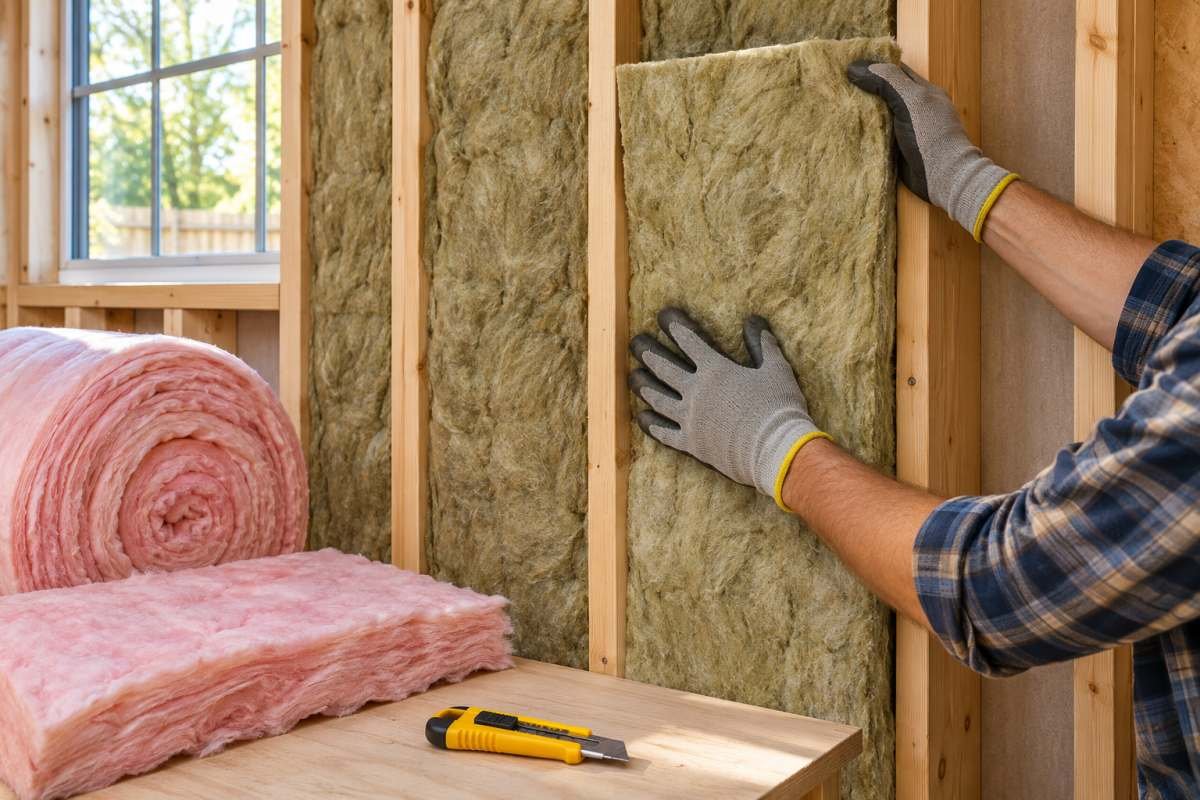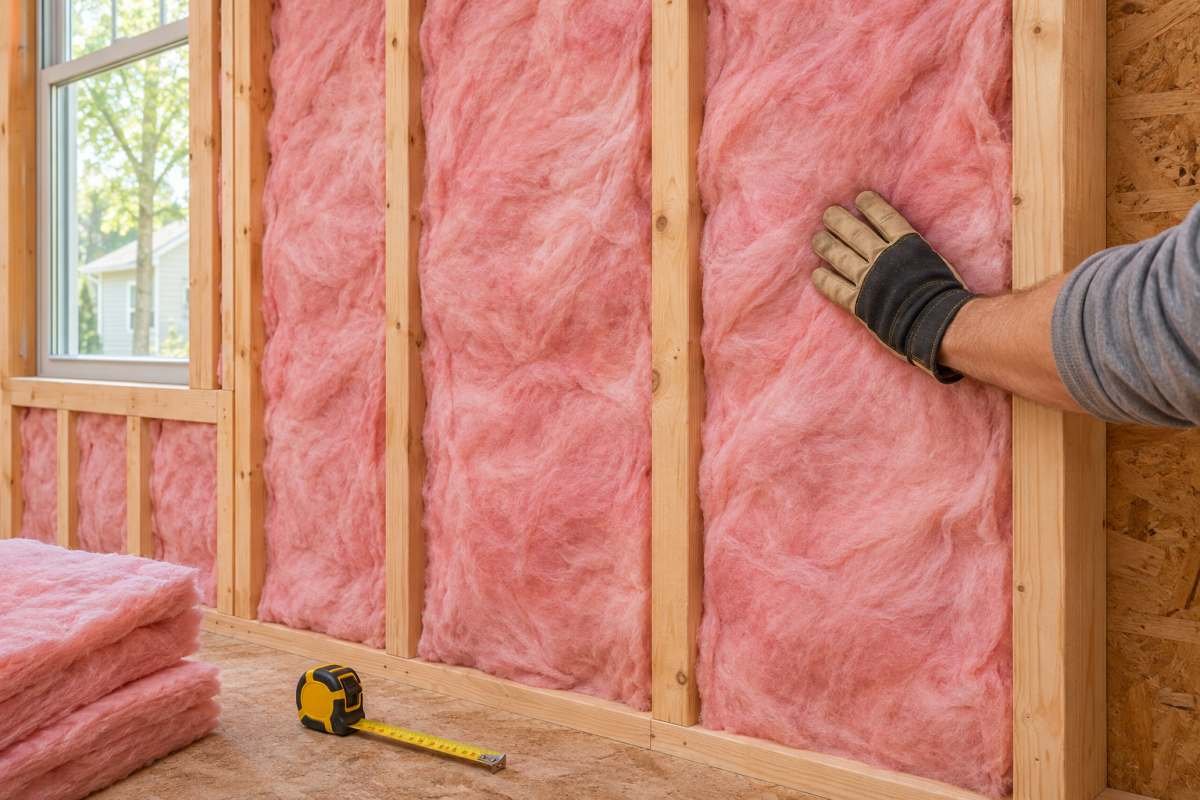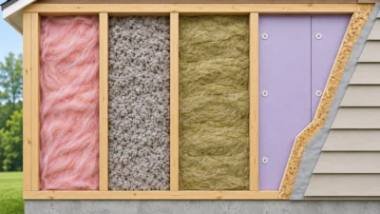

Insulation for bathroom walls should match the wall’s job: keeping outdoor temperatures out, reducing noise between rooms, or completing a shower assembly. Mineral wool and fiberglass batts can both work in appropriate framed walls. Foam products offer other options, but none replaces shower waterproofing. Choose the complete wall system before deciding which insulation to buy.
For the wider material choices and wall types, see our wall insulation guide.
What is the best insulation for bathroom walls?
For an accessible exterior wall, choose a thermal product with the required R-value that fits the cavity and suits the moisture design. For an interior partition, acoustic batts may help reduce airborne sound. In a shower, coordinate the insulation with the approved tile substrate and waterproofing. There is no single material that wins in every bathroom. Climate, existing layers, framing, budget, and installation quality determine the useful choice.
Start with the wall location
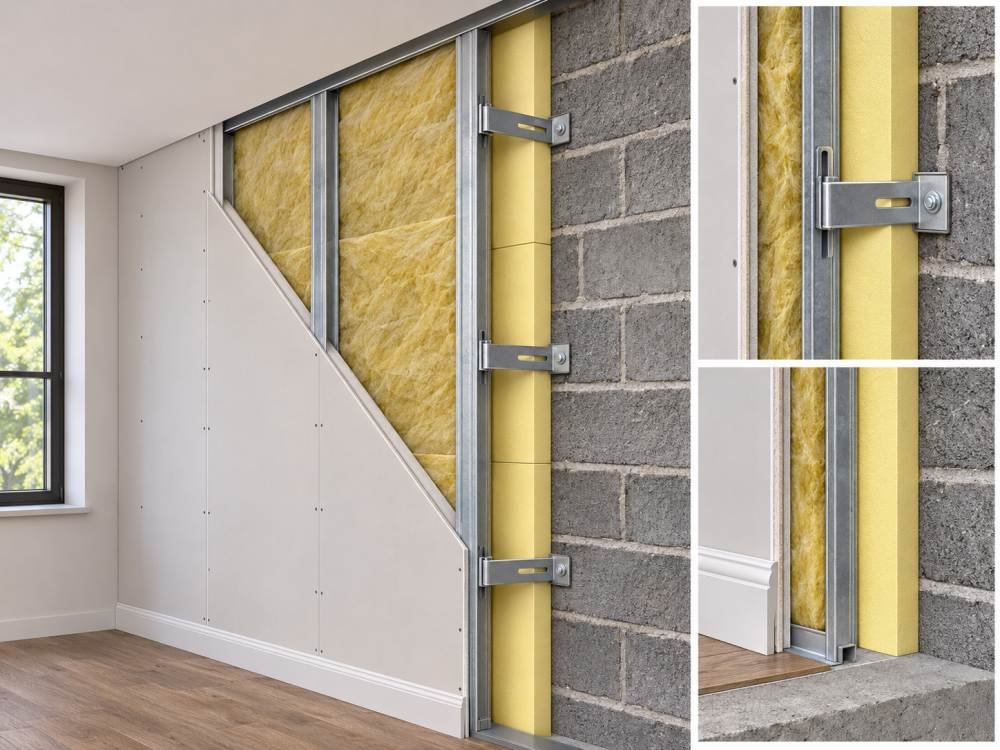
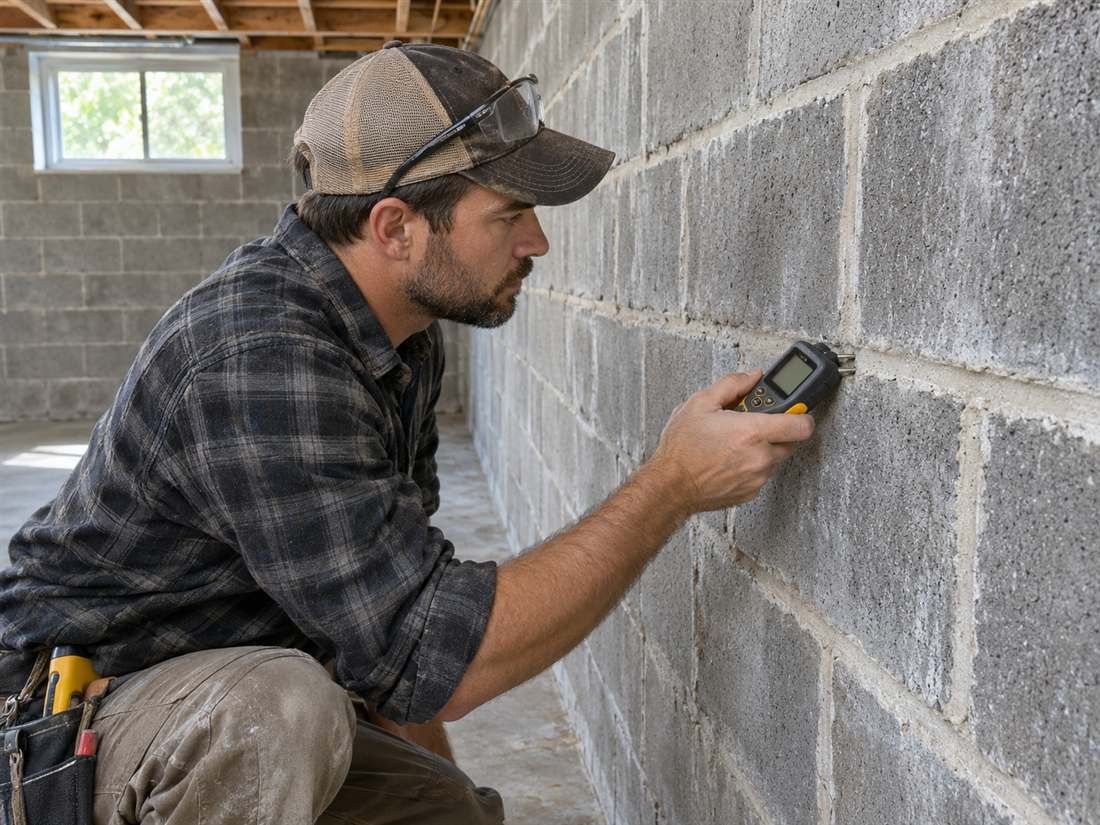
An exterior wall forms part of the building’s thermal envelope. A partition between heated rooms usually has a sound-control goal rather than a thermal code target. Walls bordering an unconditioned garage, attic, or crawlspace need their own thermal and fire details. Identify these boundaries before ordering materials. A basement bathroom also needs a foundation moisture assessment; its below-grade wall cannot automatically use the same detail as a dry framed wall upstairs.
Mineral wool vs fiberglass for bathrooms
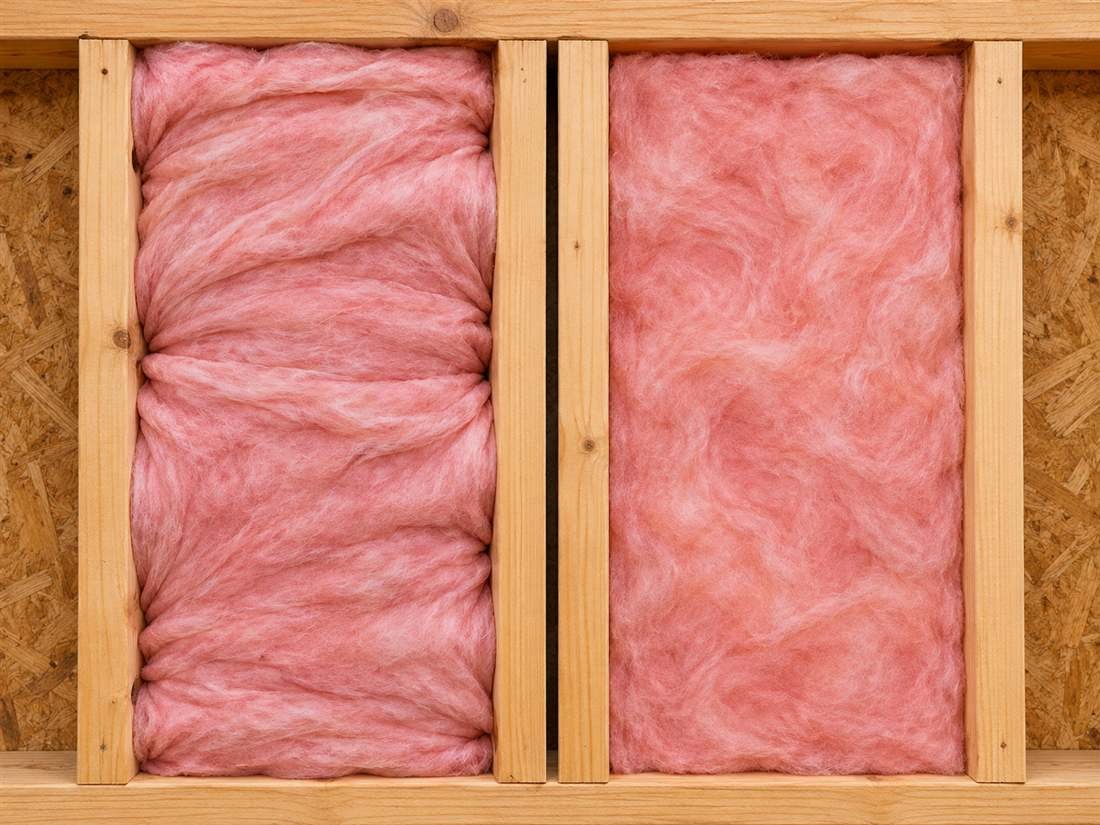
Both materials can provide thermal resistance and absorb sound inside a properly designed cavity. Mineral wool batts are comparatively firm and can be easy to fit around irregular stud spacing. Fiberglass often costs less and comes in many cavity sizes. Compare the labeled R-value, dimensions, available acoustic assembly data, and installation instructions. Neither material seals air leaks or makes a shower waterproof. Choose the product that fits the specific wall, then install it without gaps or unnecessary compression.
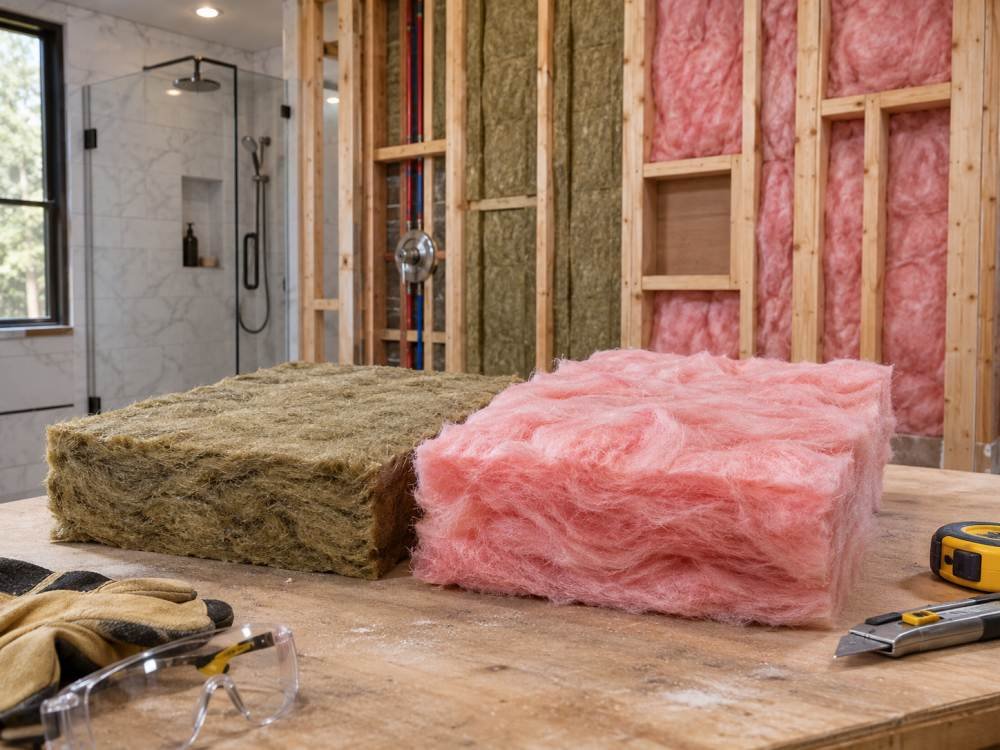
Moisture-resistant bathroom wall insulation
Water resistance describes a material property, not permission to install it in a leaking wall. Even when the insulation itself resists water absorption, adjacent timber, dust, paper, and finishes may remain vulnerable. Investigate plumbing leaks, rain entry, and condensation before closing the framing. Dry or replace affected materials as appropriate. Avoid broad promises that a particular insulation prevents mold: lasting moisture control also depends on waterproofing, air sealing, drying potential, and ventilation.
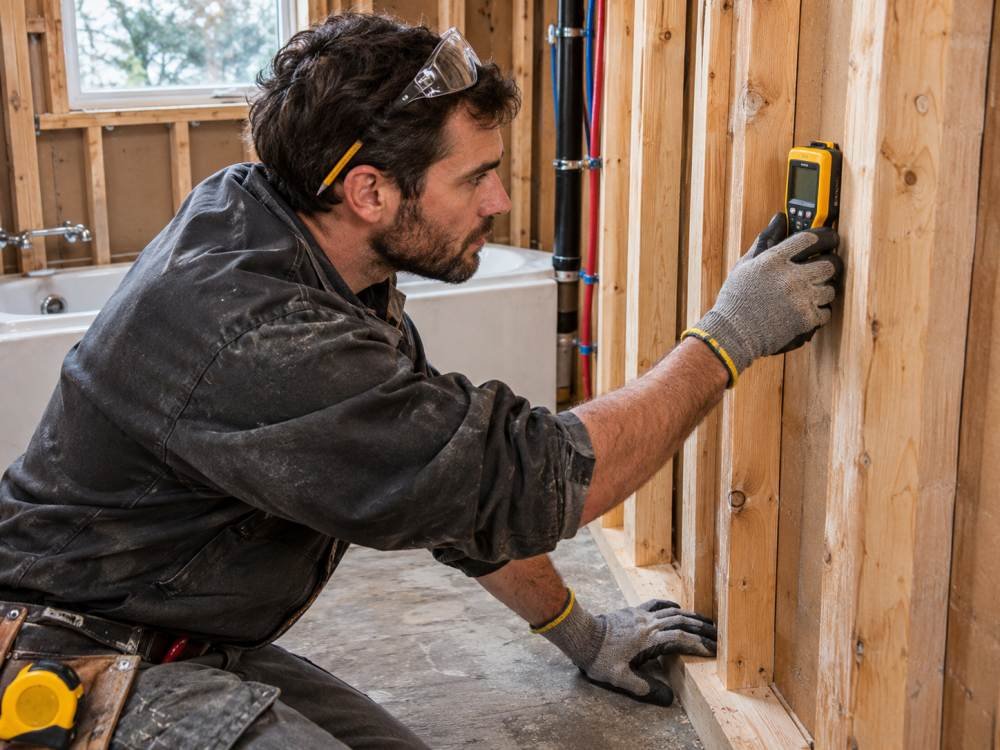
Rockwool Safe n Sound for bathroom partitions
ROCKWOOL Safe’n’Sound is designed for acoustic and fire performance in interior partitions, floors, and ceilings. It is not interchangeable with a thermal batt solely because both use stone wool. For exterior thermal cavities, ROCKWOOL offers products such as Comfortbatt with labeled R-values. Check local product availability and current technical data. When selecting Rockwool Safe n Sound for bathroom walls, identify whether the wall is an interior partition or part of the thermal envelope first.
ROCKWOOL distinguishes exterior thermal Comfortbatt from interior acoustic products. Its technical FAQ explains that its interior acoustic insulation does not carry the same branded thermal R-value labeling.
Best soundproofing insulation for bathroom walls
Cavity insulation helps absorb sound but does not soundproof the room by itself. Toilet flushing, pipe vibration, extractor noise, and voices follow different paths. Framing connections, doors, service openings, and adjoining floors can bypass the insulated cavity. Compare tested whole-wall assemblies rather than isolated material claims. Where privacy matters, consider suitable board layers, acoustic sealing, plumbing supports, and an approved isolation detail. Do not change a fire-rated partition without preserving its required assembly.
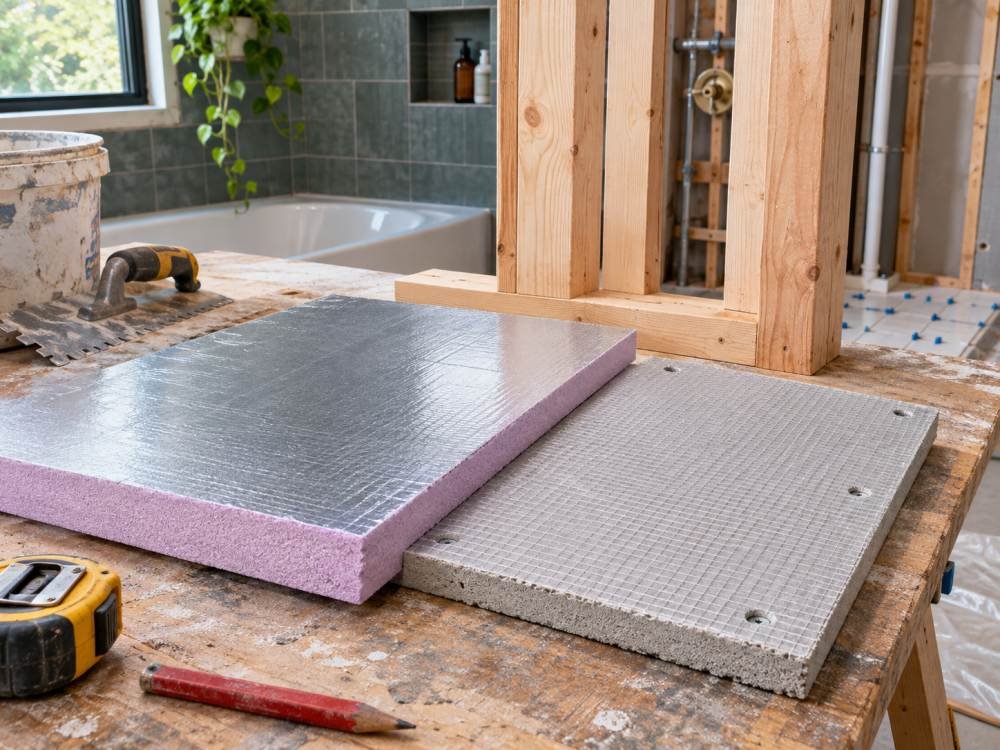
Rigid foam board insulation behind shower walls
Rigid foam can add thermal resistance in a designed assembly, but ordinary insulation board is not automatically a tile backer or waterproof shower board. Approved shower panels have their own support, fastener, seam, and membrane requirements. If installing rigid foam board insulation behind shower construction, check the product’s intended use and how the wall will dry. A board wedged between studs also leaves framing thermal bridges and requires careful treatment around its perimeter.
Closed-cell spray foam for shower walls
Closed-cell spray foam can provide thermal resistance and air control at specified installed thicknesses. Its vapor resistance also depends on the product and thickness. This can be useful in some assemblies and problematic in others, especially where another low-permeance shower layer restricts drying. Use a qualified installer, review substrate conditions, and follow occupancy, ventilation, and protective-cover requirements. Do not treat cured cavity foam as the shower’s tile-side waterproofing system or assume every foam carries the same approval.
R-value for exterior bathroom walls
Use the locally adopted energy requirements and an approved wall specification. Cavity depth, continuous exterior insulation, framing material, and climate affect the answer. An R-value printed on a batt describes that product under stated conditions; it is not the whole-wall rating. Thermal bridges and installation gaps can reduce assembly performance. Measure the actual cavity before buying insulation. Avoid forcing a deep batt into shallow framing simply to fit a larger number on the package.
Vapor barrier for insulated bathroom walls
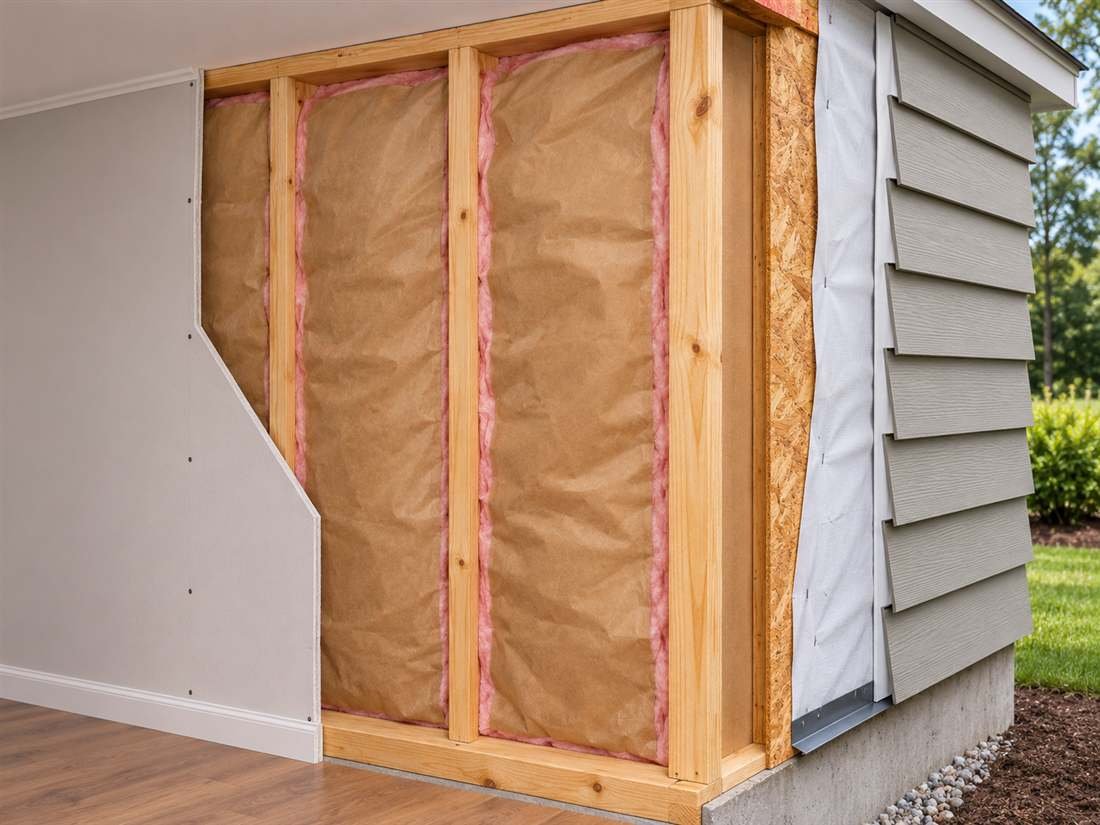
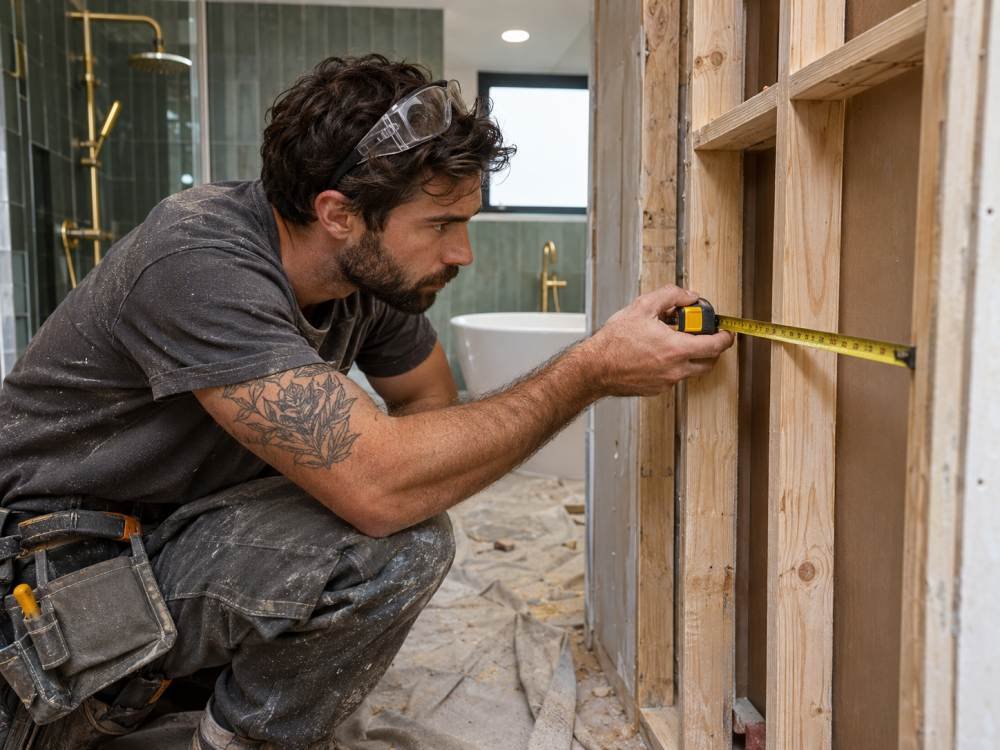
High bathroom humidity does not automatically require polyethylene behind every wall. The right vapor retarder depends on climate, cladding, existing sheathing, and interior finishes. A shower membrane may already slow vapor diffusion. Adding kraft facing or plastic without coordination can restrict drying. Review the complete assembly and the selected waterproofing instructions. Where local requirements and a shower-system detail appear to conflict, resolve the detail with the building official and manufacturer before closing the wall.
The Department of Energy vapor-control guidance explains why climate and wall construction affect vapor-retarder selection. Do not infer the assembly from bathroom humidity alone.
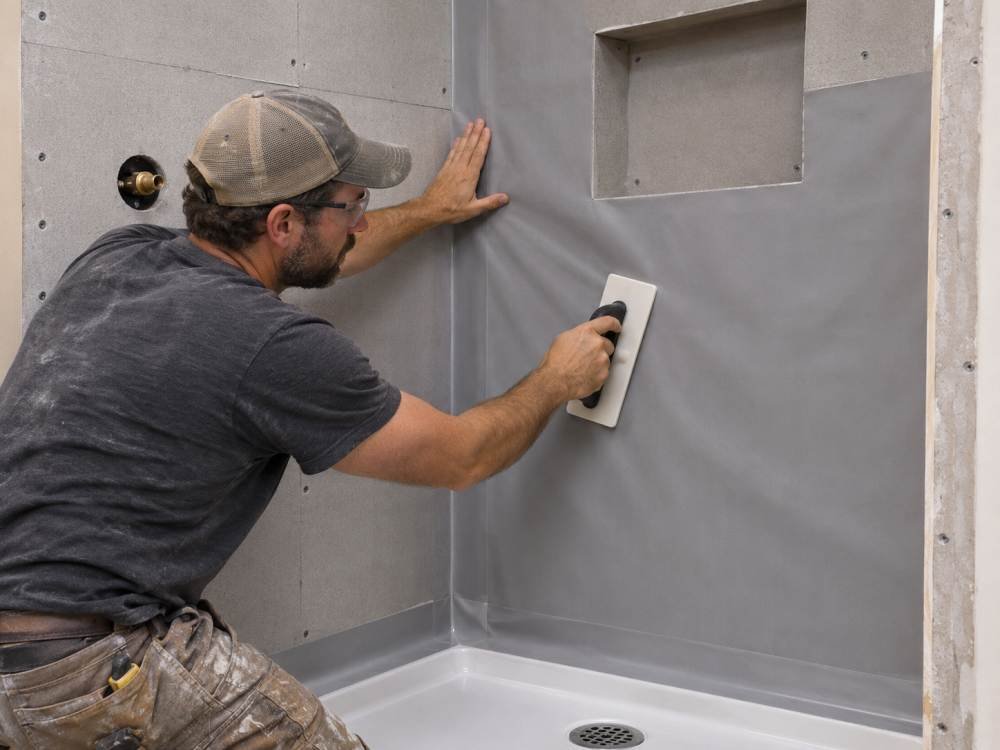
Insulation and shower waterproofing are separate
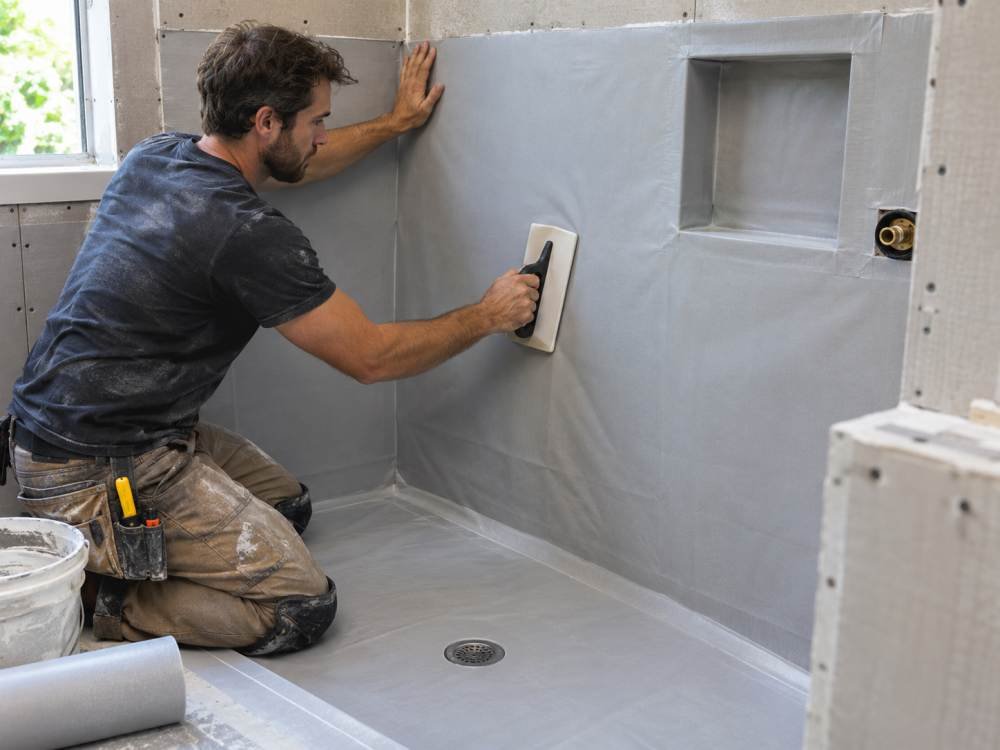
Tile and grout are not a complete water-management system. Cement board tolerates water but does not make all adjoining materials waterproof. A bonded membrane or approved waterproof panel system must have continuous treatment at corners, niches, fasteners, plumbing openings, and the receptor connection. Moisture-resistant drywall used elsewhere in the bathroom is not a universal substitute for a shower-approved substrate. Follow the exact listed system and the applicable wet-area requirements.
For related cavity installation choices, see our interior wall insulation guide.
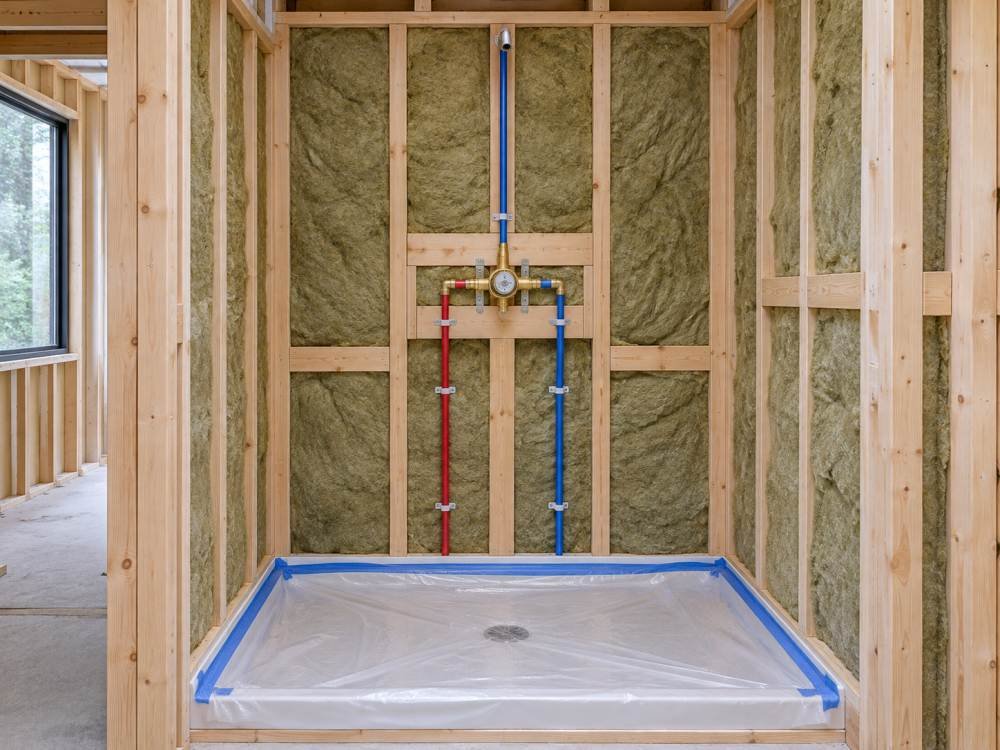
How to insulate bathroom plumbing walls
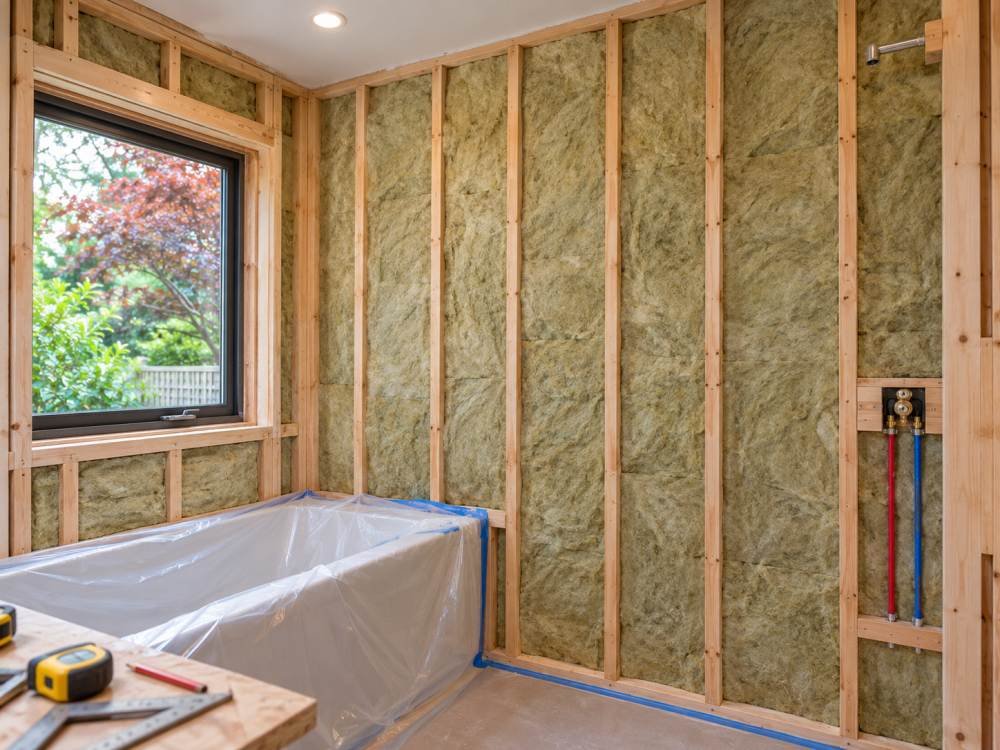
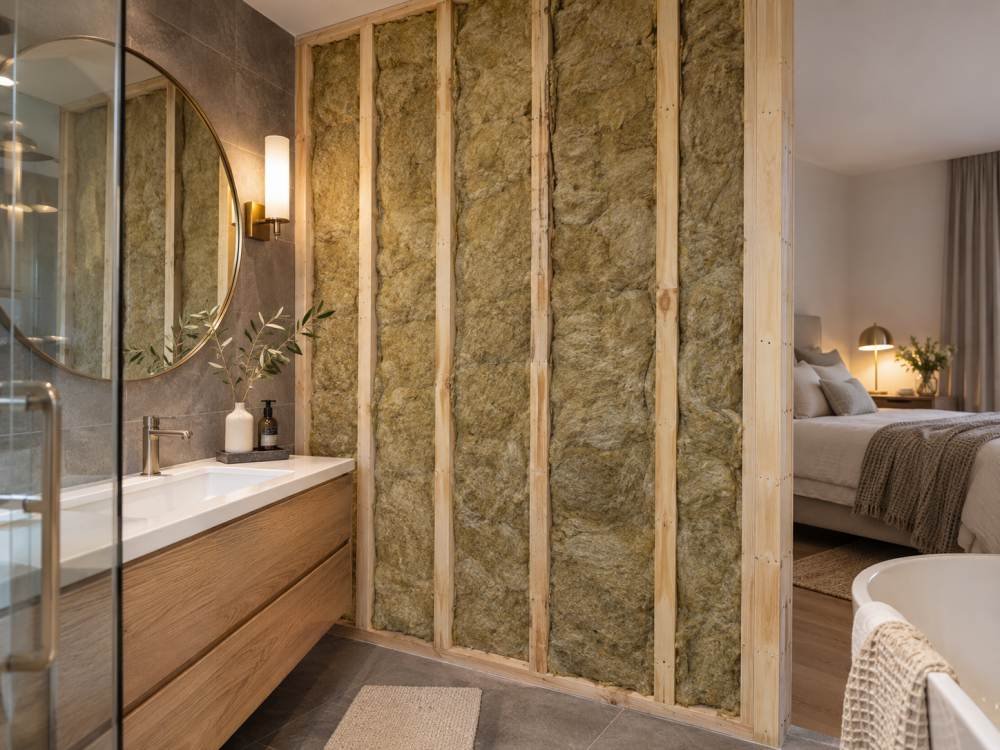
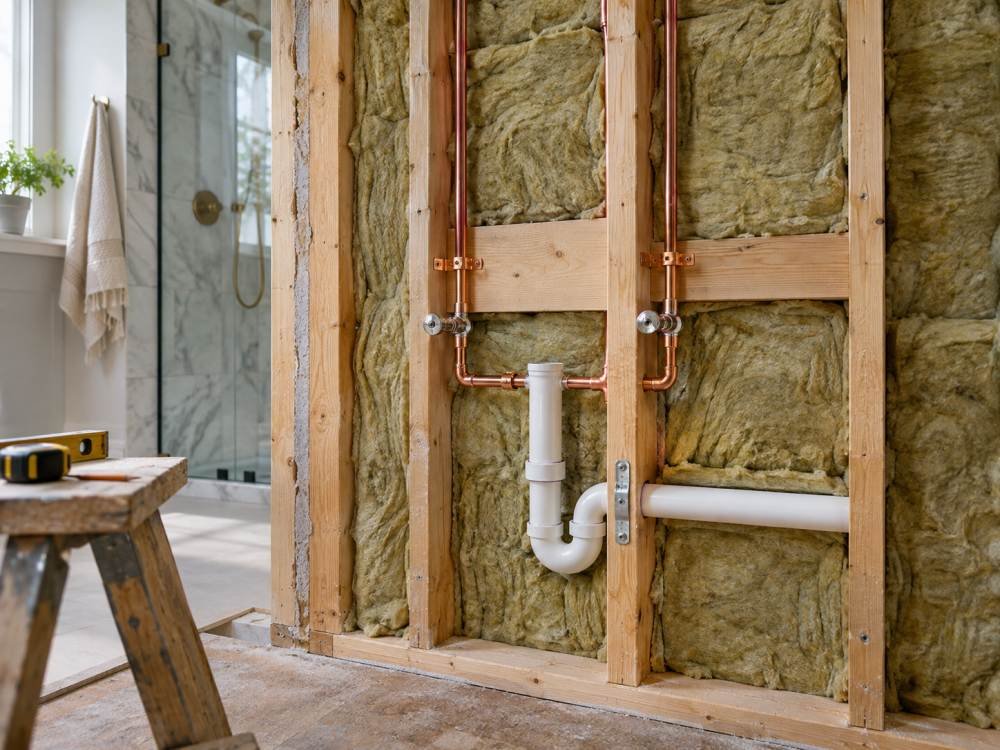
Inspect the pipes and framing while the cavities are open. Repair leaks and check that serviceable components remain accessible. Fit insulation around supply pipes and wiring without bending services or leaving large voids. Pipe noise may require appropriate isolation supports as well as cavity absorption. In freezing climates, exterior-wall pipes need particular care: do not move them toward the cold side to simplify batt installation. Ask a qualified plumber to assess vulnerable routing and the required thermal protection.
Bathroom wall insulation installation sequence
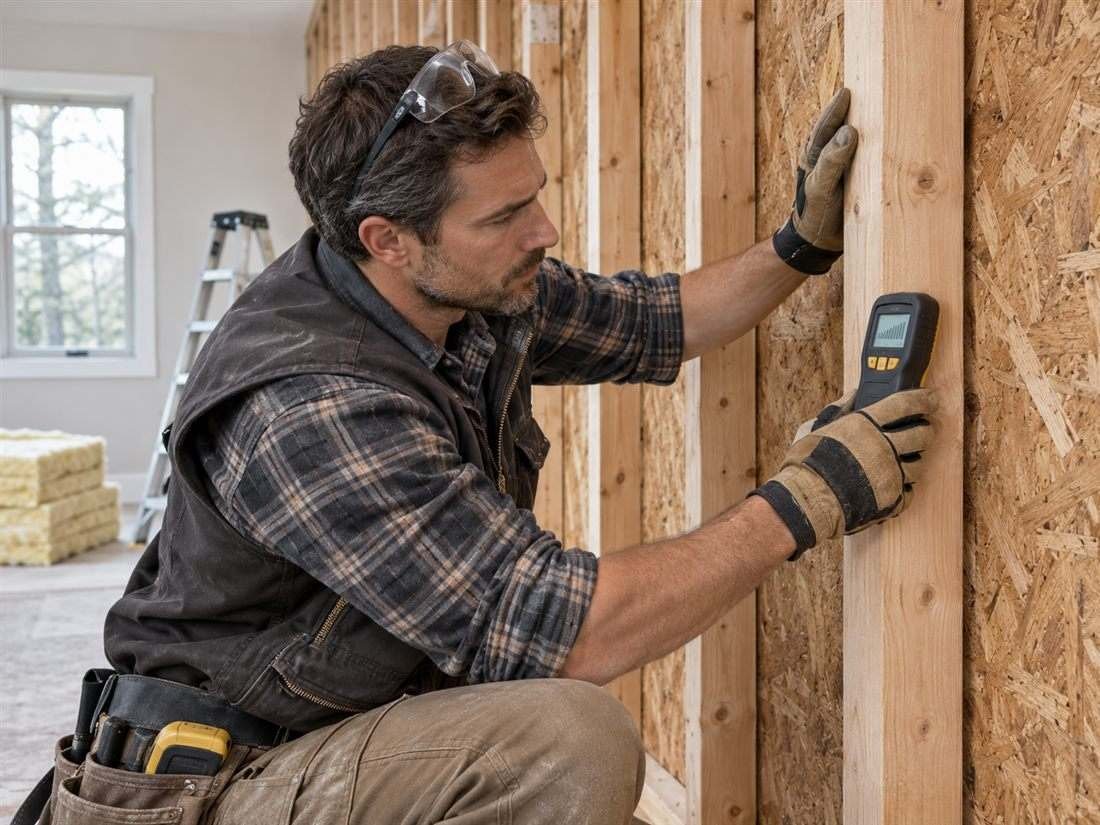
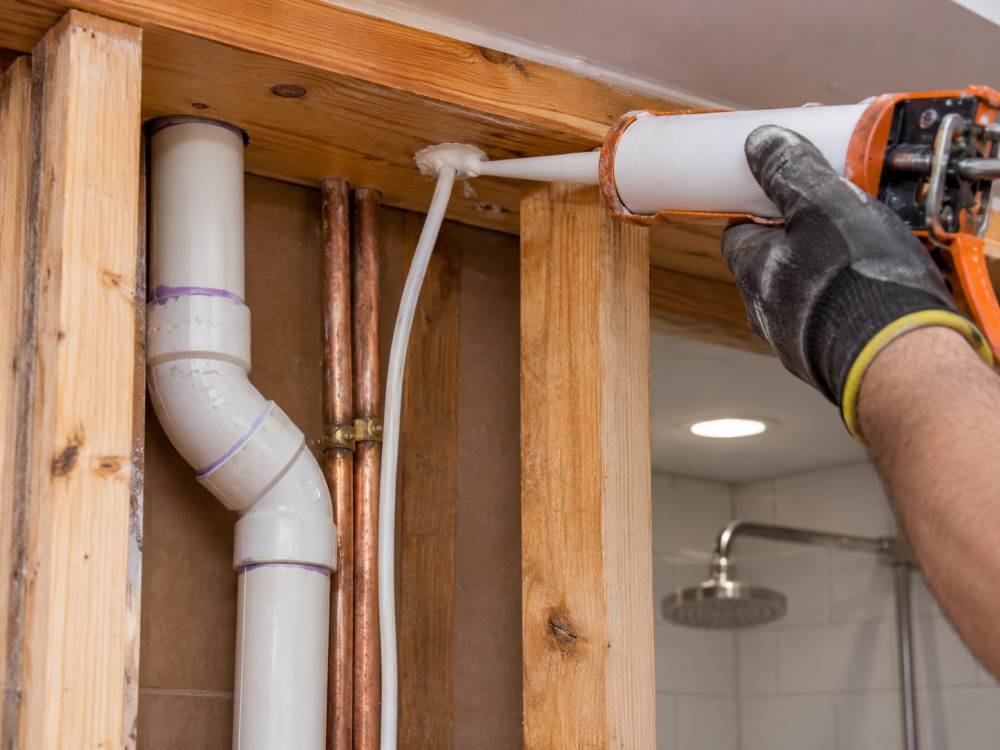
First identify the wall boundary and inspect for moisture damage. Next select the thermal or acoustic product and the full air, vapor, and waterproofing strategy. Seal appropriate wall-plate and penetration gaps with compatible materials, preserving required clearances and fireblocking. Measure and cut batts to fit; split around wires rather than stuffing the entire batt behind them. Fill narrow bays carefully. Then inspect support, fit, and service clearances before installing the specified board and finish.
Finishing and inspecting the wall
Before covering the insulation, check corners, cavity edges, rim areas, and transitions to adjoining assemblies. Look for compressed batts, unsupported pieces, and unsealed air paths. Verify the substrate’s framing and fastening requirements. Within the shower, inspect membrane coverage, seams, and base connections before tiling; follow curing and testing instructions. Photograph the concealed work for later repairs. A neat-looking cavity does not confirm every hidden detail, so arrange any required inspections at the appropriate stage.
Ventilation supports moisture control
A bathroom exhaust fan helps remove humid room air, but it cannot compensate for a leaking shower or a wet wall cavity. Select and install ventilation according to local requirements and the fan manufacturer’s guidance. Exhaust to an approved outdoor termination rather than into an attic. Check duct routing and the backdraft damper. Keep the fan maintained and use it as recommended. Address persistent condensation or damp odors instead of assuming a different batt will solve the underlying moisture source.
Budget and retrofit choices
Compare complete installed costs, including wall opening, repairs, air sealing, waterproofing, finishing, and disposal. A less expensive batt can perform well in a suitable, carefully installed assembly. A higher-cost foam system may be justified by space or air-control requirements, but price alone does not establish suitability. If the wall is already finished, assess whether selective opening or a broader renovation offers practical access. Do not inject an unknown cavity without checking wiring, plumbing, existing moisture layers, and the chosen product’s approved use.
FAQs: Is mineral wool mold-proof?
Do not treat any insulation as a guarantee against mold. Some products resist fungal growth or water absorption, but damp adjacent materials and contaminants can still support growth. Repair leaks and manage drying, ventilation, and air movement.
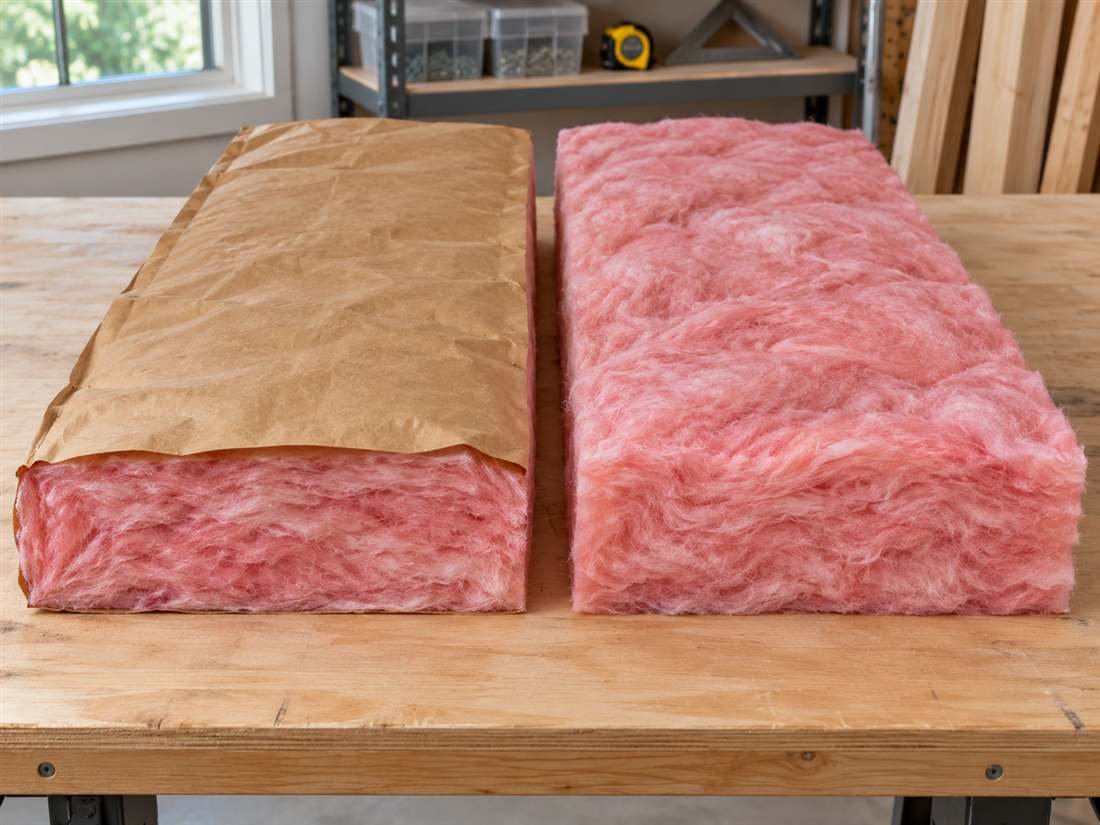
FAQs: Should bathroom fiberglass be faced?
Only when the assembly calls for that facing. Bathroom humidity alone does not determine the answer. Coordinate the facing with climate requirements, existing layers, and any shower membrane rather than automatically adding a vapor barrier.
FAQs: Can I use acoustic insulation outside?
Use an exterior thermal product with the appropriate approval and rating. An acoustic product intended for interior partitions should not automatically replace insulation specified for an exterior wall. Consult the exact manufacturer’s technical information.
Choose a complete bathroom wall system
The best insulation for bathroom walls fits the wall’s purpose and works with its moisture controls. Select thermal insulation for exterior boundaries and an appropriate acoustic assembly for interior privacy. Repair water problems, fit the insulation carefully, and detail the shower waterproofing separately. Finish the project with inspection and effective ventilation rather than relying on a single material to solve every bathroom problem.
Compare your proposed assembly with our complete wall insulation guide, then confirm the product instructions and local requirements before starting.