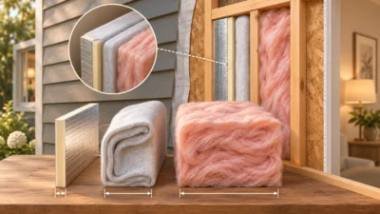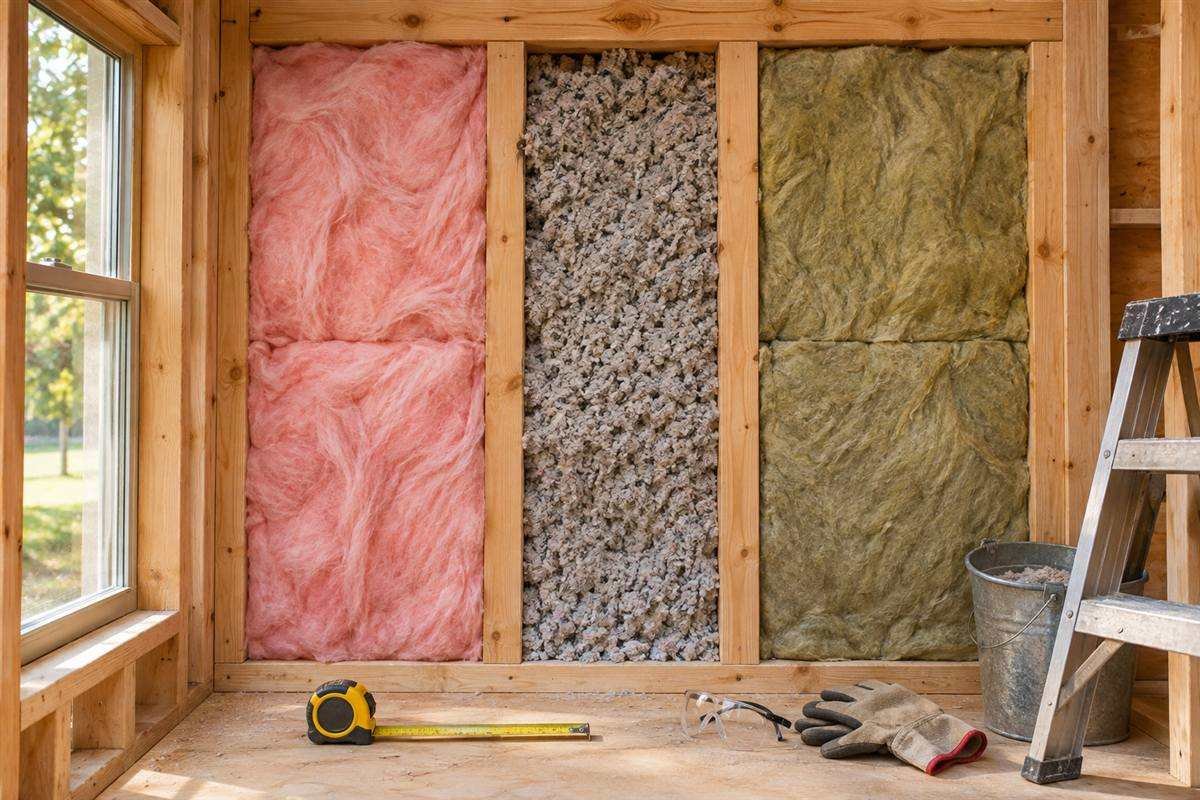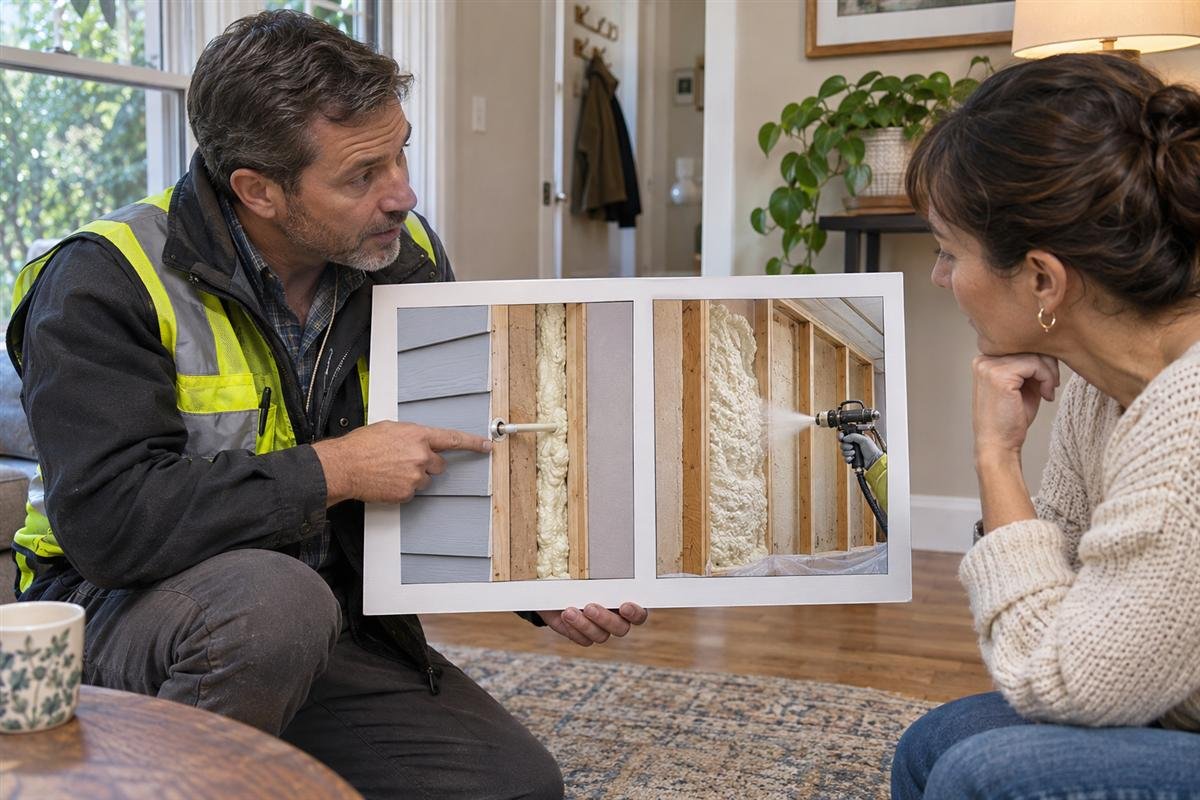

A vapor barrier for shower walls must suit the entire wall assembly. Liquid water and water vapor behave differently, so waterproofing and vapor control need separate decisions. The correct layers depend on the backer board, membrane, climate, and whether the enclosure is a regular shower or a steam room. Start with a documented system rather than adding plastic to an unrelated installation method.
Do shower walls need a vapor barrier?
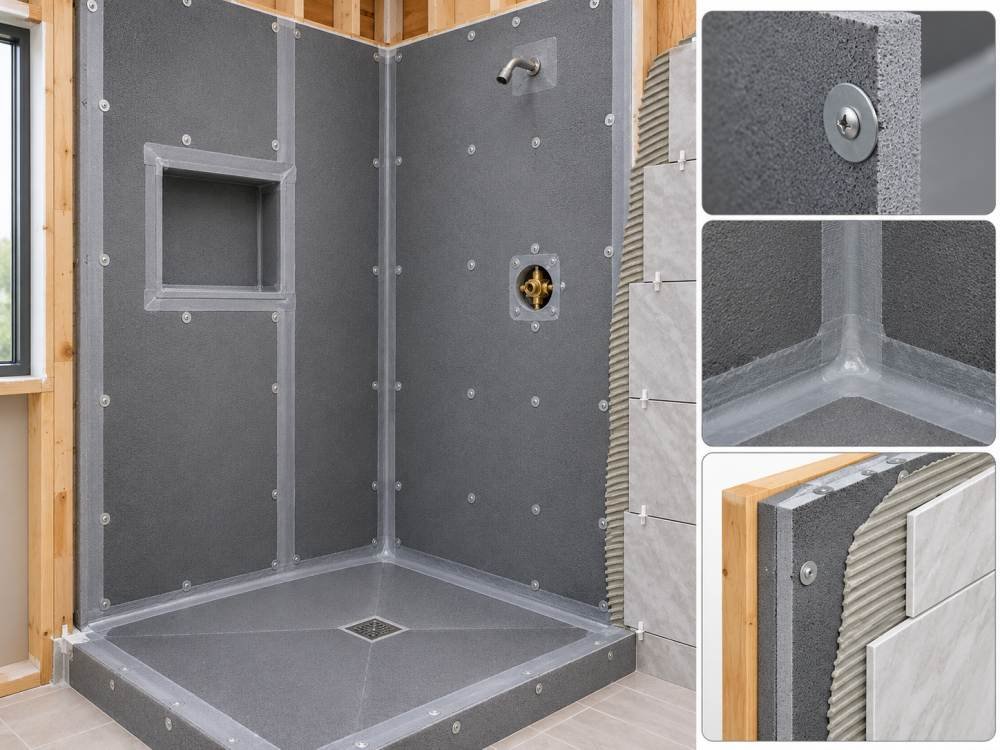
Shower walls need an approved water-management assembly. That does not mean every shower needs 6-mil polyethylene sheeting behind cement board. Bonded membranes, waterproof foam boards, and traditional behind-board drainage details use different arrangements. Exterior-wall vapor requirements also need coordination with the shower system. Identify existing layers before deciding what to add.
For materials and thermal control, see our wall insulation guide.
Waterproofing versus vapor retarders
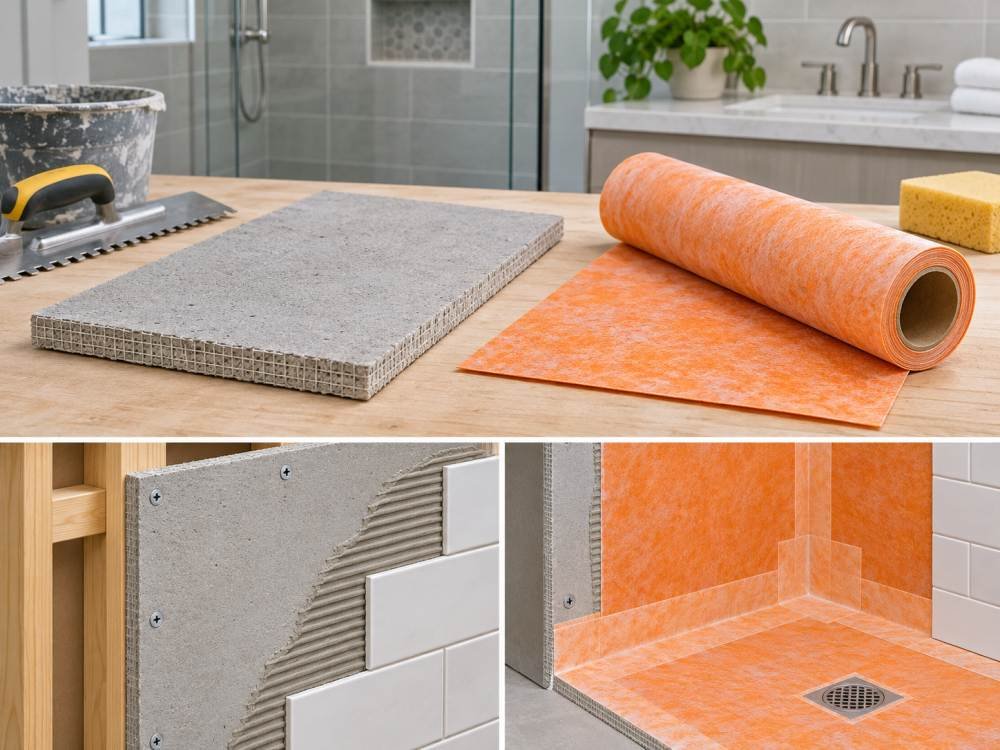
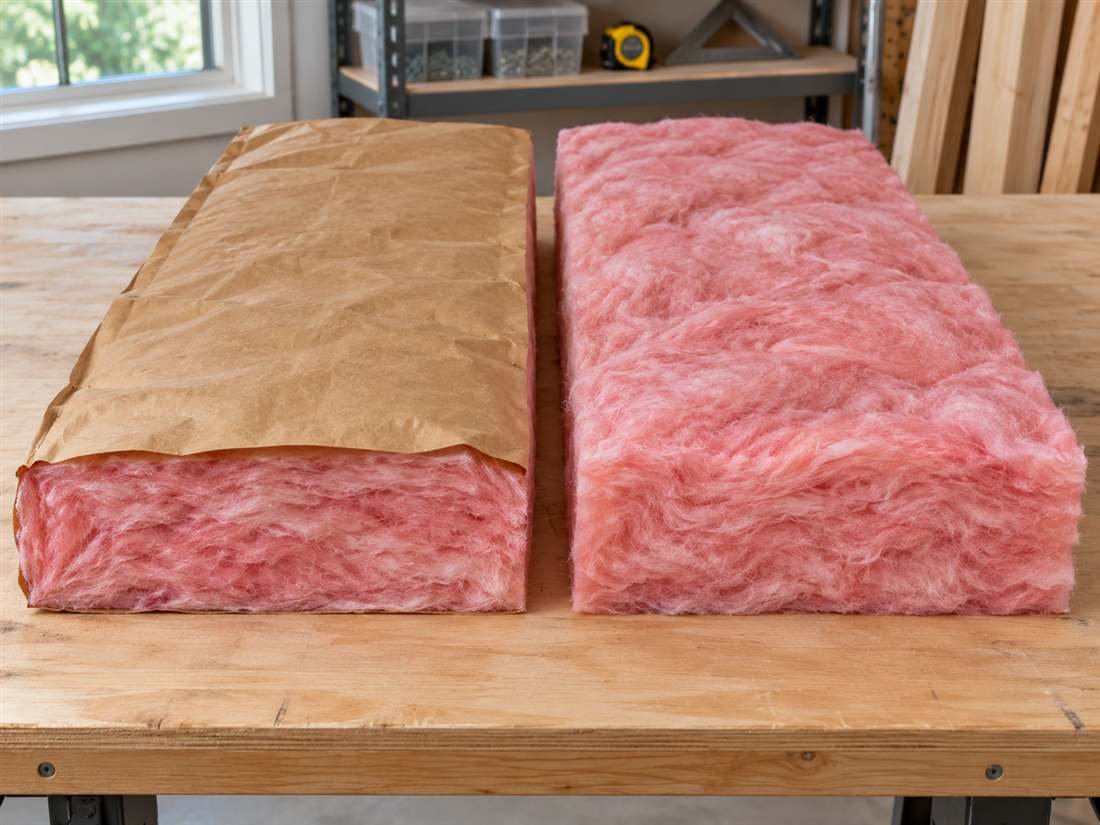
A waterproof membrane limits liquid water. A vapor retarder slows vapor diffusion through materials. Some products perform both functions, but a waterproof label alone does not establish suitability for a steam enclosure. Compare the tested permeance and approved applications of the exact product. Installation thickness, seams, and test conditions can affect the meaning of published performance data.
Cement backer board is water durable
Cement board can tolerate wet conditions without providing a complete waterproof wall. Tile and grout also need an approved water-management layer. Follow the board and membrane manufacturers’ instructions for substrate preparation, fasteners, seams, and the connection to the receptor. A water-durable board does not protect every moisture-sensitive material behind it.
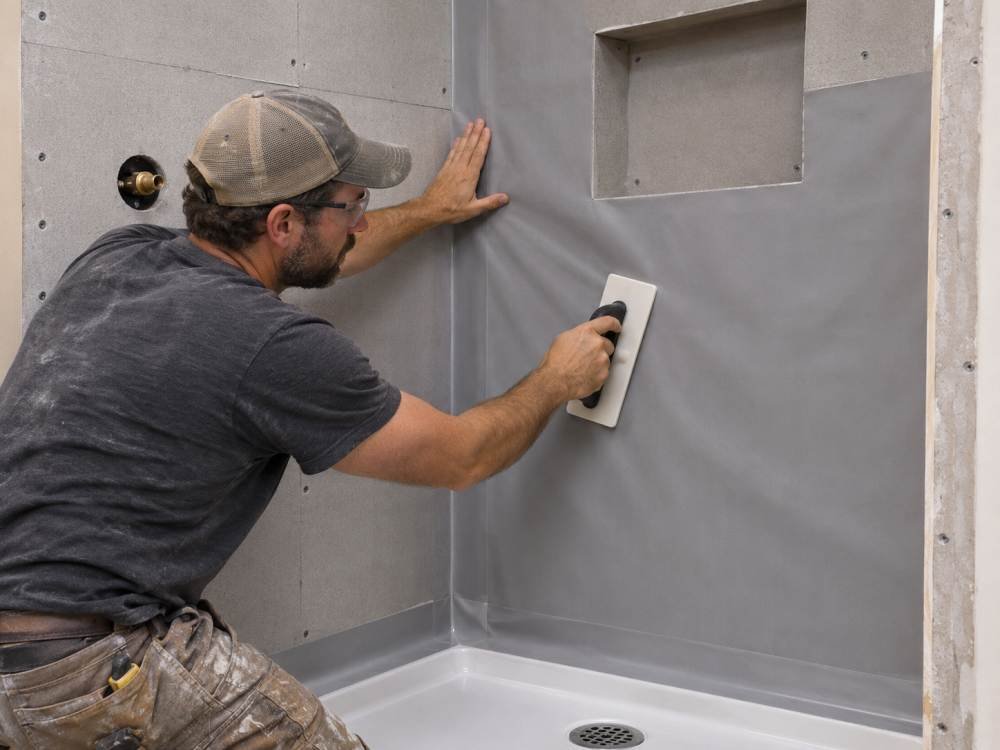
Bonded waterproof membrane at the tile surface
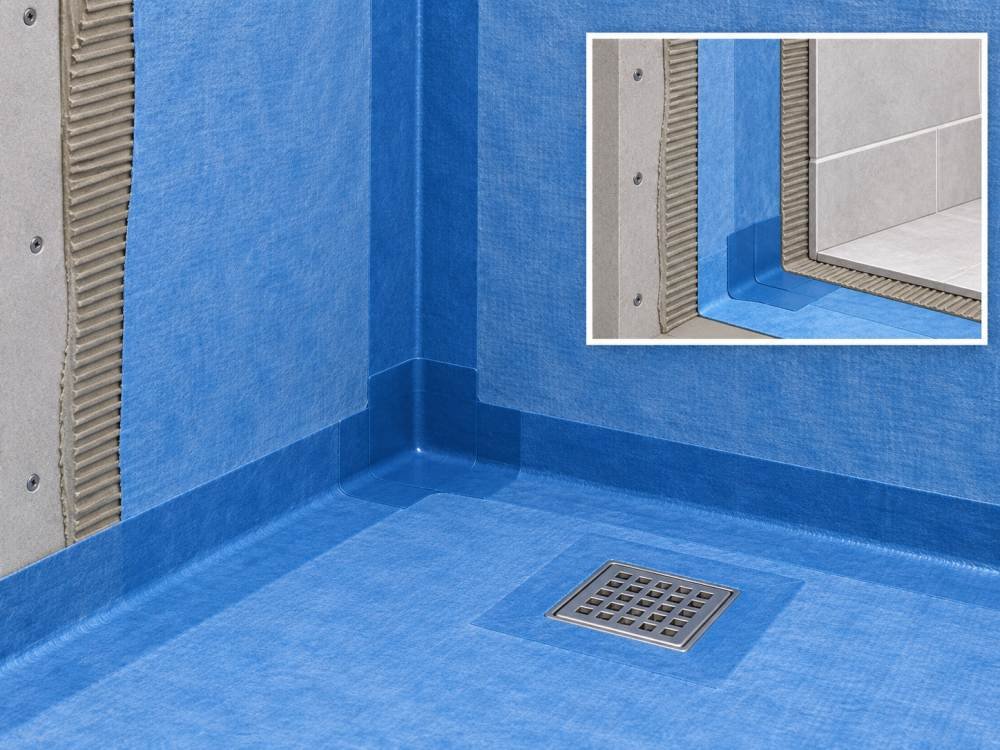
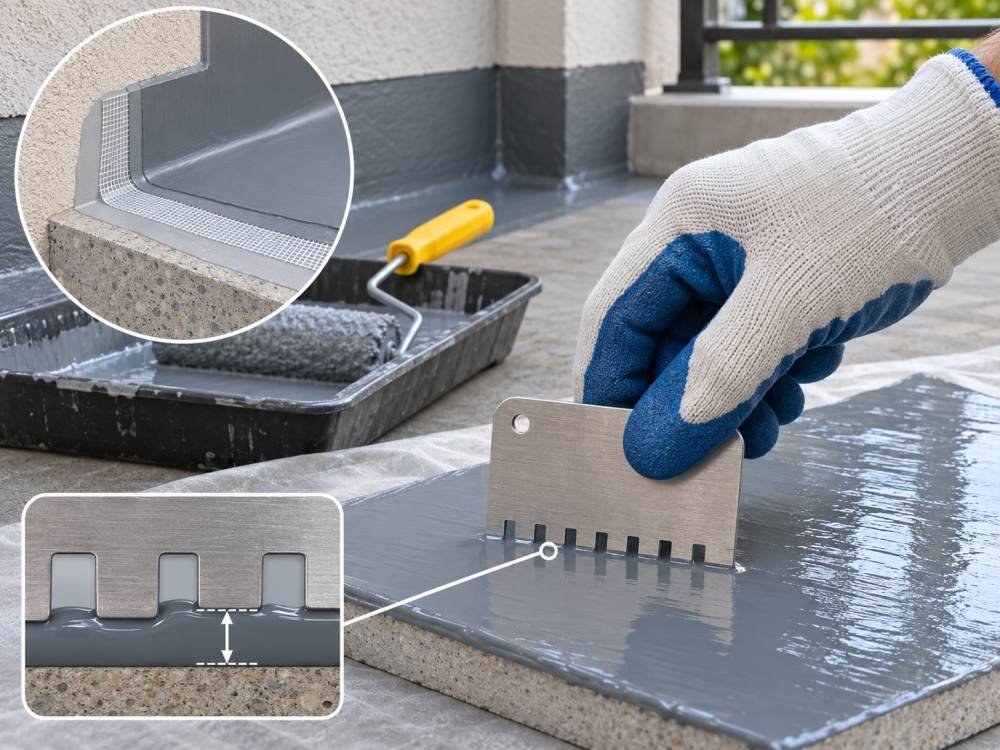
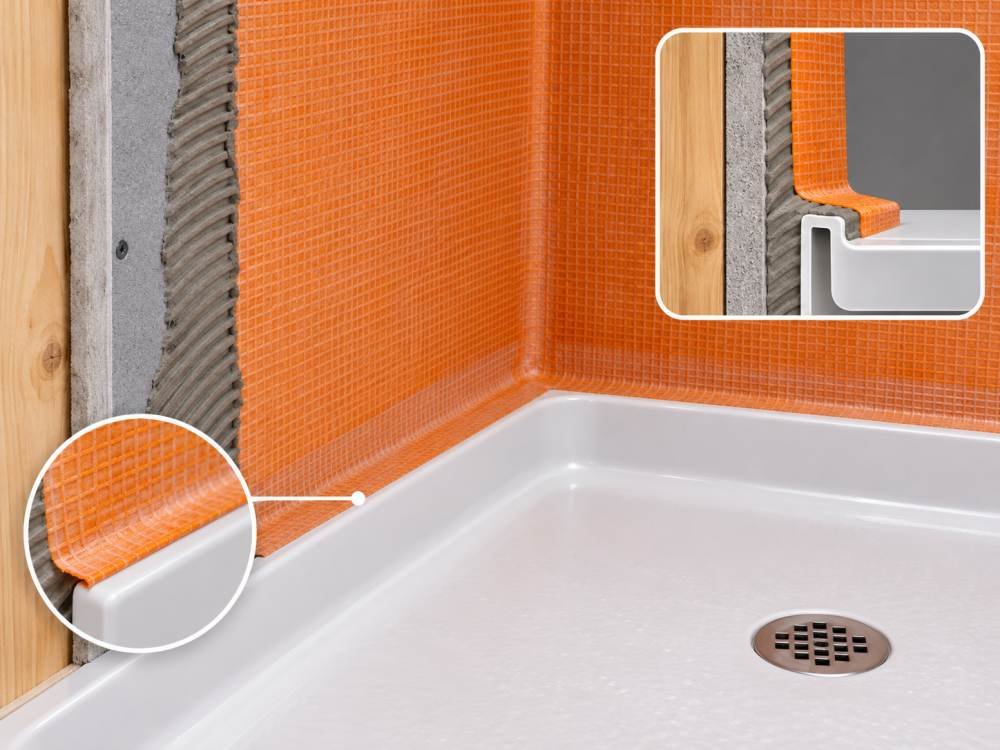
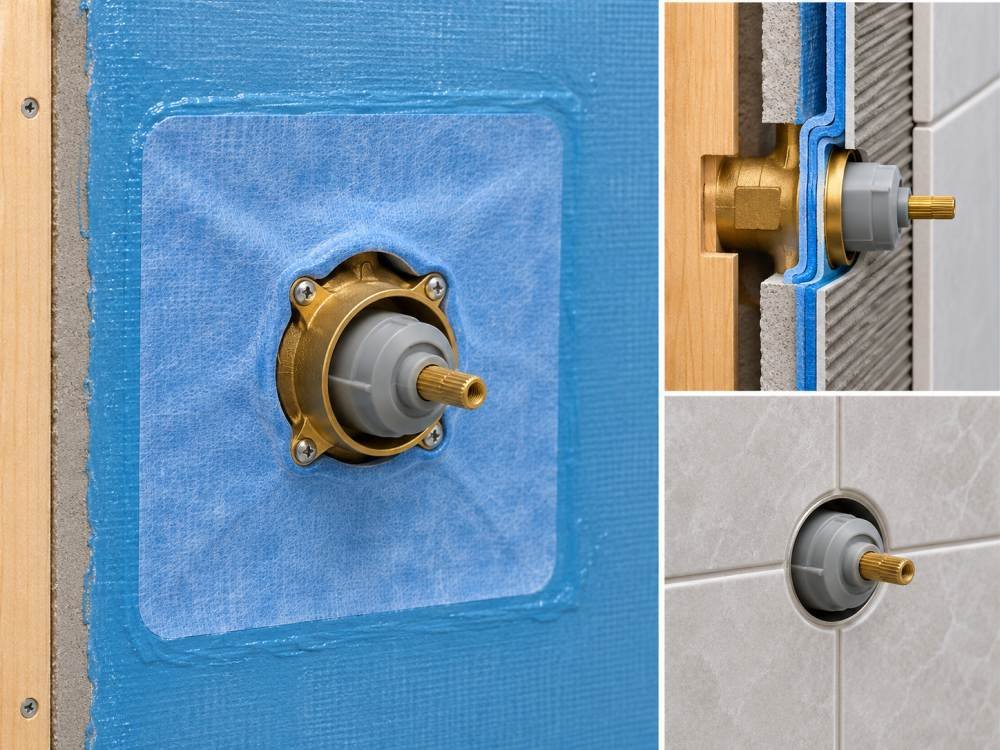
A bonded sheet or liquid membrane manages water directly beneath the tile-setting layer. Use compatible substrates and setting materials. Connect corners, niches, penetrations, and the shower base continuously. Sheet overlaps and liquid application thickness must meet the system specification. Do not assume that applying two coats automatically achieves the specified dry film thickness.
Waterproof foam board systems
Foam boards may combine a tile substrate with waterproofing, but seams and fastener penetrations still need the prescribed treatment. Check the system’s board thickness, stud spacing, washers, sealants, and banding. The complete installed assembly must satisfy its instructions. Approval for a normal shower does not automatically establish suitability for continuous steam exposure.
6-mil polyethylene behind cement board
Some traditional assemblies use a moisture barrier behind cement board, connected to a suitable tub flange or shower receptor. Drainage continuity matters: a sheet ending on the wrong side of the flange can direct water into framing. Use this method only when it matches the documented assembly and the exterior-wall design. Polyethylene is not a replacement for an approved shower base.
Avoid accidental double vapor barriers
Adding a low-permeance sheet behind the board and a second low-permeance membrane on its face may restrict drying. However, never combine two barriers is too broad as a universal technical rule. Some tested manufacturer assemblies deliberately combine layers. The practical rule is to avoid improvising extra vapor-resistant layers without checking their combined behavior and the system instructions.
Exterior shower walls and climate
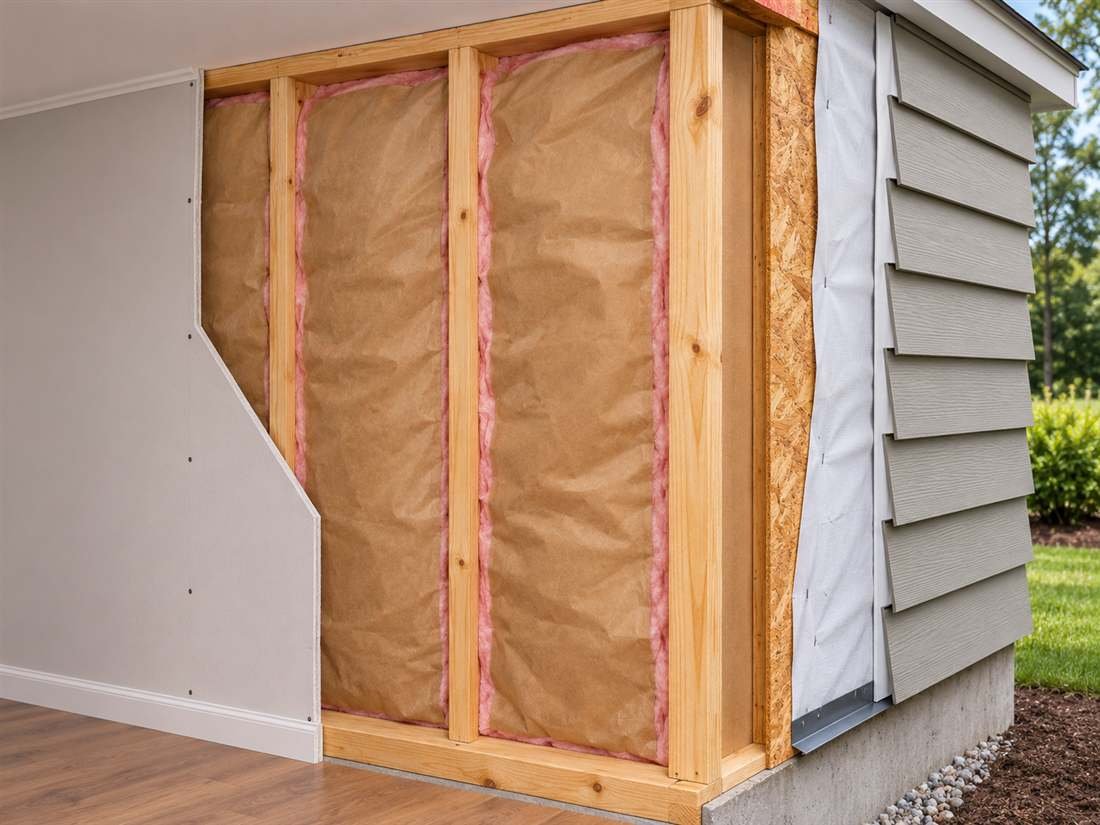
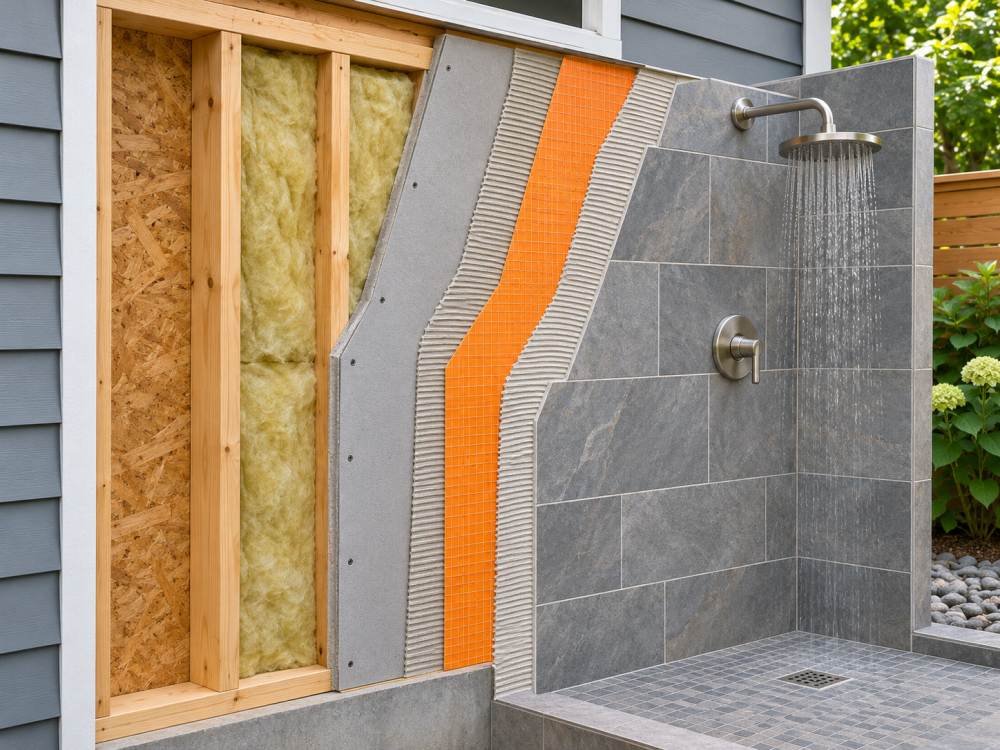
The shower membrane interacts with insulation, sheathing, exterior foam, cladding, and interior finishes. A cold climate does not automatically require polyethylene behind every shower board. Check the locally adopted requirements and available assembly options. Ask the building official and waterproofing manufacturer to resolve conflicts before construction. Do not cut an existing vapor retarder simply because an online tutorial recommends it.
Steam shower vapor control
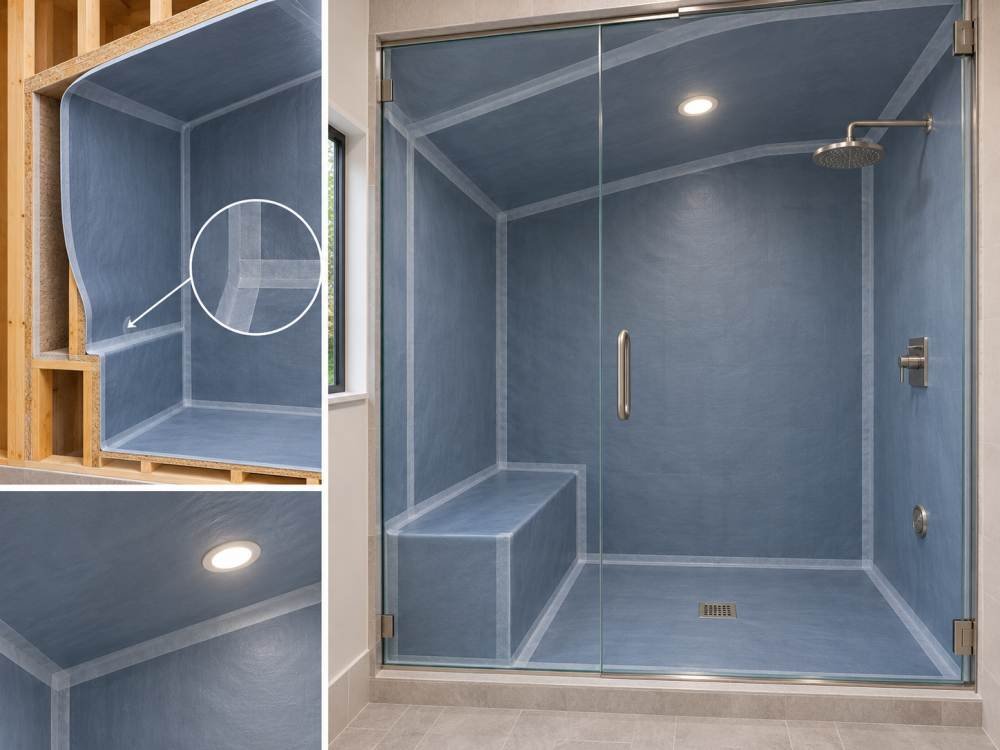
Steam showers create stronger vapor exposure than ordinary showers. Intermittent residential use and continuous-use commercial steam rooms may require different systems. Confirm approved membrane use, permeance, ceiling and bench details, and all penetrations. A suitable wall membrane cannot compensate for an incomplete steam enclosure. Select the system before buying accessories.
Installation checks before tile
Inspect substrate support, seams, corners, fasteners, plumbing openings, niches, and receptor connections. Liquid membranes need the specified coverage, thickness, and curing conditions. Sheet systems need the required overlaps and compatible adhesives. Complete testing and inspections required by the manufacturer and local authority before setting tile. Photograph the finished waterproofing while it remains visible.
Ventilation and drying
Bathroom exhaust helps manage room humidity, but it does not repair a leaking shower or an incompatible wall assembly. Use an appropriately designed exhaust system while maintaining continuous waterproofing. Avoid enclosing damp framing or construction materials. Where exterior-wall drying is uncertain, obtain an assembly assessment rather than relying on ventilation to solve a concealed moisture problem.
Common mistakes
Typical problems include relying on grout as waterproofing, missing fastener holes, applying liquid membrane too thinly, and leaving the base transition unresolved. Mixing accessories from different systems without approval can create compatibility issues. An extra membrane may restrict drying rather than improve protection. Check each proposed layer against the chosen system detail.
FAQs: Is waterproofing also a vapor barrier?
It can be, depending on the product and its tested permeance. Check its technical data and approval for the intended shower or steam application. Do not infer vapor performance solely from the word waterproof.
FAQs: Should plastic go behind waterproof foam board?
Do not add plastic automatically. Follow the board-system instructions and coordinate exterior-wall vapor requirements. A separate layer may be unnecessary, or a documented assembly may specifically require one. Resolve the detail before closing the wall.
FAQs: Can a cement board shower use a rear barrier?
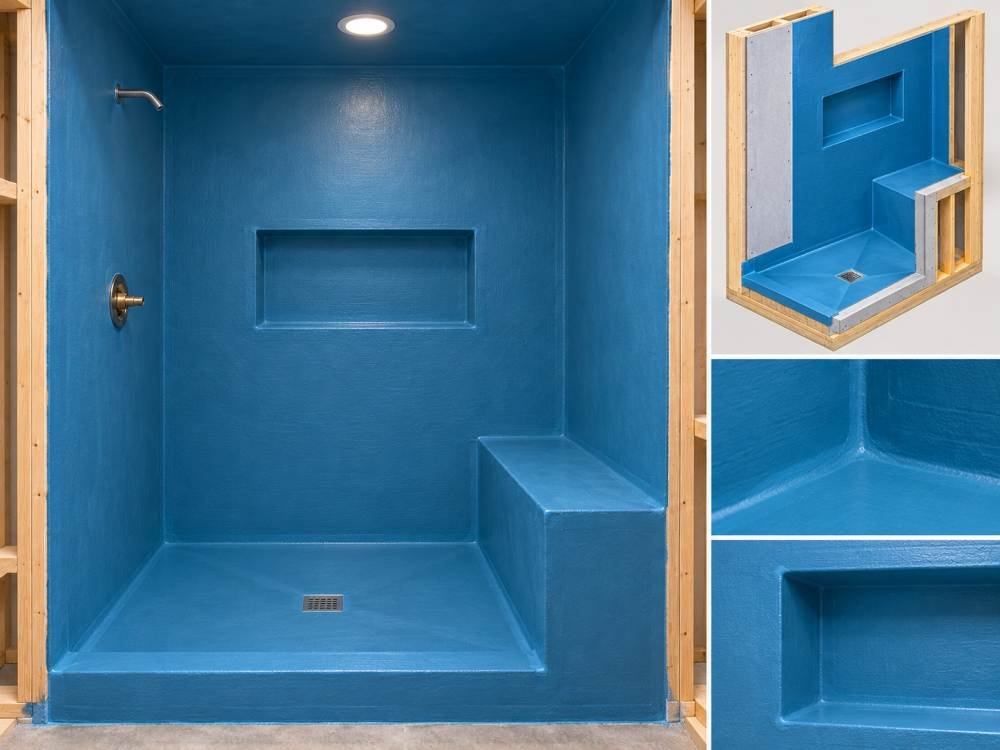
Some documented assemblies use a behind-board moisture barrier with a properly detailed drainage connection. Others use bonded surface waterproofing. Choose the complete approved method instead of combining unrelated parts.
Choose the assembly before adding layers
A dependable shower uses compatible substrate, waterproofing, vapor-control, and drainage details. Identify the existing wall layers and the enclosure’s exposure, then follow the selected system. Exterior walls and steam showers deserve particular attention. Complete the inspection before tile hides the critical connections.
Review the Schluter residential steam-shower guidance and USG cement-board guidance. Return to our complete wall insulation guide to compare wall materials.
Read the complete membrane specification
Look beyond the front label when comparing membranes. Check approved substrates, required primers, compatible mortar or adhesive, application temperatures, curing conditions, and intended exposure. For liquid products, confirm the application method and specified finished thickness. For sheet products, check seam and corner details. Keep the current instructions for the exact product sold in your region. A familiar brand name does not establish that another product in its range has the same vapor resistance.
Review existing layers before remodeling
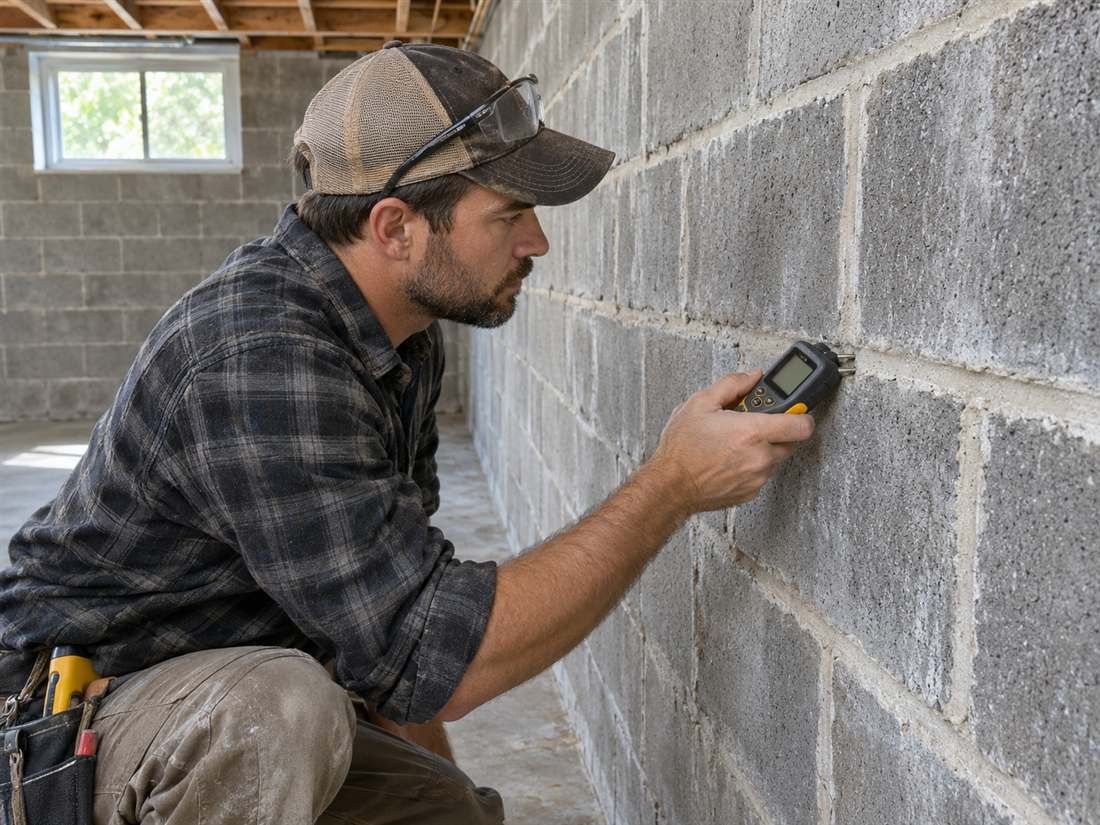
Identify what remains behind the board before choosing surface waterproofing. Old plastic, foil-faced insulation, coated sheathing, and impermeable finishes can affect drying. Do not assume the absence of visible polyethylene means there is no vapor-resistant layer. Selective inspection may be necessary. Repair damage and establish why it occurred before rebuilding. Where the exterior assembly is uncertain, obtain an assessment instead of treating the new shower membrane as an isolated decorative finish.
Document difficult shower junctions
Draw where water goes at corners, recessed niches, benches, curbs, and valve openings. These junctions need compatible system details. Horizontal surfaces should drain toward the shower as specified. Changes between materials can move differently, so follow the required joint and reinforcement instructions. Photograph completed details before tile installation. A membrane that performs well on the broad wall surface still depends on these connections for a reliable enclosure. Check the receptor transition before concealing it.
Questions to resolve with the installer
Ask which documented assembly will be used and whether it covers a regular shower, intermittent residential steam use, or continuous steam exposure. Request the technical data and a plan for the receptor connection. Clarify whether existing vapor retarders remain and how exterior-wall requirements will be addressed. Agree on inspections, curing, and testing before tiling. These questions create a reviewable plan without assuming that every bathroom needs the same polyethylene sheet or membrane arrangement.
Investigate moisture instead of guessing
Persistent odors, staining outside the enclosure, or loose finishes deserve investigation rather than another layer of sealant applied blindly. Water may originate at plumbing, the receptor connection, a penetration, or an exterior defect. Room humidity and concealed condensation are other possible causes. Avoid diagnosing the problem solely from the phrase vapor barrier. An inspection should locate the moisture source and identify the existing layers before a repair changes the wall’s drying behavior.
Keep substitutions compatible
A membrane, drain, board, adhesive, and sealant may each be suitable individually but lack a documented connection when combined. Follow the system’s compatibility requirements or obtain confirmation for substitutions. Matching colors and generic waterproof claims do not establish compatibility. Changes during construction should receive the same review as the original selection. Record approved substitutions so later repairs preserve the assembly rather than adding another unverified layer. Keep the installation instructions with photographs of the completed work.