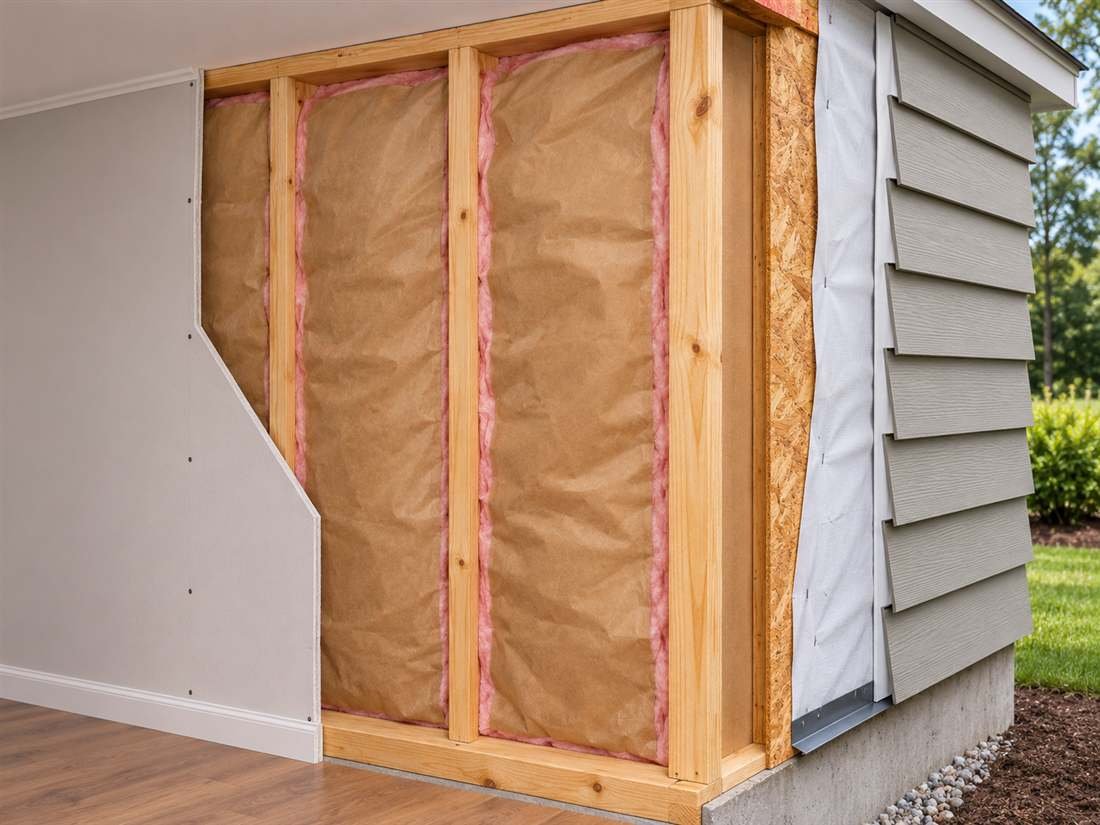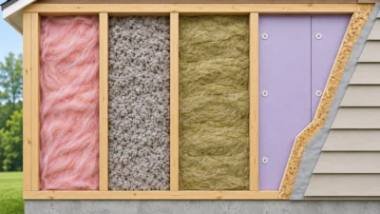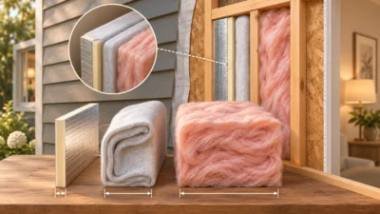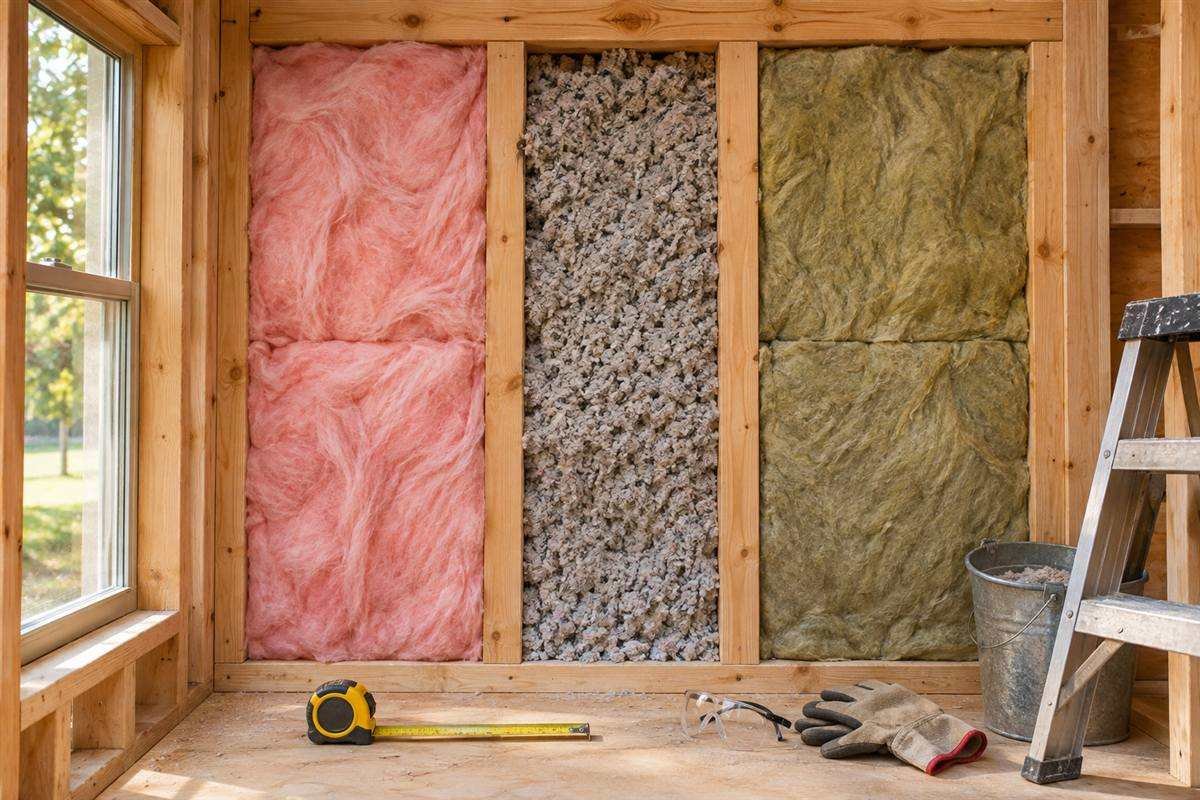

Insulation in shower walls can improve comfort when the shower backs onto an exterior wall, and it may reduce some sound transfer through interior partitions. Start with the wall assembly rather than buying the thickest batt. Thermal insulation, air sealing, tile support, waterproofing, and vapor control serve different purposes. Each needs a compatible detail before you close the framing.
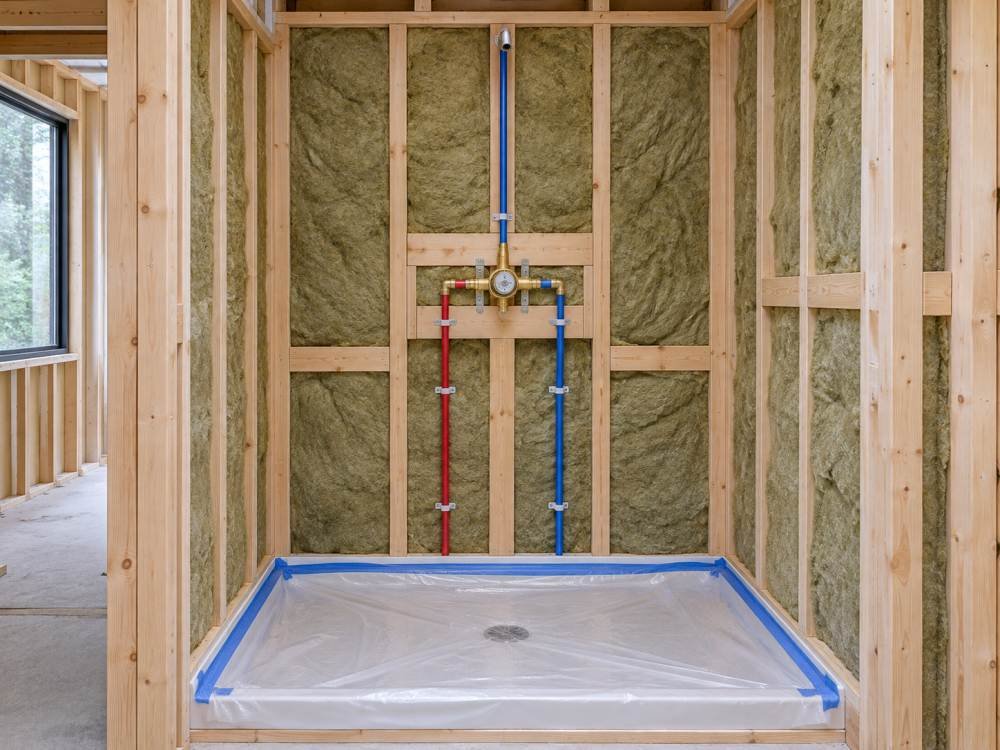
Do shower walls need insulation?
An exterior shower wall normally needs insulation as part of the home’s thermal envelope. An interior partition between conditioned rooms usually has a different goal: sound reduction rather than preventing outdoor heat loss. A wall adjoining an unconditioned garage or other cold space needs separate attention to thermal and fire requirements. Identify the room on both sides and check local requirements before choosing a product.
For materials and thermal control, see our wall insulation guide.
Inspect the framing before adding insulation
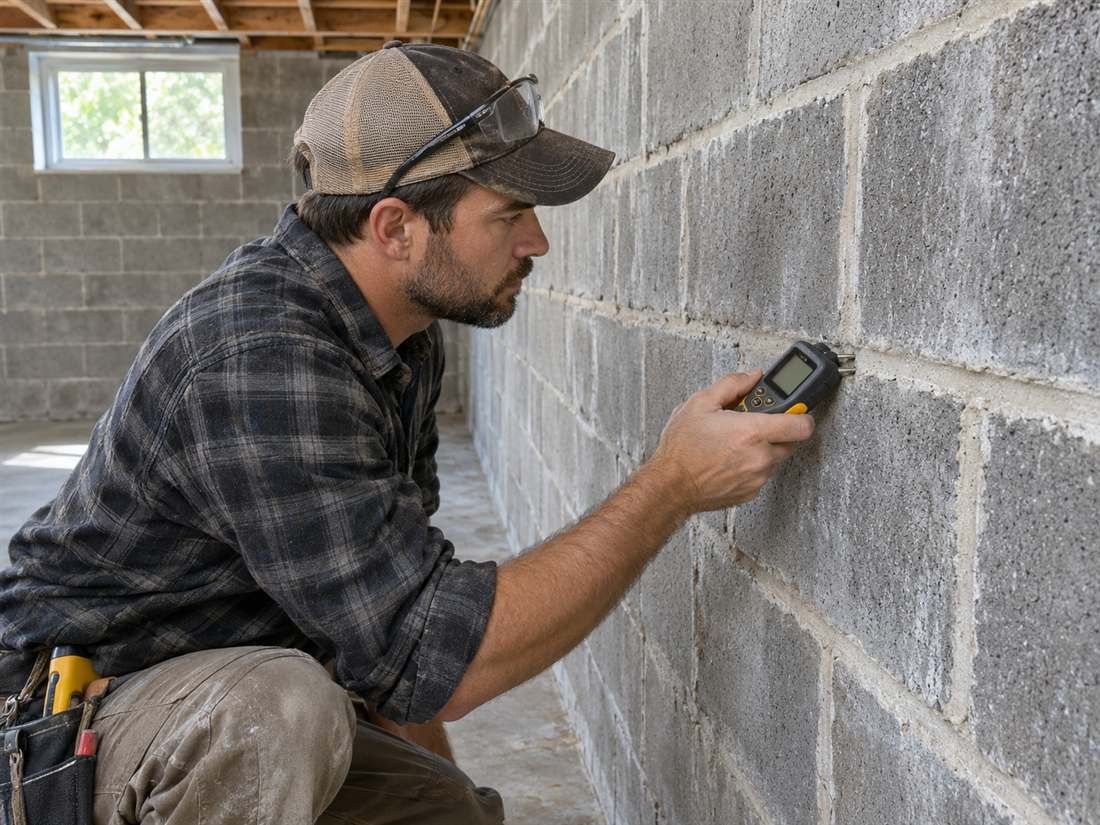
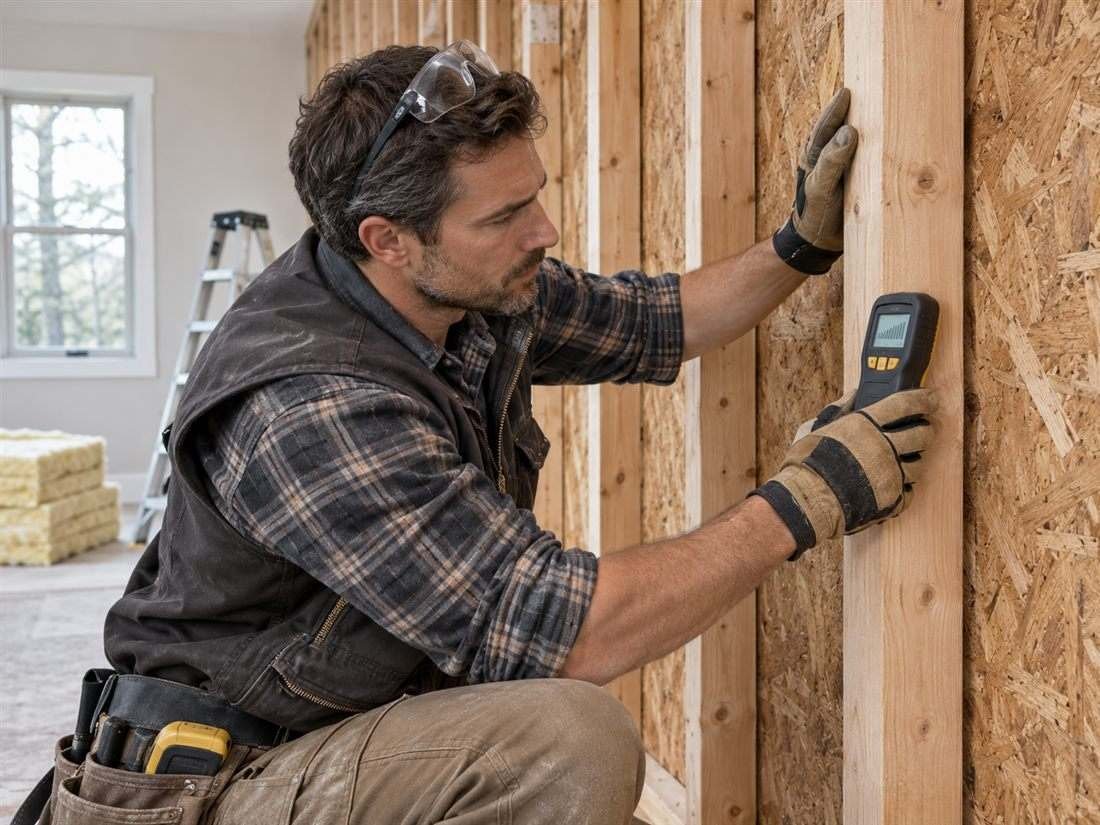
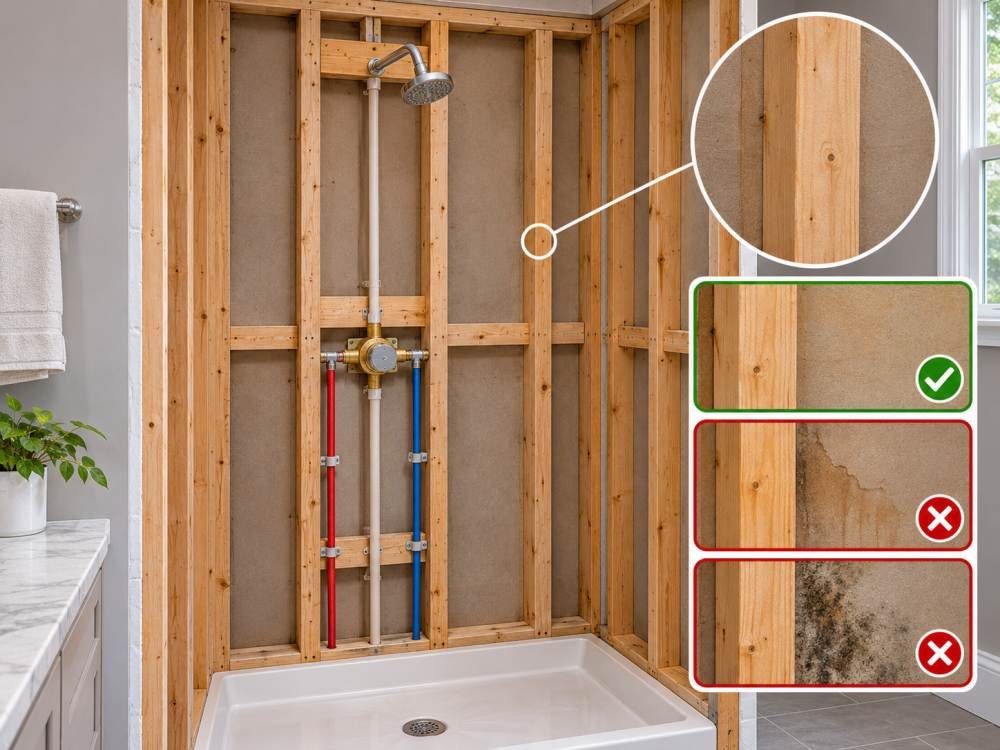
Remove damaged materials and investigate water stains, softened wood, leaks, and musty odors before insulating. Check plumbing connections and the shower base area while the wall is open. Insulation cannot repair leaking pipework or failed flashing. Let damp construction dry and replace deteriorated components as necessary. If the extent of damage is unclear, arrange an inspection before covering it.
Choosing insulation for shower walls
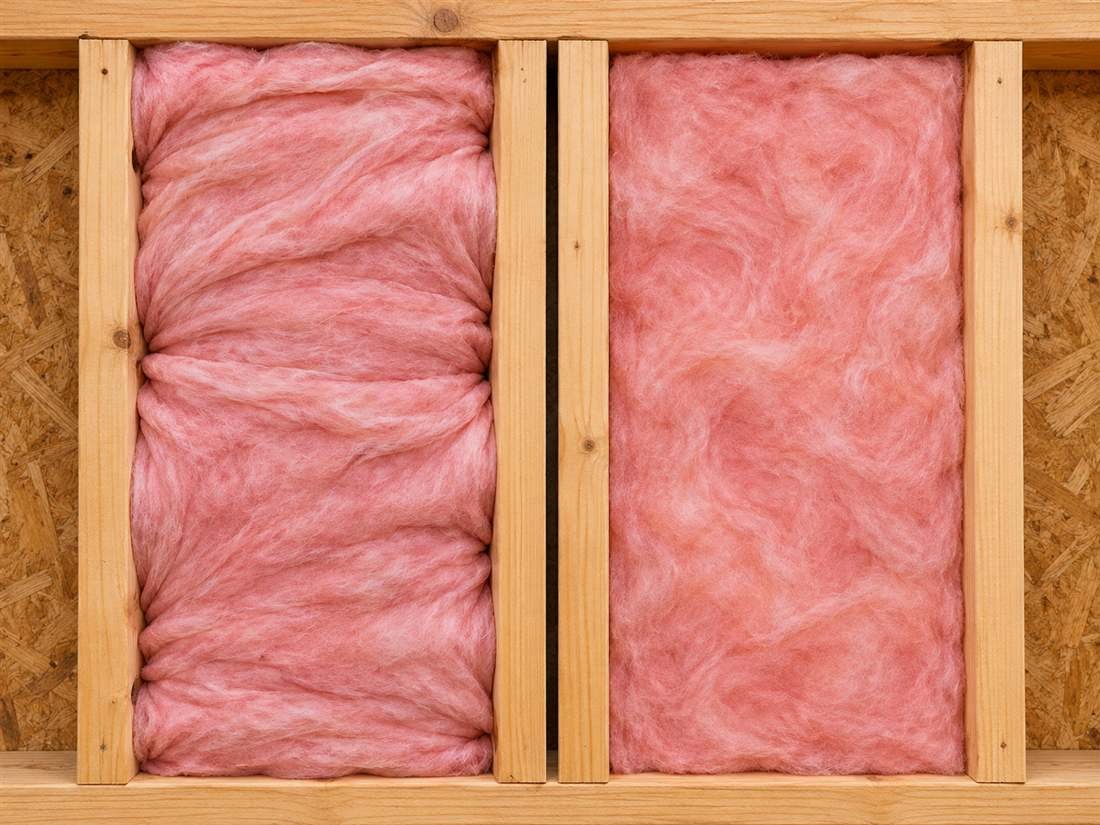
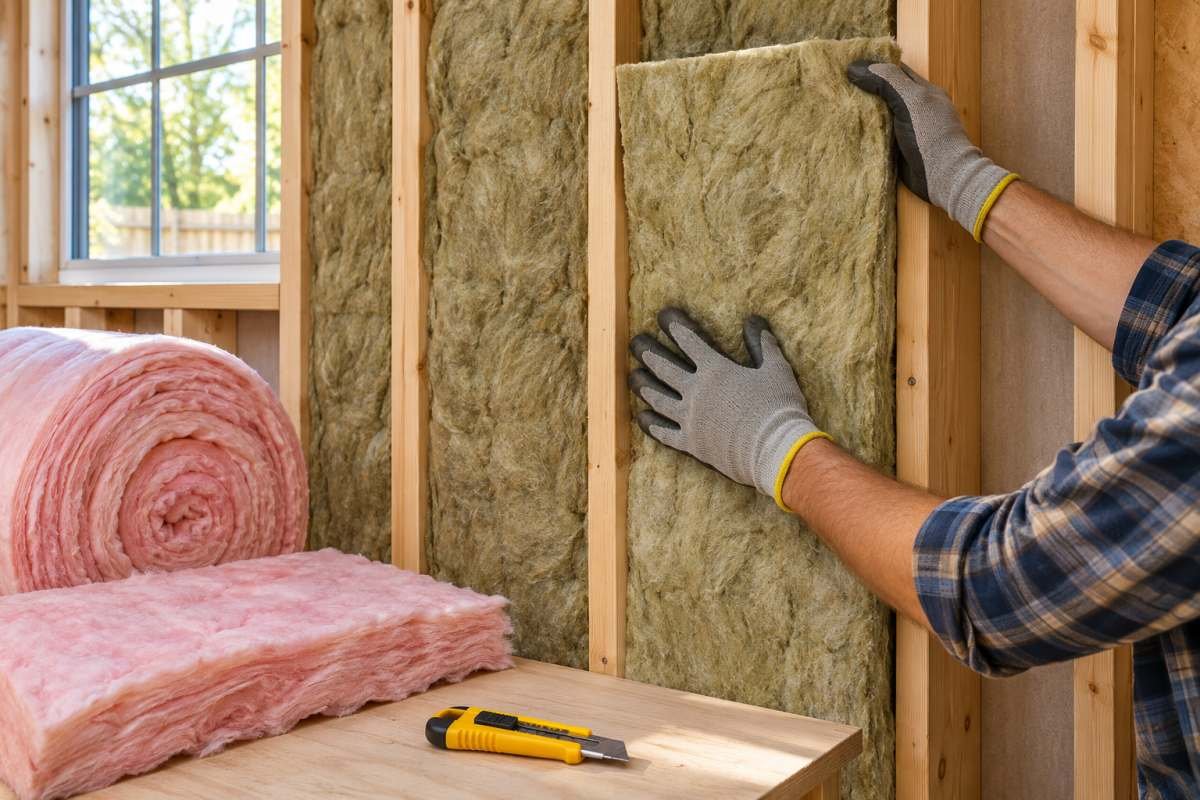
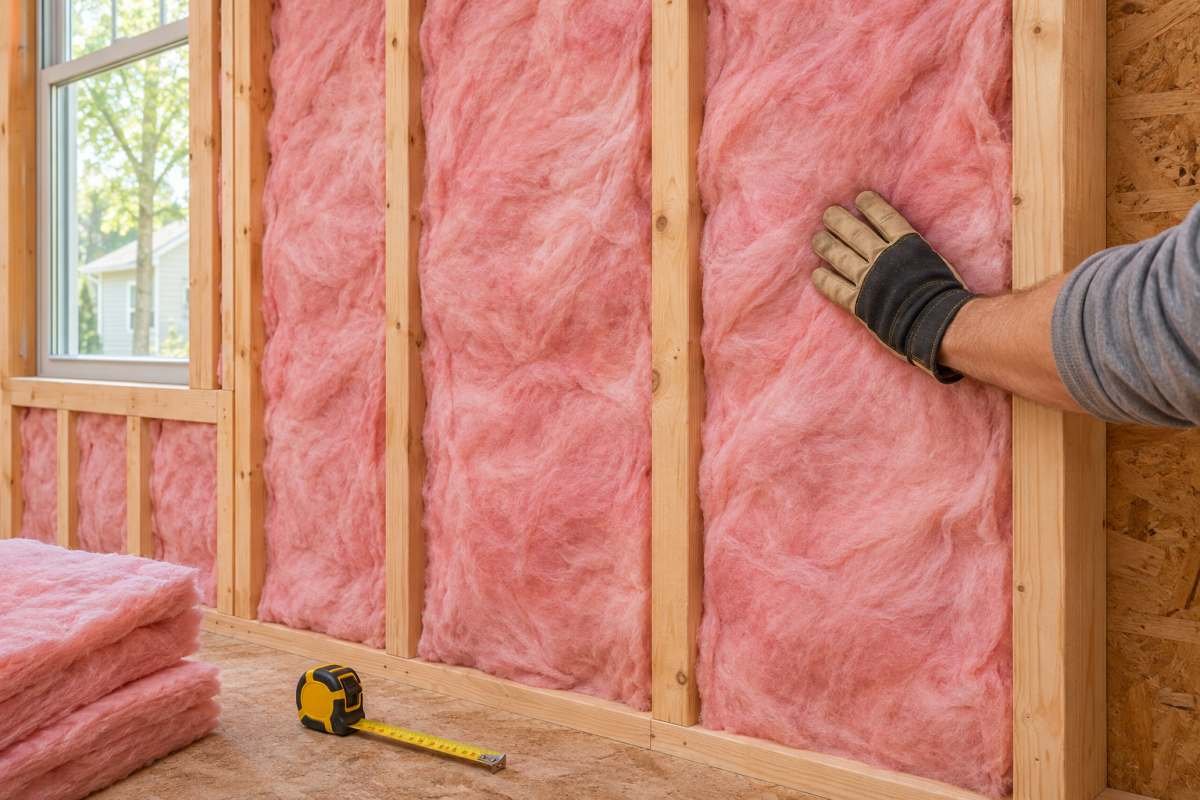
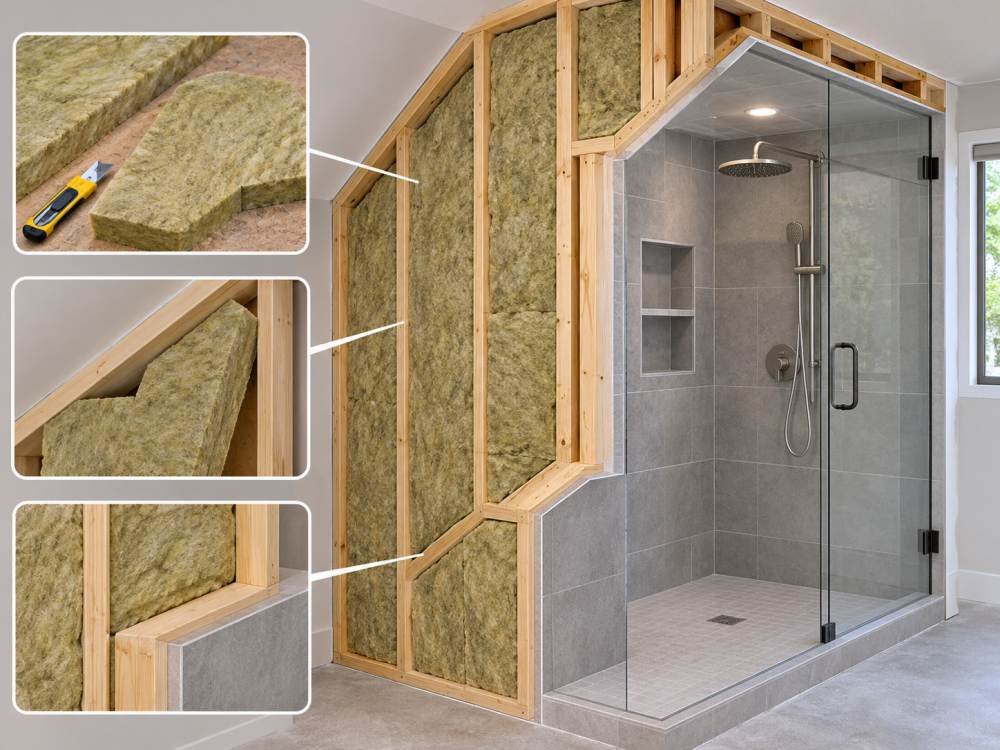
Fiberglass batts can suit standard framed cavities when the product matches their depth and width. Mineral wool batts are another option and can help absorb cavity sound. Neither material makes the shower waterproof. Rigid foam or spray foam may work in a designed exterior-wall assembly, but thickness, vapor behavior, substrate compatibility, and required fire protection need careful review. Do not choose foam solely because it resists water.
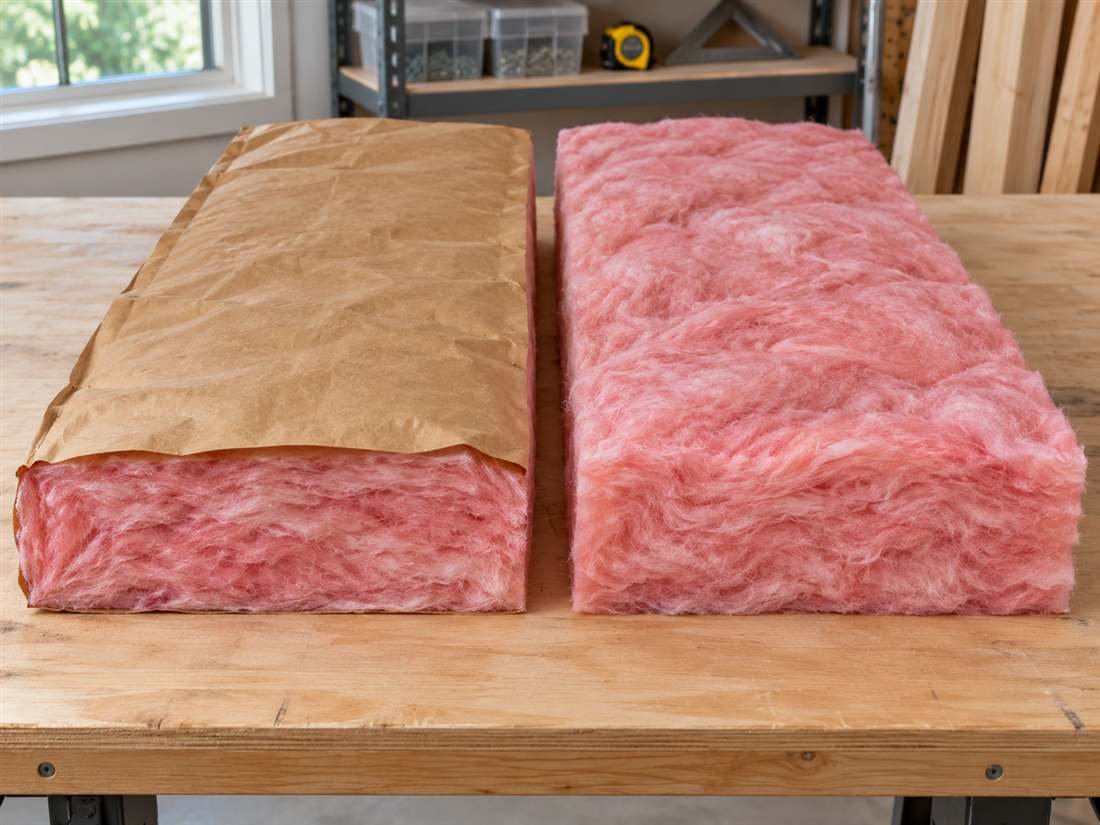
Faced or unfaced batts behind a shower?
Choose the facing as part of the complete vapor-control design. A kraft facer is a vapor retarder, while a shower membrane may also restrict vapor movement. Automatically adding polyethylene, kraft facing, and a low-permeance waterproof board can reduce drying potential. Follow the shower-system instructions and coordinate exterior-wall requirements with the building official or a qualified designer.
Air seal before fitting the insulation
Seal appropriate gaps around wall plates and utility penetrations using compatible materials. Keep required clearances and fireblocking details intact. Air leaks can move moisture into cold parts of the wall, so fitting batts alone does not complete the air-control layer. Plan how that layer connects to adjoining walls, the ceiling, and the floor rather than sealing isolated holes without continuity.
How to insulate shower walls step by step
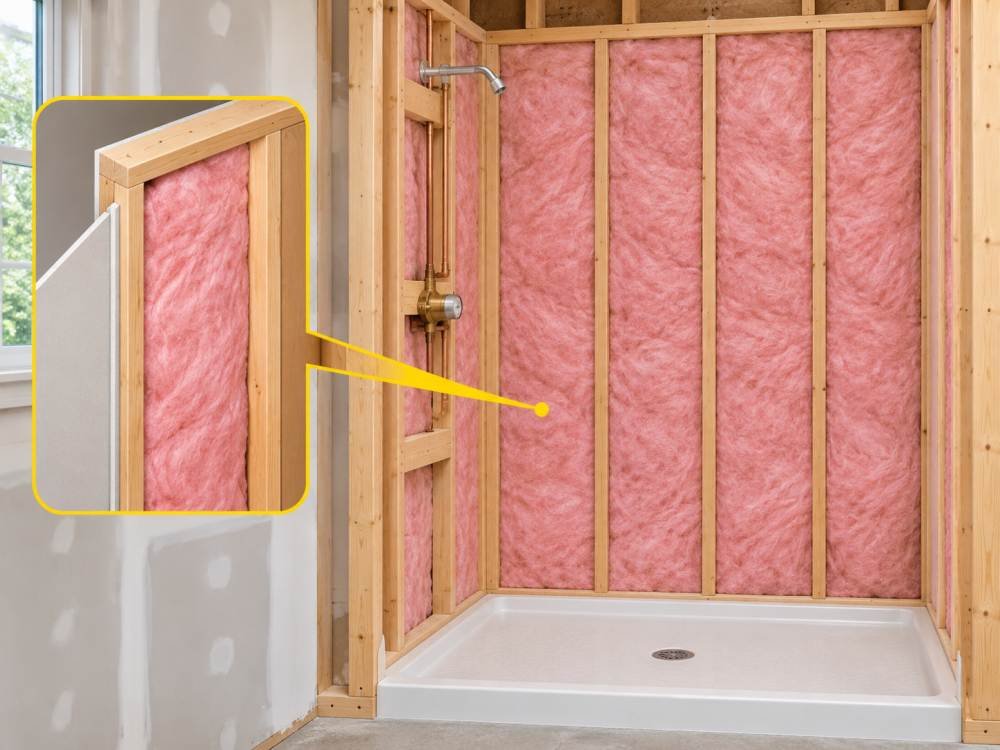
First measure the actual cavity depth and stud spacing. Select insulation rated for that space and the required performance. Cut batts with suitable protective equipment, then fit them evenly without voids or bunching. Split or cut material around wires rather than pressing the whole batt behind them. Fit around pipes and boxes without disturbing services. Inspect every cavity before installing the approved tile substrate.
Keep plumbing and insulation coordinated
In freezing climates, plumbing within exterior walls needs particular care. Do not move a pipe toward the cold side simply to make a batt easier to install. Maintain the design’s thermal protection around the plumbing and ask a qualified plumber about vulnerable layouts. Do not obstruct access to serviceable fittings or use expanding foam around components unless the product and equipment instructions permit it.
Insulation behind shower walls is not waterproofing
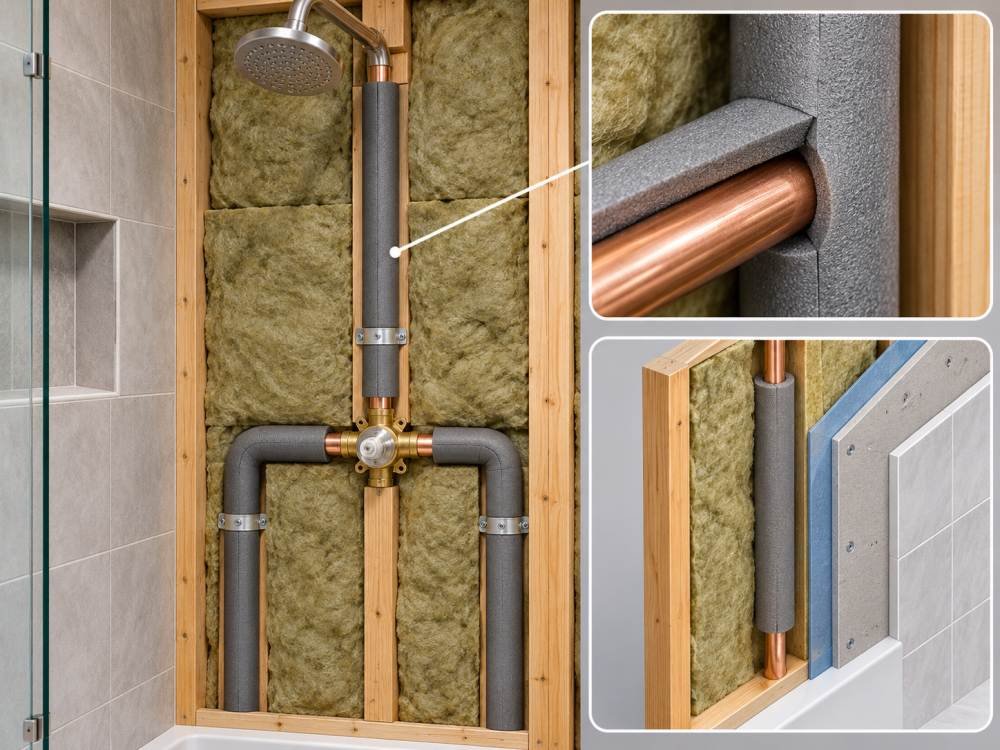
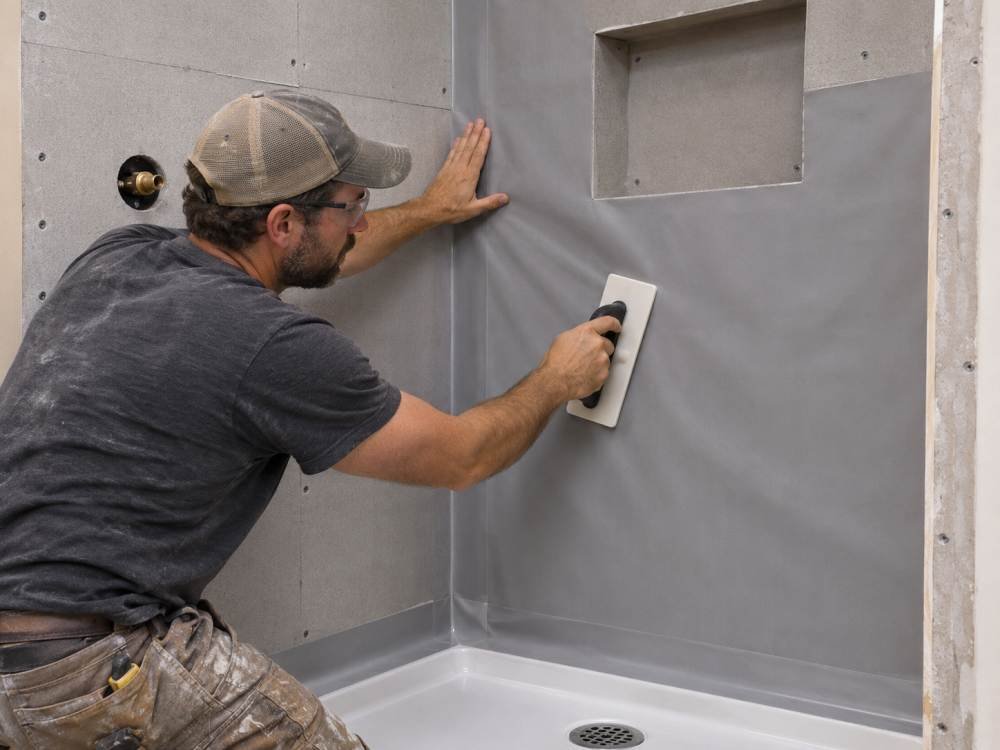
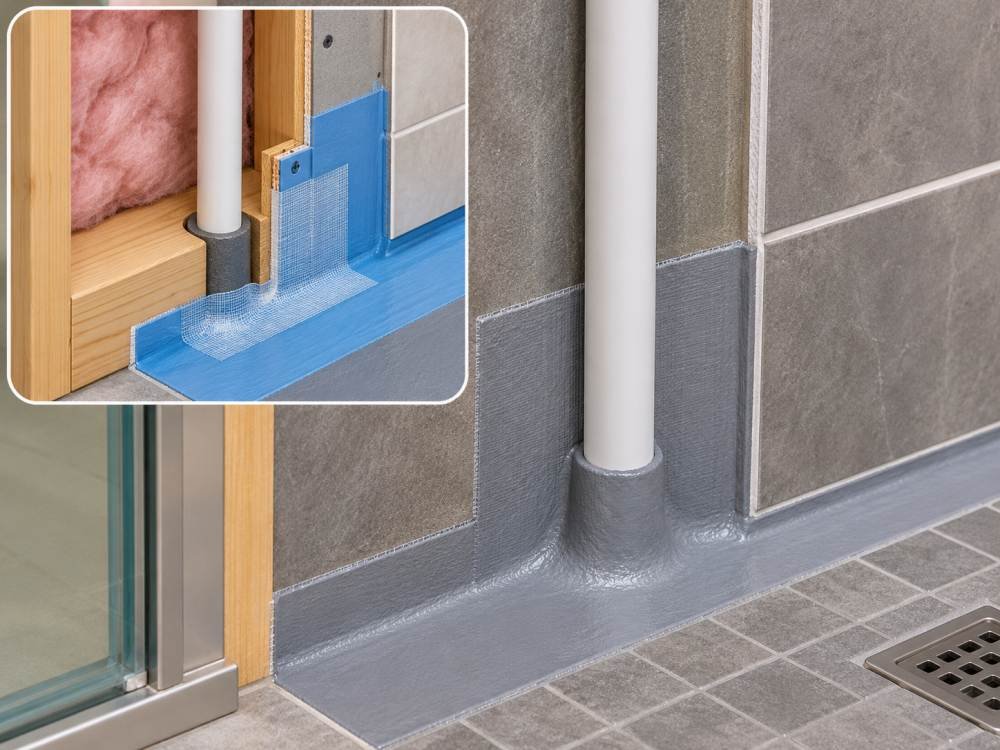
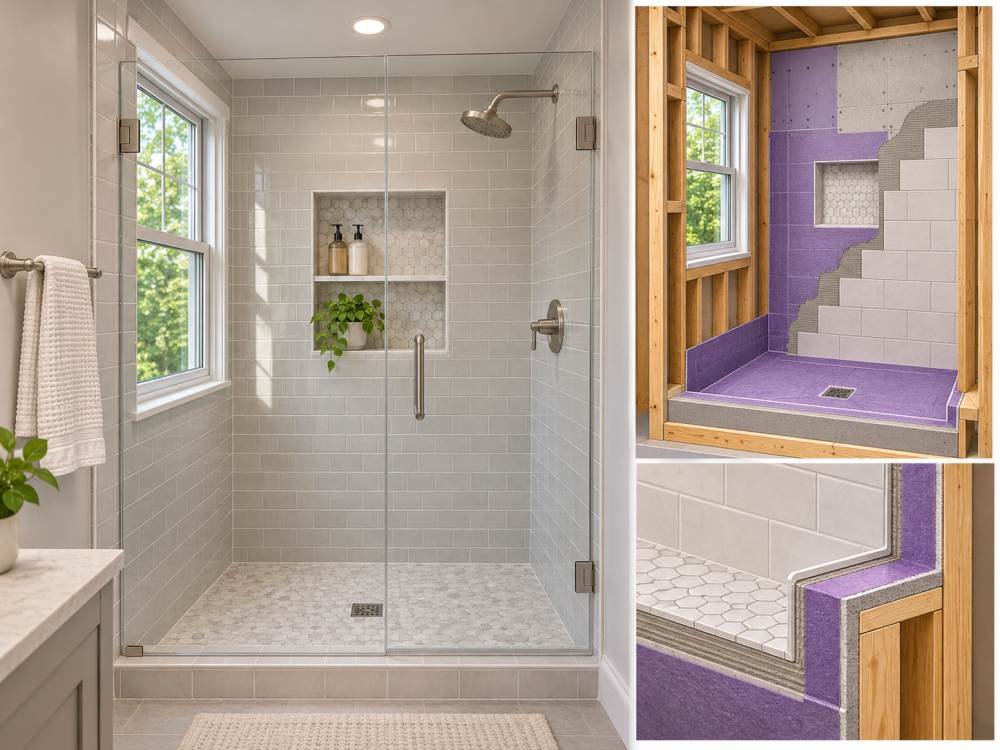
Tile and grout do not form a complete waterproof enclosure. Cement backer board tolerates moisture, but the shower still needs the water-management method required by the selected system. A bonded membrane can protect the wall near the tile surface. Some approved systems use a moisture barrier behind cement board instead. Follow one complete documented method, including the connection to the receptor.
Install the board and waterproofing system
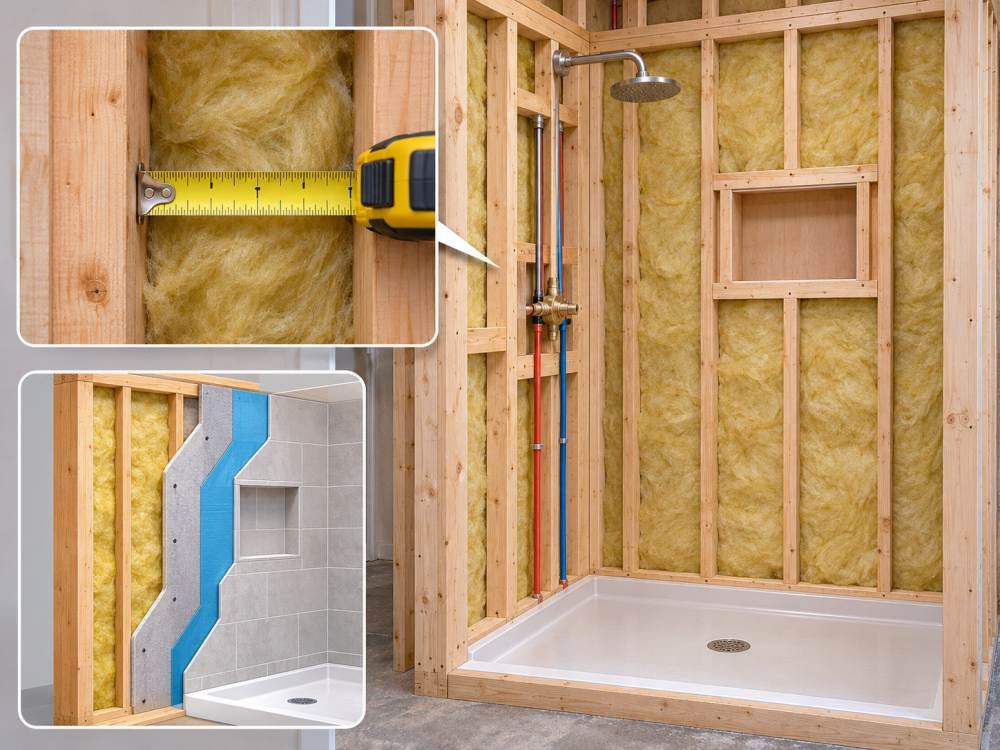
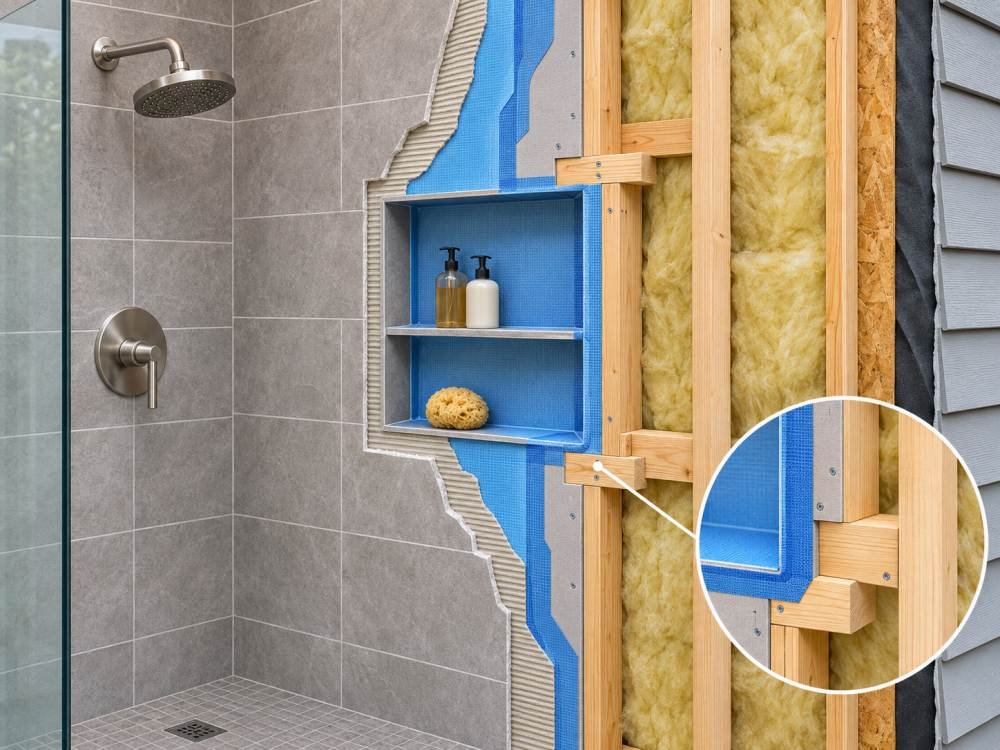
Use the board thickness, stud support, fastener spacing, seam treatment, and compatible mortar or adhesive required by the manufacturer. Seal penetrations and corners using the specified accessories. Detail niches and benches so their waterproofing remains continuous and their horizontal surfaces drain toward the shower. Inspect the wall-to-base transition closely. Follow required curing and testing procedures before tile installation.
Steam showers need a separate specification
A steam enclosure experiences a higher vapor load than an ordinary shower. Check the membrane’s approved use, tested permeance, ceiling details, and the distinction between intermittent residential use and continuous-use steam rooms. Do not assume that a product approved for ordinary showers has the same steam rating. Obtain the current installation handbook for the exact system.
Will insulation soundproof a shower wall?
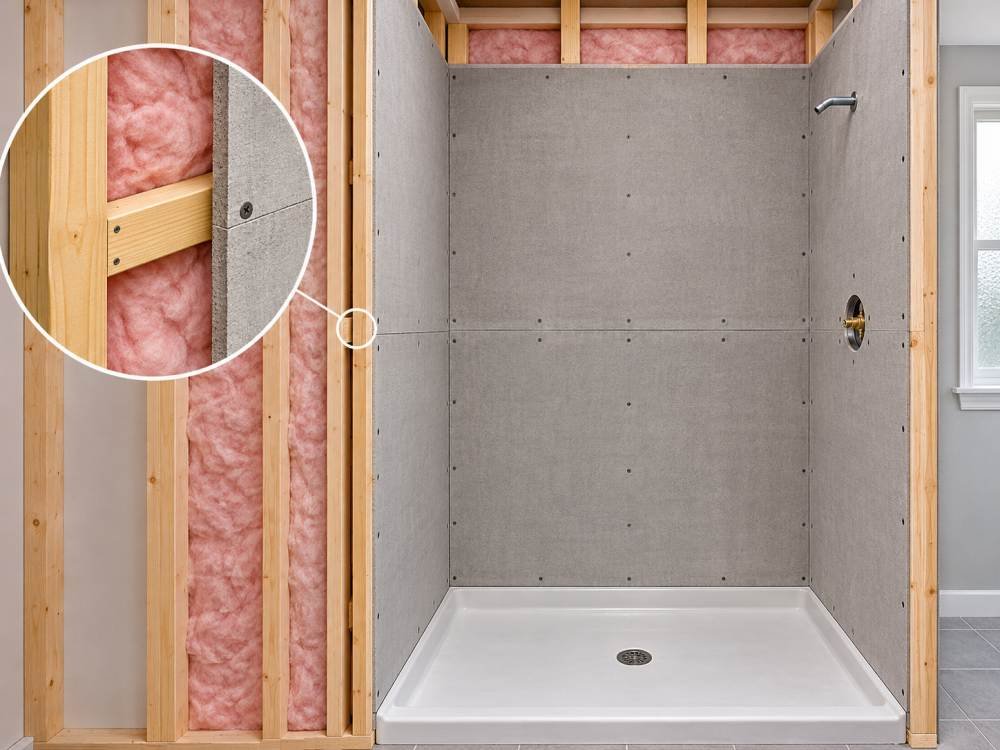
Cavity insulation may reduce sound transfer, but it cannot eliminate noise by itself. Stud connections, pipe vibration, gaps, doors, and adjoining structures provide additional sound paths. For a sound-sensitive bedroom wall, consider the whole partition and plumbing supports. Avoid compressing oversized thermal batts in the hope of creating better acoustic performance.
Mistakes to avoid
Do not cover damp framing, leave gaps at cavity edges, compress deep batts into shallow studs, or treat foam board as automatically waterproof at its joints. Avoid adding vapor-control layers without checking compatibility. Keep insulation out of required clearances and maintain fireblocking. Photograph the inspected framing and waterproofing before finishes hide the details.
FAQs: Can I insulate shower walls myself?
An accessible wall with dry, sound framing may suit a competent DIY installer, but plumbing, electrical work, structural repairs, and unfamiliar waterproofing details may need qualified help. Follow product instructions and arrange inspections where required.
FAQs: What R-value should I use?
There is no universal shower-wall R-value. Exterior-wall requirements depend on location, framing, the adopted code, and the complete assembly. Interior partitions may prioritize acoustic performance instead. Use an approved cavity or assembly specification rather than guessing from the room’s moisture level.
FAQs: What insulation goes in a shower ceiling below an attic?
If the shower ceiling sits below an unconditioned attic and the ceiling is the home’s thermal boundary, insulate at the attic floor above it. Check the ceiling or attic R-value for your location separately from the exterior wall R-value. For example, an R-15 batt selected for a shower wall does not establish the attic target. For existing homes, compare your climate zone and current attic insulation with ENERGY STAR’s attic insulation guidance.
FAQs: Does insulation prevent mold?
Insulation alone does not prevent mold. Repair leaks, maintain continuous waterproofing, control air leakage, and provide suitable bathroom ventilation. The wall also needs a safe drying strategy. Wet materials should not disappear behind a new finish.
Plan the complete wall before tiling
The best insulation for shower walls fits the framing and works with the shower’s water and vapor-control layers. Resolve those decisions while the wall is open. Inspect the insulation, board support, membrane connections, and service penetrations before installing tile. Clear documentation makes later maintenance and repairs easier.
Review the Schluter residential steam-shower guidance and USG cement-board guidance. Return to our complete wall insulation guide to compare wall materials.
Plan the wall layers before buying materials
Write down the proposed layer sequence from outdoors to indoors. Include cladding, sheathing, cavity insulation, any vapor retarder, tile backer, waterproofing, and tile. For an interior partition, record the room on each side and the acoustic goal instead. This plan reveals duplicated layers and missing transitions before installation. If the product instructions do not describe your substrate or layout, ask the manufacturer rather than borrowing a detail from a different system.
Check narrow bays and shower niches
Corners, valve supports, blocking, and niche framing can create narrow spaces that standard batts do not fit. Measure these areas separately and cut suitable pieces rather than stuffing offcuts into them. A deep niche in an exterior wall can reduce the remaining insulation thickness substantially. Consider relocating the niche or obtaining a designed detail before cutting framing. Maintain the approved insulation and air-control continuity at those junctions instead of simply hiding the cold area with backer board.
Document the concealed work
Plan access to components that require servicing. Photograph framing, pipe locations, and completed insulation before installing the board. Then photograph the waterproofing, especially corners, penetrations, and receptor transitions, before tiling. Keep product labels and instructions with those records. This helps a future installer understand the wall instead of drilling into unknown plumbing or adding another vapor-resistant layer during a repair. Documentation also supports discussions about compatibility and warranty requirements.
Handle insulation safely and keep it dry
Follow the insulation manufacturer’s handling instructions, including suitable clothing, gloves, eye protection, and respiratory protection where specified. Cut on a stable surface away from live wiring and plumbing. Do not alter electrical routes without qualified advice. Keep packaging and dust out of the shower drain, and protect the receptor throughout construction. Store boards and batts dry so the wall does not begin with materials that have already collected construction moisture.
An example of coordinating two different walls
Consider a shower against an exterior timber-framed wall beside a heated bedroom. The exterior cavity needs a thermal specification appropriate to the location, while the bedroom partition may use a tested acoustic assembly. The shower waterproofing must connect to the receptor on both walls, but their insulation requirements differ. Choose each boundary’s wall layers, then coordinate the membrane across the enclosure. Inspect the junction to confirm that the thermal layer, substrate support, and water-management system all remain continuous.
Before the final wall inspection
Check the measured cavity dimensions against the chosen insulation label and inspect the fit at every edge. Confirm that plumbing remains supported and that insulation does not interfere with required clearances. Ask the installer to identify the air-control layer and show its transitions. Finally, confirm the backer board and membrane instructions before closing the framing. Resolving those questions now is simpler than removing new tile to investigate a concealed gap.