


How to insulate a cold wall from the inside starts with identifying why the wall feels cold. Cold wall insulation only works safely after you find and fix moisture or air-leakage problems. However, missing insulation, air leaks and thermal bridges can feel similar, yet each needs a different fix. First check the wall and repair water entry; then choose an internal system designed for its construction. Never cover a damp wall with insulation.
For a broader overview of wall types and materials, start with our main wall insulation guide. This page focuses on diagnosing and treating one cold wall safely.
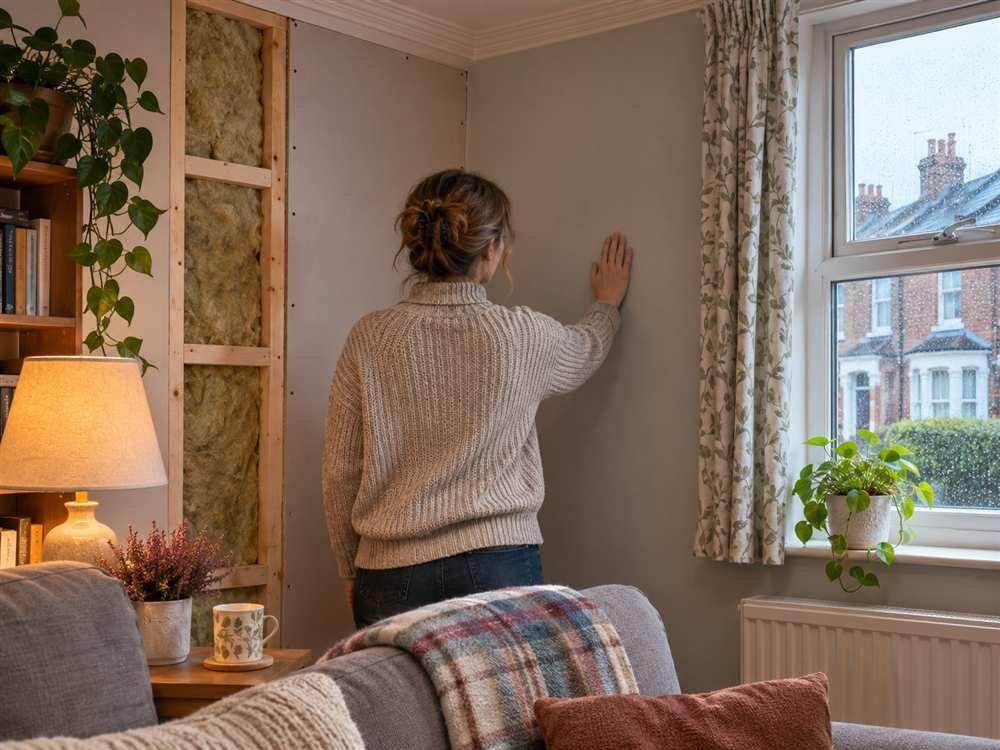
Quick Answer: How to Insulate a Cold Wall from the Inside
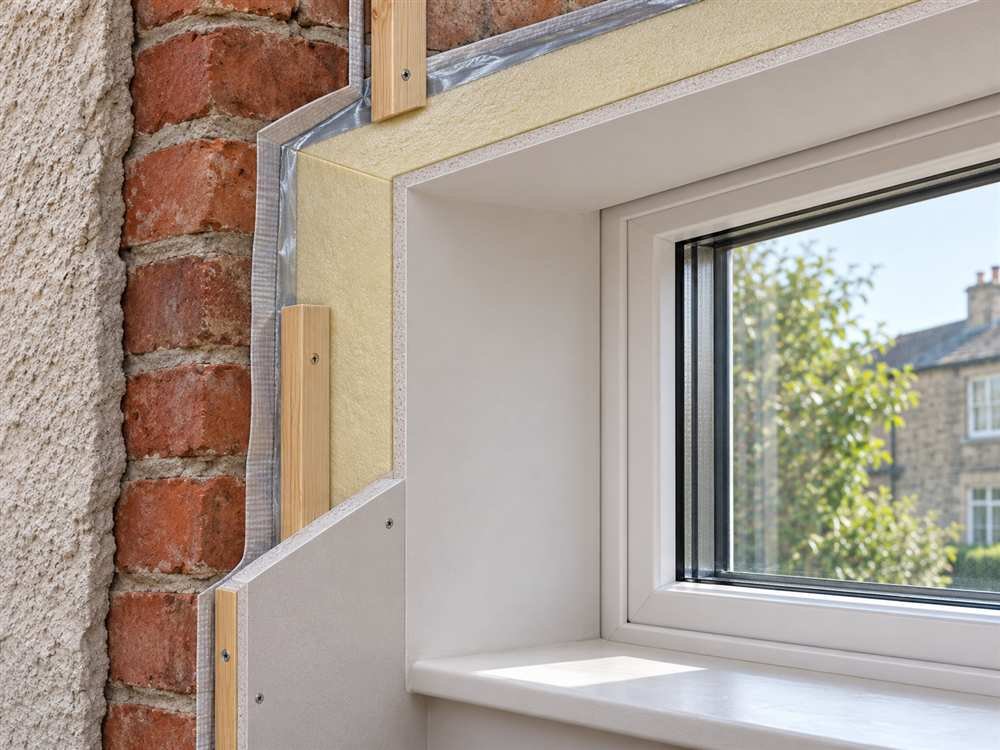
For cold wall insulation to work safely, the system must suit the construction. On a dry, sound wall, an installer can add a designed layer of insulated plasterboard, build an insulated stud lining, or apply a suitable insulating plaster. The right method depends on whether the wall is solid masonry, a cavity wall or a framed wall. Seal compatible air leaks, detail window and floor edges, and plan moisture control for the full assembly. If you find damp, damaged masonry or an older solid wall, fix the source and get a building professional to assess the design before covering it.
- Check for leaks, condensation, mould, draughts and failed insulation first.
- Identify the wall construction; do not assume every cold wall needs a new lining.
- Choose a tested system that matches the wall, climate and local building rules.
- Keep insulation continuous at edges, but maintain required ventilation.
Why Does an Exterior Wall Feel Cold?
A cold wall is a symptom, not a diagnosis. Therefore, touching the wall alone cannot identify the cause. Heat may pass through a poorly insulated wall, but cold air can also enter around windows, pipes or floor edges. A timber stud, concrete column or uninsulated window reveal can form a thermal bridge: a narrow path that loses heat faster than the surrounding surface.
Moreover, moisture adds another complication. A wet wall may feel colder and can lose thermal performance. Indoor humidity may also condense on a cold surface, especially behind furniture or in a room with weak ventilation. Because these causes overlap, touching the wall alone cannot tell you whether insulation is missing.
Check the Wall Before You Add Insulation
Start with a visual inspection on both sides of the wall where possible. Look for staining, peeling paint, mould, cracked render or pointing, damaged gutters and gaps around window frames. Check whether the cold area appears after rain, during cold weather, or when the room is humid. Those clues help separate rain penetration from condensation or heat loss.

In addition, a moisture meter can help locate differences, but readings depend on the material and tool; they do not prove the cause by themselves. If damp returns, spreads, smells musty or affects a large area, arrange a proper survey. Do not dry out a leak by hiding it behind a new wall.
Next, identify the wall type. Building plans, an exposed section at a service opening, or a qualified surveyor can help. Brick patterns and wall thickness offer clues, but later renovations can make them misleading.
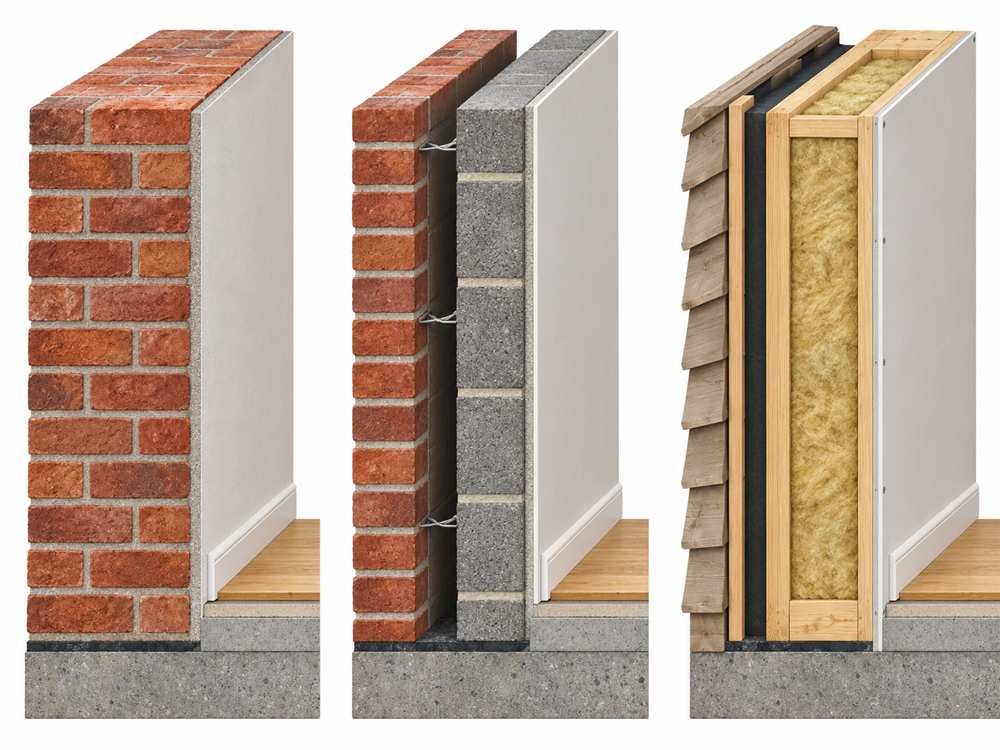
- Solid masonry: brick, stone or concrete with no insulated cavity. Interior insulation changes how the masonry warms and dries.
- Cavity wall: two outer leaves separated by a gap. A cold room may point to missing, damaged or unsuitable cavity insulation; investigate that cavity before adding another layer inside.
- Timber or metal frame: the structure contains bays that may already hold insulation. Check for gaps, compression, wind washing or moisture before topping up.
Cold Wall Insulation: Which Inside Method Fits?
By comparison, weigh each system against wall condition, moisture risk, heat performance and the room space you can give up. Product thickness alone does not predict the result: joints, fixings, window edges and air leakage affect the whole wall.
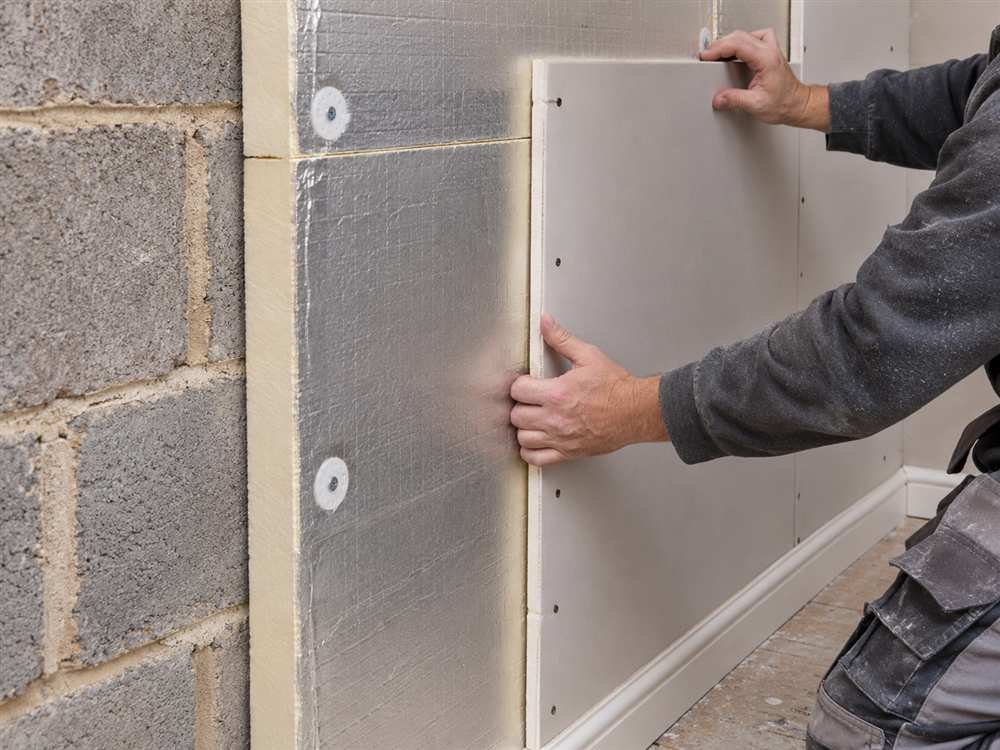
Insulated Plasterboard or Rigid Boards
For a dry, reasonably even surface, a rigid insulation board finished with plasterboard can suit the substrate when the system is designed for it. It can be quicker than building a separate frame, but uneven surfaces and poorly sealed edges can leave voids. Follow the board maker’s fixing method; adhesive dabs or gaps behind boards are not appropriate for every wall.
Insulated Stud or Batten Lining
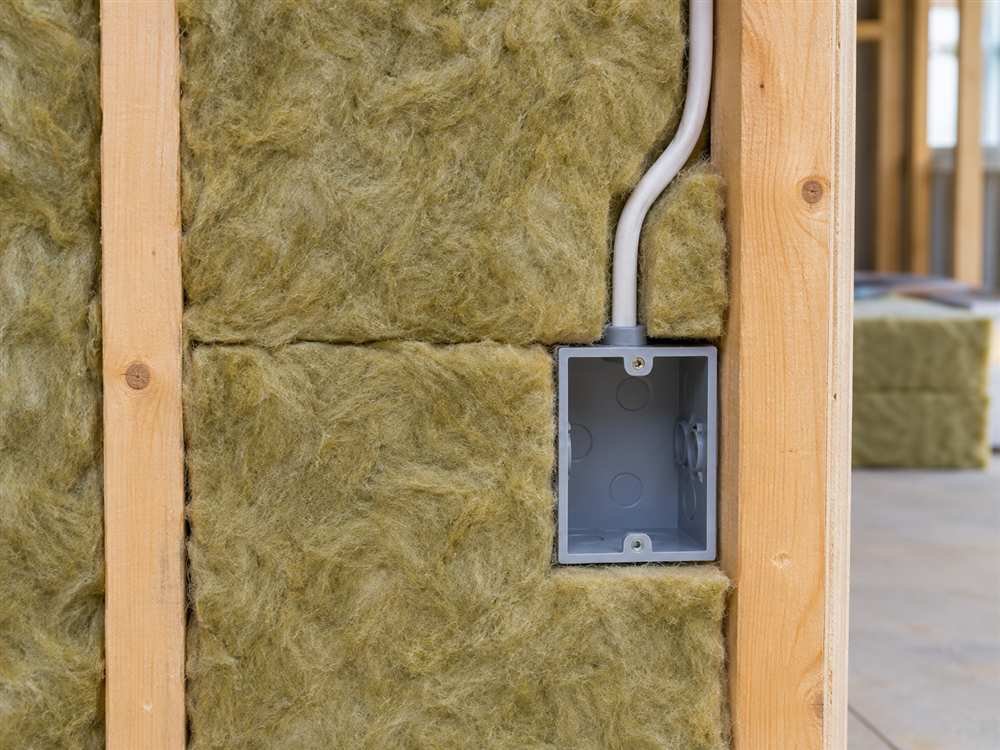
By contrast, a timber or metal frame creates a service space that can take mineral wool or another compatible insulation. It works well when the wall needs levelling or a thicker layer, yet it takes more floor space and creates junctions that need careful design. Fit batts neatly without gaps or compression, and keep cables, junction boxes and heat sources within the clearance rules for the products and local code.

Insulating Plaster or Other Permeable Systems
Meanwhile, some insulating plasters and natural-fibre systems may suit older buildings where the wall needs to dry through compatible finishes. Their performance varies by product and thickness, so do not assume that a thin coating equals a full insulation layer. Ask for system data and a moisture assessment; “breathable” does not mean waterproof or risk-free.
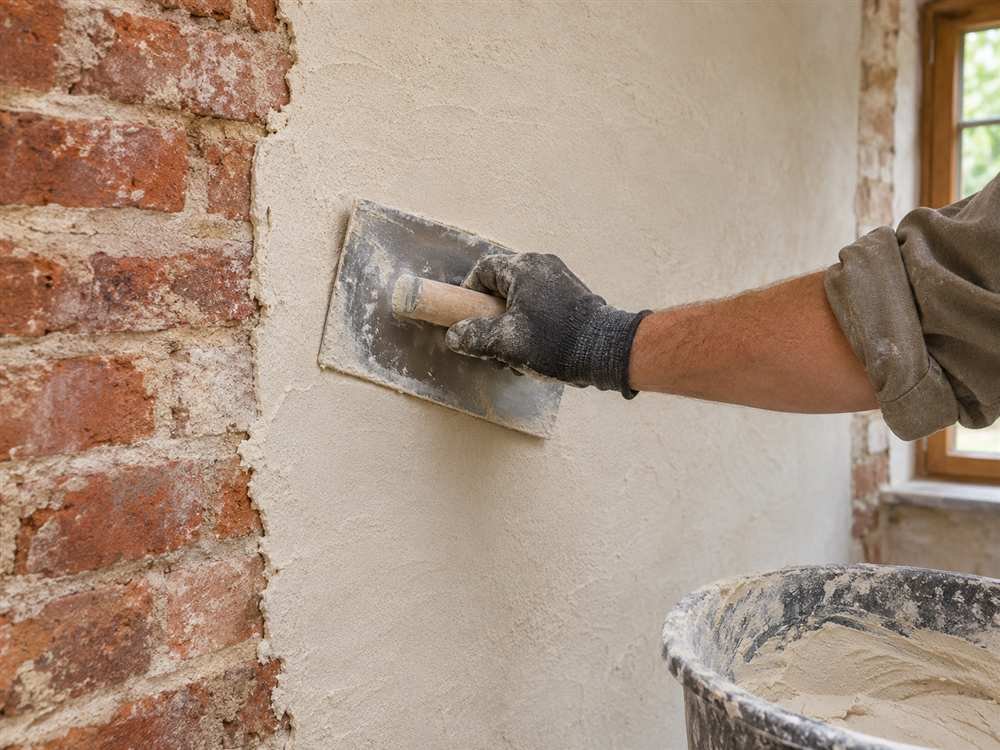
Energy Saving Trust describes boards, insulated stud linings and insulating plaster as internal solid-wall options, while warning that damp repairs and moisture planning come first. Historic England also explains why compatible materials and condensation control matter in traditional buildings. Read its solid wall insulation guidance and internal wall insulation advice before planning a solid-wall retrofit.
A Safe Planning Sequence for Internal Wall Insulation
Before work begins, use the steps below to plan the project. They are not a universal installation specification: follow the chosen system’s instructions, local rules and professional design.
- 1. Fix moisture first. Repair roof, plumbing, gutter, pointing or window leaks. Treat persistent damp and let the materials dry.
- 2. Confirm wall construction. Check for an existing cavity, frame, services, old insulation, fire stops and hidden defects.
- 3. Choose a complete system. Match insulation, air control, vapour control and finish to the wall and climate. Do not add plastic sheeting by default.
- 4. Plan junctions. Resolve how insulation meets windows, ceilings, floors, internal walls and sockets. The design must limit gaps and cold bridges.
- 5. Prepare the room safely. Protect floors, move furniture and isolate electrical circuits before work near outlets. Stop if wiring, asbestos or structural damage is uncertain.
- 6. Fit and check. Keep insulation continuous and snug without crushing it. Photograph concealed work before closing the lining.
- 7. Finish and ventilate. Use compatible boards, plaster, paint and seals. Keep vents clear and run extract fans where the room needs them.
Moisture, Vapour Barriers and Ventilation
However, do not install the same vapour barrier in every home. The correct vapour-control layer depends on the wall layers, indoor humidity, outdoor climate and the system design. A poorly placed impermeable layer can slow drying and trap moisture. Conversely, an air leak behind insulation can carry warm, humid indoor air to a cold surface, where it may condense.
Maintain a continuous air-control layer where the design calls for one, and seal its joints and service penetrations with compatible materials. Keep trickle vents, air bricks and other intentional ventilation open. Insulation can reduce air leakage, so check that bathrooms and kitchens still remove moisture effectively.

Common Mistakes to Avoid
- Covering damp, mouldy or rain-damaged walls instead of fixing the source.
- Adding an internal layer before checking whether a cavity wall already needs repair.
- Using an arbitrary vapour barrier, or assuming a permeable product removes all moisture risk.
- Leaving gaps at window reveals, skirting boards, corners or ceiling lines.
- Compressing insulation, blocking vents, or burying electrical boxes and services.
- Treating thermal paint or lining paper as equivalent to a properly designed wall system.
As a result, internal insulation can reduce room dimensions, require sockets or radiators to move, and affect skirting, door frames and fitted furniture. On older or listed buildings, get advice before removing historic plaster or changing a significant interior. Historic England’s guidance notes that the wall’s drying ability, thermal bridges and finish all need attention.
DIY or Hire a Specialist?
In a simple case, a confident DIYer may handle a small project on a dry, straightforward framed wall using a clear manufacturer system and safe access to services. Solid masonry, recurring damp, a listed building, complex junctions, spray foam, structural cracks or uncertain wiring call for a qualified retrofit professional. Ask for a written scope that names the wall type, system layers, moisture strategy, ventilation plan, junction details and quality checks.
For a more detailed installation overview, see our guide to insulating exterior walls from the inside. It covers framed-wall choices and why solid masonry needs extra care.
Frequently Asked Questions
Can I insulate a cold wall myself?
Sometimes. A dry, simple framed wall may suit a careful DIY project. First confirm what is behind the finish and follow a complete system specification. Get professional advice for solid masonry, active damp, older buildings or complicated services.
Can cold wall insulation stop condensation?
It may raise the internal surface temperature and reduce surface condensation, but only when the system suits the wall and the room has adequate ventilation. It will not repair a leak or resolve high indoor humidity on its own.
Should I use thermal paint or lining paper?
These products may make a small comfort difference or serve as a temporary decorating layer, but they do not replace a properly designed insulation system. Check independent performance data before paying extra for a product’s heat-saving claims.
Is a vapour barrier always needed behind internal insulation?
No single rule suits every wall. The system designer should specify the air and vapour-control layers for the climate and materials. An incorrectly placed barrier can trap moisture, so do not add one automatically.
Conclusion: Diagnose the Cold Wall Before You Insulate
Finally, to insulate a cold wall from the inside, first rule out damp, draughts and failed cavity insulation. Then identify the construction and choose a compatible system with continuous detailing and a clear drying strategy. In short, cold wall insulation works best when the system matches the whole assembly and controls moisture. Simple framed walls may allow DIY work; solid masonry and older buildings deserve specialist assessment. For the wider context, revisit our main wall insulation guide.