

How to install insulation in exterior walls from inside depends on the wall’s construction, climate, and exposure to rain. A well-planned exterior wall insulation system may improve comfort, but the existing wall must still manage moisture. A framed wall may accept cavity insulation during a renovation. A solid brick or stone wall needs more careful planning because interior insulation can leave masonry colder and wetter. Start with an inspection, then choose a wall-specific method.
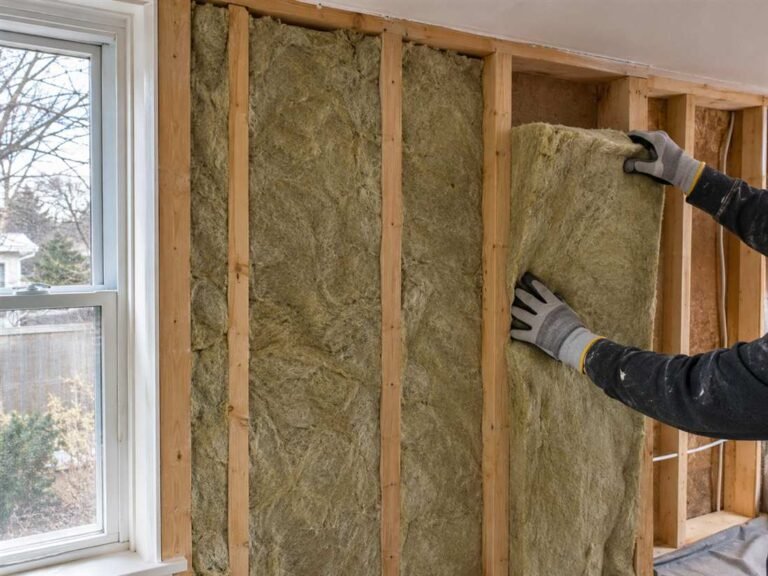
Quick Answer: How to Install Insulation in Exterior Walls From Inside
For a dry, open framed wall, first fix leaks and locate wiring, plumbing, and fire blocking. Then air-seal suitable gaps, fit insulation evenly without voids or compression, and install the required air and vapor-control layers for your climate and wall design. Check the assembly before closing it. If the wall is solid masonry, has moisture damage, or you cannot identify its layers, have a building professional design the retrofit.
For a wider overview of materials and wall types, see our main wall insulation guide. This article focuses on insulating exterior walls internally and explains when the inside approach needs extra care.
Exterior Wall Insulation From Inside: What It Means
Insulating walls from inside means adding material to the room-facing side of an outside wall. Depending on the building, the installer may fill a framed cavity, add a new insulated service wall, or attach a designed rigid layer to the inside face. Each option changes the temperature and moisture behavior of the existing wall, so the wall assembly matters as much as the insulation product.
This is different from insulating an internal partition between two heated rooms. Here, the exterior wall separates conditioned space from outdoor air, wind, and rain. The right exterior wall insulation approach must control heat and air while keeping rainwater out and allowing the assembly to dry. The U.S. Department of Energy’s home insulation guide recommends considering air sealing, moisture, and the full building assembly when planning an upgrade.

Inspect the Wall Before You Start
Begin outside as well as inside. Look for roof or plumbing leaks, damaged siding, loose flashing, cracked mortar, clogged gutters, failed caulk, and water stains. Fix rain and plumbing problems first. Insulation does not stop water entering from outdoors, and covering damp materials can hide damage.
Next, identify whether the wall uses wood or metal studs, masonry, an existing cavity, or several layers. Building plans, an accessible unfinished area, or a small professional inspection can help. Note the cavity depth, old insulation, wires, pipes, outlets, fire stops, and vents. If the building is older, get qualified advice before disturbing finishes that may contain lead paint or asbestos.
The Main Risk: Moisture in Solid Masonry Walls
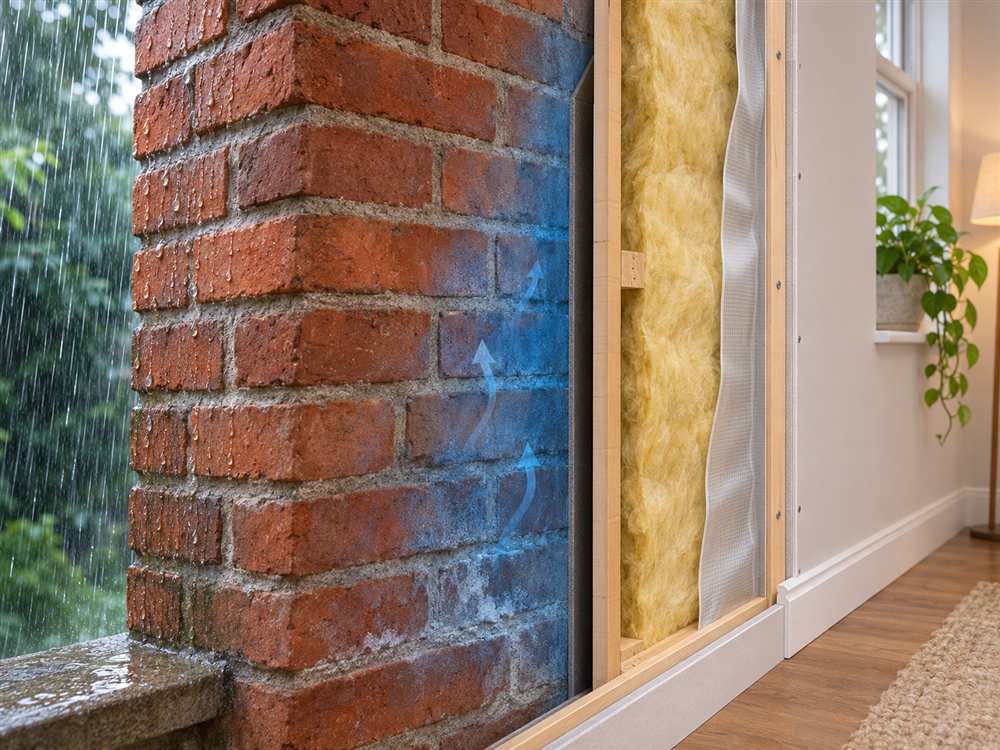
Adding interior insulation to solid brick, stone, or concrete can create a serious moisture risk. The room-side insulation reduces heat reaching the masonry, so the masonry may stay colder. Rainwater or humid air can then dry more slowly, which can raise the risk of condensation, mold, freeze damage, or decay in connected materials.

The Department of Energy’s Building America guidance warns against placing fiber insulation directly against masonry and explains the moisture risks of insulating masonry from inside. Do not treat a solid masonry wall like an empty stud bay. A professional should assess rain exposure, brick condition, indoor humidity, climate, and drying paths before selecting a system. Exterior insulation may be safer for some walls, although appearance, property rules, and cost can affect that option.
How to Choose Exterior Wall Insulation for Framed Walls
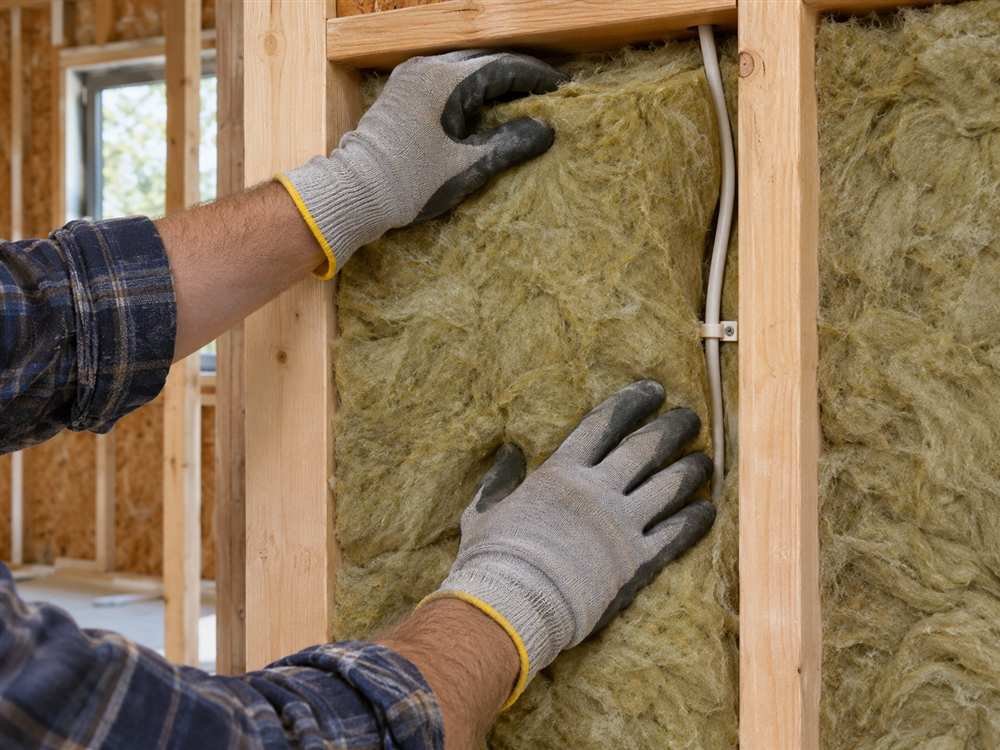
For a standard framed wall with accessible, dry cavities, fiberglass or mineral wool batts can work when they match the stud depth and spacing. Cut each batt around services so it fills the space without being squeezed. Gaps, folds, and compression reduce the intended coverage. Wear the protection listed on the product label and keep insulation away from heat sources where the instructions require clearance.
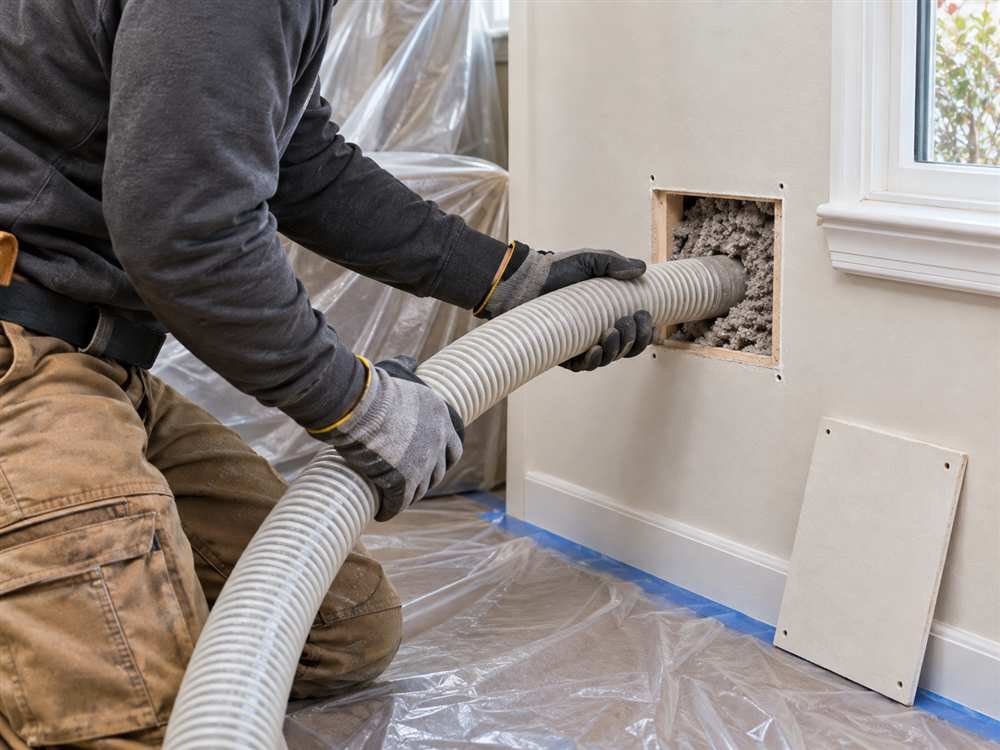
Dense-pack cellulose may suit an existing framed wall when a trained installer maps the cavities and fills them to the product’s specified density. Ask how the crew will locate blocking and services, confirm coverage, and patch the access holes. Blown-in work can reduce drywall removal, but it does not suit every wall.
A continuous rigid layer on the inside face can reduce heat flow through framing, but it changes the position of electrical services, trim, and finishes. It also needs carefully detailed joints and edges. Spray foam can seal some air pathways, yet it requires trained handling and can make future repairs harder. Check the product instructions, fire protection, ventilation, and compatibility before choosing either approach.
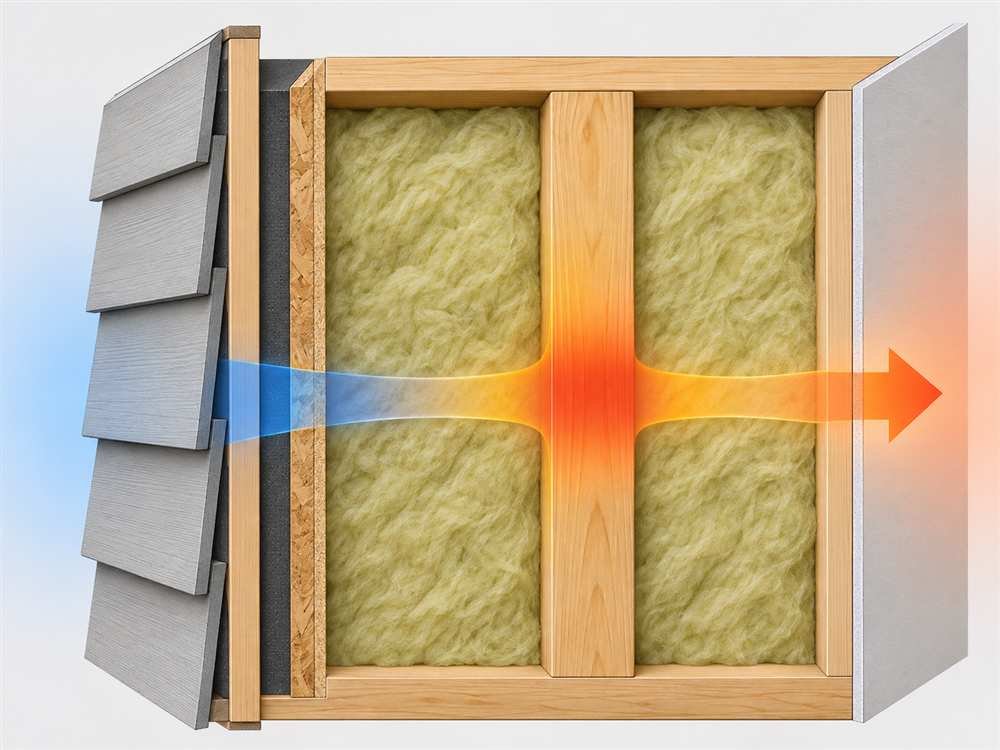
Step-by-Step: Insulating a Dry, Open Framed Wall
These steps describe a planning sequence for a typical framed wall with the interior finish removed. Follow local building code and product instructions. If you find wet framing, masonry, unusual layers, or uncertain wiring, stop and get professional advice.
- Set a clear goal: reduce heat loss, improve room comfort, or address a draft.
- Inspect the inside and outside faces; repair water entry and let the wall dry.
- Identify the framing, cavity depth, existing insulation, wiring, plumbing, fire stops, and vents.
- Air-seal appropriate gaps at plates, corners, and openings with materials approved for the wall.
- Choose insulation that fits the cavity and the climate-specific wall design.
- Install batts or other material evenly; do not leave voids, compress it, or cover junction boxes.
- Add the required air barrier and vapor-control layer in the correct location for the assembly.
- Check the entire wall, take photos, and confirm fire and moisture details before replacing drywall.
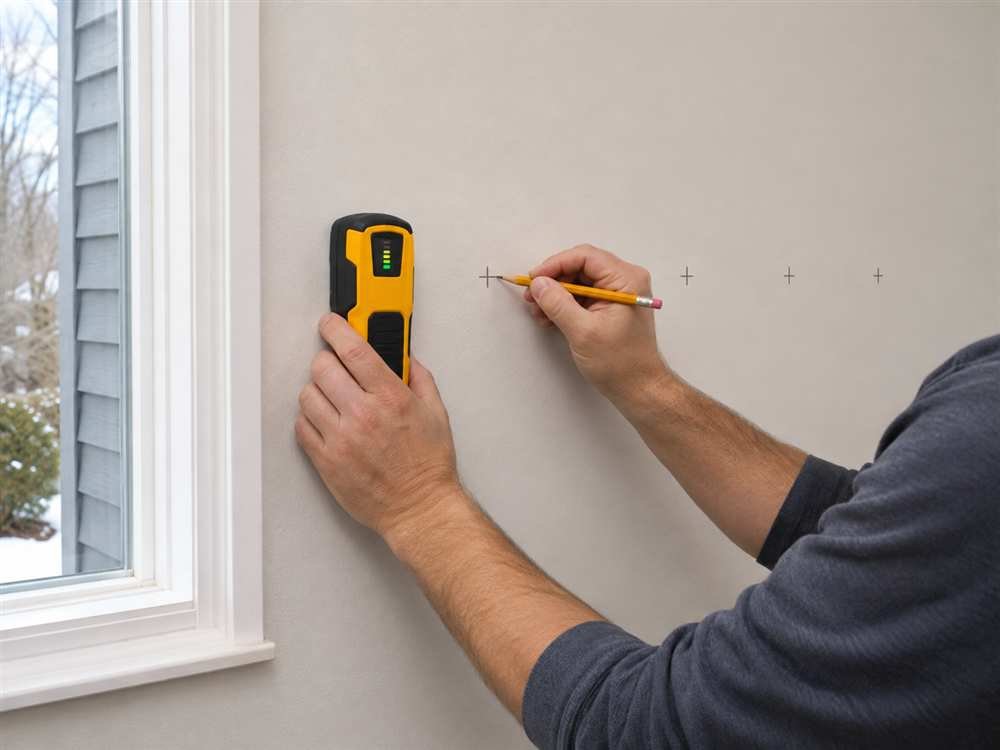
Air Sealing and Vapor Control Need a Wall-Specific Plan
Air leaks can carry heat and moisture through gaps around windows, wiring, pipes, floor edges, and the top of the wall. Seal only suitable openings with compatible products, and keep required ventilation and service access clear. Most insulation does not act as an air barrier on its own. The Department of Energy explains this difference in its air-sealing guidance.
Do not automatically add plastic sheeting or a vapor barrier to every wall. The right vapor-control strategy depends on climate, existing materials, indoor humidity, and the wall’s ability to dry. A badly placed low-permeance layer can trap moisture. Ask a building professional to check the assembly if you are unsure where the control layer belongs.

Finishing the Wall and Checking Your Work
Before drywall goes back, check that insulation fills the intended bays without being crushed. Verify that air-sealing details connect at corners and edges, and make sure electrical boxes remain accessible. Confirm any required fire stops, fire-rated layers, and clearances. Photograph each wall section so you have a record of hidden services and insulation placement.
After finishing, look for persistent drafts, new damp marks, musty odors, or condensation during cold weather. The EPA’s moisture and mold guide advises fixing the water source and drying damp materials promptly. If moisture appears, investigate the cause instead of covering it with another layer.
Cost and When to Hire a Professional
Exterior wall insulation costs depend on wall area, access, demolition, electrical work, insulation type, air sealing, vapor-control details, drywall, and paint. Ask for an itemized quote that names the product, coverage checks, repairs, and finish work. Our wall insulation installation guide gives a broader view of installation choices. For an example focused on rooms, see our bedroom wall insulation guide.
Hire a qualified insulation or building-envelope professional for masonry walls, moisture damage, closed-wall retrofits, spray foam, complex wiring, or work that changes a fire-rated assembly. Ask what the installer has inspected, how they will prevent voids, how the wall can dry, and which code requirements apply. A careful assessment can prevent a costly retrofit from creating a hidden moisture problem.
Frequently Asked Questions
Can I insulate an exterior wall from inside without removing drywall?
Sometimes. A qualified installer may fill an appropriate framed cavity through planned access holes. They need to map obstructions, services, and fire stops and verify that the wall is dry. This approach does not suit every wall, especially solid masonry or a wall with unknown moisture problems.
Is it safe to put fiberglass against a brick wall?
Do not place fiberglass directly against solid brick without a designed assembly. Masonry can absorb rain and dry inward; interior insulation can make it colder and slow drying. A building professional should assess the wall and choose a moisture-safe approach.
Do I need a vapor barrier behind interior insulation?
Not always. Vapor control depends on climate, wall layers, and local code. A barrier in the wrong position can trap moisture, so confirm the design before installing plastic or another low-permeance layer.
Conclusion: Design the Wall Before Adding Insulation
Installing insulation in an exterior wall from inside can improve comfort when the wall is dry, the material fits, and the air, vapor, rain, and fire details work together. Framed cavities may allow a straightforward upgrade; masonry needs careful moisture planning. Inspect first, choose a method for the actual wall, and get professional help when the construction or drying path is uncertain.