

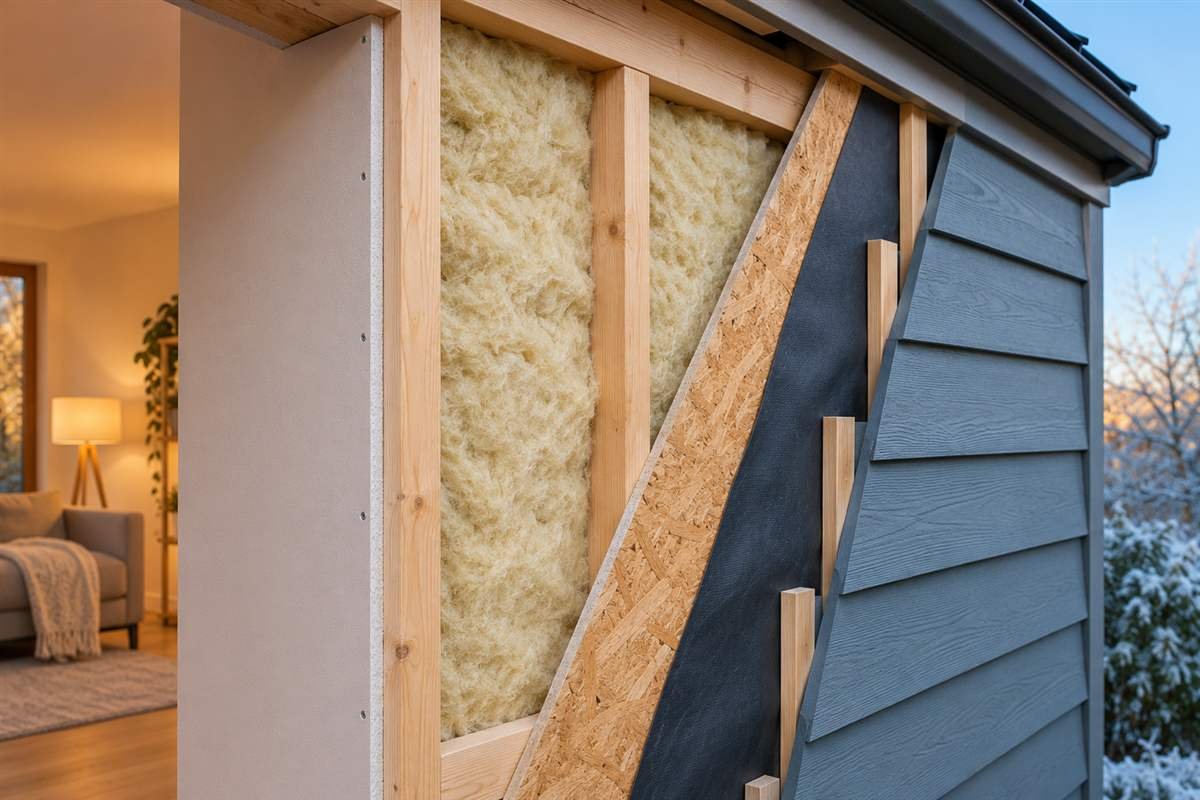
Wall insulation installation means placing suitable material in or around a home’s exterior walls to slow heat flow. The right method depends on the wall construction, existing condition, climate, and renovation plan. A well-planned job also handles air leaks and moisture; insulation alone cannot fix drafts, leaks, or damaged materials. This guide compares common methods and explains what homeowners should check before work begins.
What Wall Insulation Installation Includes
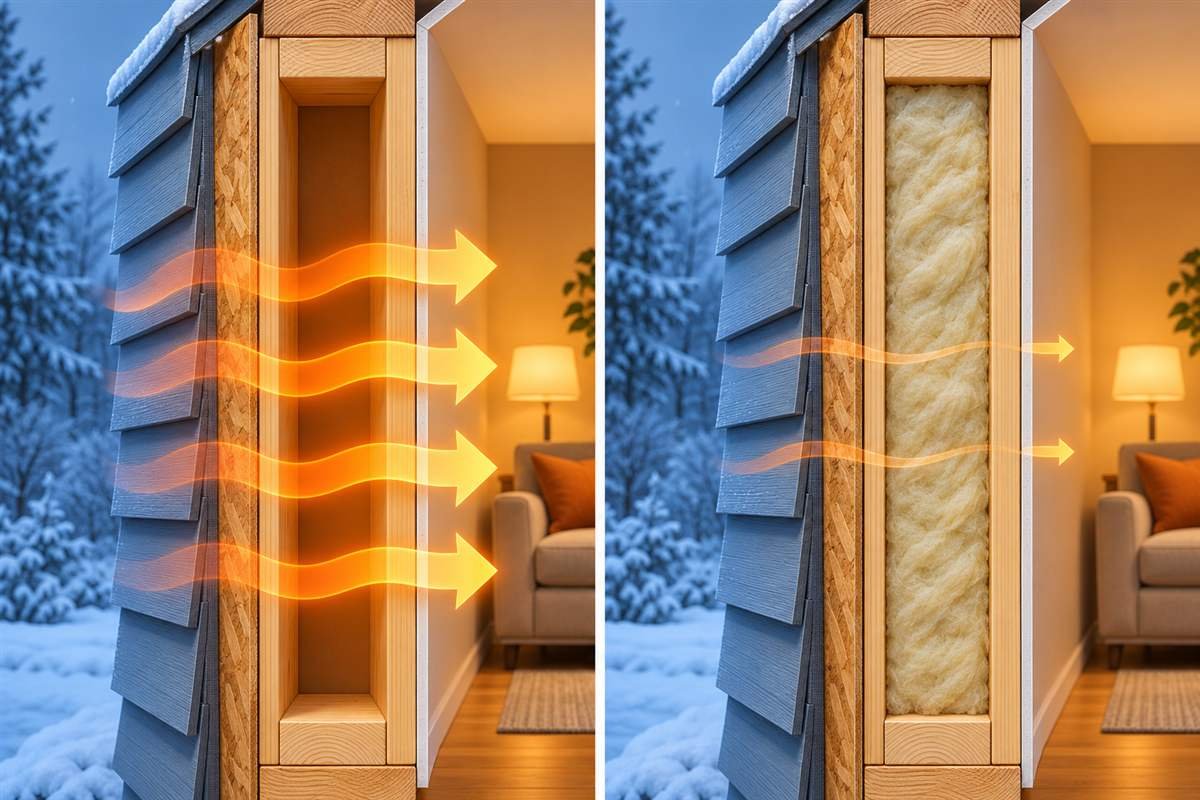
Insulation slows heat through materials. Installers can fit batts in open stud bays, blow fill into suitable closed cavities, or add a continuous exterior layer. The method must work with framing, wiring, pipes, windows, siding, and the home’s air and water-control layers.
R-value measures thermal resistance at a stated thickness. A higher value does not guarantee equivalent whole-wall performance: framing can conduct heat around cavity insulation, while gaps or compression lower results. Compare the complete assembly and installation quality, not just the package label.
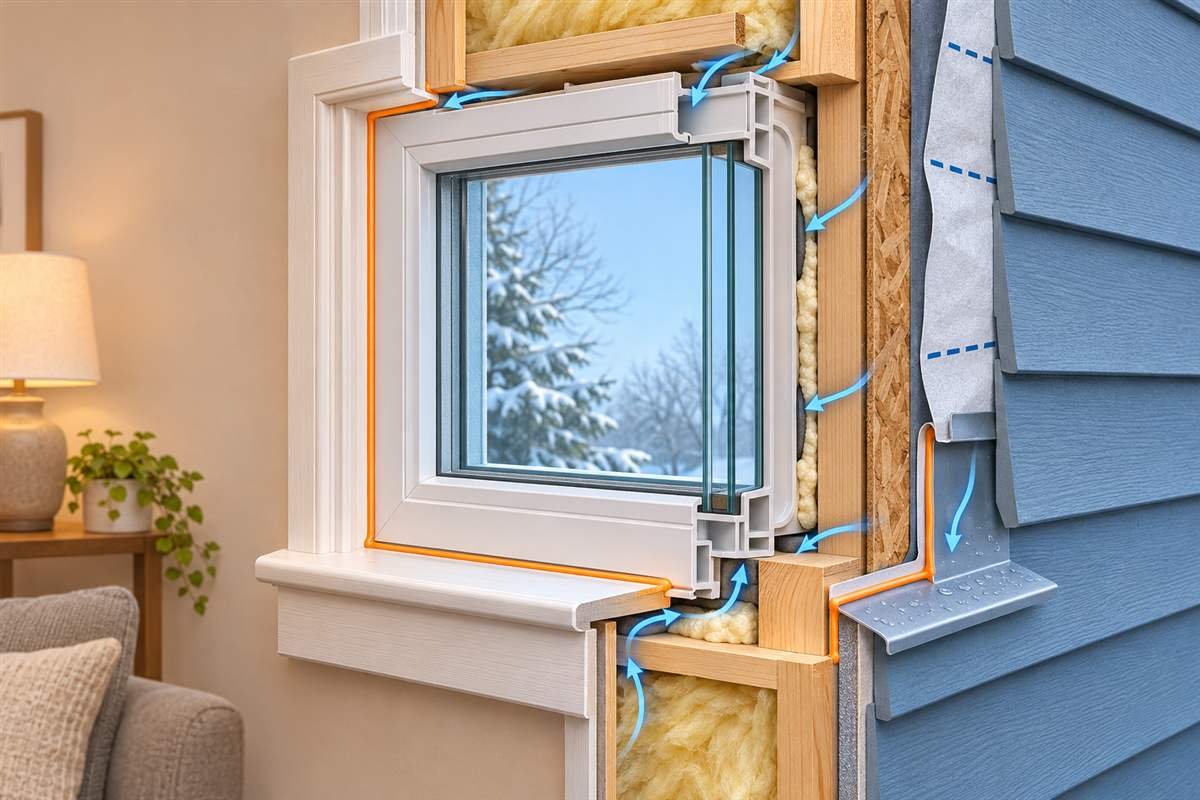
Insulation slows heat through materials; air sealing closes leakage gaps. The U.S. Department of Energy treats both as parts of weatherization. Seal suitable leaks before covering walls, but preserve required ventilation and combustion-air openings. See the DOE guide to air sealing.
Assess the Wall Before Choosing a Method
Start by identifying the wall type. A framed wall has cavities between wood or metal studs. Masonry may include brick, stone, concrete block, or multiple layers. Older homes can have unusual cavities, hidden fire stops, or previous repairs. A small inspection opening, building plans, or a qualified assessment can reveal what lies behind the finish.
Check moisture and damage first
Check for leaks, failed flashing, cracked mortar, musty smells, peeling paint, or mold. Repair water sources before insulating because new layers can change drying paths. The EPA recommends moisture control and prompt drying. Read its moisture and mold guide.
Consider wind-driven rain, indoor humidity, air conditioning, and seasonal temperature changes. Air and vapor-control details depend on the assembly and climate. Seek a building-science professional for wet, historic, or masonry walls.
Find existing insulation and obstructions
A contractor should check whether the cavities already contain insulation and identify pipes, wiring, fire blocking, and other obstructions. These details matter especially when the wall stays closed. Blind drilling can damage services or leave sections unfilled. Ask how the installer will map the cavities and verify coverage after the work.
Choose an R-Value and Scope That Fit the Home
Recommended R-values vary by climate, local energy codes, wall type, and whether you are renovating or building new. Use the DOE consumer guide as a starting point, then check local requirements. A contractor should explain the target for the full assembly, because framing and details affect performance.
Also decide what the project includes before comparing materials. If you plan to replace siding, exterior insulation may fit the scope. If the finishes will stay, a professional can assess whether a cavity-fill method suits the wall. For an open wall, batts are easier to inspect, but they still need careful air sealing and moisture planning.
Before choosing a target, consider room comfort, utility costs, planned repairs, and how long you expect to stay. A home energy assessment can help prioritize wall work alongside attic insulation, ventilation, and heating-system improvements, so each upgrade supports the whole house.
Common Wall Insulation Methods
Fiberglass or mineral wool batts
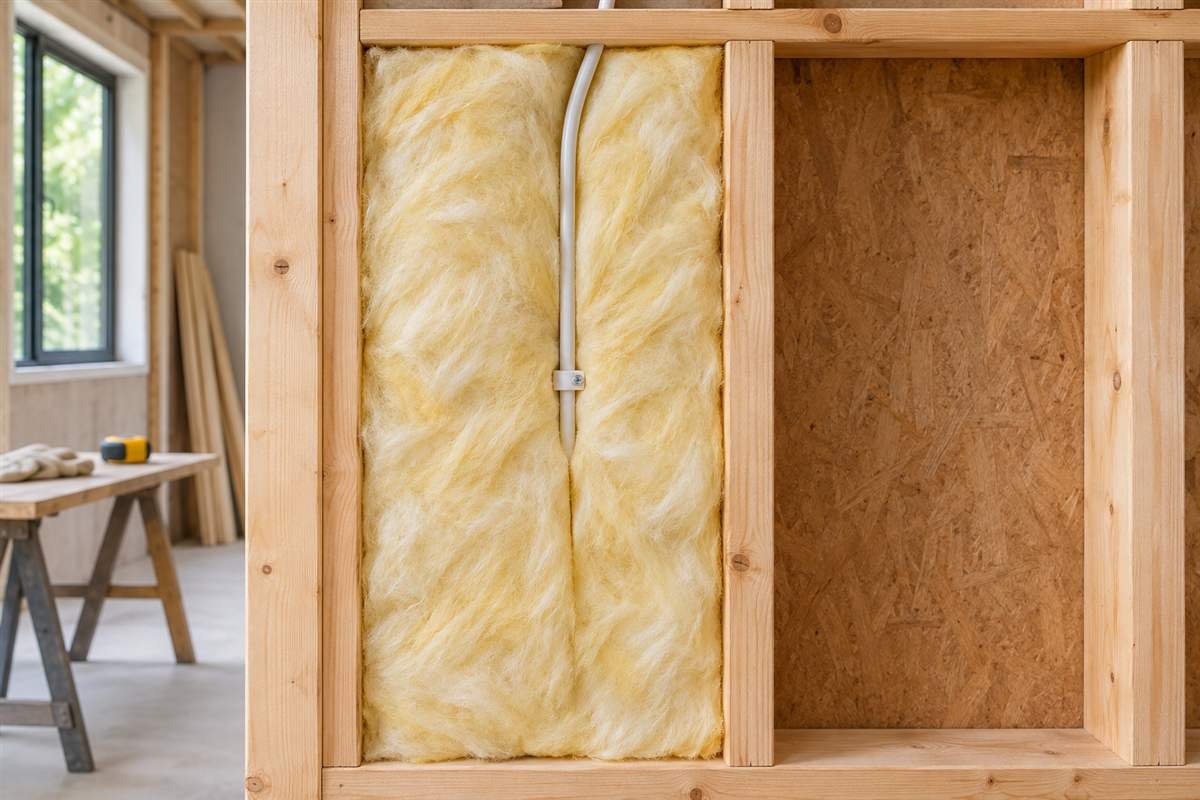
Batts suit open framed walls where workers can see each bay. Cut them around services and fit them without compression. Fiberglass is widely available; some mineral wool products offer useful sound and fire properties. Neither stops airflow by itself, so the wall still needs an air-control layer.
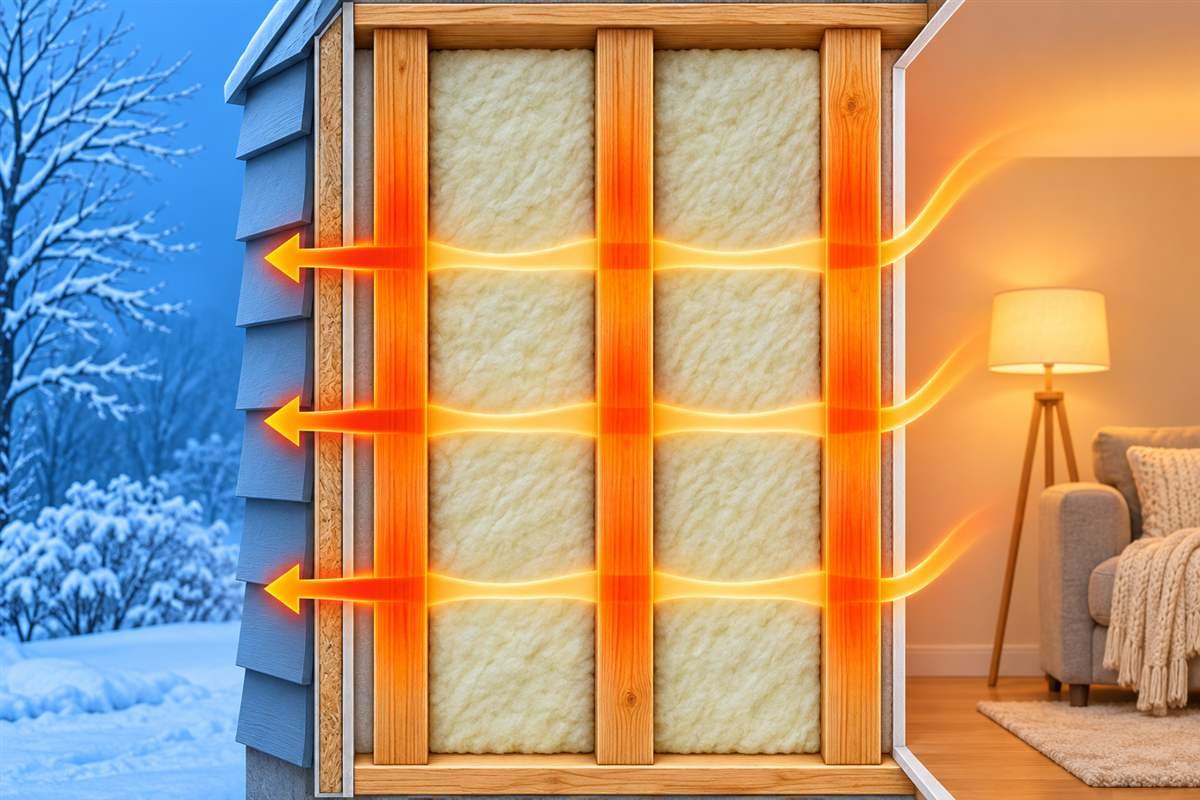
Fit batts snugly across the full bay without folds or voids. Follow product instructions around boxes and fixtures, and inspect the installation before closing the wall.
Blown-in cellulose or fiberglass
Dense-pack cellulose or blown fiberglass can fill suitable closed cavities through planned access holes. This can reduce finish removal, but only if the cavity is dry, accessible, and clear enough to fill evenly.
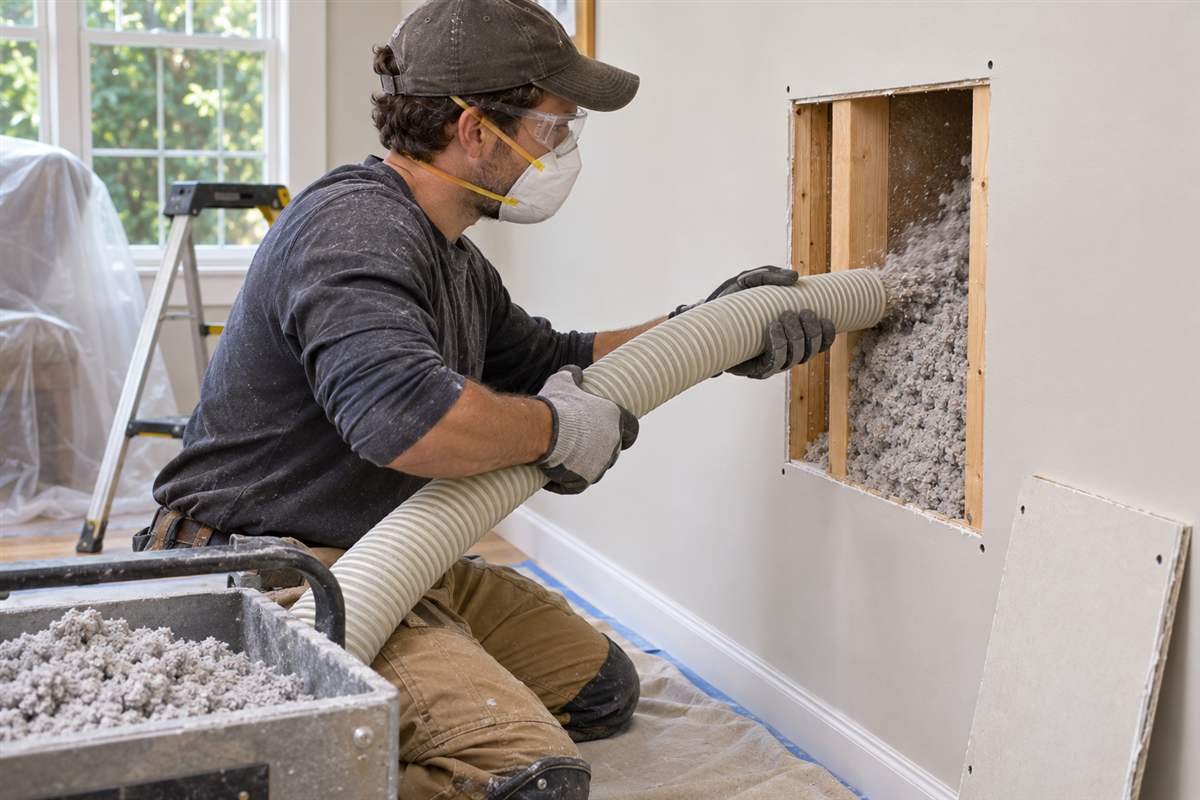
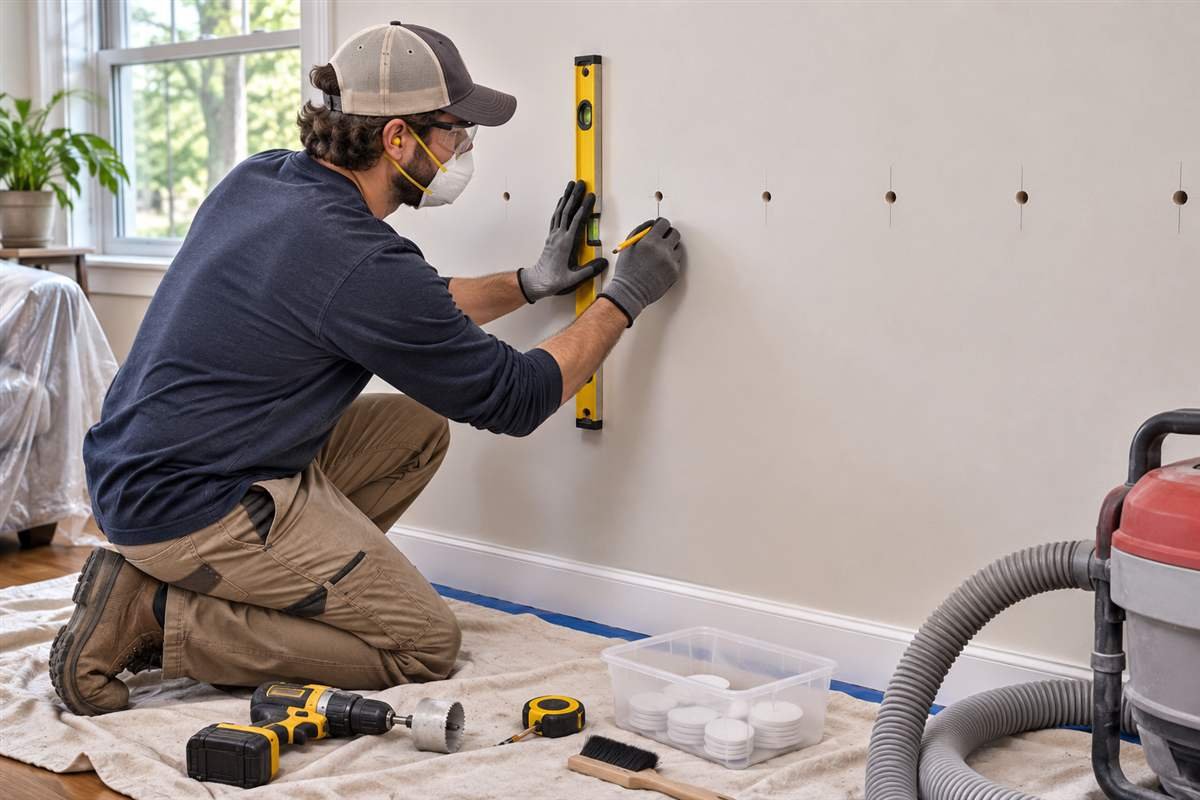
Ask for the specified fill density, installation pattern, void checks, patching scope, and cleanup plan. The DOE’s home insulation guide explains why product choice depends on the home and climate.
Exterior continuous insulation
Exterior boards cover the wall after siding is removed or adjusted. A continuous layer can reduce heat flow through framing and lets crews update flashing and drainage. The project also changes window depth, trim, roof edges, and cladding, so coordinate the full assembly.
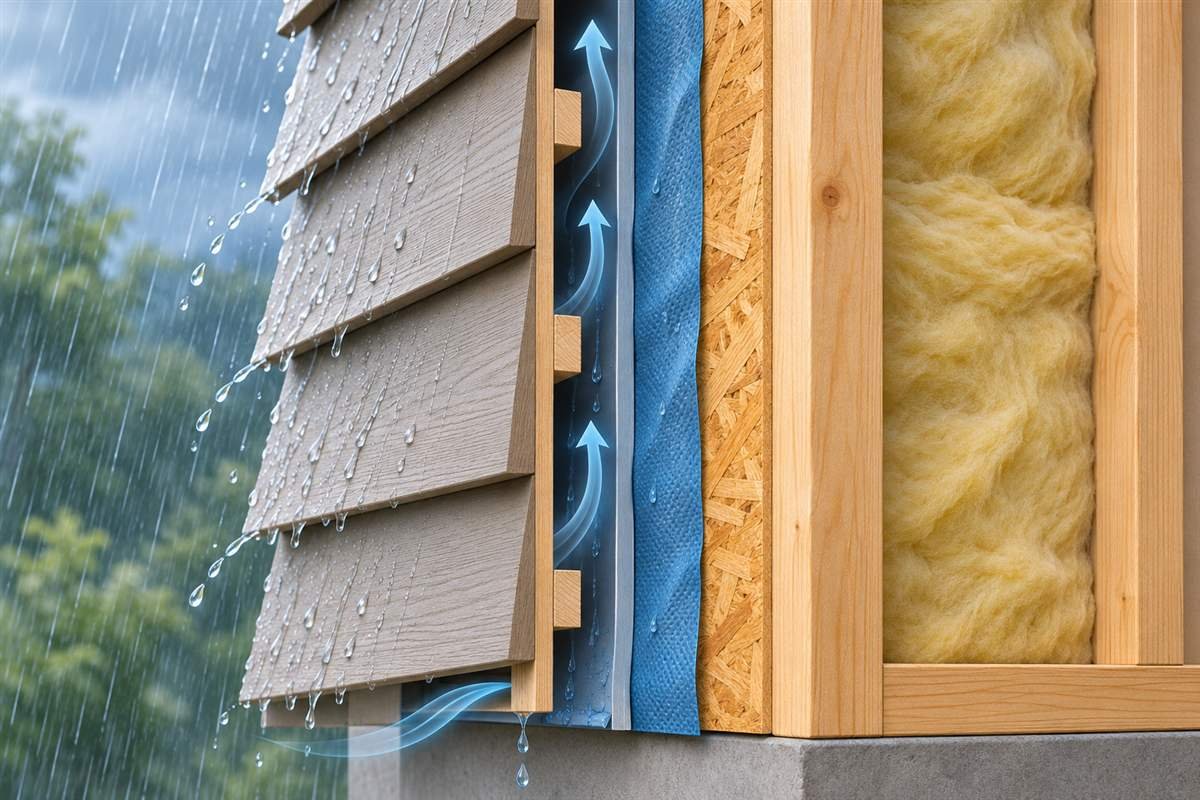
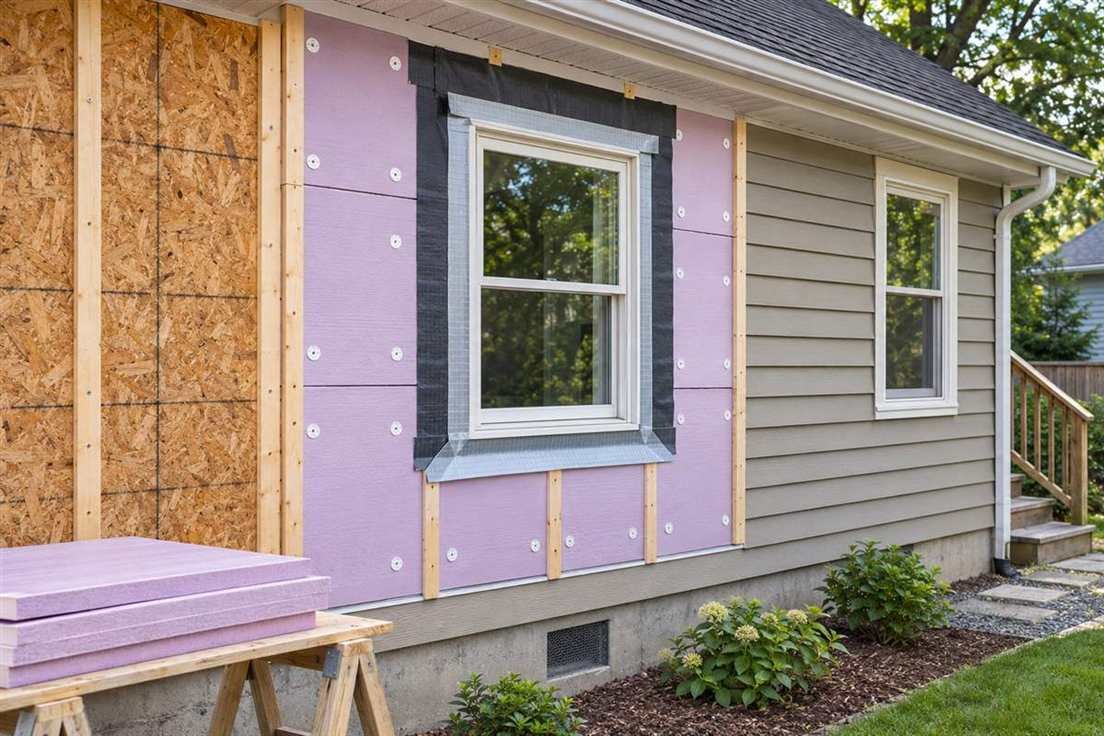
This method fits well with a planned siding replacement. Confirm drainage, drying, window and door details, permits, and clearances. Compare itemized bids because trim or flashing may be excluded.
Interior rigid foam or spray foam
Interior rigid boards or spray polyurethane foam need careful detailing. Products differ in vapor behavior, fire protection, and R-value. Follow local code and product instructions; spray foam also needs trained handling, ventilation, and cure checks. Ask for the product and safety documents.
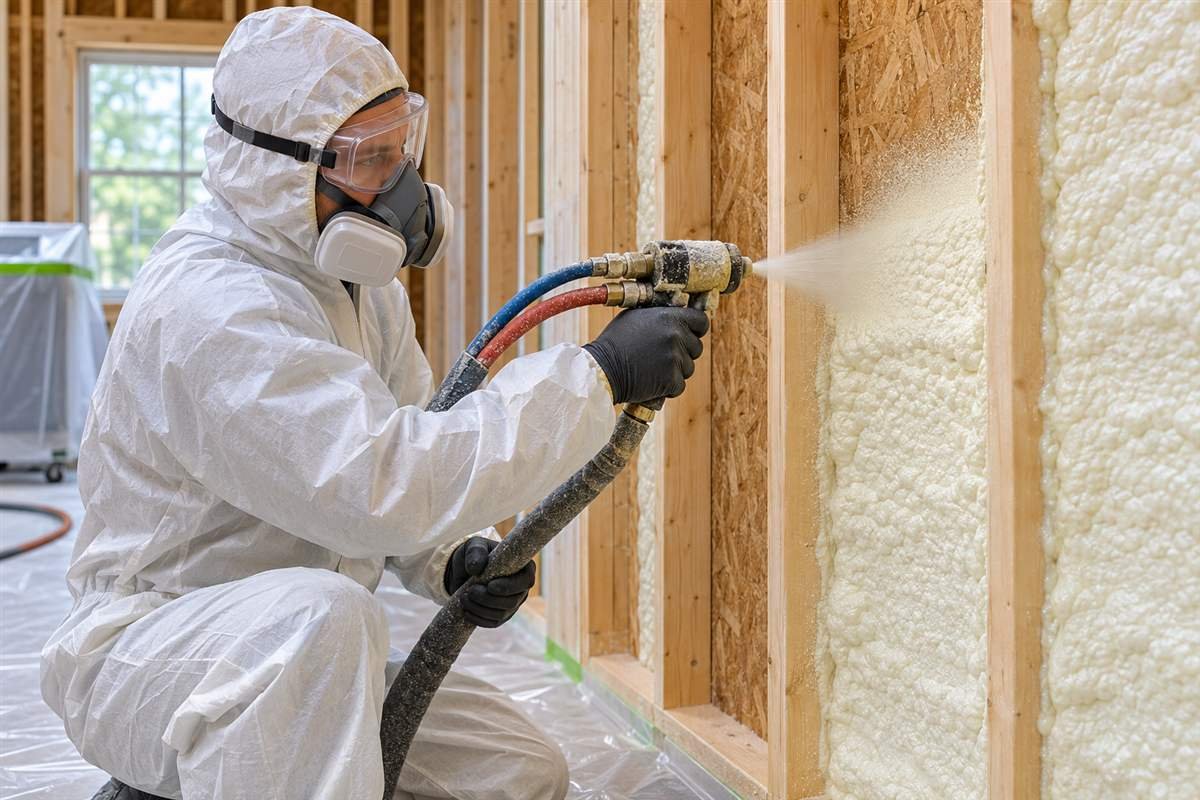
Installation: A Practical Sequence
A professional project normally follows a clear sequence. The exact steps vary by wall and product, but these checks help you understand the work and ask useful questions.
- Inspect the wall. Identify the structure, moisture issues, existing insulation, and hidden services before opening or drilling.
- Choose the system. Match the material and method to the cavity, climate, rain exposure, target performance, and finish plan.
- Prepare the site. Protect floors and furnishings. Shut down services where needed, and follow the product’s safety instructions.
- Repair and seal. Fix water damage and leaks first. Then seal suitable gaps while keeping required ventilation and safety clearances.
- Install and inspect. Fit batts without gaps or compression, or fill closed cavities with the specified product and technique.
- Close the wall carefully. Reinstall drywall or cladding only after the installer checks coverage and completes air and moisture details.
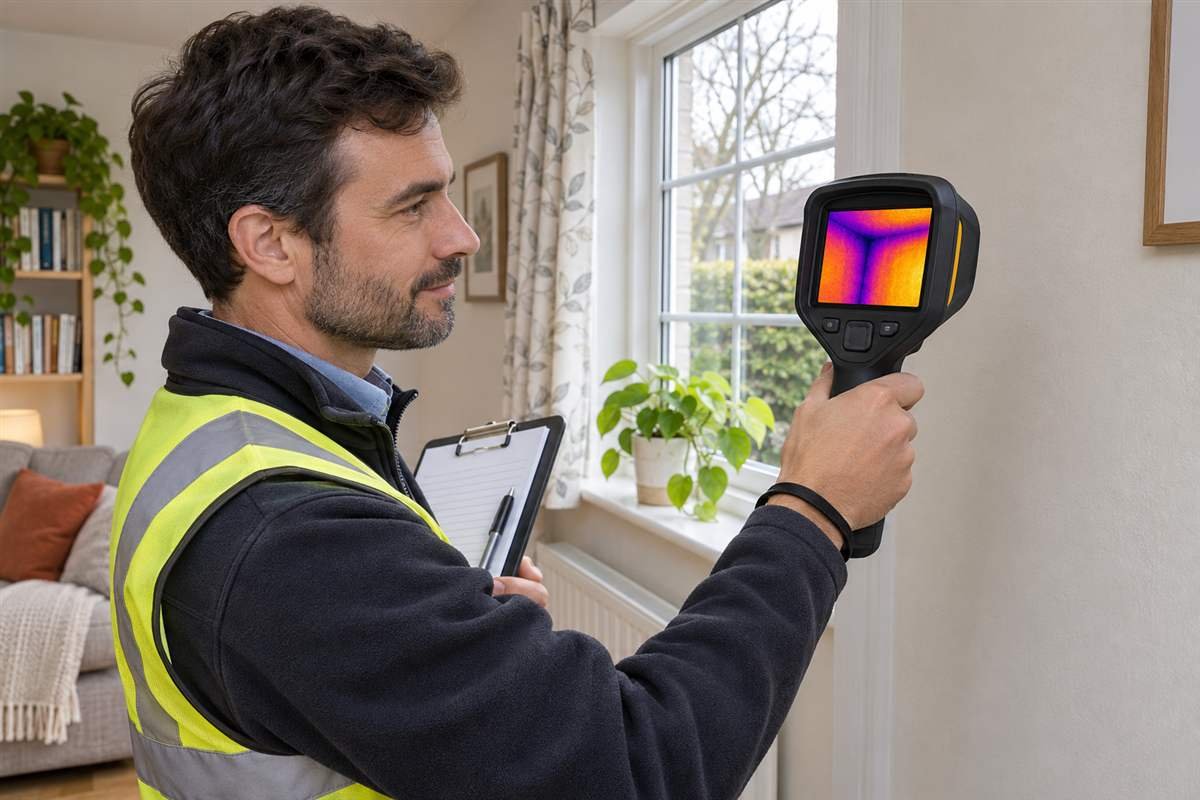
Before the crew closes the wall, ask how it checked coverage. For cavity fill, request installation records and a description of blocked bays. Thermal imaging can reveal patterns, but it cannot prove every cavity is full; combine it with visual checks and records.
Costs, Contractors, and Safety
Cost depends on wall area, access, materials, labor, finish removal, repairs, scaffolding, and local requirements. Exterior jobs may include cladding and flashing; cavity filling reduces demolition only when the wall is suitable. Compare itemized bids with the same scope.
Ask contractors to list the material, thickness, method, air sealing, moisture details, coverage checks, warranty, cleanup, and exclusions. Confirm who handles permits and finish repairs. For the bigger picture, see our complete wall insulation guide.
DIY may suit an accessible open wall if you understand the product and local rules. Use label-specified protective gear and observe clearances. Hire qualified help for closed cavities, complex wiring, spray foam, moisture damage, exterior retrofits, or historic masonry.
Frequently Asked Questions
Can you insulate a finished wall without removing drywall?
Often, yes. A contractor can blow a suitable material into accessible framed cavities through small holes, then patch them. First, confirm that the wall is dry and that wiring, fire stops, and other obstructions allow even coverage.
Should I air seal before wall insulation installation?
Usually, seal appropriate leaks before insulation hides them. However, do not block vents or openings required for safe combustion or healthy ventilation. Ask a qualified professional when you are unsure which gaps are safe to close.
Can adding wall insulation cause moisture problems?
It can contribute to moisture problems if the new assembly traps water or blocks drying. Fix leaks first, then choose air and vapor-control details for the wall and climate. Seek expert advice for wet, masonry, or historic walls.
Conclusion: Plan the Assembly, Then Install
Successful wall insulation installation starts with a sound wall. Fix moisture issues, choose a compatible method, and verify coverage before closing the assembly. Compare detailed scopes and make sure air, water, drying, and safety details are addressed.
One thought on “Wall Insulation: Complete Guide to Methods and Materials”