

The best interior design software for beginners makes the first useful task easy to understand: drawing a room, placing measured furniture, and comparing two arrangements. Start with a small project rather than learning every feature. Choose software that explains its basic controls clearly and lets you save the result. A polished rendering can wait until the layout answers your question.
Our interior design software comparison covers the main tool categories. This guide concentrates on the learning sequence, including what to practice first and when to move beyond a simple room planner.
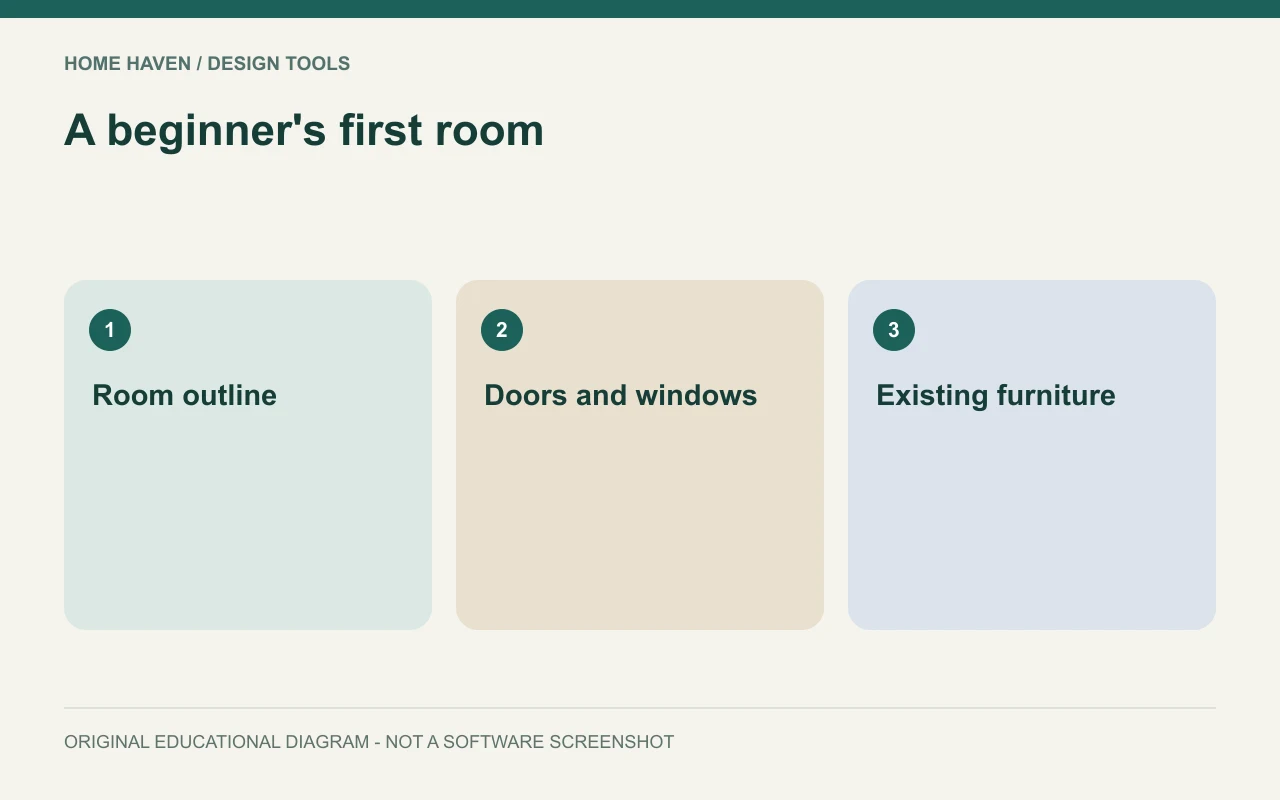
Set one learning goal
Choose a goal you can describe without naming software. For example, decide whether your existing dining table works better along one wall or near the window. That goal gives the first session a clear finish and prevents decorative details from taking over.
Do not begin with an entire house if one room will teach the essential controls. Repeated small edits reveal more about the workflow than a complicated imported model. Save the original arrangement before making changes so you can compare the result.
Beginner software should support these basic actions
Look for clear wall drawing, editable dimensions, door and window placement, furniture sizing, undo, and reliable saving. A readable plan view matters more than a large decorative catalog at this stage. You need to understand what changed and how to reverse it.
Sweet Home 3D’s documentation describes plan drawing and furniture arrangement alongside a 3D view. RoomSketcher also documents drawing and furnishing tools. These are candidates to investigate, rather than universal winners for every beginner.
If you need custom geometry, SketchUp offers a broader modeling approach. However, its current edition comparison shows that device access and documentation tools differ by plan. Do not follow a desktop tutorial and expect identical controls in a different edition.
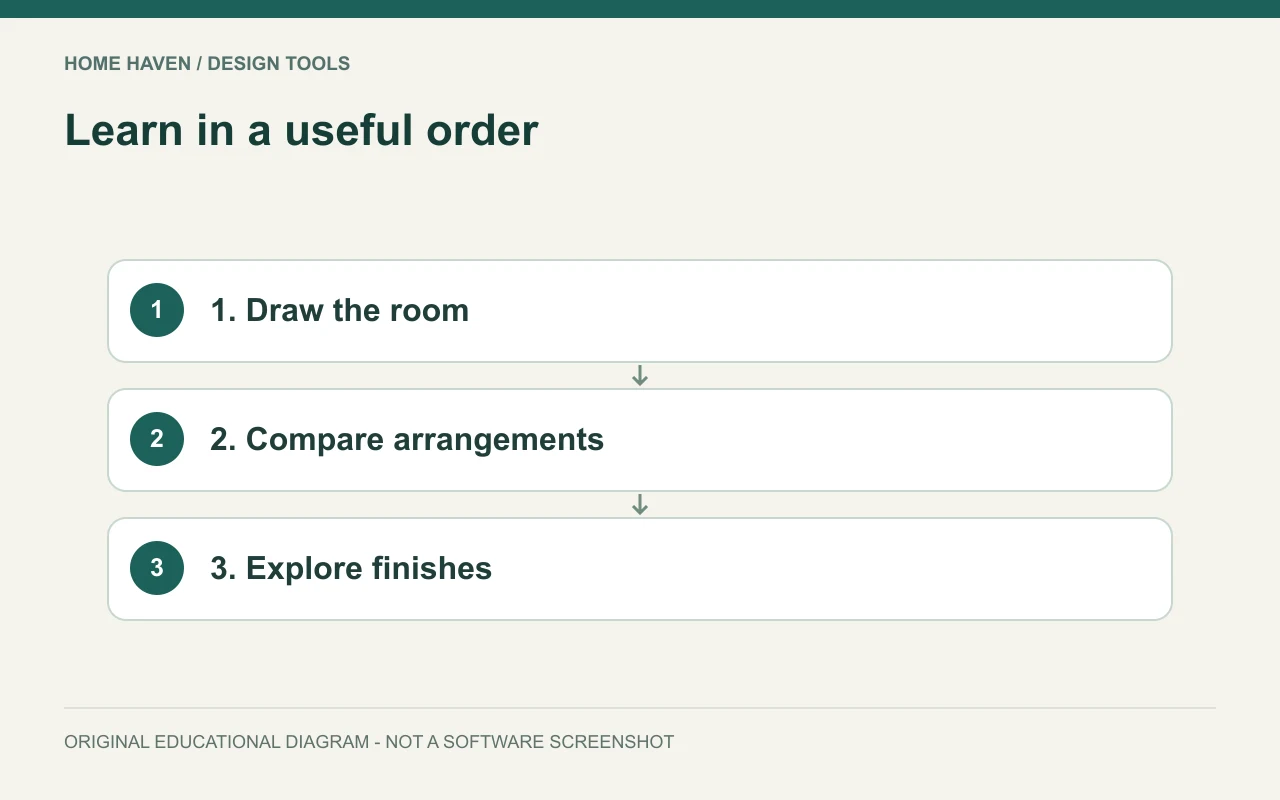
Collect the room information first
Measure wall lengths and record units consistently. Note doors, windows, columns, fireplaces, and other fixed features that affect furniture placement. Photograph the room from several ordinary viewpoints, keeping the written measurements separate from the pictures.
Use feet and inches if that is how you will measure and purchase in the United States. A hypothetical room measuring 12 feet by 14 feet contains 168 square feet before accounting for any irregularities. Enter actual geometry rather than rounding an awkward room into a convenient rectangle.
Your first session: draw the existing room
Create the room outline and verify one known dimension. Add openings and fixed features before furniture. Check that the door opens on the correct side and that windows occupy the correct wall.
Next, add only the major existing furniture. Use simple forms with real dimensions when an exact catalog model is unavailable. The goal is a trustworthy starting arrangement, not a photorealistic replica.
Your second session: compare two layouts
Duplicate the starting project if the software allows it, or save a clearly named alternative. Move one or two major objects to test the original question. Keep the same room geometry and furniture sizes in both versions.
Review how someone enters, sits, opens storage, and moves through the room. Check furniture in use, including pulled-out chairs and open drawers. Do not rely on an attractive camera angle to tell you whether the arrangement works.
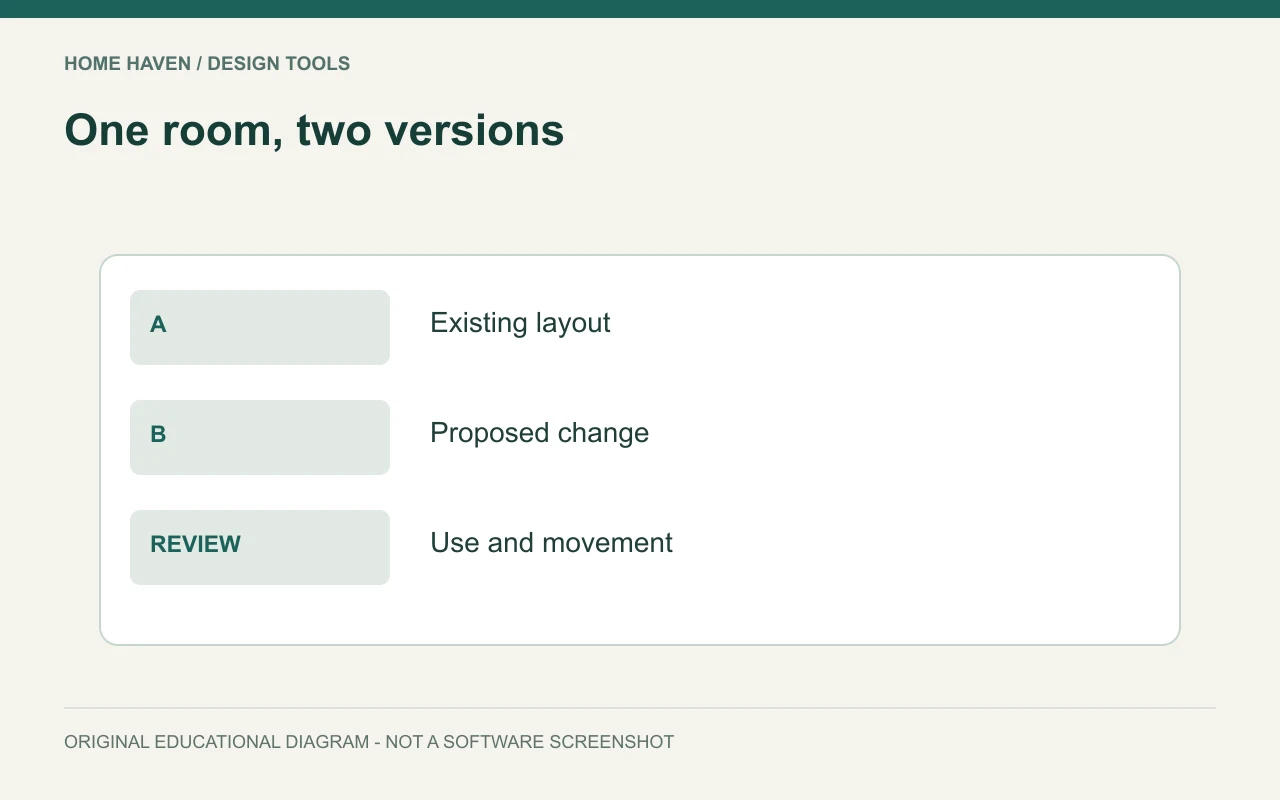
- Version A: document the existing arrangement.
- Version B: change the furniture relationship you want to test.
- Review: compare use, storage access, and ordinary routes.
- Decision: record what improves and what remains unresolved.
Add finishes after the plan becomes useful
Once the arrangement works, explore a small palette of finishes. Keep the camera and lighting consistent when comparing options so the material choice remains the main difference. Too many simultaneous changes make the comparison difficult to interpret.
Treat screen colors as approximate references. Physical materials, daylight, and your display can produce different appearances. Use relevant samples before committing to a substantial purchase, especially where several finishes meet.
Learn the export before the advanced tools
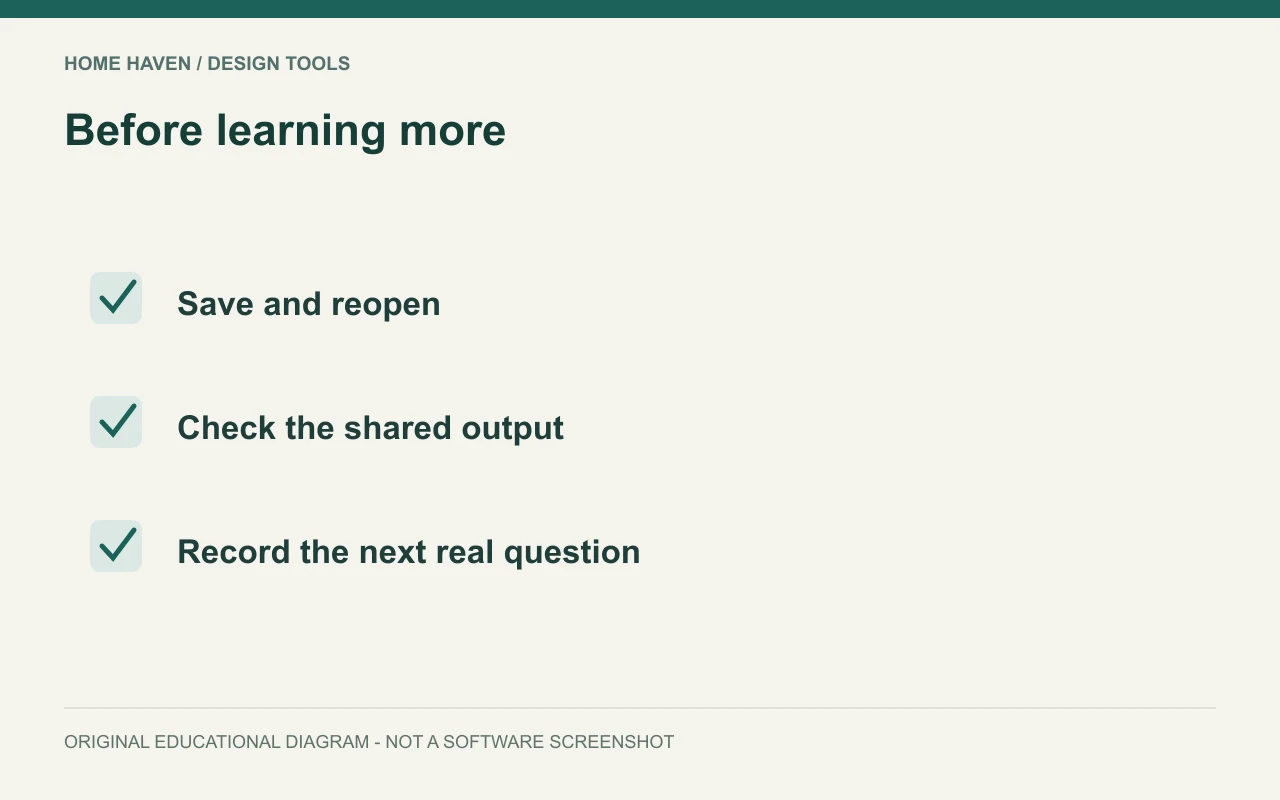
Save and reopen the project, then export the format you intend to share. Confirm that the result includes enough context for another person to understand it. A plan should show orientation and relevant dimensions; a concept image should not imply information it does not contain.
Check whether the export requires a payment or account upgrade. It is better to discover that limit during a small practice project than after building every room. Keep a separate measurement sheet so the essential information does not depend on one account.
Recognize when you have outgrown the first tool
You may need another workflow when the project requires custom forms, coordinated drawings, or reliable exchange with a professional team. Identify the missing deliverable before switching. A desire for a more impressive gallery image alone may not justify relearning the whole project.
Ask the recipient what file or documentation they need. An image, editable model, and construction drawing answer different questions. Appropriate professionals should develop and assess technical information for work beyond a furnishing concept.
Beginner mistakes that waste time
Common mistakes include collecting too many tools, changing units midway, decorating before checking dimensions, and copying tutorials for the wrong version. Another problem is searching for an exact furniture model when a correctly sized block would answer the layout question.
Keep a short learning log. Record one control you learned, one problem you solved, and the next question. This gives the following session a useful starting point without turning a small home project into an endless course.
Beginner questions
Do you need CAD for a simple bedroom layout?
Usually a measured room planner can help compare furniture arrangements. Investigate CAD when your deliverables require drafting and coordination features, rather than choosing it solely because it sounds professional.
How many tools should you compare?
Two suitable candidates are enough for an initial practical trial. Use the same room and task in each, then choose the workflow you can understand and complete.
Finish a room decision before learning more
A successful first project produces a clear comparison and a better-informed decision. Save that result, note its limitations, and move forward. Learn the next feature when the next real question requires it.