

Interior design rendering turns a proposed room into an image that helps explain space, materials, and light. A rendering can support decisions before purchases or construction, but its reliability depends on the information behind it. Start with a measured layout and a clear visual question. Then review the image against the plan and product selections.
Our interior design software guide explains the broader tool choices. Here, the focus is how a rendering develops and how to judge whether it communicates the design honestly.
What a rendering can help you decide
A room image can reveal relationships that feel abstract in a plan. You can compare the visual weight of a tall cabinet, the contrast between finishes, or the way a furniture group frames a view. Choose the question before adding decorative detail.
A rendering is less reliable for questions that require exact dimensions unless the underlying model and measurements support them. Check clearances in the plan rather than estimating them from perspective. A dramatic wide-angle view can make a cramped arrangement appear more generous.
Understand the interior design rendering workflow
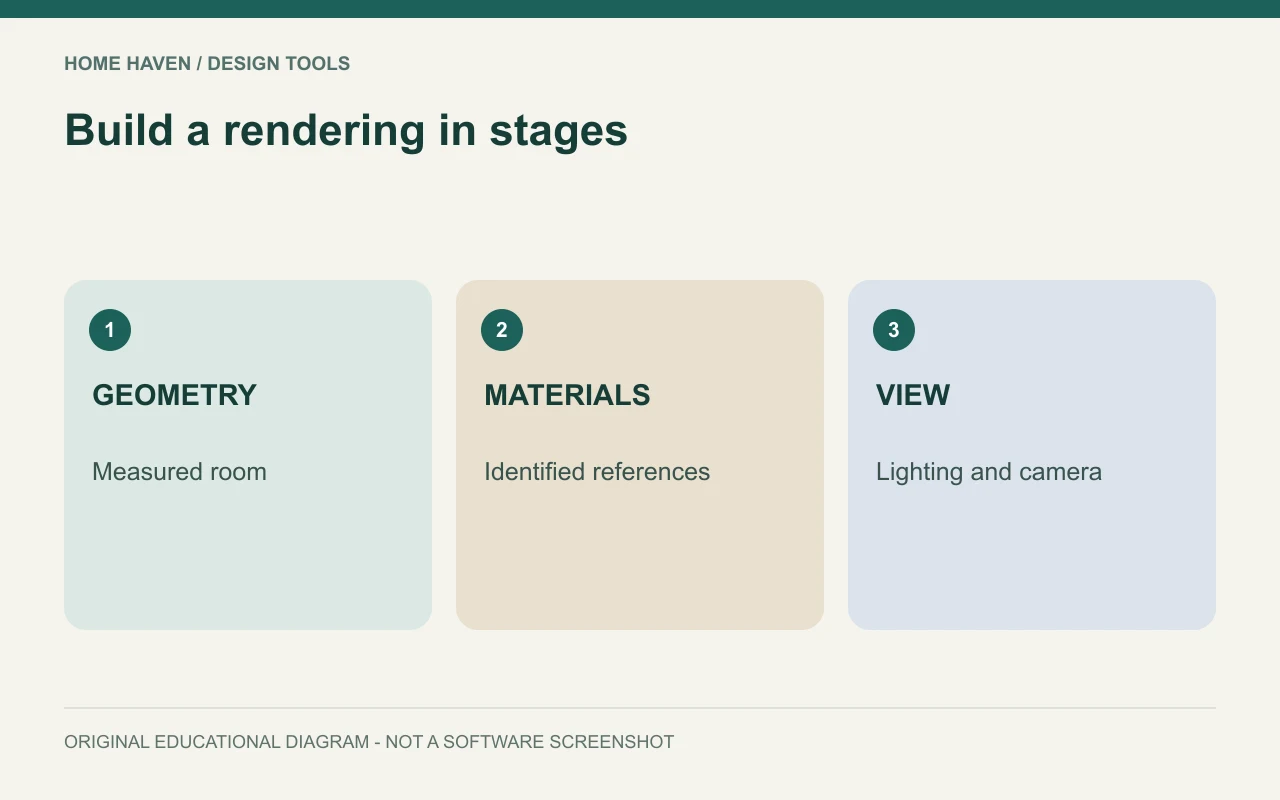
A typical model-based workflow moves from geometry to materials, lighting, cameras, and image output. Each stage depends on the earlier information. If the room geometry changes late, the camera composition and visible materials may also need revision.
For example, V-Ray for SketchUp is a rendering plugin designed to turn SketchUp models into visualizations. That relationship illustrates why a renderer and a modeler are distinct parts of a workflow. Other products combine several steps in one environment.
Start with geometry that represents the room
Include wall lengths, ceiling height, door and window positions, and major fixed features. Identify assumptions where existing information is incomplete. A plausible room shape is not an acceptable substitute when the image supports a real purchasing decision.
Use actual furniture dimensions where the layout depends on them. Generic objects can work during early exploration, but label them as approximate. Before approval, replace or verify important items so the rendering does not promise a product or fit that the plan cannot support.
Choose materials with a clear reference
Record the selected finish, product code, and relevant texture information. A generic pale wood surface might communicate a concept, but it does not identify a specific flooring product. Keep the selection record separate from the visual approximation.
Inspect texture scale and direction. Oversized grain, repeated patterns, or the wrong plank direction can distract from the intended design. Physical samples remain important because screens, lighting assumptions, and rendering settings influence the apparent color and sheen.
Use lighting to explain the proposal
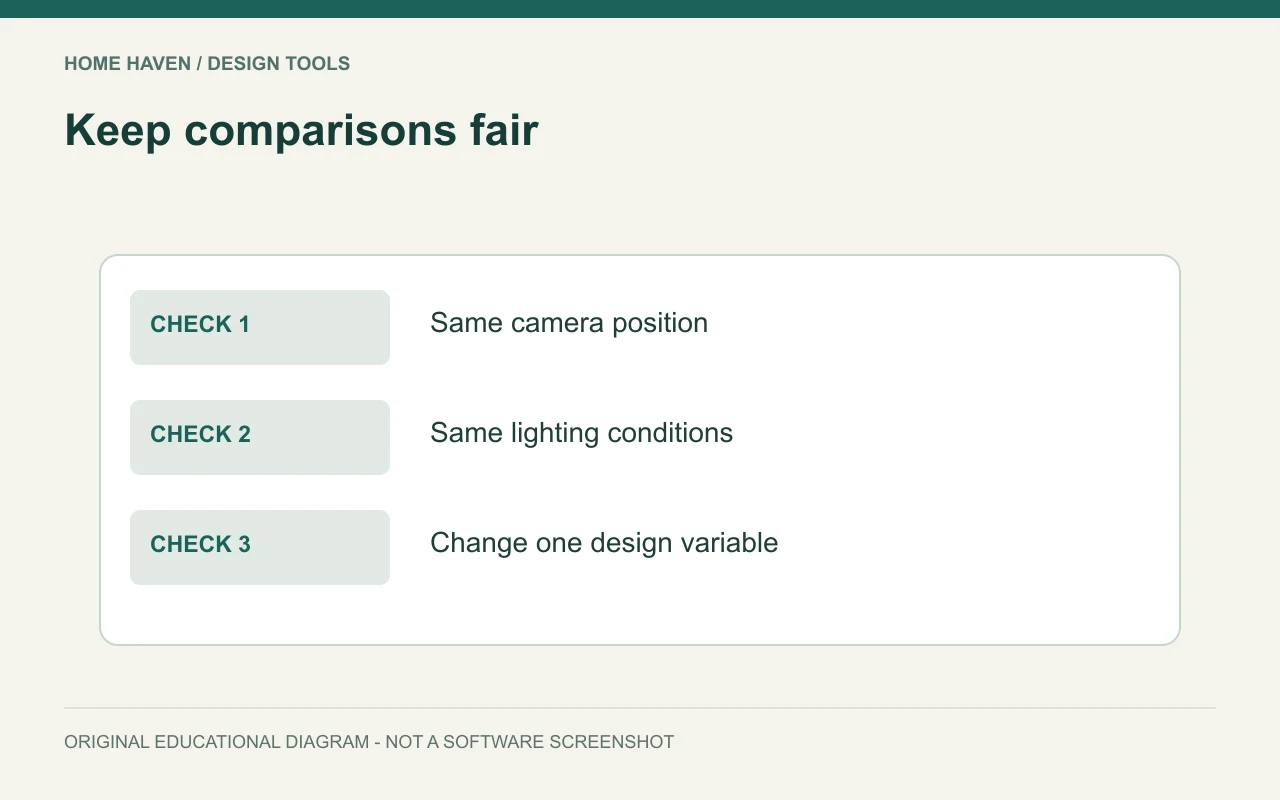
Decide whether the view represents daytime, evening, or a comparison of lighting scenes. Keep those conditions consistent when reviewing material alternatives. Otherwise, a lighting change can look like a finish change.
A renderer can simulate an appealing scene without proving the installed room will achieve a particular lighting performance. Technical lighting decisions need appropriate product data and project assessment. Do not treat a bright image as evidence that task lighting or electrical requirements are resolved.
Keep camera choices honest
Use viewpoints that help someone understand the room from ordinary positions. Include a view that shows the furniture relationship under discussion. A flattering corner image may be useful, but it should not conceal a difficult doorway or storage conflict.
For 3D interior design rendering comparisons, hold the camera position and field of view steady. If one alternative uses a dramatically wider view, the apparent difference in spaciousness may come from the camera rather than the layout.
- Show the decision, not only the most photogenic corner.
- Compare alternatives with consistent cameras.
- Check doors and furniture against the measured plan.
- Label conceptual elements that lack final specifications.
Review drafts in a useful order
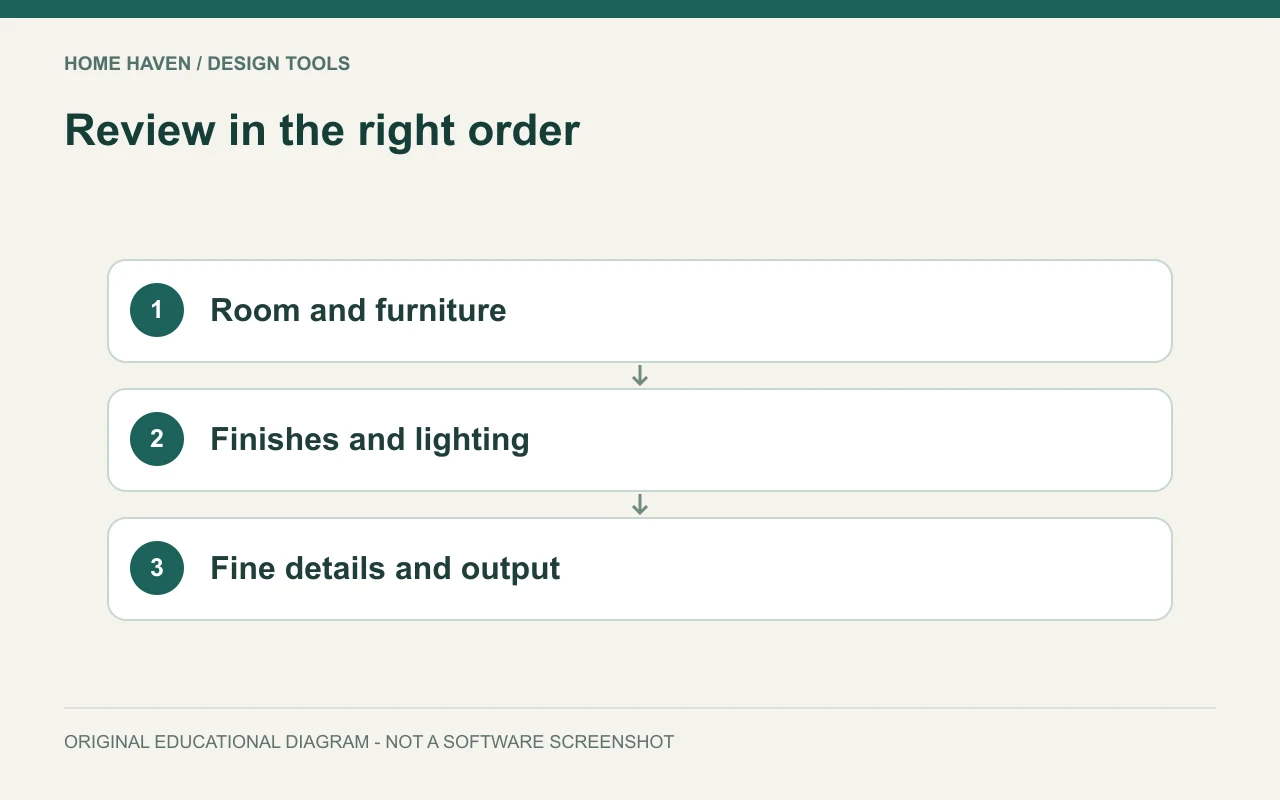
Approve geometry and furniture placement before judging fine material detail. Then review major finishes and lighting, followed by small objects. This sequence reduces the chance of polishing a view that still shows the wrong arrangement.
Gather comments in one marked-up draft rather than several conflicting messages. Refer to locations and items clearly. A request such as change the chair finish to the approved sample is easier to implement than make it feel more expensive.
Distinguish rendering from generated imagery
A model-based rendering uses a scene with explicit geometry, although the accuracy still depends on the inputs. An AI-generated redesign may create or alter visual elements without maintaining a measured model. Both can support inspiration, but they carry different limits.
Label the method accurately in presentations and portfolios. Do not describe an illustrative generated room as a photograph of completed work. Similarly, do not imply that a conceptual render confirms the availability of every visible object.
Decide what output you need
Specify image dimensions, file format, and intended display before final production. A screen presentation and a large printed board may need different outputs. Confirm the requirements with the recipient rather than ordering the largest image by default.
Keep the final approved image with its revision, selected products, and relevant plan. If the design later changes, review the image before reusing it. An old rendering can look authoritative even after the project has moved on.
A useful comparison example
Suppose a household is choosing between two cabinet finishes. Keep the cabinet geometry, camera, lighting, and surrounding materials unchanged in both views. Label the alternatives and compare them with physical samples. If one render uses brighter lighting or a different exposure, the comparison no longer isolates the finish. A controlled pair of ordinary images can provide better evidence than two unrelated showcase views.
Rendering questions
Does photorealistic mean accurate?
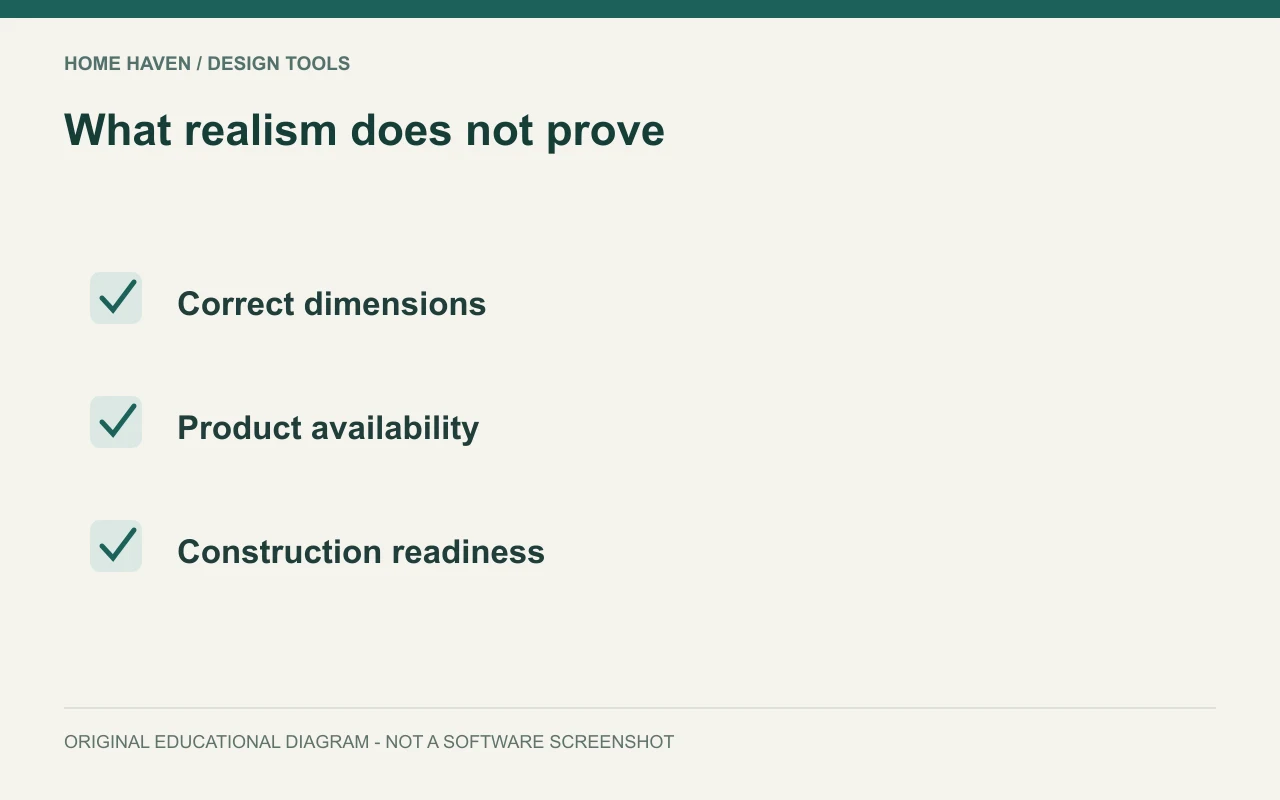
No. A realistic image can still contain incorrect dimensions, unapproved products, or idealized lighting. Accuracy comes from verified inputs and careful review.
How many views should a room need?
Use enough views to explain the decisions and important relationships. A fixed number is less useful than a clear list of what each view must show.
Make the image serve the plan
A useful rendering makes the proposal easier to discuss without hiding its assumptions. Check geometry first, use identified selections, and keep the camera comparison fair. Then use the image as one part of an informed room decision.