
Learning how to blow insulation into walls starts with checking whether each cavity is dry, clear, and suitable. The usual drill-and-fill method lets an installer add loose-fill insulation through small access ports without removing every sheet of drywall. Hidden wiring, moisture, blocking, and older construction can change the safest plan, so inspect before drilling.
Quick answer: How to blow insulation into walls
To blow insulation into walls, first confirm the wall has suitable, dry, accessible stud cavities. Locate studs, wiring, pipes, fire blocks, and existing insulation; then drill or cut access holes in the correct place for each cavity. Use a compatible blower and the insulation maker’s dense-pack instructions to fill each bay. Verify coverage before patching the holes. If the wall has dampness, unsafe wiring, unknown old materials, or unusual framing, pause and call a qualified insulation contractor.
This process is mainly for framed exterior walls with empty or underfilled cavities. It is not a universal fix for every wall. For a broader comparison of wall types and materials, see our complete wall insulation guide.
When does blown insulation work in walls?
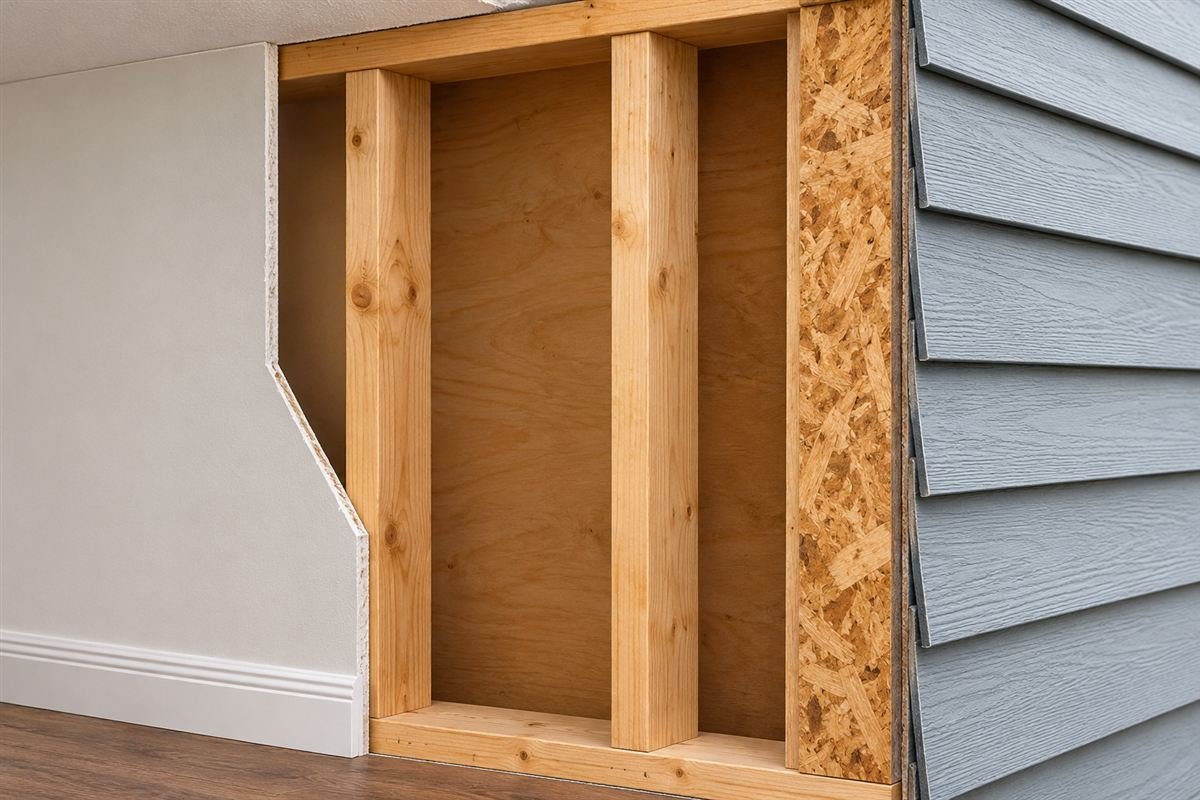
Blown insulation in walls is most practical when a wood-framed exterior wall has empty or unevenly insulated cavities. A trained installer can often reach these cavities through small holes in the interior drywall or exterior cladding. Dense-pack cellulose and certain loose-fill fiberglass products are common choices, but the product and installed density must match the wall and the manufacturer’s instructions.
The method may not work well if the wall is solid masonry, has narrow or blocked cavities, contains wet insulation, or has layers that prevent the material from spreading evenly. Existing batt insulation can also obstruct fill. In that case, a professional may need to remove a section or choose another retrofit. For material differences and room-by-room choices, read our guide to interior wall insulation materials and installation.
Check the wall before you drill
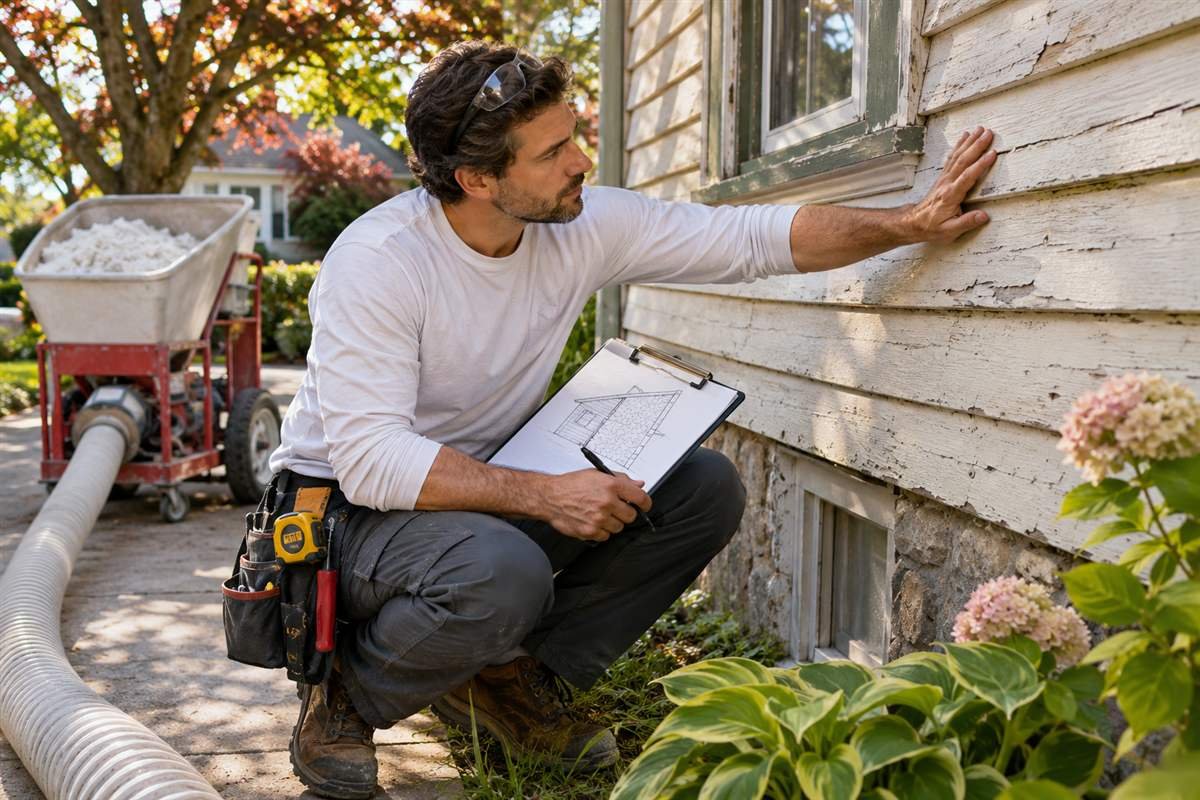
Look for water stains, musty smells, peeling paint, soft drywall, or damaged siding. Fix leaks and let the assembly dry before adding insulation. Insulation does not repair water entry. Also confirm whether the wall is framed or masonry and whether cavities connect to an attic, basement, or neighboring bay. Older balloon-framed homes may need fire blocking so insulation cannot escape into those spaces.
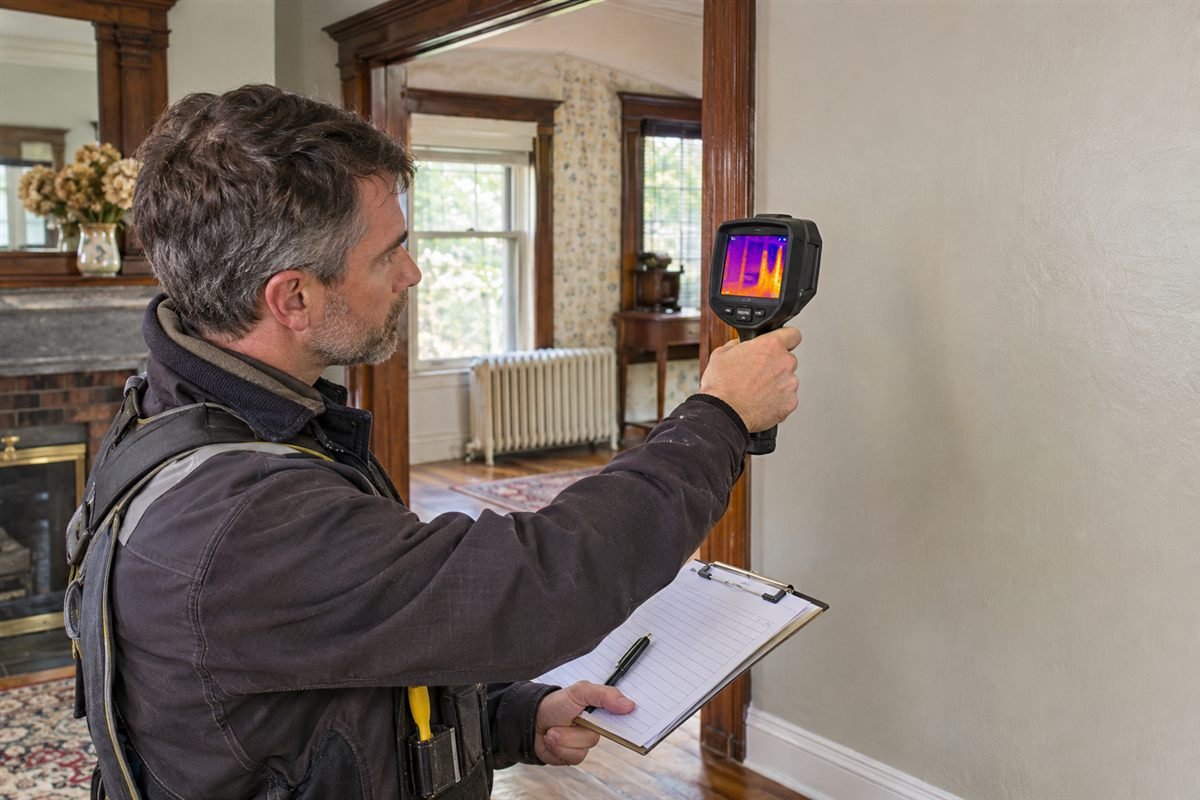
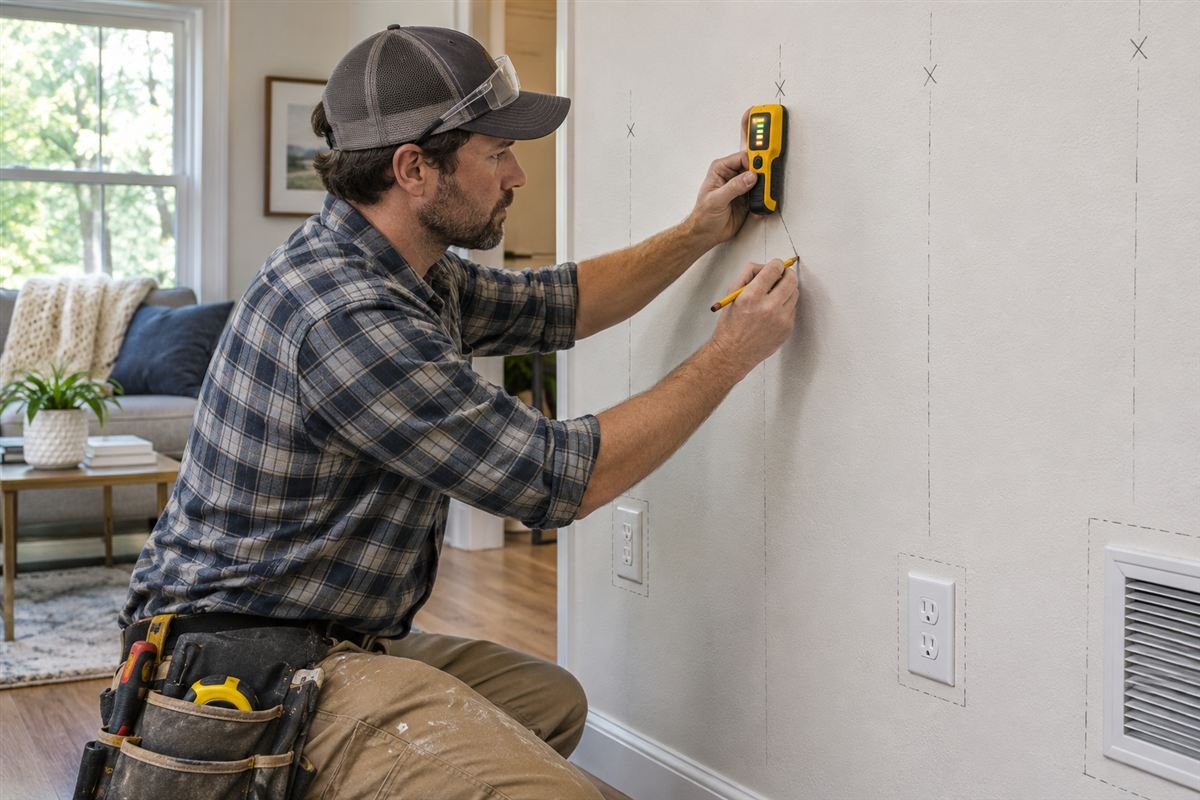
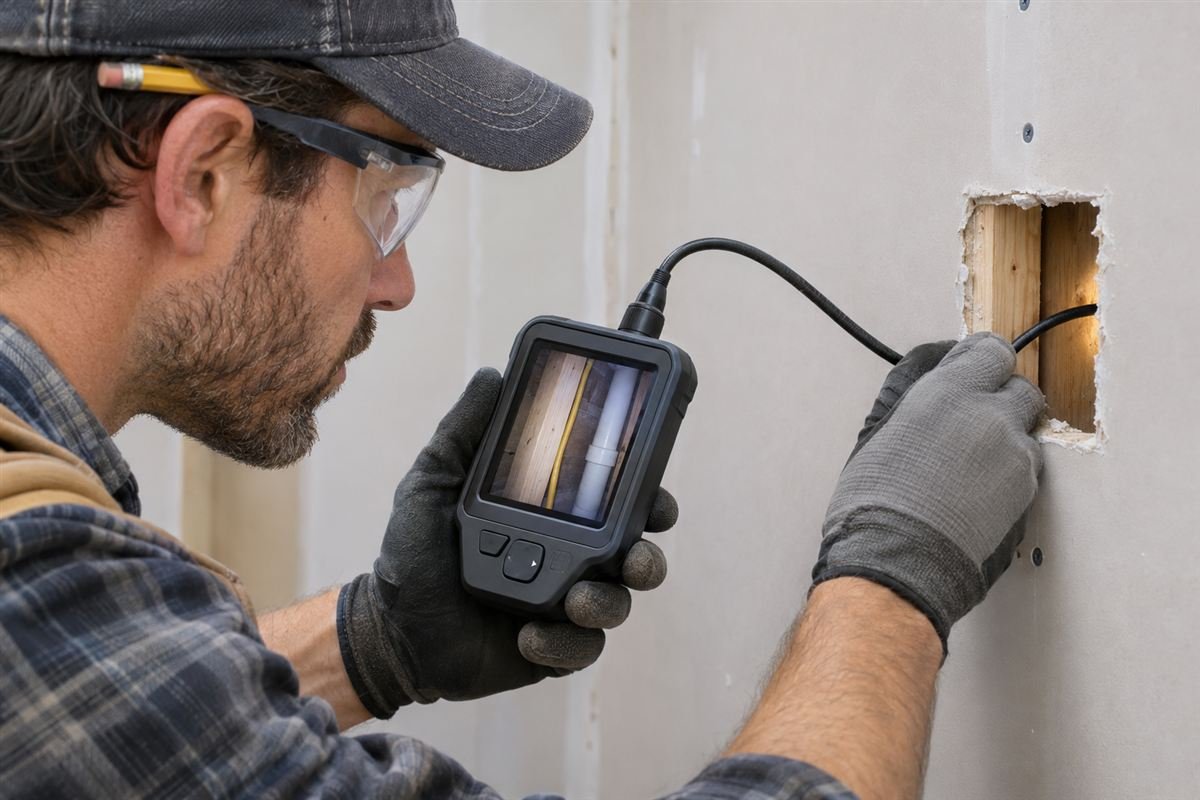
A stud finder can help map framing, while a small inspection opening or borescope can reveal the cavity contents. Thermal imaging can show temperature patterns, but it does not prove that a wall is empty; confirm suspicious areas with a direct inspection.

Safety checks before a DIY wall insulation project
DIY blown insulation in walls is not automatically a beginner project. You will be drilling near wiring and plumbing and handling airborne fibers or dust. Wear the personal protective equipment required by the product label, including eye protection, gloves, and a suitable respirator. Protect floors, furniture, and nearby HVAC returns; keep people and pets out of the work area while dust is present.
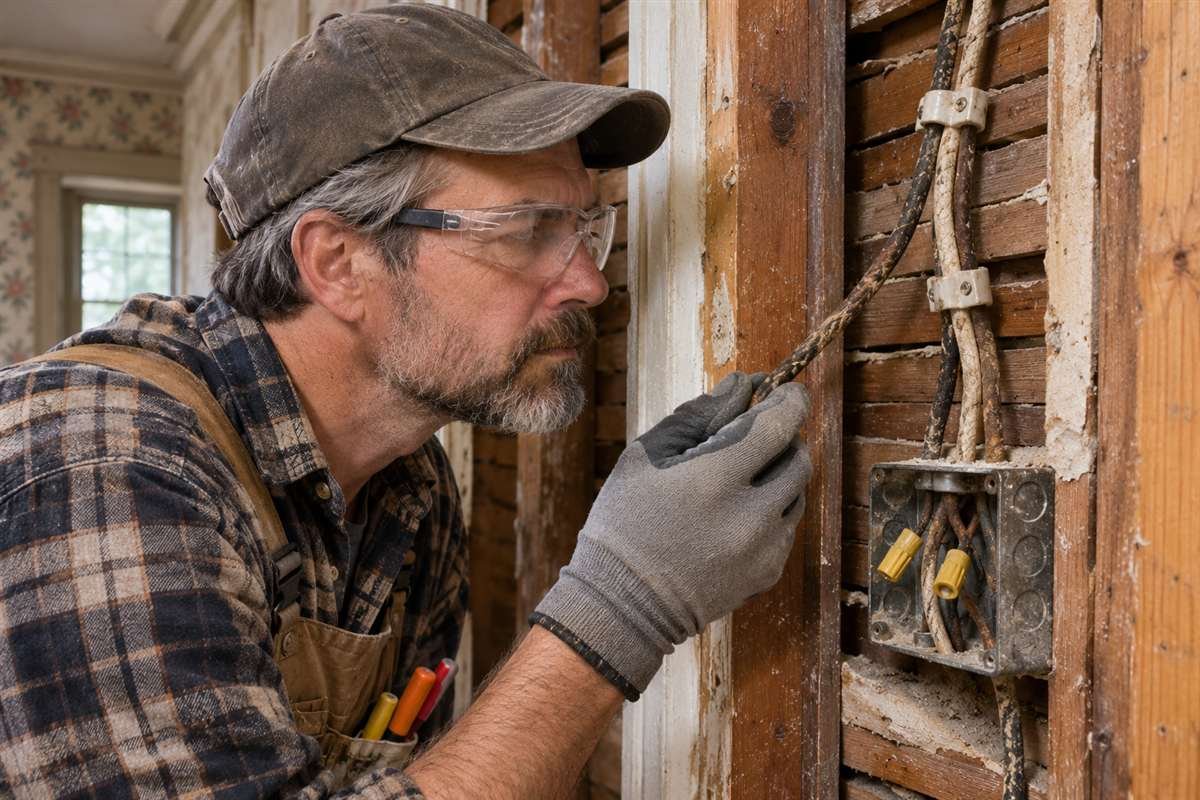
Stop and ask a professional if you find knob-and-tube wiring, damaged or overheated electrical cables, plumbing leaks, mold, suspected asbestos-containing materials, lead-painted surfaces that will be disturbed, or an unknown cavity layout. Do not drill through a wall until electrical lines and pipes are located. If you must inspect near an electrical outlet, switch off the relevant circuit and verify it is de-energized; do not treat that step as a substitute for an electrician when wiring is uncertain.
Tools and materials you may need
A drill-and-fill project may require a compatible insulation blower, the correct hose and nozzle, a stud finder, inspection camera, hole saw or specialty access tool, vacuum with suitable filtration, patch materials, drop cloths, and protective equipment. Exterior access can also require siding tools and materials to restore the weather-resistive barrier. Rental machines differ, so read the machine instructions and confirm that the selected insulation is approved for that equipment and application.
- Blown-in cellulose or a compatible loose-fill fiberglass product, selected for wall cavities.
- Blower and hose sized for the product; do not improvise with an attic-only machine setting.
- Stud and service locating tools, plus a borescope when the cavity is uncertain.
- Protective gear and dust control recommended on the product safety label.
- Wall repair materials and, for exterior access, compatible flashing, tapes, or weather-barrier materials.
How to blow in insulation in walls: step by step
1. Choose interior or exterior access
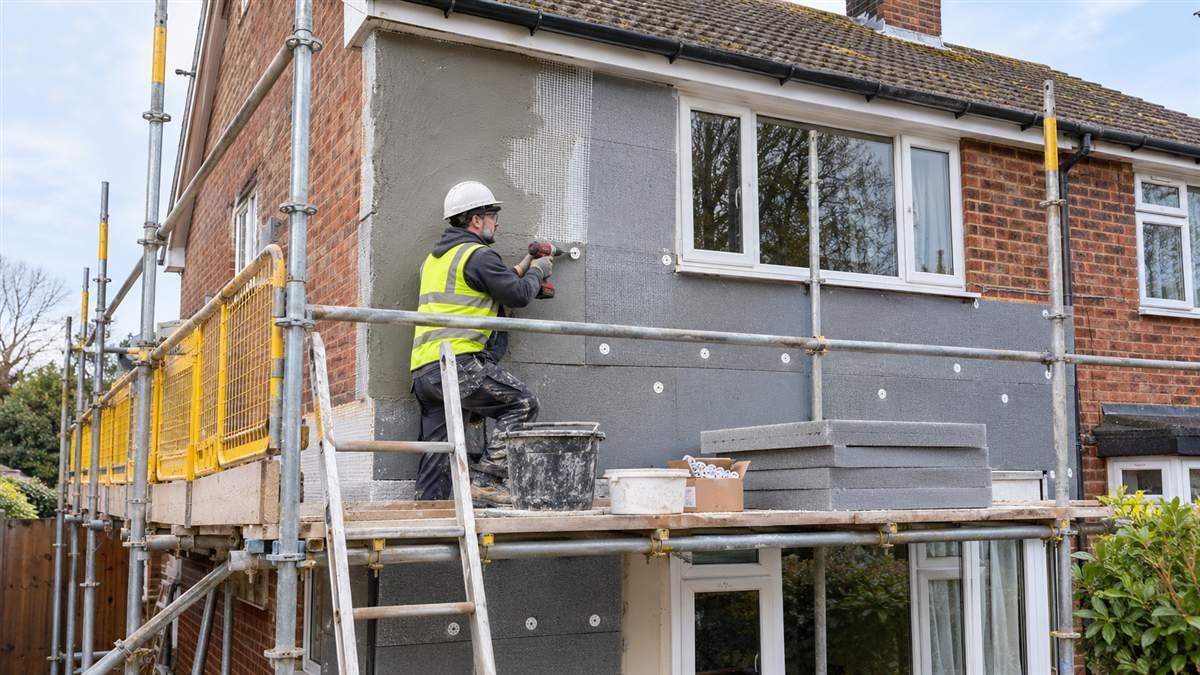
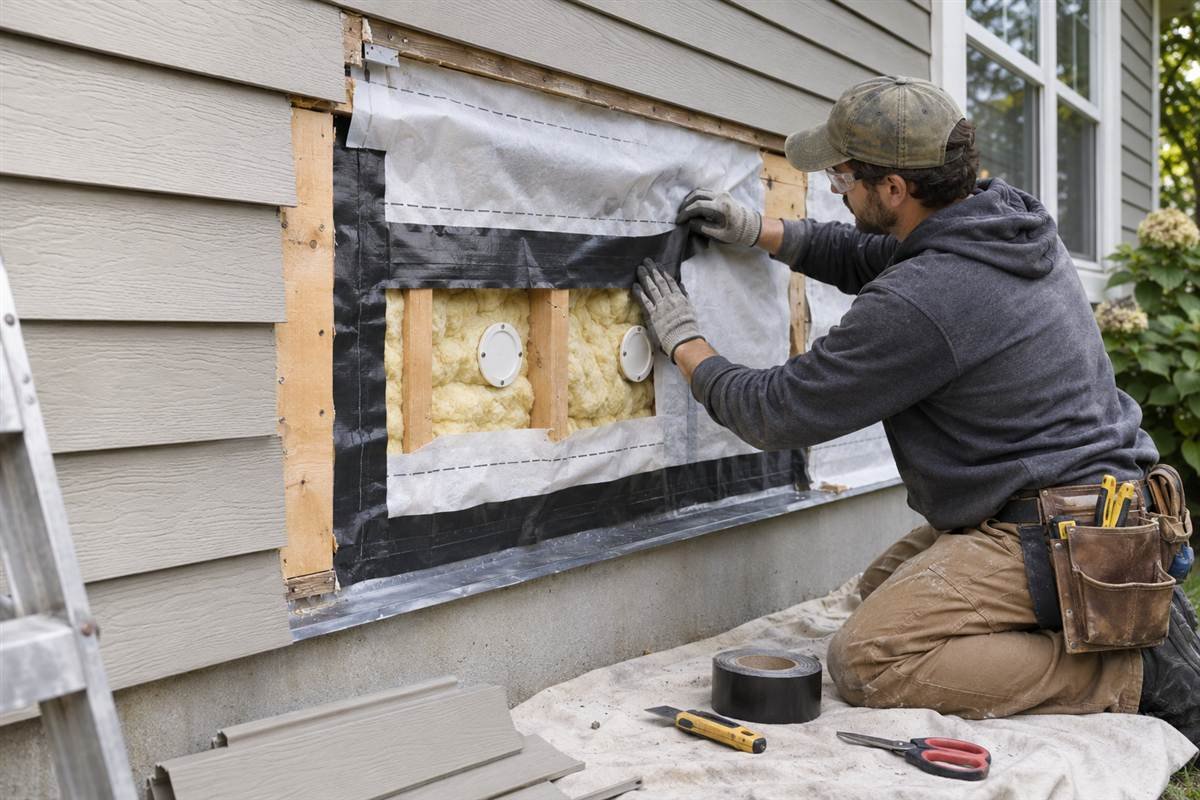
Decide which side will be easier and safer to repair. Interior access means patching and repainting drywall. Exterior access may avoid interior repairs, especially during siding replacement, but removing cladding can expose or damage the drainage plane. The exterior weather barrier must be restored correctly before siding goes back. Compare both approaches and follow local code and product instructions.
2. Map every stud bay and obstacle
Mark studs, outlets, switches, windows, doors, pipes, and known blocking. Each bay must be filled independently, and spaces above headers or below windows can be separate pockets. Do not assume one hole fills a whole wall. If the framing is irregular or the cavities are blocked, stop and get advice before making a row of holes.
3. Inspect and prepare the cavities
Use an existing opening, a small test port, or a borescope to check for existing batts, debris, moisture, wiring, and fire blocking. Damp walls need diagnosis and repair before insulation. If old batt insulation blocks the cavity, dense-pack material may not reach the full bay. A qualified installer can determine whether selective removal or a different approach is needed.
4. Make the access holes carefully
Drill or cut each opening at the location recommended for the wall and installation method. Many drill-and-fill layouts place access holes near the top of each stud bay, but the correct position and number depend on the cavity and the approved system. Separate openings may be needed for pockets above headers or below windows. Hole size depends on the hose nozzle and repair method, so follow the installer or product guide. Keep the drill shallow enough to avoid hidden services, use dust capture where practical, and save plugs if the system allows them to be reused.

5. Blow the material to the specified density
Feed the hose into the cavity and operate the blower as its manufacturer directs. Fill one bay at a time, moving the hose as needed to reach the full height and any separate sections. Dense-pack installation depends on the product-specific target density, not just on seeing material come out of the hole. Follow the insulation package and machine instructions; if the hose stalls, the cavity bulges, or material backs up, stop and investigate rather than forcing more into the wall.


6. Verify that every cavity is filled
Keep a written map of completed bays and check the whole wall before closing it. A professional may use a thermal camera under suitable temperature conditions, but visual inspection through access points and installer quality checks also matter. Look especially at narrow spaces around windows, above door headers, behind cabinets, and around blocking. A cold stripe or missed bay should be investigated before patching.
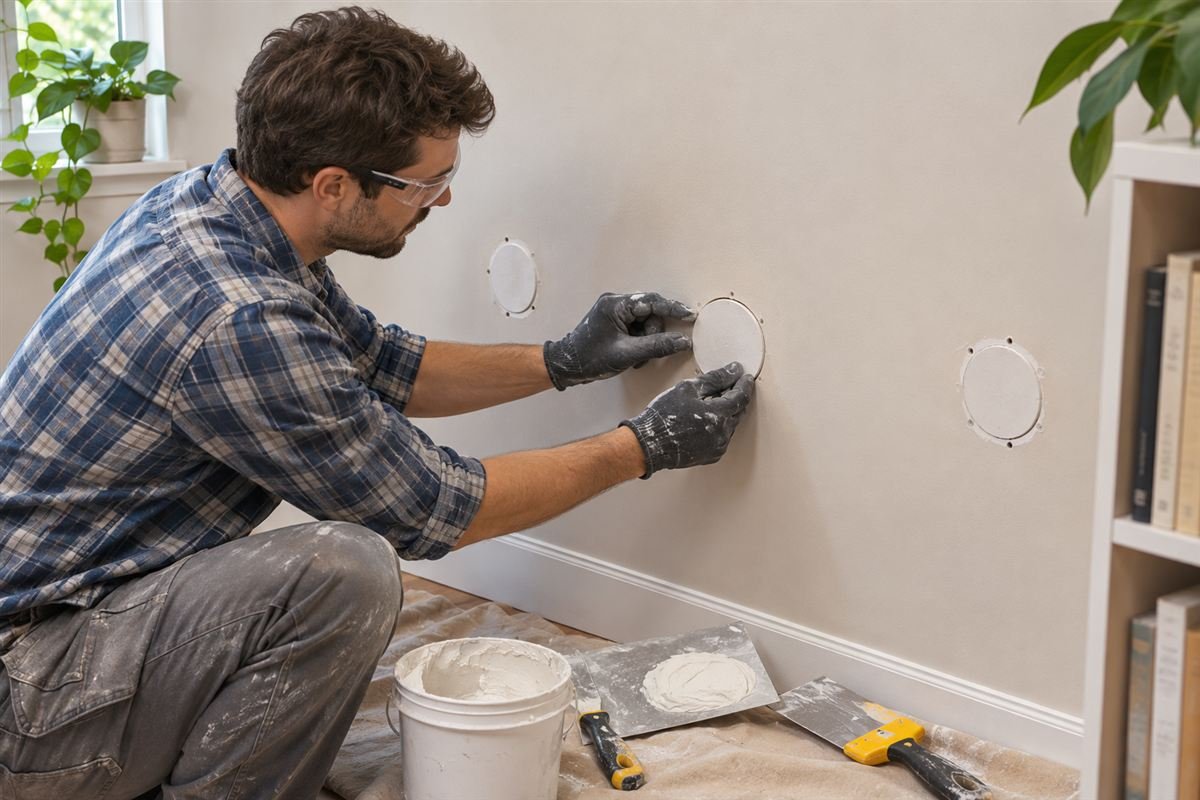
7. Patch holes and restore the wall layers
For interior access, install the correct plugs or drywall patches, tape and finish them, then prime and paint. For exterior access, restore the drainage plane and air barrier with compatible materials, seal laps and penetrations as required, and reinstall siding without trapping water. If you opened a larger section, follow local requirements for weather protection and fire blocking.
Common mistakes to avoid
- Blowing into a damp wall and trapping an unresolved leak.
- Assuming every wall has a clear cavity or that one access point reaches every pocket.
- Using loose-fill without the equipment and installation density intended for wall cavities.
- Drilling before checking for electrical wiring, plumbing, fire blocking, or hazardous materials.
- Filling over old batts that prevent complete coverage without a plan to address them.
- Closing holes before checking all bays and restoring the exterior drainage plane.
The Building America Solution Center’s blown-insulation guide for existing exterior walls describes cavity assessment, dense filling, coverage verification, and patching. The U.S. Department of Energy also explains that drill and fill can be used for suitable uninsulated framed walls, while the right solution depends on the existing assembly and climate.
Frequently asked questions
Can I blow insulation into a wall myself?
Sometimes, if the wall is dry, framed, accessible, and free of unsafe wiring or hazardous materials, and you can use the correct equipment and product instructions. Because poor filling can leave hidden gaps or create moisture and fire-safety problems, many homeowners hire a qualified installer for this job.
What insulation is used for blown-in walls?
Dense-pack cellulose and some loose-fill fiberglass products are used for existing framed wall cavities. Check that the product is approved for wall installation and for the blower you have. Do not choose by material name alone; installed density, cavity condition, and local climate all matter.
Will blown insulation fill every part of an existing wall?
Not necessarily. Fire blocks, old batts, wiring bundles, pipes, narrow bays, and unusual framing can stop the material from reaching some spaces. Inspect the wall first and verify every cavity before patching. If you are comparing retrofit options, our wall insulation guide covers the broader choices.
Conclusion
The safest way to blow insulation into walls is to treat the job as a cavity-inspection and verification project, not simply a matter of feeding a hose through a hole. Confirm the wall is dry and suitable, locate hidden services, use an approved material at its specified density, and check each bay before repairing the finish. When the wall is old, damp, unusually framed, or electrically uncertain, use a qualified professional. Explore the main wall insulation guide for related methods and planning advice.
For current energy-efficiency guidance, see the U.S. Department of Energy’s insulation and air-sealing overview.