
How to install faced insulation in walls starts with one important check: the facing is a vapor-control layer, so its direction depends on the wall assembly and climate. For a typical open, above-grade framed wall, the batt must fit the cavity without gaps or compression. This guide covers preparation, cutting, wiring, fastening, moisture checks, and the point where a professional should take over.
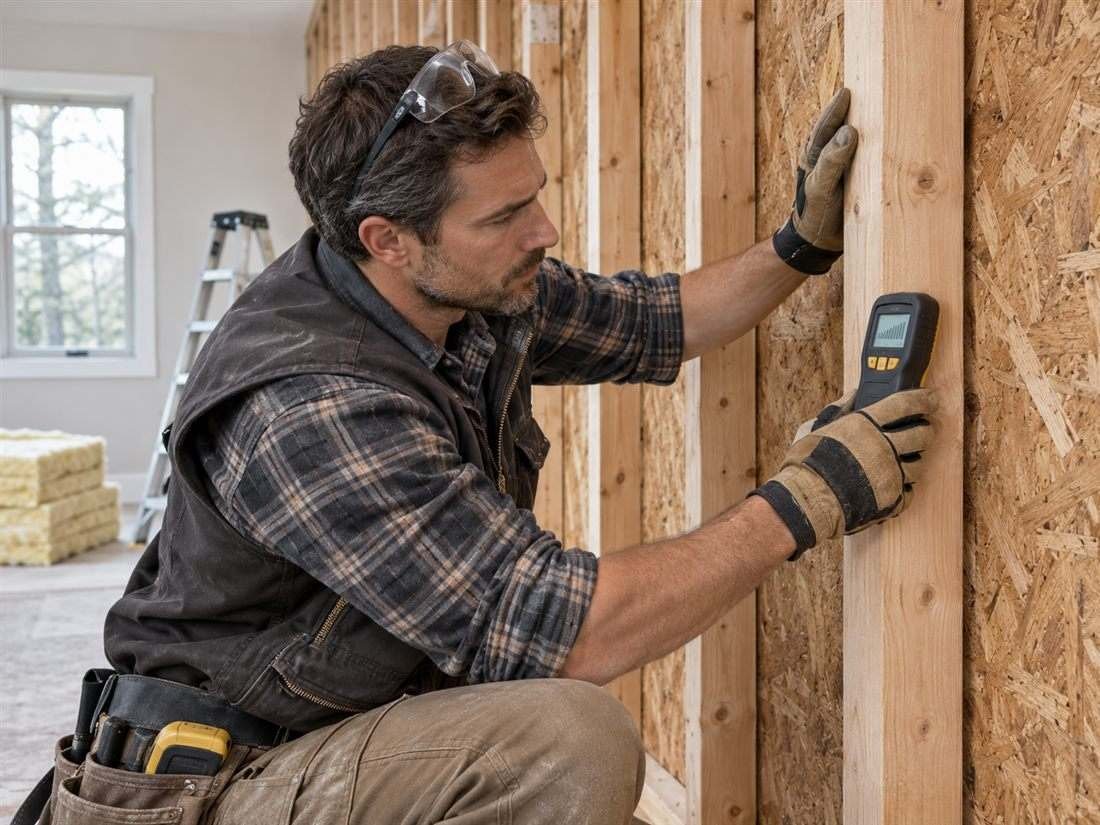
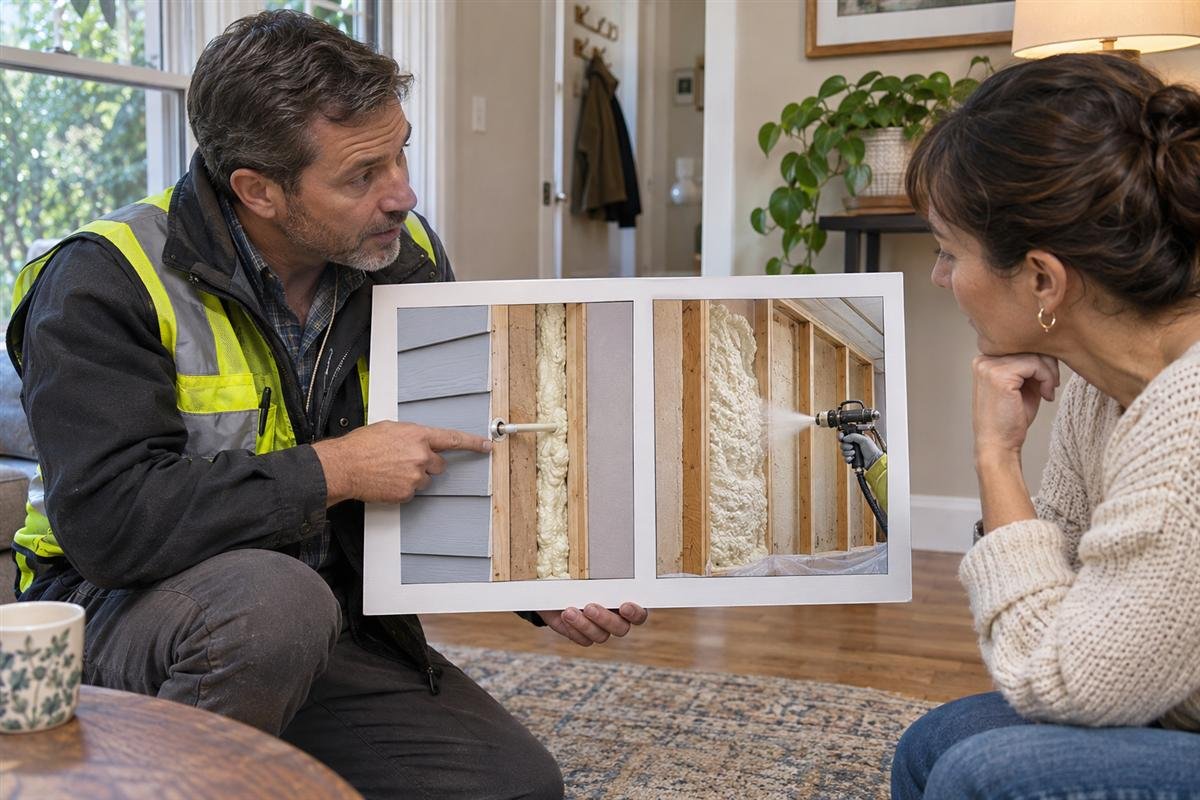
This is a guide for accessible, open stud walls. It does not explain how to inject or push batts through small holes in a finished wall. Closed cavities can hide wires, plumbing, fire blocking, dampness, and old materials. If the wall is already closed, see our wall insulation guide for retrofit methods and their limits.
What faced wall insulation does
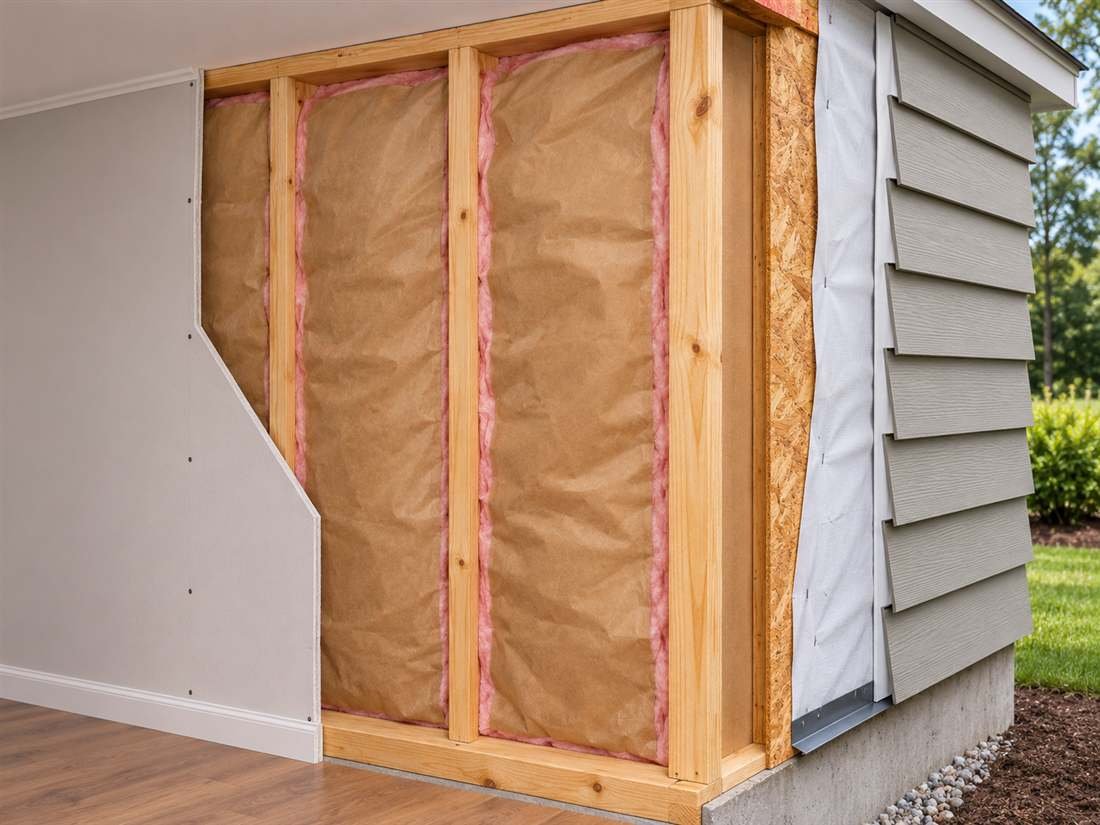
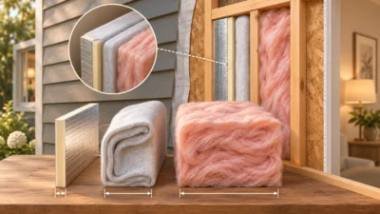
A faced batt has a paper or foil layer attached to one side. Depending on the product, that facing can slow water-vapor diffusion and provide flanges for fastening. The insulation fibers or foam provide the thermal resistance; the facing does not add a meaningful R-value by itself. Also, a facing is not automatically a complete air barrier, weather barrier, or waterproof membrane. Air sealing and rain control need their own continuous layers.
Kraft paper on many residential fiberglass batts is a vapor retarder, not an all-purpose moisture shield. The Department of Energy’s Building America guide explains that vapor-retarder needs vary with climate and assembly, and cautions against applying the “warm-in-winter” rule as a universal answer. Read the DOE insulation guide before assuming that every exterior wall needs the same facing.
Check the wall and product before you begin
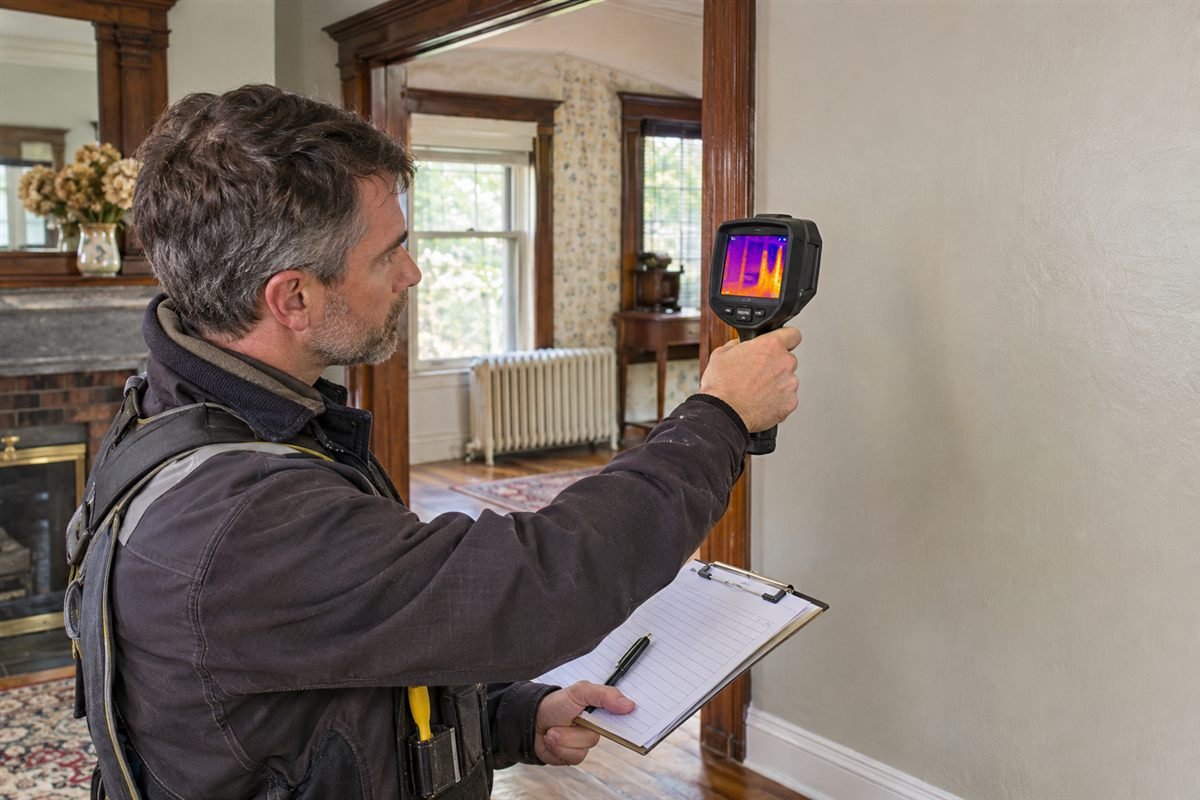
First, confirm that the cavity is open, dry, and suitable for the selected batt. Look for water stains, musty odors, damaged sheathing, active leaks, mold, or wet framing. Fix bulk-water problems and let the assembly dry before covering it. Insulation will not repair roof flashing, failed siding, or a plumbing leak. If you see rot, extensive mold, or unknown older materials, pause and get qualified help.
- Measure each stud bay; older walls may vary from one cavity to another.
- Check the framing depth, stud spacing, batt width, and labeled R-value.
- Read the exact product’s facing, fire, storage, and installation instructions.
- Identify electrical wiring, boxes, pipes, ducts, blocking, and heat-producing equipment.
- Check local code and the wall’s existing vapor-control layers before choosing faced or unfaced batts.
- Do not add a second vapor retarder until you know how the wall can dry.
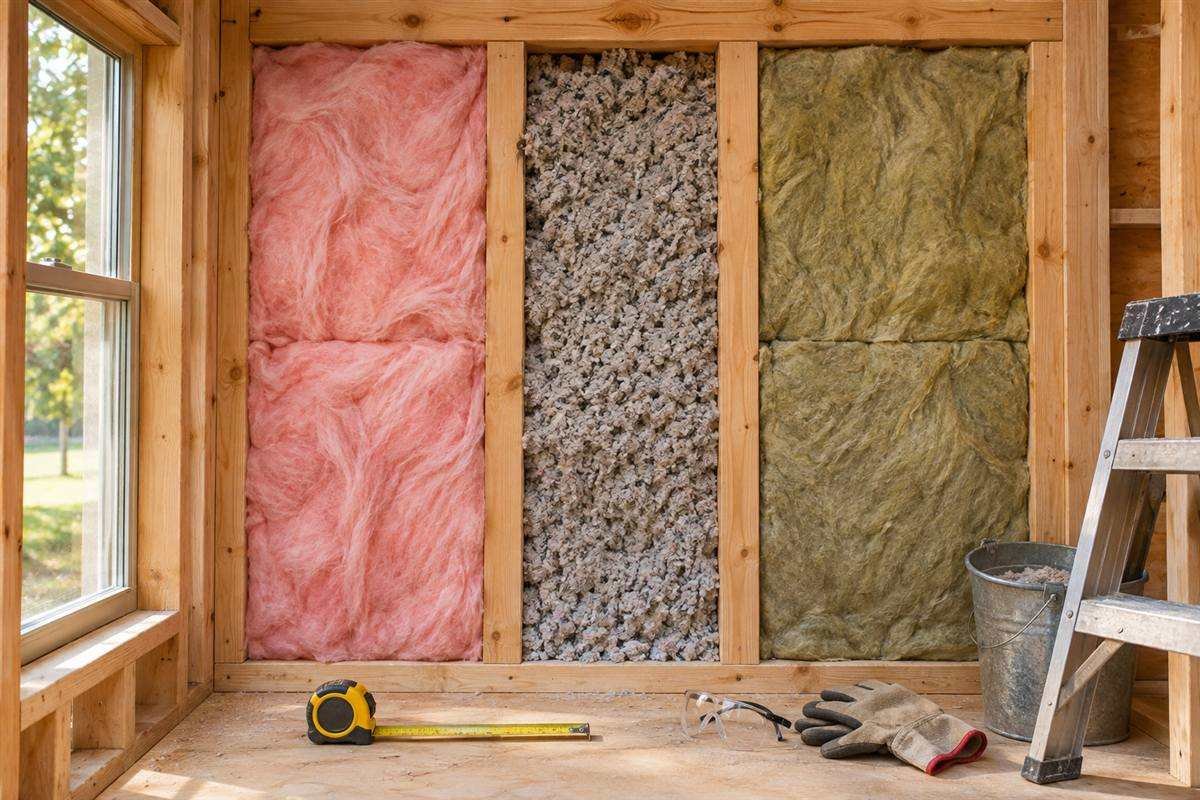
Choose a batt sized for the cavity rather than forcing an oversized product into it. A product designed for a deeper wall can bulge or compress in a shallow bay. Compression changes the installed performance, and a bulging batt can push drywall out of plane. For a broader material comparison, read our interior wall insulation materials guide.
Tools and safe preparation
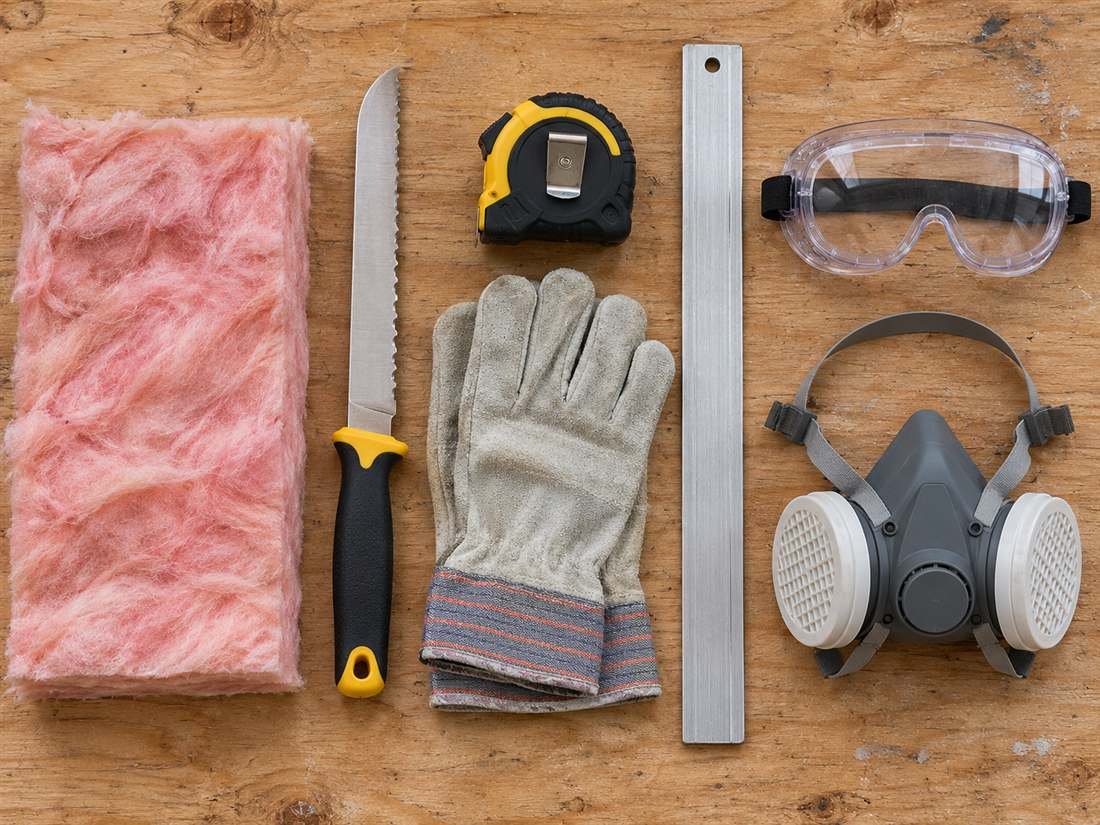
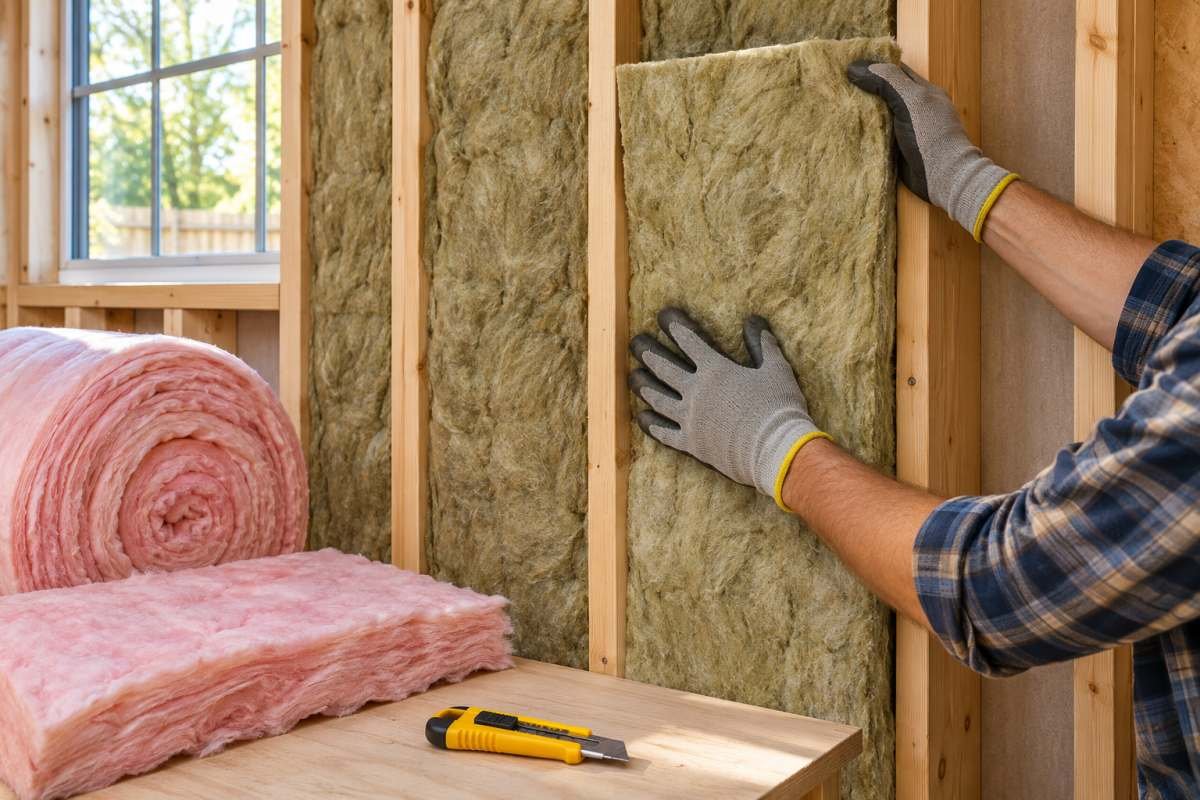
Gather a tape measure, straightedge, sharp insulation knife, stable cutting surface, staple gun if the product calls for fastening, and a work light. Follow the label for personal protective equipment. Fiberglass fibers and some mineral fibers can irritate skin, eyes, and airways, so use gloves, long sleeves, eye protection, and a suitable respirator when the product instructions or site conditions require one. Keep the space ventilated and wash after handling.
Turn off power at the correct circuit before working around electrical boxes or wiring, and verify it is off with an appropriate tester. Do not pull, splice, or relocate wiring unless you are qualified. Keep insulation away from recessed fixtures, flues, chimneys, motors, and other equipment that requires clearance. Follow equipment labels and local electrical and fire rules; never cover a heat source just because a batt fits.
Step-by-step: install faced insulation in an open wall
1. Air-seal the framing details
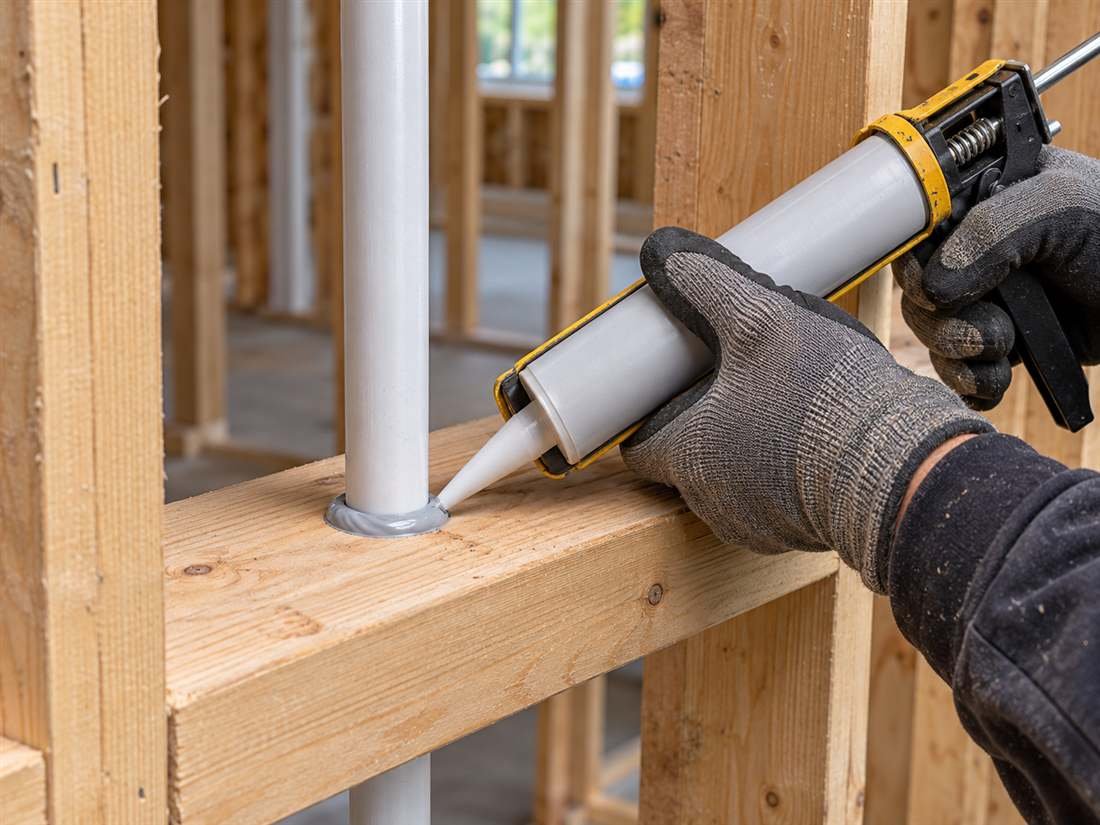
Before installing batts, seal appropriate gaps around top and bottom plates, rough openings, and utility penetrations with materials approved for that location. Air can carry far more moisture through a leak than vapor diffusion through an intact material. However, do not seal drainage openings or block a designed ventilation path. The wall needs a continuous air-control layer, and the batt alone does not create one.
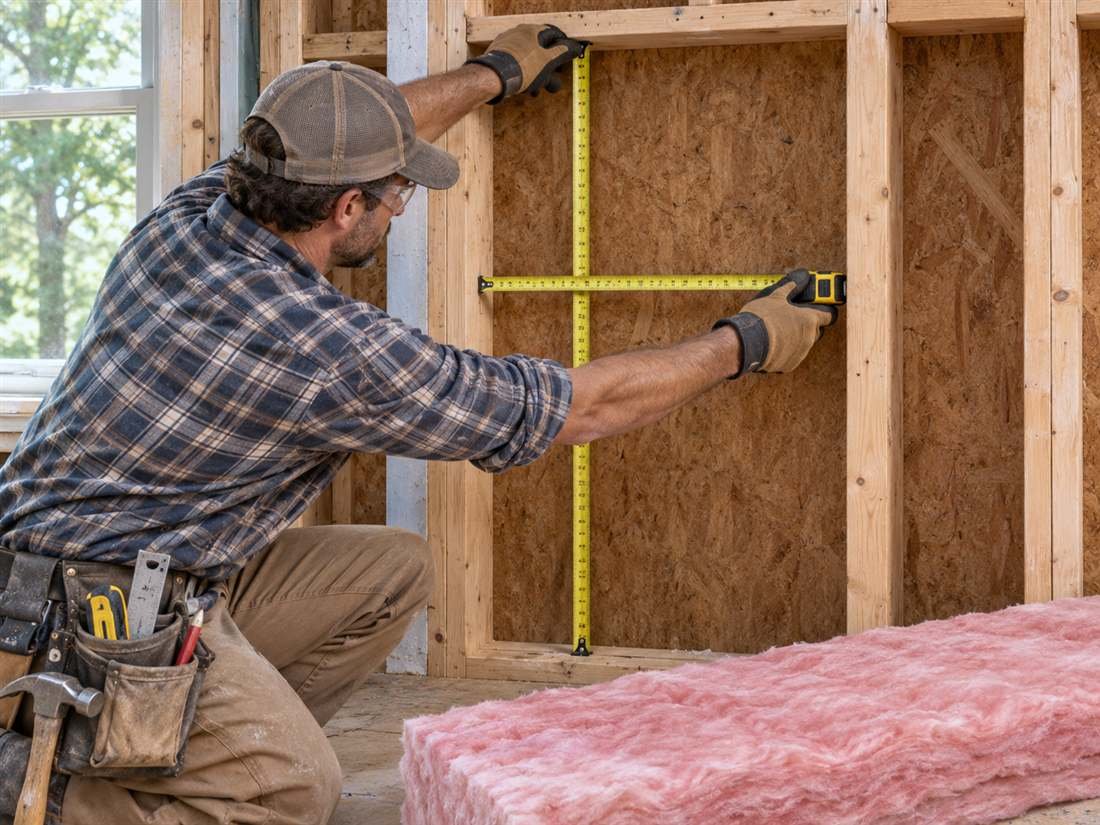
2. Measure and cut each batt accurately
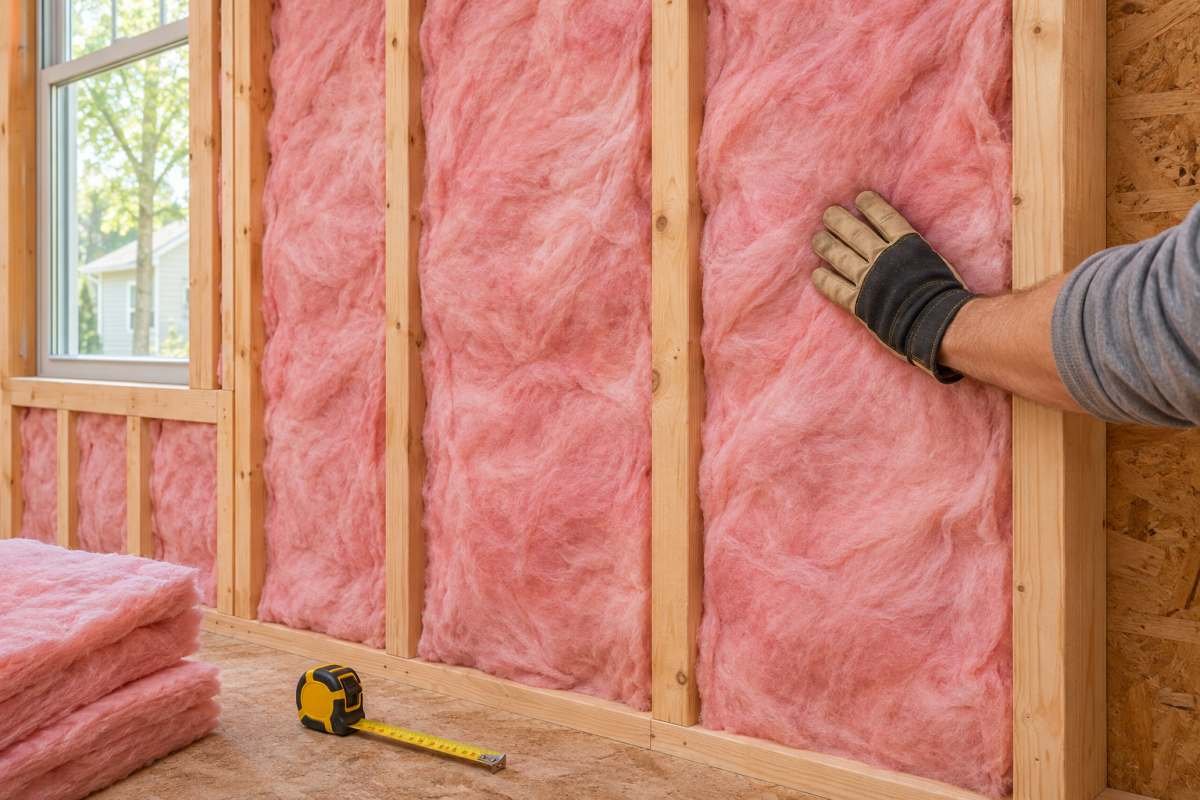
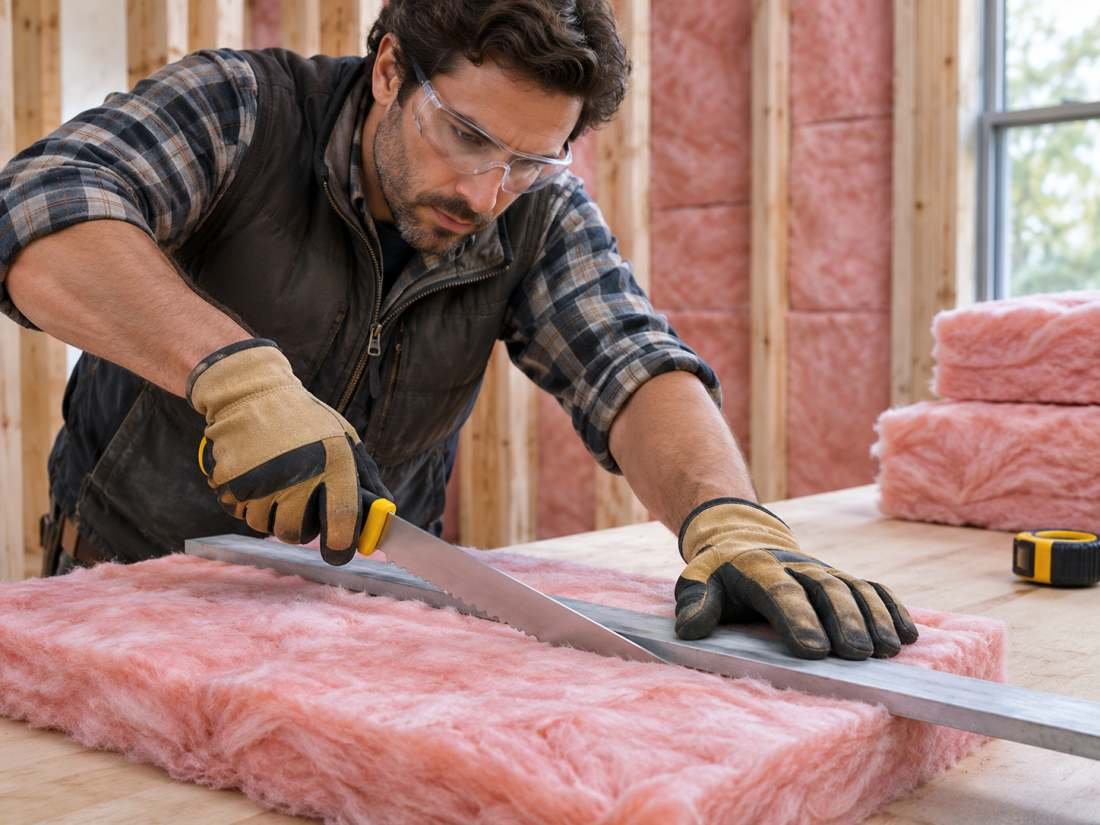
Measure the clear width and height of each bay. Cut the batt to the dimensions recommended by its manufacturer. It should touch the sides of the cavity and fill the depth, while remaining fluffy and even. Do not stretch a batt to bridge a long space, fold extra material behind it, or stuff scraps into a void. Use a properly sized piece so insulation remains continuous without bulges.
For a narrow or irregular bay, cut a new piece rather than compressing a full-width batt. Some products allow a slight oversize for a friction fit; the amount varies by product. Use the manufacturer’s stated cutting allowance. If a cavity is too shallow for the batt’s labeled thickness, select a product intended for that depth or have the assembly redesigned.
3. Fit batts around wires, pipes, and boxes
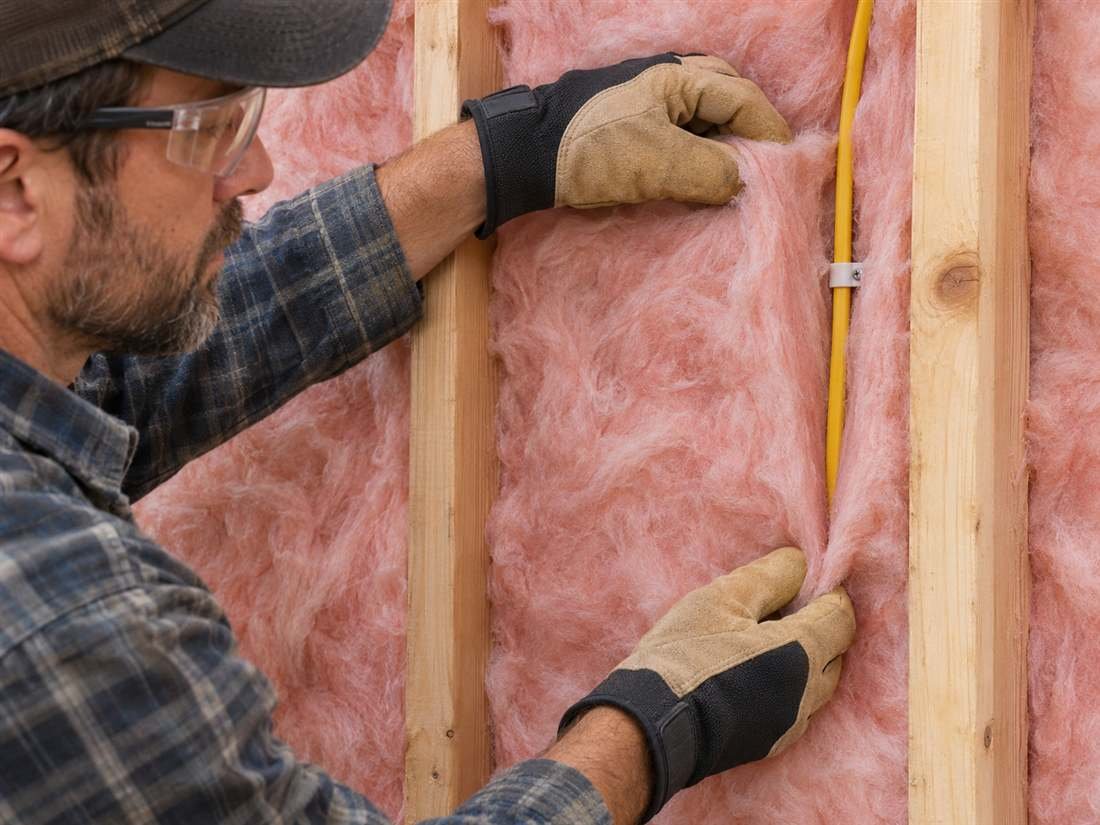
Do not lay a batt over a cable and leave an empty pocket behind it. Where the product and wiring arrangement allow, split the batt lengthwise so one portion sits behind the cable and the rest sits in front. This keeps insulation on both sides without crushing it. For pipes, cut carefully around the obstruction and maintain the full depth where possible. Never force material against hot pipes or equipment that requires clearance.
At an electrical box, cut or split the batt so it fits around the box and fills the adjacent spaces. Do not put insulation inside the box or cover openings. Place a small, correctly sized piece behind the box only when the box and wiring instructions permit it. If the arrangement is unfamiliar or the wiring is damaged, stop and call a qualified electrician before the wall is closed.
4. Set the facing and fasten the flanges
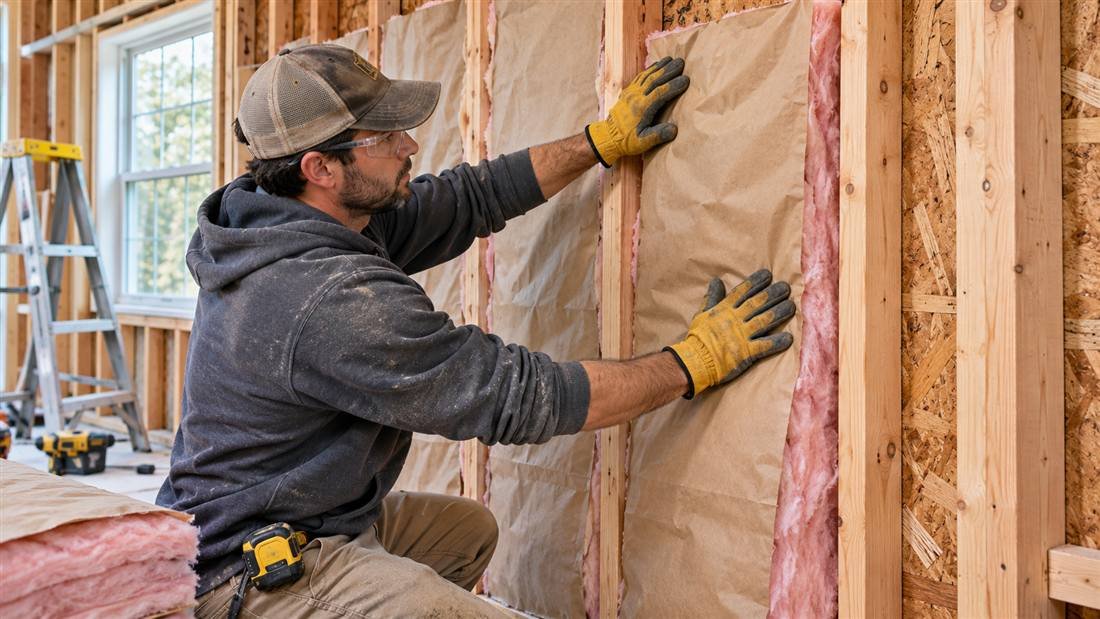
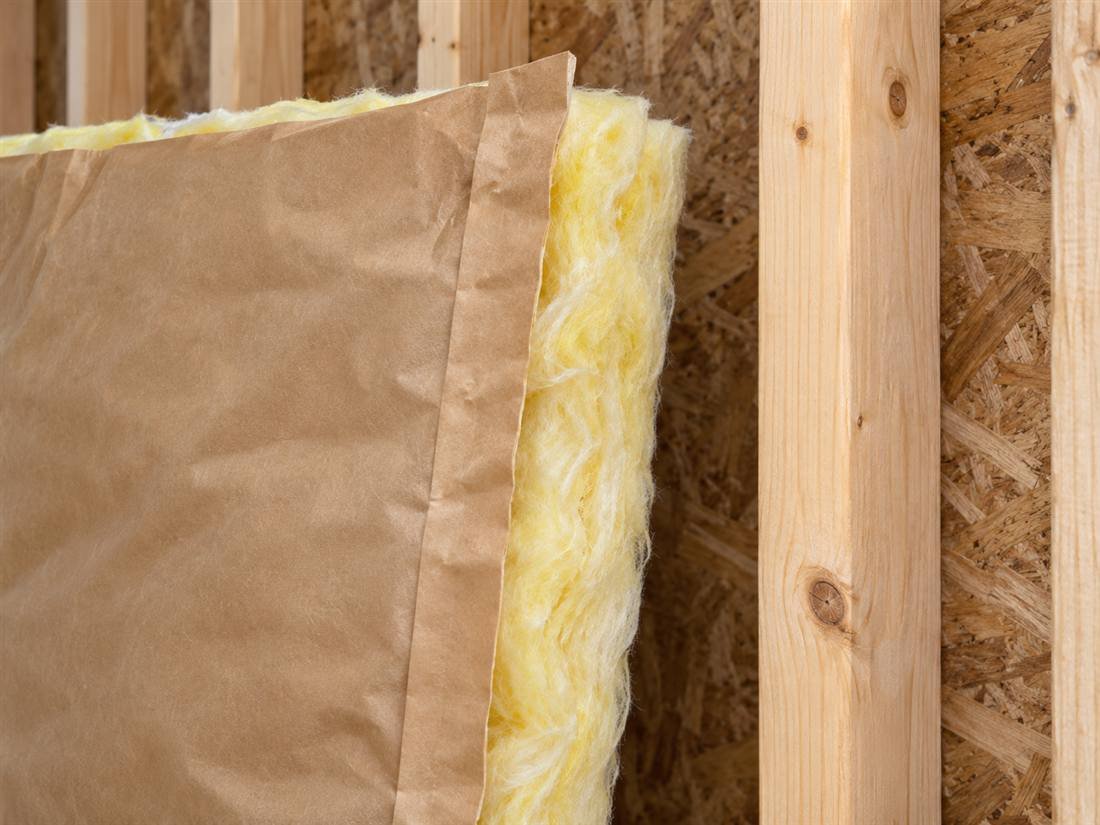
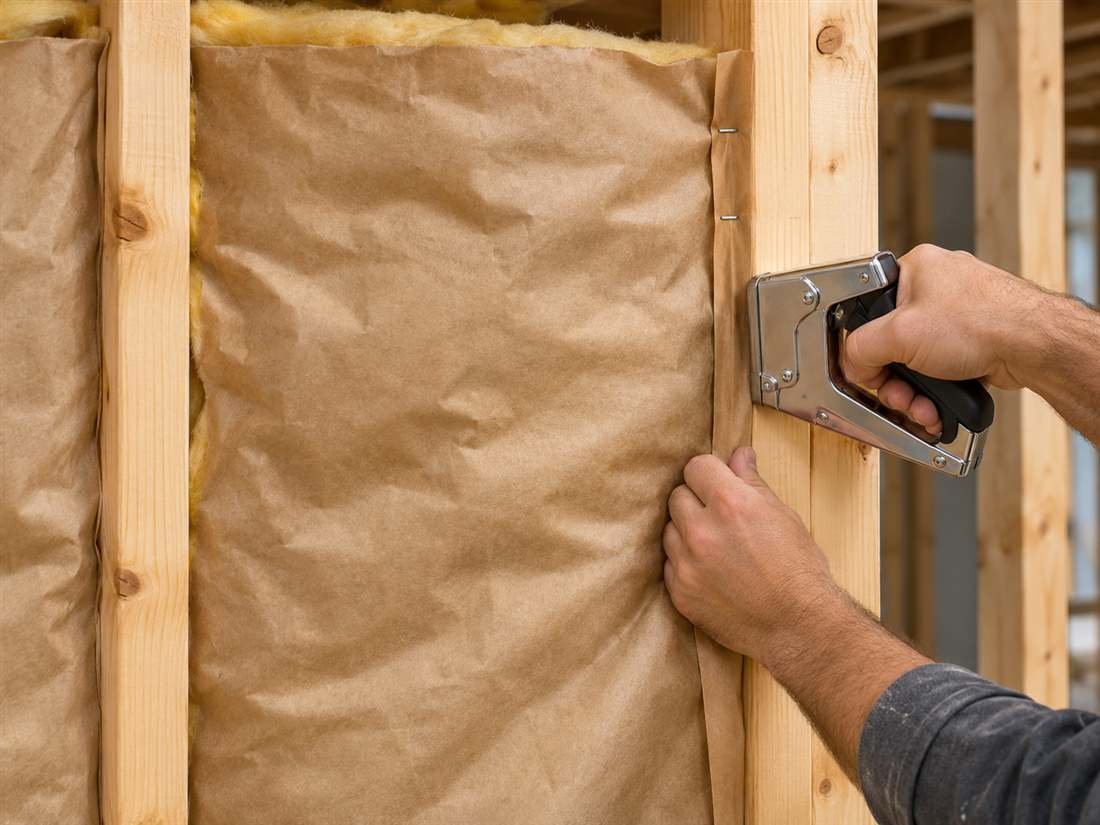
Place the facing on the side required by the product instructions and the wall’s moisture-control design. In many heating-dominated above-grade walls, the facing is toward the conditioned interior, often toward drywall. That is a common arrangement, not a rule for every climate, basement, or retrofit. If the wall has exterior foam, foil, polyethylene, or another low-permeance layer, confirm the assembly’s drying path before adding another retarder.
If the batt has paper flanges, fasten them only as the manufacturer directs. Some products allow staples on the inside faces of the studs; others allow the flanges to be stapled over the stud faces. Keep the batt in full contact with the cavity boundaries, and avoid loose, torn, or over-stretched paper. Knauf’s fiberglass batt installation instructions explain fitting around obstructions and fastening product flanges.
5. Inspect before covering the wall
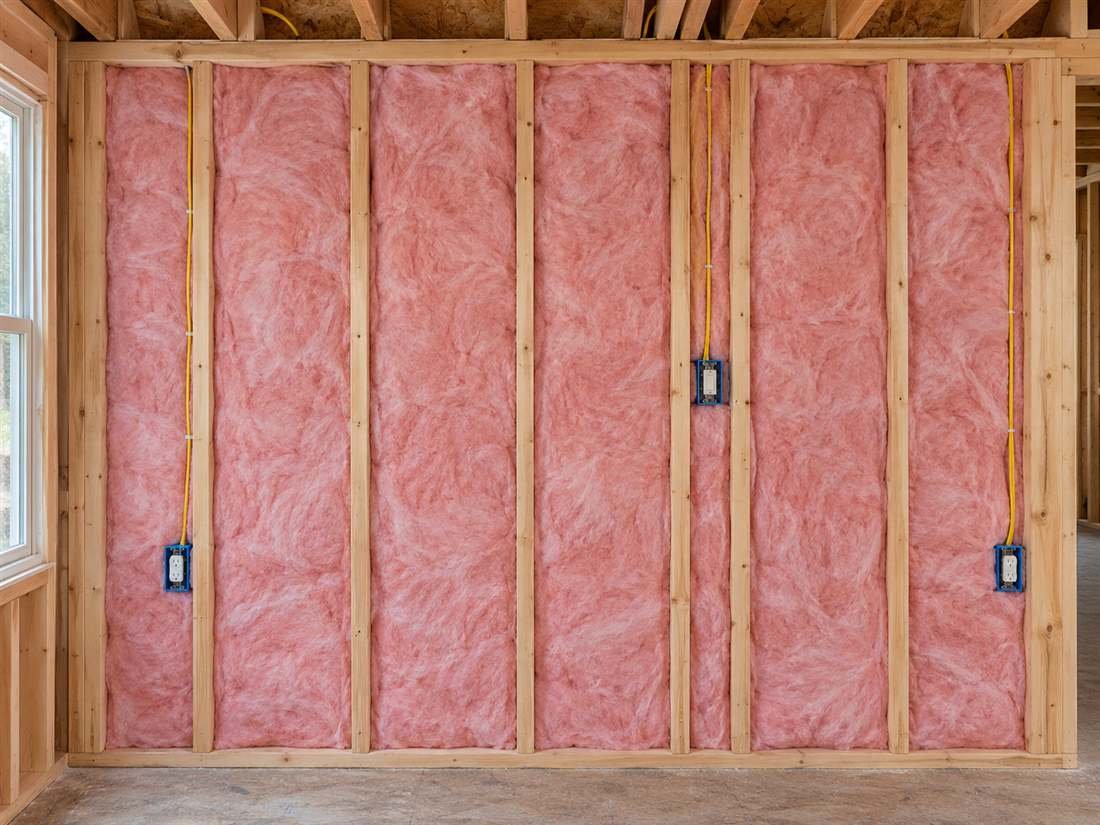
Check every bay from top to bottom. Look for gaps at corners, headers, narrow strips, outlets, and window openings. Confirm that batts are not compressed, folded, wet, or pushed behind blocking. Repair tears in facing with compatible facing tape rather than ordinary duct tape when the manufacturer requires a patch. Photograph the open wall and note the product name and R-value before drywall hides the work.
Before hanging drywall, verify required thermal barriers and fire protection. Many foam products and some faced products have specific covering requirements. Kraft paper is combustible and should not be left exposed where the applicable code or manufacturer calls for a protective finish. Drywall thickness, fastener spacing, and fire-rated assemblies also depend on location and building use. Check product documentation and local rules.
Common installation mistakes to avoid
- Installing the facing by habit without checking climate, code, and wall layers.
- Compressing a batt to make an oversized product fit.
- Leaving voids behind wires, pipes, headers, or electrical boxes.
- Assuming fiberglass stops drafts or replaces a continuous air barrier.
- Covering a damp wall before finding and fixing the source of water.
- Adding faced batts over another vapor retarder without checking drying potential.
- Leaving paper facing exposed where a protective finish is required.
These errors matter because insulation performance depends on the whole assembly. A snug batt, sealed air-control layer, and sensible moisture strategy work together. If a project involves masonry, a basement, foil-faced exterior sheathing, or a wall that already shows moisture, ask a building-science professional to review the layer order before you close it.
Frequently asked questions
Does faced insulation go paper-side toward the room?
Often, in a conventional heating-dominated exterior wall, the facing points toward the conditioned interior. Yet climate, existing layers, and local code can change the answer. Confirm the exact product and assembly rather than treating the warm-side rule as universal.
Can I install faced insulation over existing insulation?
You can add a second layer in some assemblies, but the facing matters. Two vapor-retarding layers can reduce the wall’s ability to dry. Use unfaced material when the design calls for it, and check the existing wall layers before adding a new vapor retarder.
Can I install faced batts in a finished wall?
Not by pushing a batt through a small hole. Batts need broad access to fit around framing and services. Finished walls usually require a method designed for closed cavities, or selective opening. Get a professional assessment if the wall contains wiring, plumbing, dampness, or unknown materials.
Conclusion
To install faced insulation in walls, start with a dry, open, safe cavity; choose a batt that matches the framing; air-seal the right details; and fit the material without gaps or compression. Set the facing only after checking the wall’s climate and vapor-control strategy. Then inspect the work and install the required protective finish. For more methods and wall types, return to our complete wall insulation guide.