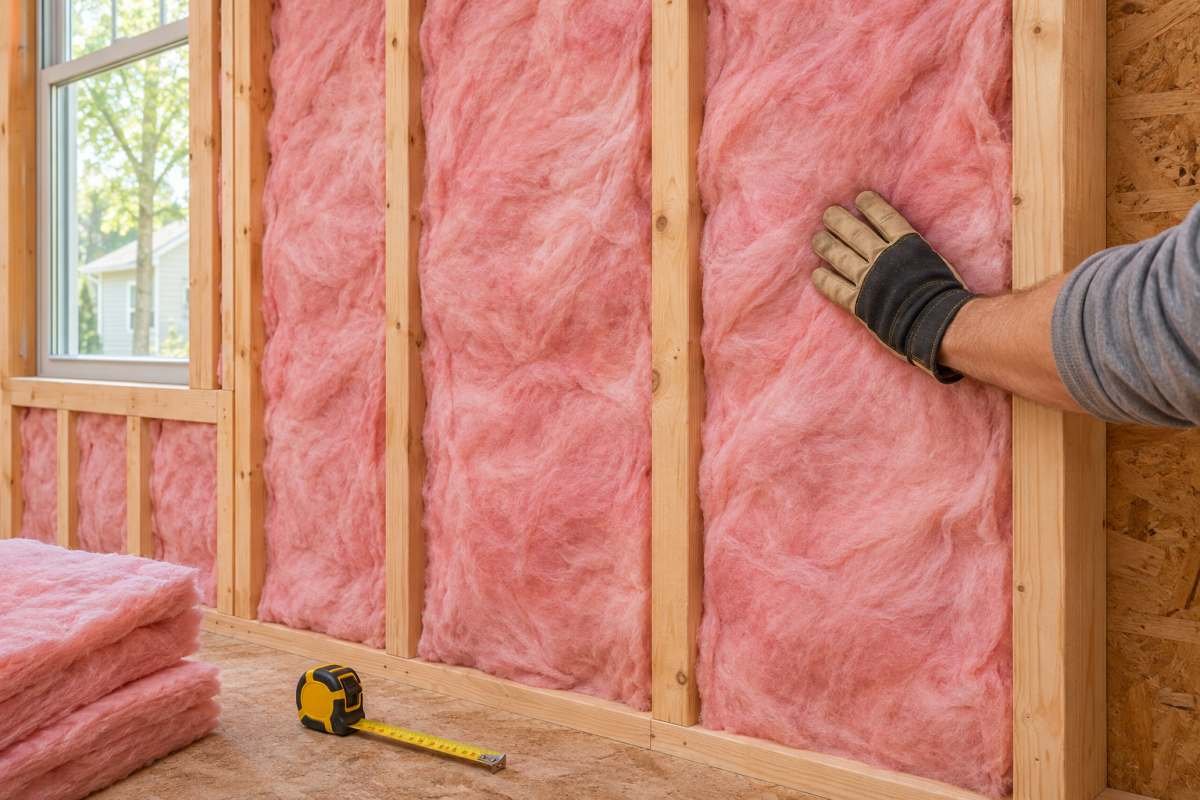

Batt insulation for walls is a ready-to-fit blanket made to sit between framing members. The term includes fiberglass and mineral wool products, with different densities, facings, thicknesses, and handling characteristics. A carefully fitted batt can add thermal resistance to a framed wall; a poorly fitted one leaves gaps, compresses, or misses the air-control work that the assembly still needs. Start with the wall design and cavity measurements, then choose the product.
This guide compares common batt types and gives a practical installation sequence for open walls. If you are choosing batt insulation for walls, match its width, thickness, facing, and R-value to the specific wall rather than relying on a generic recommendation. It also covers faced versus unfaced batts, wiring and outlet details, safety, and common errors. For an overview of the broader choices, read our wall insulation guide before deciding which assembly suits your home.
What Are Batt and Blanket Insulation?
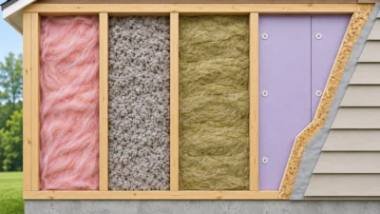
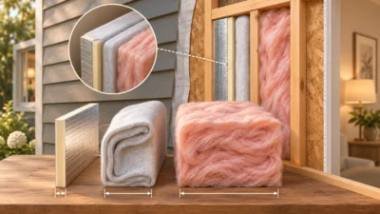
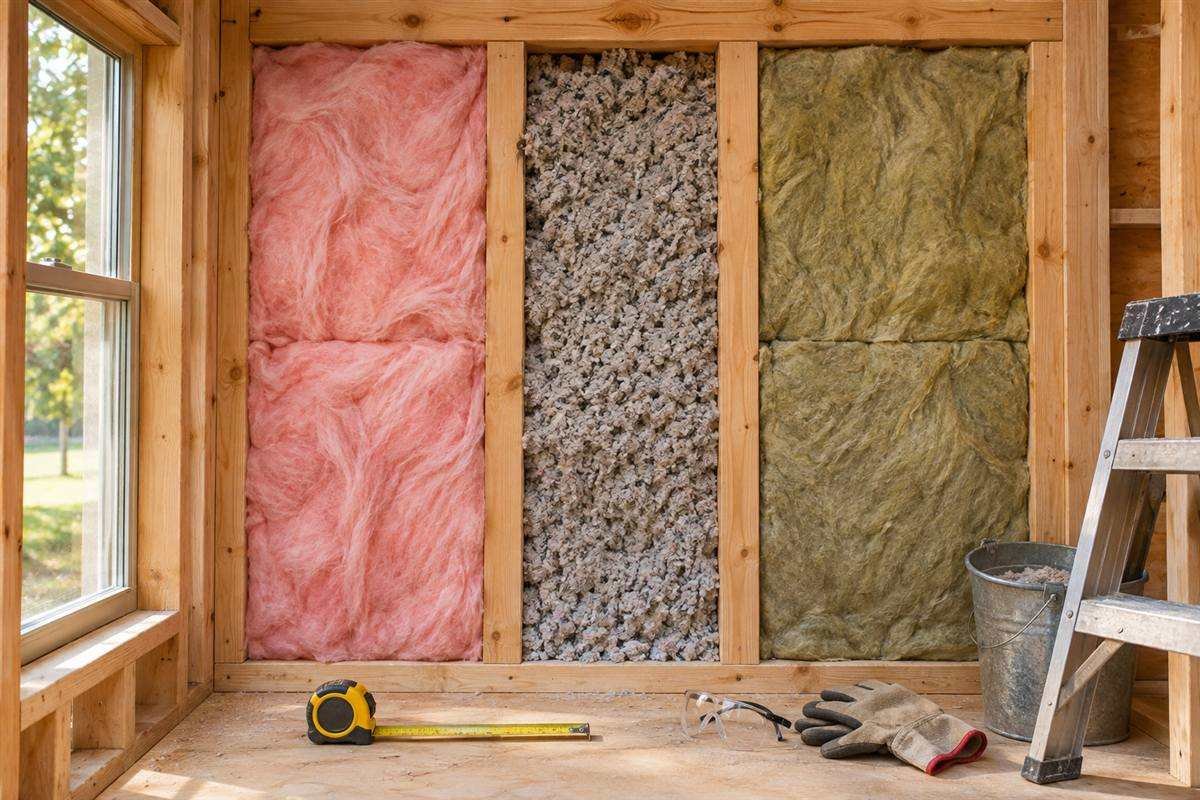
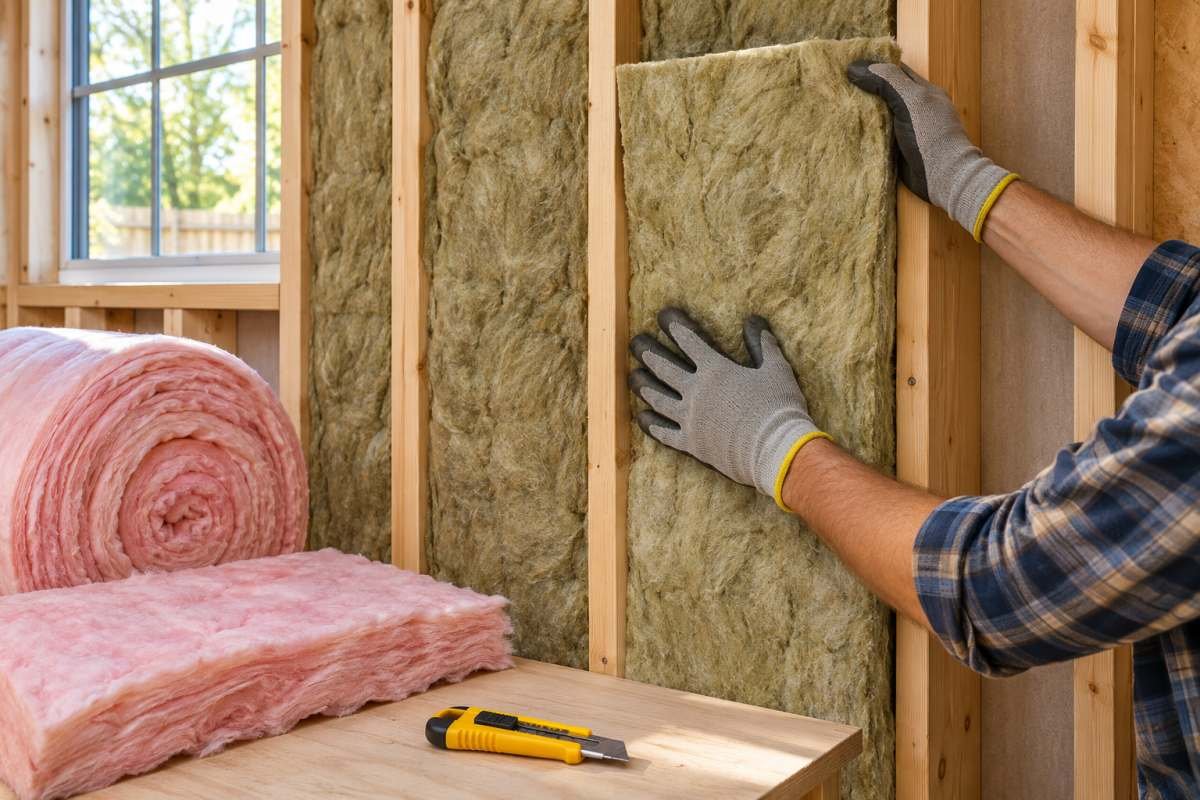
Batts are pre-cut sections; rolls or blankets come in longer lengths that installers cut to fit. Both are flexible insulation blankets designed for framed cavities. Fiberglass is the most familiar option, while mineral wool batts are made from rock or slag fibers. Cotton and other natural-fiber products are also available in some markets. The material, density, dimensions, and facing vary, so read the package rather than judging a batt by its color.
The R-value measures resistance to heat flow through the insulation material. It is not the whole-wall R-value: wood or metal framing, gaps, air leakage, windows, and installation quality all affect actual performance. Select a product that fits the cavity depth and local code requirement. The U.S. Department of Energy’s insulation types guide summarizes common materials and their uses.
Batt Insulation for Walls: Compare Types
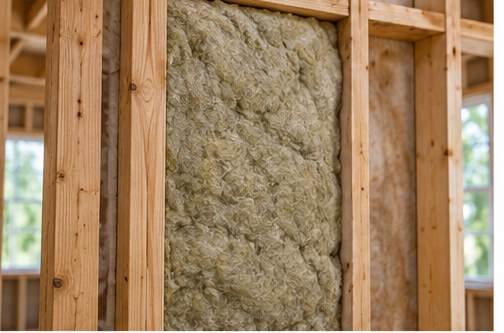
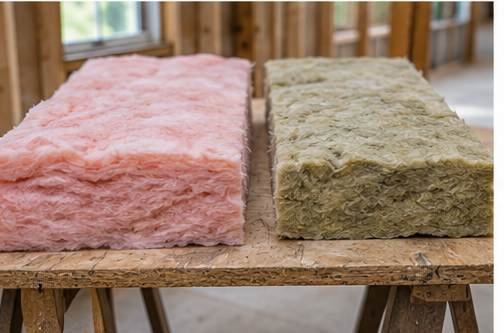
Fiberglass batts are lightweight, widely available, and often economical. They come faced or unfaced, in several widths and thicknesses. Their flexibility can make them easy to fit, although cutting around services takes care. Fibers may irritate skin, eyes, or breathing passages during handling, so follow label precautions and clean up with suitable methods.
Mineral wool is usually denser and holds its shape well. Some batts fit by friction and are easier to cut with a long insulation knife; product behavior still varies. Mineral wool products are commonly chosen when fire performance or sound absorption is a priority, but they do not eliminate noise by themselves. Check the specific product’s tested R-value, fire classification, and installation instructions.
Cotton or other natural-fiber batts may appeal to homeowners who want alternatives to glass or mineral fibers. Availability, price, thickness, and local approval can vary. Their performance depends on product testing and a correct fit just like any other batt. Compare the data sheet and installed cost, and make sure the material is approved for that location.
No batt is a complete moisture-management or air-sealing system. Fibrous products do not stop air movement through cracks, and water entry should be corrected before the wall is insulated. Some products include facings that act as vapor retarders in particular assemblies; facing choice depends on climate and the other wall layers. If you need a detailed side-by-side material comparison, see our interior wall insulation materials guide.
Before You Install Batt Insulation
Batt installation is straightforward only when the wall is open, dry, and free of hidden hazards. Look for active leaks, mold, damaged sheathing, loose wiring, plumbing problems, and heat-producing equipment. Correct water entry and let materials dry before covering the cavity. Where electrical work, flues, recessed equipment, or unknown old building materials are present, follow the applicable code and consult a qualified professional.
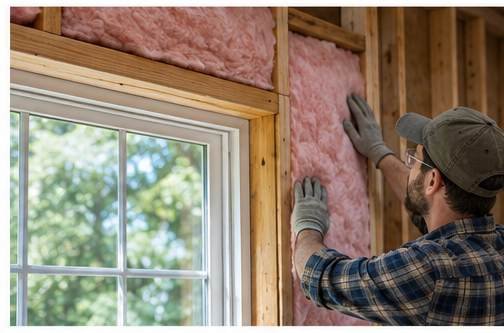
Measure each stud bay: width, height, and depth. Stud spacing can vary around windows, corners, and older framing. Compare those measurements to the product width and thickness. A batt that is too wide will buckle or compress; one that is too narrow leaves side gaps. Do not assume the labeled nominal size will suit every cavity. Buy a product intended for the framing dimensions and climate zone.
Choose faced or unfaced insulation according to the wall design. Kraft or foil facings may function as vapor retarders, but they do not belong in every climate or assembly. Check local code and manufacturer instructions, and avoid trapping moisture between layers that both resist drying. If you cannot confirm the correct vapor-control approach, get local building-science advice before installing faced batts.
Batt Insulation for Walls: Step-by-Step Fit
Prepare the Cavity and Seal Air Leaks
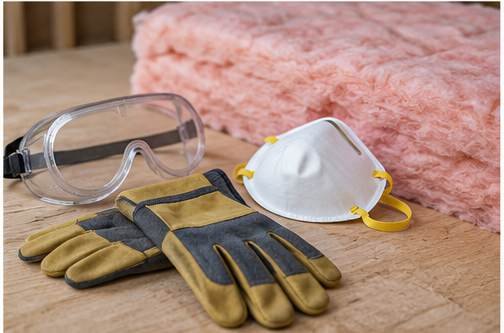
1. Prepare the work area. Wear the protective equipment listed on the package, such as gloves, long sleeves, eye protection, and suitable respiratory protection when required. Keep the space ventilated and keep insulation away from hot surfaces or equipment requiring clearance. Use a stable platform, a sharp insulation knife, a straightedge, and a tape measure.
2. Air-seal the framing details. Before the batts go in, seal appropriate cracks at the bottom and top plates, window and door rough openings, and utility penetrations. Use materials compatible with the location. Fiberglass and mineral wool are not air barriers, so simply pushing them into a drafty opening will not solve the leak. The U.S. DOE’s installer field guidance recommends close fitting and attention to gaps and service penetrations.
Cut and Fit Each Batt
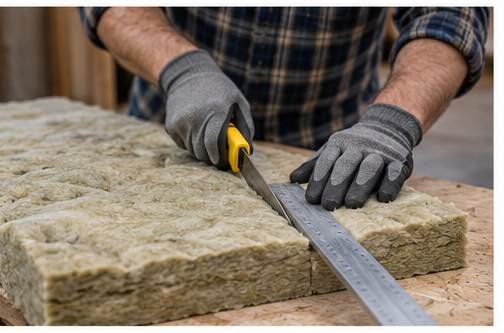
3. Cut to fit. Lay the batt on a clean surface and cut it with the tool recommended for that product. Make the cut square and sized as the manufacturer directs. Do not stretch a batt to bridge a long bay or wad scraps into a hole. Use a correctly sized piece that fills the opening without bulging.
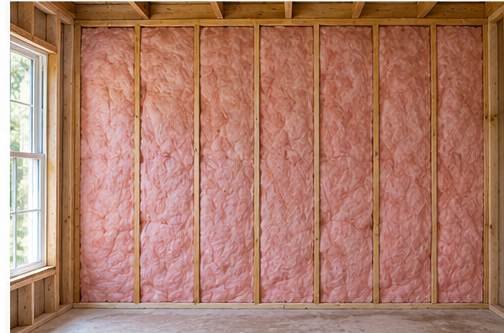
4. Install evenly. Place the batt so it contacts both sides of the stud bay and fills the full depth without compression. Staple the facing only when the product calls for it and at the stated locations. Keep the edges aligned to the framing. Fiberglass should remain fluffy; mineral wool should sit snugly without being crushed.
Work Around Cables, Boxes, and Windows
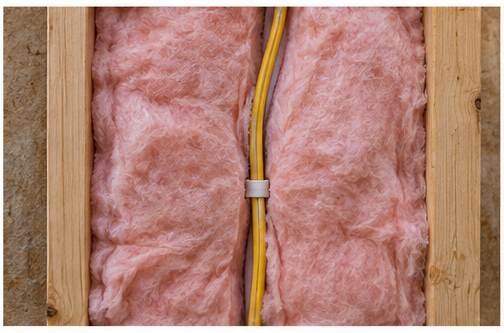
5. Work around cables and pipes. Split the batt from top to bottom so part of it sits behind the service and part in front, where the design permits. This preserves insulation thickness on both sides. Avoid bunching or squeezing material behind a cable. Do not pull or move electrical wiring to make room unless you are qualified to do so.
6. Treat electrical boxes and openings carefully. Cut and notch the batt around each box so insulation fills adjacent spaces without covering box openings or violating electrical clearances. At windows, seal the rough opening first, then fit narrow pieces around the frame without bowing it. Work methodically; small skipped strips can create cold spots and air paths.
Inspect Before Closing the Wall
7. Inspect before drywall. Check each bay from top to bottom, including corners, headers, narrow spaces, and edges around penetrations. Replace any piece that is damaged, wet, compressed, or too small. Confirm required clearances and ventilation paths. Correcting a gap now is easier than diagnosing a cold wall after the finish is installed.
Facing, Moisture, and Sound

A facing is not a substitute for weather-resistive barriers, flashing, or air sealing. It only performs its intended vapor-control role when placed and detailed correctly. Wall design must account for rain, indoor humidity, climate, and drying potential. Avoid applying a universal rule such as “always face the warm side” without checking the assembly and local requirements. Building Science Corporation’s cavity-insulation guidance discusses installation methods and the need to consider drying.
Batts can reduce sound transmission through a framed partition, especially when combined with careful air sealing, suitable wallboard, and decoupled framing. Yet sound also travels around the wall through doors, floors, ceilings, and outlets. Adding insulation alone may not fix a noisy room. For a bedroom or shared partition, consider the whole assembly and the desired level of sound control.
For exterior walls, water management matters as much as thermal resistance. Repair leaks, flashing failures, or persistent condensation before closing the cavity. If the exterior has vapor-closed foam, masonry, or another unusual layer, ask a building professional how the wall can dry. Fibrous insulation can be part of a safe assembly, but the wall layers need to work together.
Common Installation Mistakes
- Choosing width or thickness without measuring the actual stud bays.
- Compressing batts, leaving voids, or pulling them away from the framing.
- Fitting insulation around services in a way that creates a thin spot or hides a hazard.
- Leaving air leaks unsealed because the batt appears to fill the opening.
- Using faced batts without considering climate, wall layers, and local code.
- Covering wet framing or failing to inspect the wall before drywall.
A useful rule is to make the batt continuous, full-depth, and in contact with the cavity boundaries, while keeping it uncompressed. Then make the air-control layer continuous at seams and penetrations. The insulation handles heat flow through the cavity; the air barrier handles air movement. Both details matter.
Batt Insulation for Walls: Choose the Right Type
For a framed cavity, batt insulation for walls works best when its width and thickness match the studs without squeezing or leaving open strips. Check the product label and local requirements before buying. Choose fiberglass when low cost, easy availability, and a standard framed cavity are the main priorities. Consider mineral wool when the product’s density, shape retention, or fire characteristics match the project. Compare natural-fiber options when the budget and product availability allow. For every material, check R-value, dimensions, fire and moisture guidance, facing, and installation requirements.
In a retrofit, do not select a batt simply because the cavity looks empty. Confirm the wall type and access, and determine whether you can install a batt without leaving voids. Existing closed walls often need another method or selective opening. Our main wall insulation guide explains how to compare those approaches.
Frequently Asked Questions
Are batts or rolls better for walls?
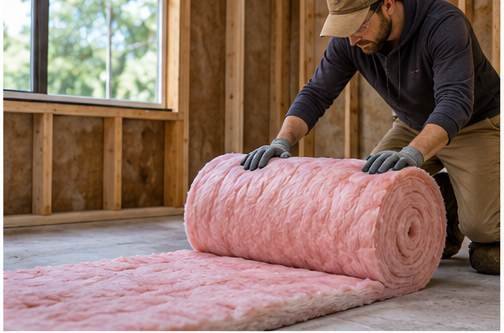
Neither is universally better. Pre-cut batts suit measured individual cavities; rolls can help with long, consistent spaces. The best product is the one that fits the actual framing without gaps or compression.
Can batt insulation stop drafts?
No. Batts slow heat transfer but do not seal air leaks. Seal the wall perimeter and penetrations with appropriate air-control materials before installing the insulation.
Can I install wall batts myself?
Homeowners can install batts in open, dry walls if they follow product instructions, use appropriate protective equipment, and respect electrical, fire, and moisture details. Hire a professional for uncertain wiring, damp walls, hazardous old materials, or complex assemblies.
Conclusion
Batt insulation for walls can work well when the material, facing, and thickness match the framing and local wall design. Measure every bay, seal air leaks first, keep the batts full-depth and uncompressed, and inspect carefully before drywall. Fiberglass and mineral wool each have advantages, but the safest choice depends on the whole wall assembly. Review the full wall insulation resource before purchasing so your material choice fits the project.