

Good Minecraft interior design ideas begin with a room you can move through and use. Plan the entrance, storage, main furniture shapes, and ceiling before covering every surface with detail. Then repeat a small palette to connect the rooms. A convincing interior does not need a large footprint or a collection of complicated decorative tricks.
Our space planning guide explains activity zones and circulation in real rooms. You can adapt the thinking to a block-based build, while keeping game movement and block dimensions separate from real-world measurements.
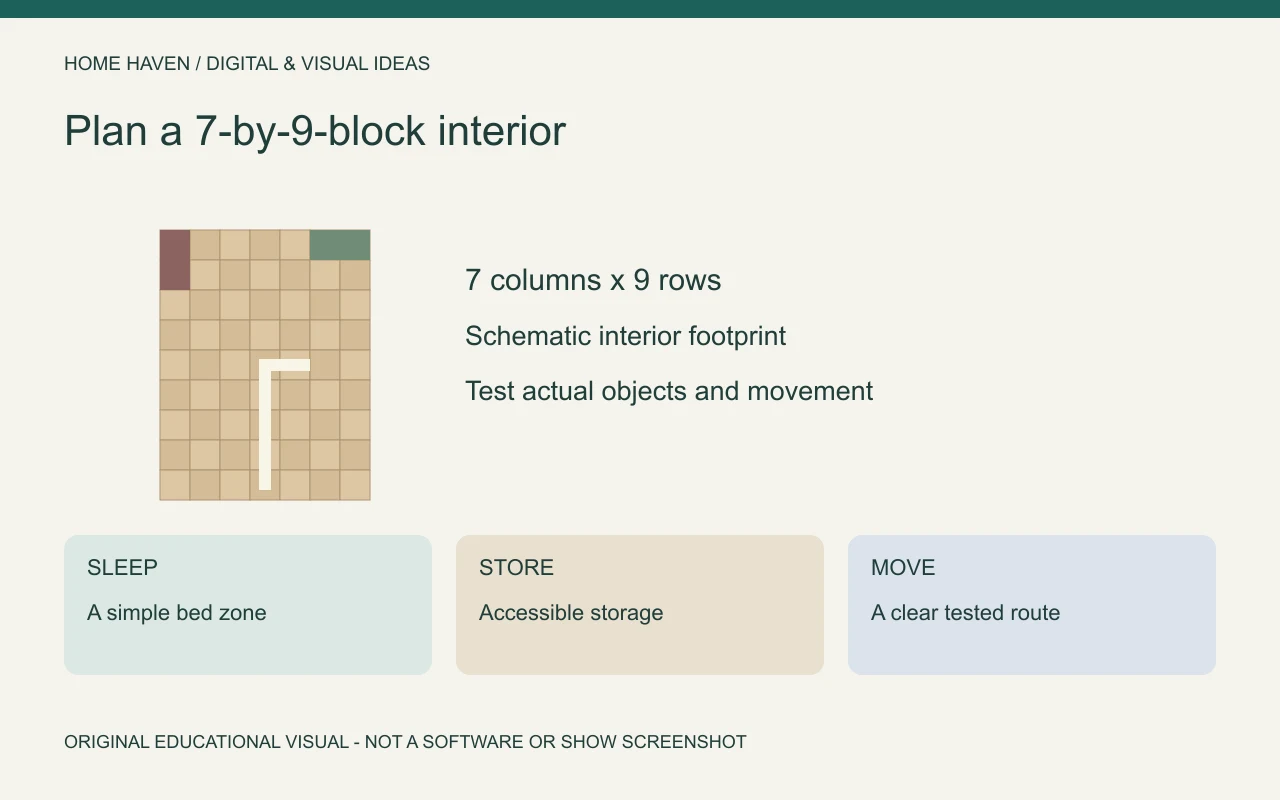
Plan the inside before finishing the shell
Count the usable interior blocks after the walls are in place. Mark the doorway, windows, stairs, and main route. A house that looks generous from outside can have surprisingly little usable space once thick walls and a staircase occupy the interior.
Use temporary blocks to mark furniture footprints. Walk through the unfinished room before adding trim. If the layout feels awkward, revise the shell or simplify the room rather than hiding the conflict behind decorative details.
Minecraft interior design ideas for a small bedroom
Begin with the bed and its approach. Leave a practical route from the doorway and test access to nearby storage. Use a restrained wall treatment so the bed area reads clearly without filling every available block.
A hypothetical 7-by-9-block interior can contain a sleeping zone and storage along a wall, depending on the openings and the rest of the build. Treat that footprint as a starting exercise, not a guaranteed layout. Test the actual objects and movement in your world.
Make storage part of the composition
Decide which storage you need to access frequently and which elements are purely decorative. Group storage where it supports the room’s purpose. Keep its operation testable instead of assuming a visually convincing cabinet will work as intended.
For a workshop or survival base, prioritize the practical sequence of activities. For a display build, visual organization may matter more. State the purpose to yourself before comparing the two, because a screenshot room and a frequently used base solve different problems.
Build a kitchen with a recognizable work zone
Choose a wall or corner for the main kitchen composition. Use repeated heights and a limited material palette to suggest counters, shelving, and appliances. Leave a route through the room rather than extending cabinetry across every opening.
Separate decorative representations from working game objects. A block arrangement that resembles an appliance does not automatically provide its real-world function. Keep the functional items you need accessible and test their use in the actual arrangement.
Use stairs, slabs, and simple shapes deliberately
Block shapes can suggest furniture without requiring a resource pack. Stairs may suggest seating, slabs can help create lower horizontal forms, and full blocks can establish storage or structural mass. The result depends on how the shapes relate, not only on the number of unusual pieces.
Check placement and interaction in your edition and current version. Decorative resemblance does not guarantee a usable chair or a particular mechanism. Avoid promising that a tutorial for another setup will behave identically in yours.
Choose a palette with clear roles
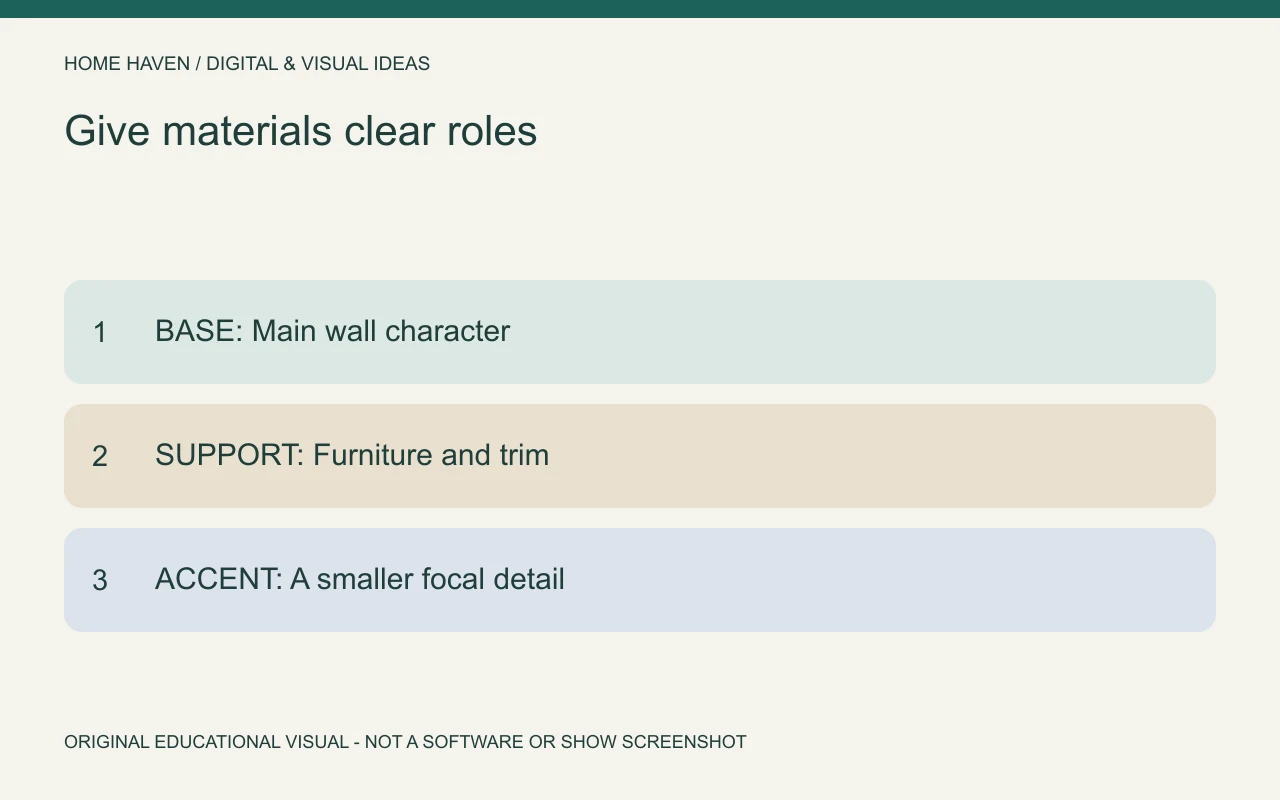
Pick a main wall material, a supporting wood or stone tone, and a smaller accent. These roles help the room remain readable. You do not need a fixed percentage formula or an exact number of block types.
Repeat a detail from the main room in adjacent spaces, then vary its amount. A related wood tone can connect a bedroom and hall without making them copies. Review the palette under the lighting and texture settings you actually use.
- Base: the material that gives the room its main character.
- Support: a related tone or texture for furniture and trim.
- Accent: a smaller contrasting detail near the intended focus.
- Review: remove materials that add noise without a purpose.
Create a living area with a clear focus
Arrange seating shapes around a table, view, artwork-like feature, or another intended focal point. Check the room from the doorway as well as the angle you plan to photograph. A strong screenshot should not depend on hiding an unusable entrance.
Leave some surfaces quieter. If every wall has a different pattern and every corner contains a feature, the eye has little sense of priority. Simplifying one area can improve the whole composition more than adding another decoration.
Use lighting as part of the build
Review the room’s appearance in the conditions where you intend to use or display it. A bright daytime screenshot may hide areas that become visually unclear at night. Test the actual light sources rather than assuming a decorative object provides illumination.
Game mechanics, shaders, resource packs, and versions can affect the result. Do not rely on a generic styling guide to guarantee spawning behavior or exact light-level outcomes. Check those mechanics separately for your world and setup.
Learn from references without copying a whole build
The official Minecraft Interior Motives feature highlights builders who consider interiors as well as exteriors. Use references to identify useful relationships: room purpose, circulation, material connections, and the experience of moving through the build.
Choose one idea to adapt instead of reproducing a creator’s project without credit. If you share a build inspired closely by someone else’s work, explain the reference and your own contribution. Do not present an illustrative planning diagram as an in-game screenshot.
Review the finished room in use
Walk from the entrance to each important object. Test storage and other interactions you rely on. Then inspect the room at ordinary player height and from the viewpoints you will share.
Keep a copy or suitable backup before major revisions where your setup allows it. Compare one change at a time, such as a simpler palette or a different furniture footprint. That makes it easier to understand why the next version works better.
Minecraft interior questions
Do you need mods or a texture pack?
No. You can explore layout, shape, palette, and repetition with the blocks available in your setup. Optional packs change the visual possibilities, so label them if the shared result depends on them.
Should block dimensions become feet or inches?
Not for this planning exercise. Work in blocks and test game movement. The link to real-room planning concerns the method of organizing space, not a claim that the measurements are interchangeable.
Make the room useful before making it busy
Start with the footprint, test the main route, and give each area a purpose. Add a controlled palette and a few meaningful details. A clear interior remains interesting when someone explores it rather than only viewing one screenshot.