
Wall fiberglass insulation is a familiar, budget-friendly way to slow heat transfer through framed walls. It is sold as flexible batts and rolls, and it can work well when the product fits the cavity and the rest of the wall assembly is planned correctly. This guide explains where fiberglass belongs, how to choose a batt, and what commonly undermines its performance. For a broader overview of wall options, see our wall insulation guide.
The short answer: fiberglass batts suit open, dry, standard-width stud bays. Homeowners comparing wall fiberglass insulation with mineral wool should also check the product’s R-value, facing, fit, and climate guidance. They do not seal air leaks, and they are not a fix for wet walls. Measure the framing, choose an R-value that suits the cavity and local requirements, air-seal details first, then fit the batt without gaps or compression. If you are insulating a finished wall, pause before opening or drilling; the existing assembly needs an appropriate retrofit approach.
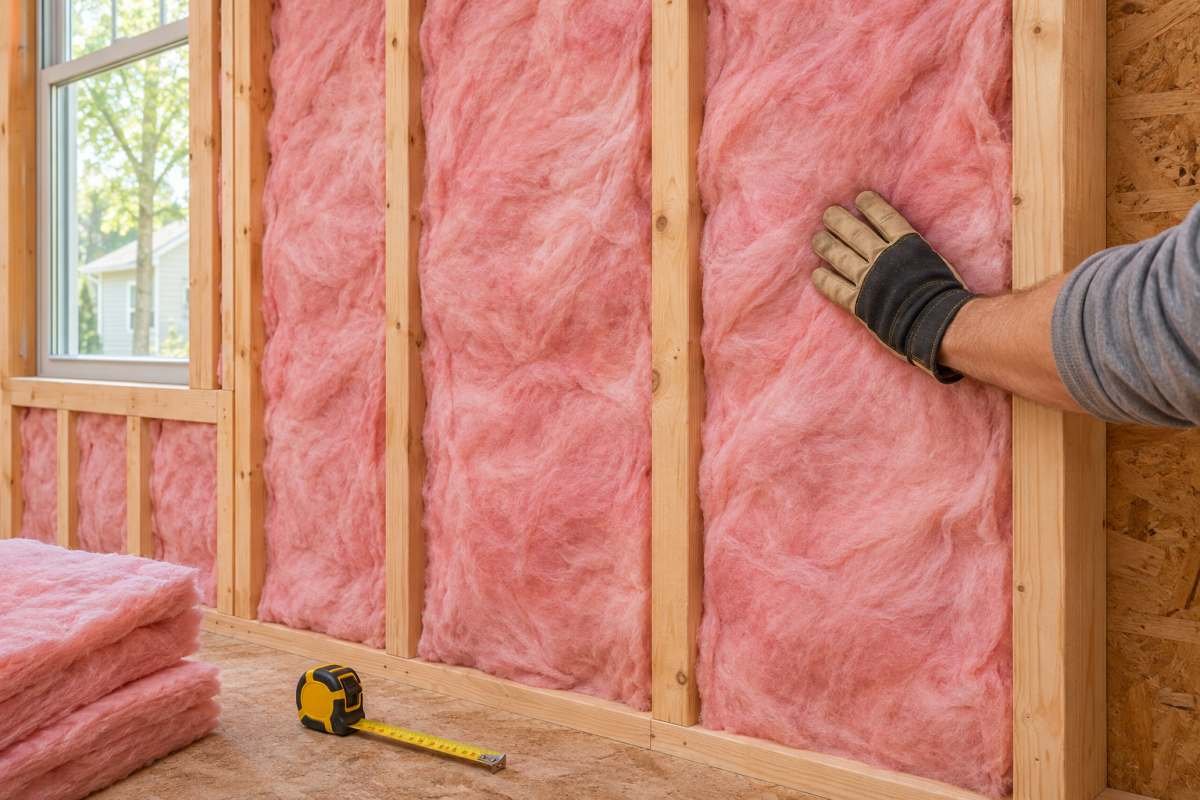
What Fiberglass Wall Insulation Is
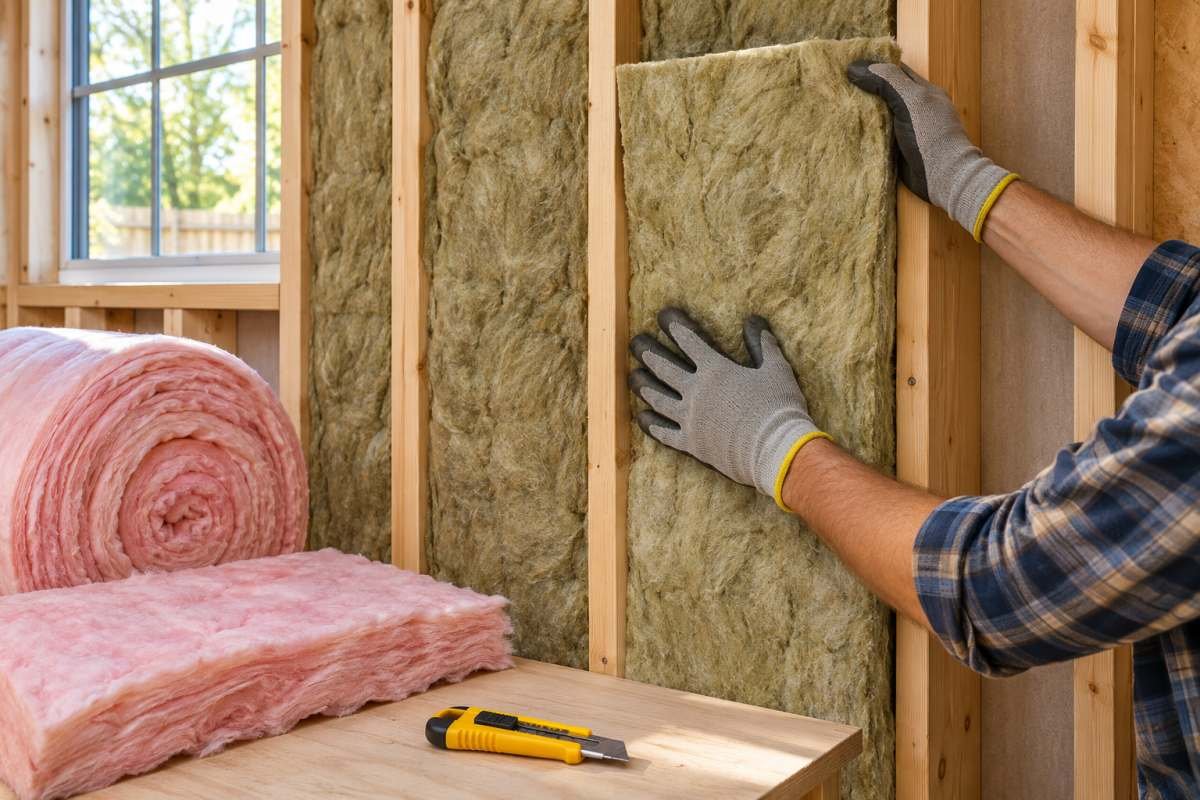
Fiberglass insulation is made from fine glass fibers formed into a soft, springy blanket. Wall batts are manufactured in widths that match common stud spacing and thicknesses intended for particular framing depths. Rolls provide a longer continuous length, while pre-cut batts are convenient for individual bays. Both are forms of fibrous insulation, so they slow heat movement by trapping still air within the fiber structure.
A batt’s labeled R-value describes its resistance to heat flow at its intended thickness. A higher number usually means more resistance, but the wall’s overall performance also depends on studs, sheathing, windows, air leakage, and installation quality. Check the package and local energy code rather than assuming one R-value works everywhere. DOE’s insulation overview explains common material types and where they are used.
Wall Fiberglass Insulation: Where It Works
Fiberglass performs best in open wood or metal-framed cavities that are dry, accessible, and regular enough for a close fit. It is practical for new construction, renovations with exposed framing, interior partitions, and some framed exterior walls. In a sound wall assembly, the cavity insulation works alongside air control, water management, and any climate-appropriate vapor control layer.
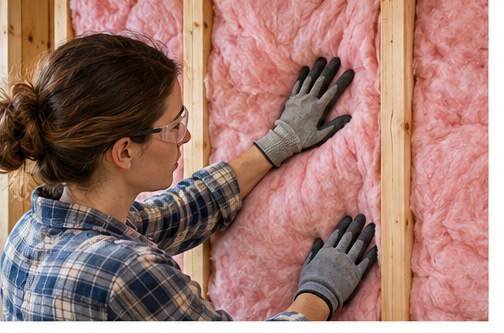
Fiberglass is not an air barrier. Wind or indoor air can move through gaps around a batt, wiring, framing, or an unsealed window opening and carry heat and moisture with it. Seal accessible cracks at plates, penetrations, and rough openings with products suited to the location before adding the insulation. Do not stuff fiberglass into a narrow crack and expect it to stop drafts.
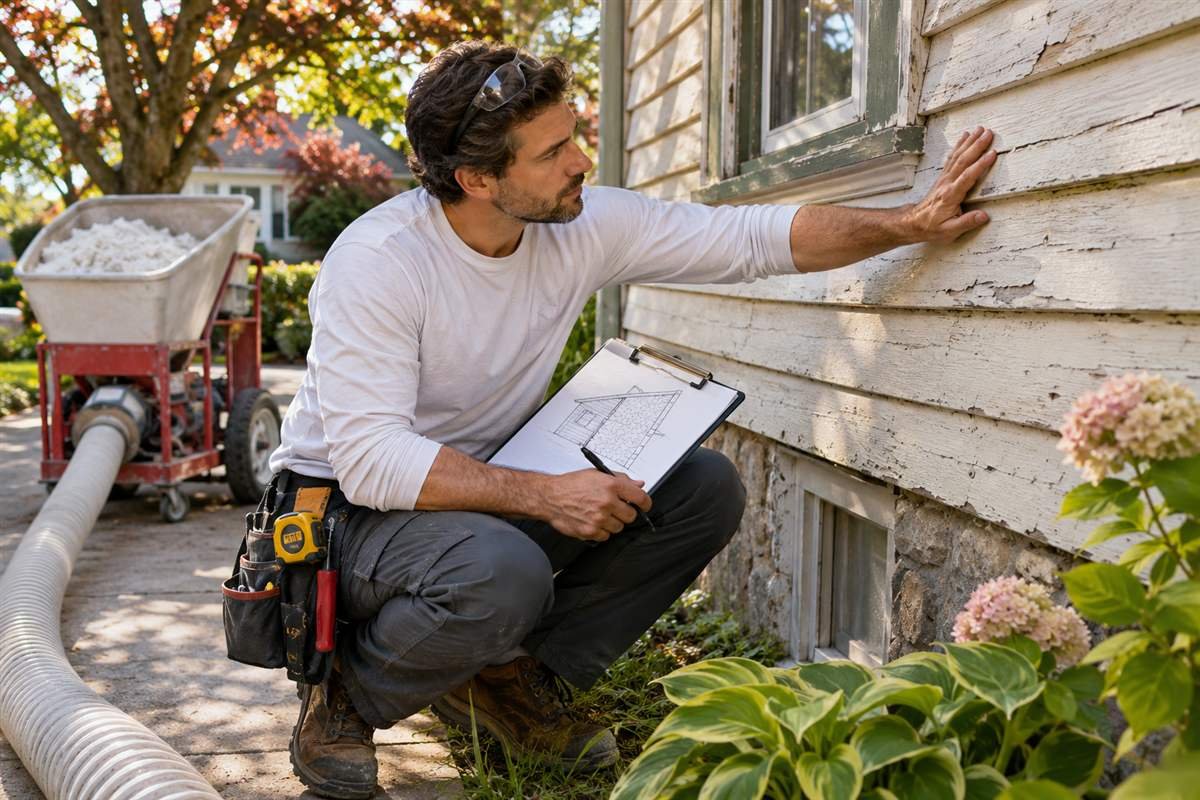
It is also a poor choice to cover active leaks or damp materials. Find and repair rain entry, plumbing leaks, or persistent condensation; allow the framing to dry and investigate damage before closing the wall. Fibrous insulation that stays wet can lose performance and conceal decay. If a wall is masonry, has unusual layers, or has a history of moisture, ask a building professional to assess its drying paths first.
Choosing Wall Fiberglass Insulation
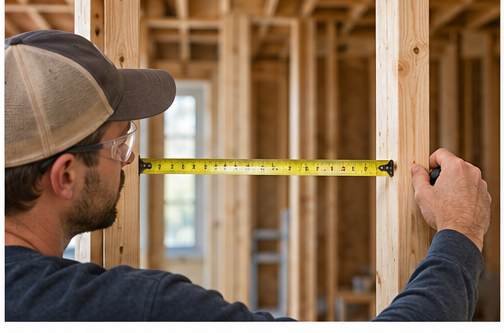
Start with the cavity depth and the manufacturer’s fit guidance. A batt that is too thick gets squeezed; one that is too narrow leaves side gaps. Either condition reduces the insulation’s effective value. Match its width to the measured stud spacing and use a thickness intended for the actual framing depth. When the cavity is shallow or framing is irregular, compare other systems instead of forcing a standard batt to fit.
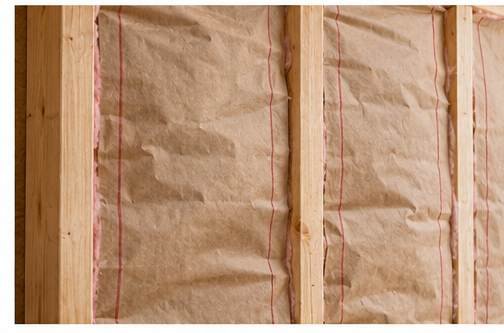
Choose faced or unfaced batts based on the wall design, climate, and local code. Kraft facing can serve as a vapor retarder in some assemblies, but it is not automatically appropriate everywhere. The facing must be oriented and detailed as specified for that assembly. Do not install two low-permeance layers that trap moisture between them; hot-humid and mixed climates may need a different approach. When uncertain, get local advice before adding a vapor retarder.
Check the label for R-value, thickness, width, facing, fire information, and coverage. Some products contain recycled glass or use different binders; if indoor-air ingredients matter to your household, read the product documentation and manufacturer disclosures. Fiberglass is not all identical, so compare the actual labeled product rather than relying on color or brand familiarity.
Wall Fiberglass Insulation: Installation and Fit
Before work, confirm that the cavity is open, dry, and free of hazards. Wear the protective equipment listed on the product label, including gloves, long sleeves, eye protection, and suitable respiratory protection when the installation instructions call for it. Keep insulation away from hot equipment, flues, and electrical components that require clearance. For uncertain wiring, damaged materials, or suspected asbestos or lead, stop and use a qualified professional.
Measure each bay rather than assuming every opening is identical. Cut batts slightly wider only as directed by the manufacturer so they stay in place without bowing the facing or crowding the framing. Use a sharp insulation knife and a flat work surface for clean cuts. Keep scraps for small, approved spaces, but do not patch a cavity with loose clumps that settle or leave hidden voids.
Fit the batt full height and width, with its edges in contact with framing. It should fill the cavity evenly and remain fluffy at its designed thickness. Around pipes and cables, split the batt so insulation sits behind and in front of the service where practical. Do not compress the material behind wiring or leave an uninsulated channel beside it.
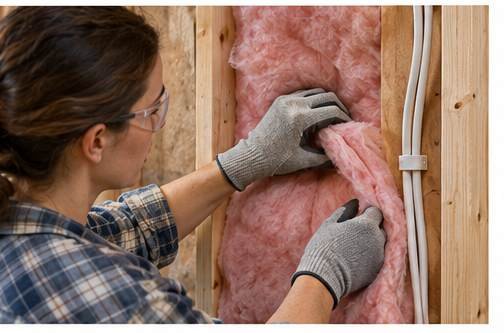
Fitting Around Wiring, Boxes, and Windows
At electrical boxes, carefully notch or split the material to fit around the box without covering openings or pushing fibers into the box. Follow electrical clearances and local rules. Near windows and doors, air-seal the frame-to-wall gap first with a compatible sealant or low-expansion foam where appropriate; then fit insulation without distorting the frame. Fiberglass alone cannot close that gap.
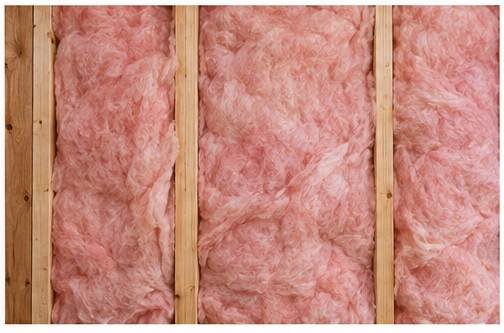
Inspect the Fit Before Drywall
Before drywall, inspect every bay from top to bottom. Look for slivers, gaps, compressed areas, missed corners, and batt edges pulled away from studs. Correct the small details now, because they are hard to reach later. Keep the facing continuous where the product design calls for it, and staple only as the manufacturer directs. These fit-and-finish steps often matter more than choosing between two similar batt labels.
Facing, Air Sealing, and Moisture Details
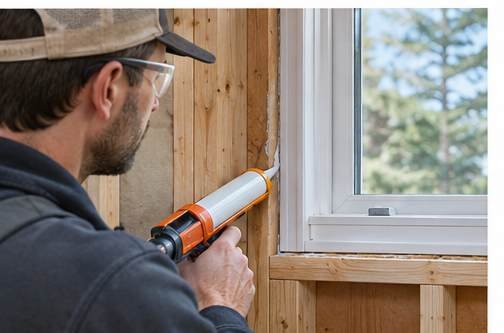
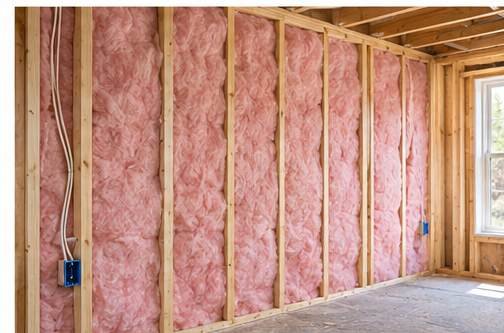
The insulation layer and the air-control layer perform different jobs. Fiberglass reduces heat flow through the cavity; an air barrier limits uncontrolled air movement. Seal gaps at the framing perimeter, around penetrations, and at openings with a continuous compatible layer. DOE installation guidance highlights tight fitting, avoiding compression, and careful treatment around wiring and boxes; its whole-house retrofit guide provides practical field guidance.
Vapor control is assembly-specific. A vapor retarder slows diffusion of water vapor, but it cannot compensate for bulk water leaks or poor air sealing. Its location depends on climate, indoor humidity, exterior layers, and how the wall can dry. Do not add polyethylene or foil facing by habit. For complex assemblies or cold-climate masonry, consult a qualified designer; Building Science Corporation outlines cavity-insulation categories and installation concerns in its cavity insulation guidance.
In sound-control applications, fiberglass can absorb some sound within a framed cavity, but it will not block all noise by itself. Flanking paths through doors, ceilings, floors, outlets, and lightweight framing can dominate. A fuller comparison of options is in our interior wall insulation materials and installation article.
Common Mistakes to Avoid
- Compressing the batt to make an oversized product fit the cavity.
- Leaving gaps around studs, wiring, corners, boxes, or window framing.
- Using fiberglass as a substitute for caulk, flashing, or another air and water-control detail.
- Covering damp sheathing or a leak before finding its cause.
- Selecting faced insulation without checking climate, wall layers, and code requirements.
- Closing the wall without checking clearances, wiring, and the full cavity.
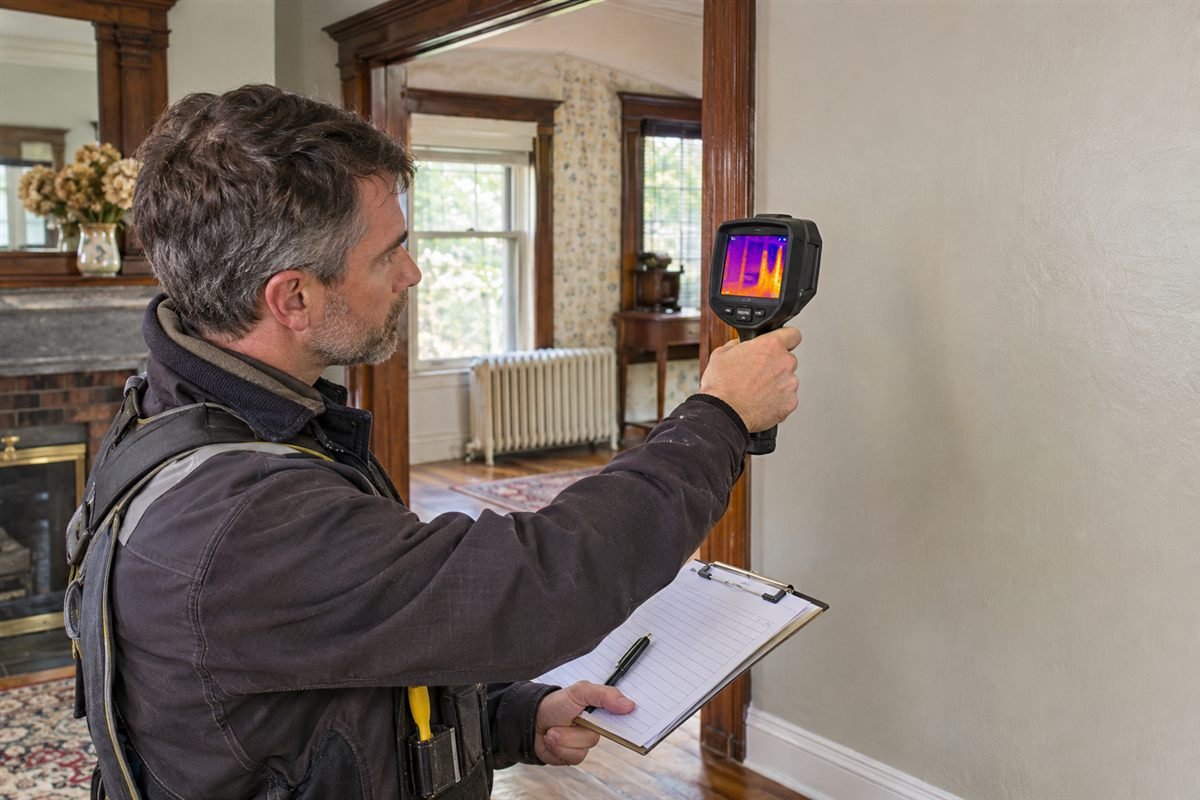
A quick quality check is simple: every bay should be completely filled at the intended thickness, with no visible voids or bulges. A thermal scan can help spot uneven temperatures, although it cannot replace opening and inspecting a suspect cavity.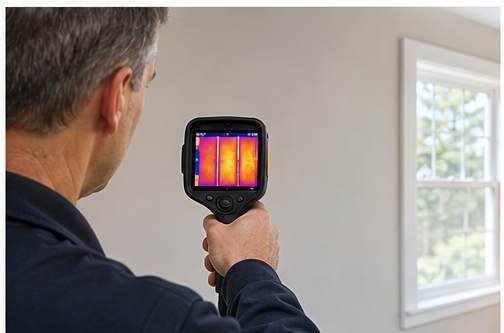
Is Fiberglass the Right Choice?
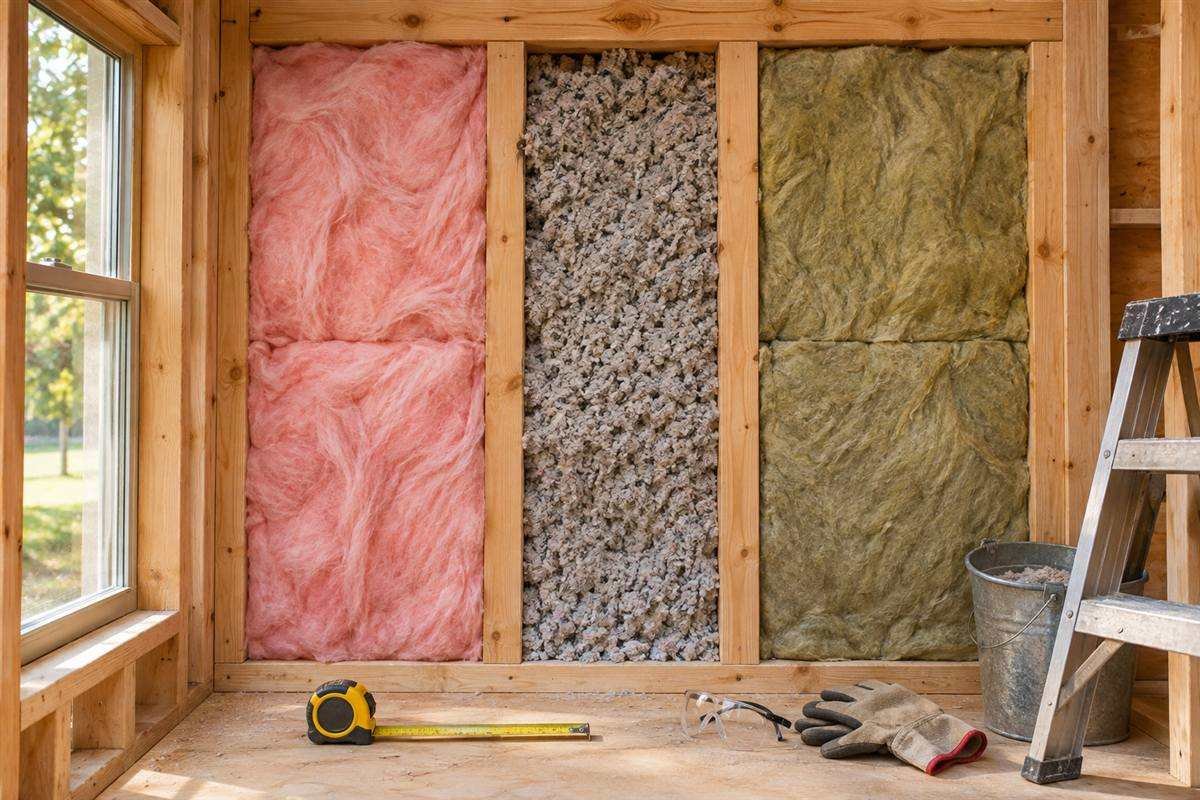
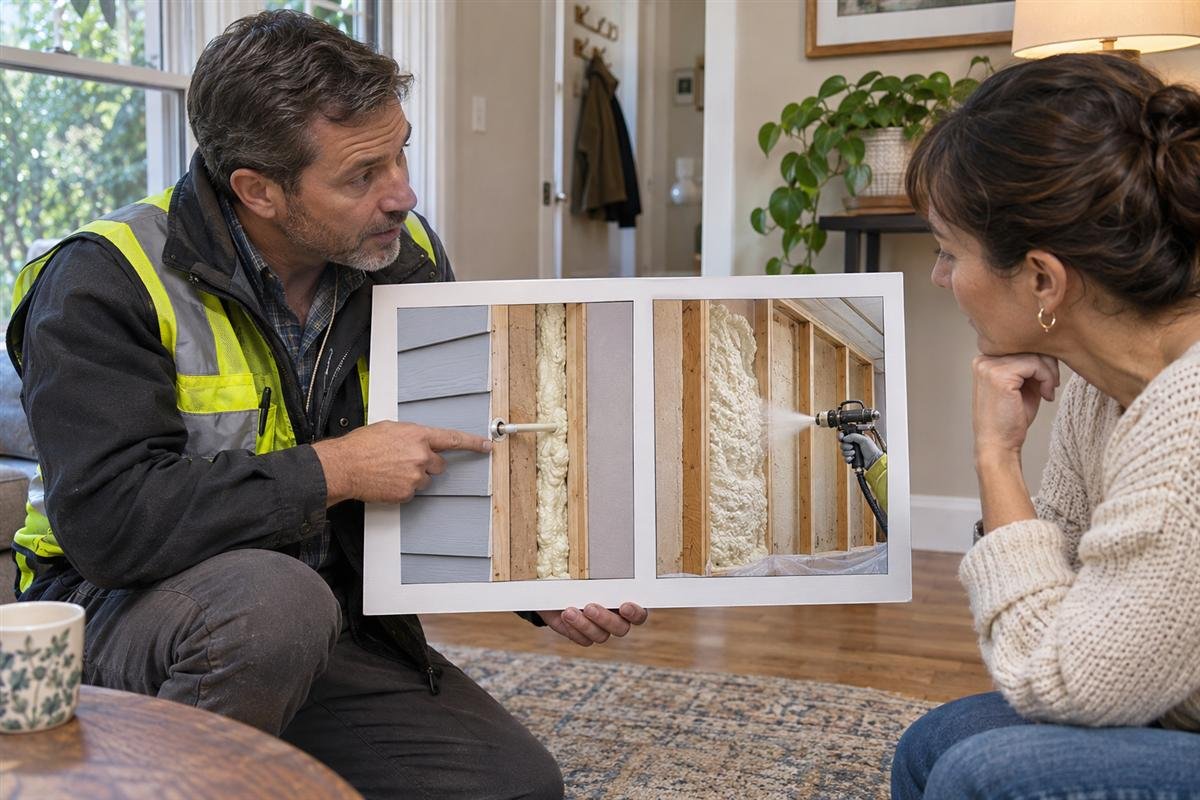
Choose fiberglass when the wall is open, the framing is regular, the cavity is dry, and you can install it accurately. It is widely available and often economical. Compare mineral wool if fire resistance, denser sound absorption, or a firmer friction fit matters. Consider dense-pack cellulose or a professional foam system for certain existing-wall retrofits, but base that decision on the assembly and moisture risk, not just an advertised R-value.
Before buying, compare the installed cost, target R-value, cavity dimensions, facing, local code, and labor. A higher nominal number is not automatically better if the batt leaves voids or obstructs wall drying. For project planning, our main wall insulation resource covers material choices and other wall types.
Frequently Asked Questions
Does fiberglass wall insulation stop drafts?
No. Fiberglass slows heat flow through a cavity but does not create an airtight seal. Seal gaps around framing, electrical and plumbing penetrations, and windows with suitable air-sealing products before insulating.
Can fiberglass batts get wet?
They should be kept dry. Find and repair the source of water, dry the assembly, and check for damage before closing the wall. Persistent moisture needs professional diagnosis.
Should I use faced or unfaced fiberglass?
It depends on the wall assembly and climate. Use the product and facing permitted by local code and the manufacturer’s instructions; avoid adding a vapor retarder without considering how the wall will dry.
Conclusion
Wall fiberglass insulation can be a dependable choice when its R-value matches the design and each batt fits the cavity without compression. Air-seal first, protect the wall from moisture, follow the product’s safety directions, and inspect the full installation before drywall. When the framing or moisture conditions are unusual, a building professional can help choose a compatible assembly. For the next step, review the complete wall insulation guide and compare the other material options before ordering.