
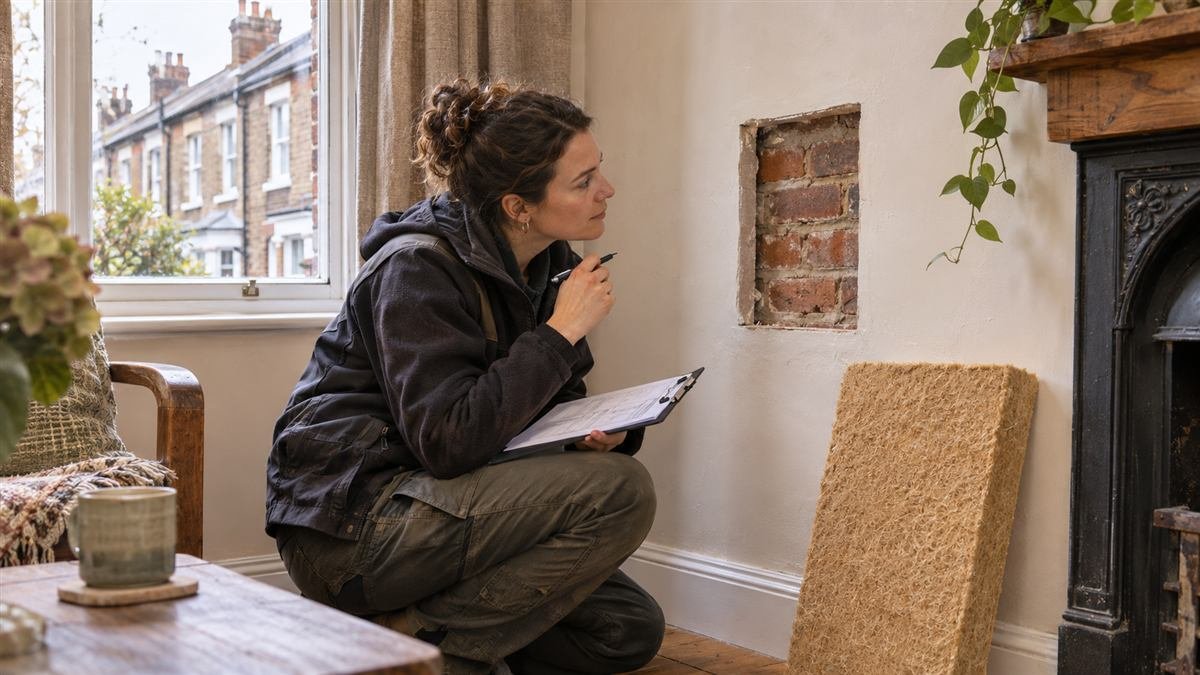

Internal solid wall insulation adds a thermal layer to the room-facing side of a solid external wall. It can improve comfort when outside insulation is unsuitable, but it also changes how the wall manages heat and moisture. Therefore, start with a building assessment, not a board thickness. For the wider overview, see our wall insulation guide.
Quick Answer: What Is Internal Solid Wall Insulation?
It is insulation fitted to the inside face of an external wall that has no cavity. Common systems include insulated plasterboard, a framed lining with mineral wool, vapour-permeable boards, and insulating plaster. The correct choice depends on the masonry, rain exposure, indoor humidity, room details and local building rules. A specialist should assess moisture risk and junctions before work begins.
- Repair first: fix roof, gutter, pointing, render and plumbing defects before covering the wall.
- Confirm construction: solid brick, stone and earth walls behave differently from cavity walls.
- Design the full build-up: insulation, air control, vapour control, finishes and ventilation work together.
- Detail the edges: plan windows, floors, ceilings, partitions, joist ends and services.
What Internal Solid Wall Insulation Does
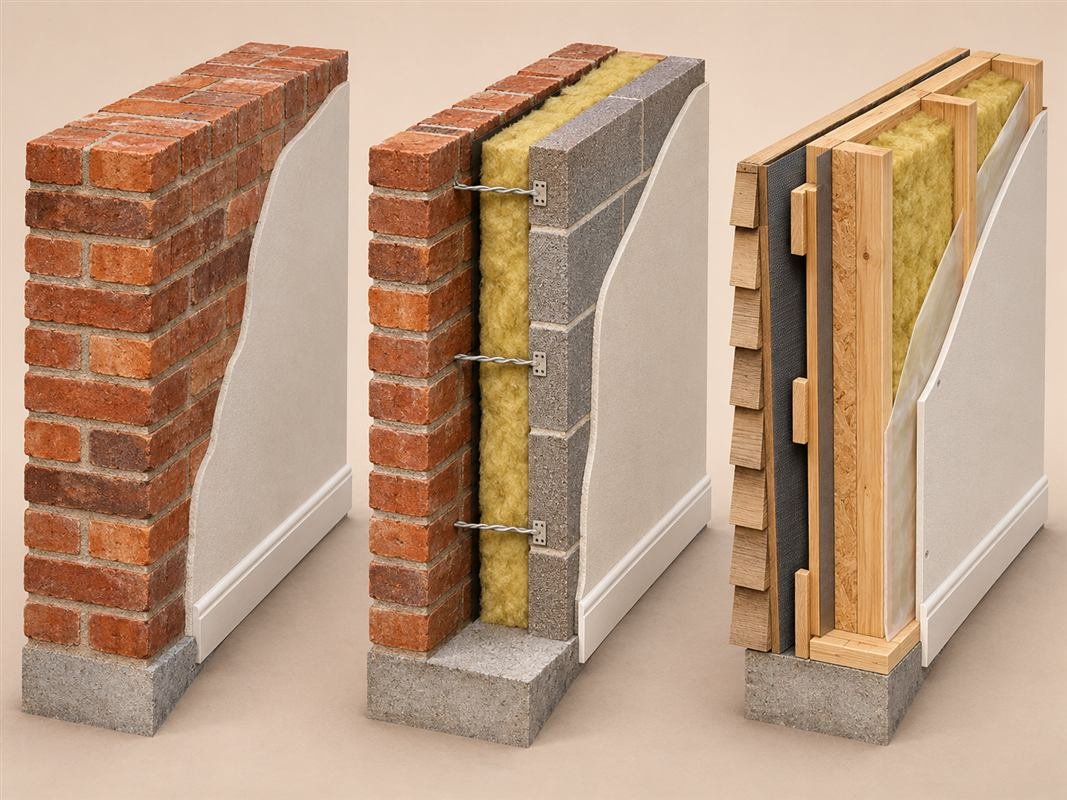
A solid wall has one continuous masonry thickness rather than two leaves separated by a cavity. The insulation sits inside the room, so the original wall becomes colder in winter. That change can reduce heat flow into the masonry, yet it can also increase moisture risk within the wall if rainwater, indoor air leaks or unsuitable materials are involved.
The retrofit can make wall surfaces warmer and reduce radiant heat loss. It may also make rooms more comfortable and lower heating demand. However, savings depend on the building, heating controls, energy prices, occupancy and workmanship. No responsible installer should promise a fixed bill reduction without checking those factors.
Internal work can suit homes where external insulation would alter a historic façade, conflict with boundaries, or need planning approval. It can also be installed room by room during renovation. In return, residents must plan for disruption, temporary room closure, moved radiators and sockets, new finishes and a small loss of floor area.
Internal or External Insulation?
External insulation keeps more of the original wall within the heated envelope and can reduce some junction risks. Yet it changes the outside appearance and may affect eaves, pipes, windows and boundaries. Internal insulation preserves the façade, but it creates more demanding moisture and thermal-bridge details. Compare both approaches as part of a whole-building retrofit plan.
Check That the Wall Is Solid and Suitable
Age is only a clue. Many older UK homes have solid brick or stone walls, but renovation can hide the structure and some old houses contain timber frames. Brick patterns, wall thickness at a window reveal and building records can help. None proves the build-up on its own. Ask a building surveyor or retrofit professional to confirm it before specifying insulation.

Then inspect the wall inside and outside. Look for loose pointing, cracked render, leaking gutters, defective downpipes, staining, salts, mould and water marks after heavy rain. Repair the source and allow the construction to dry. A moisture meter can support an inspection, but its reading is not a diagnosis.
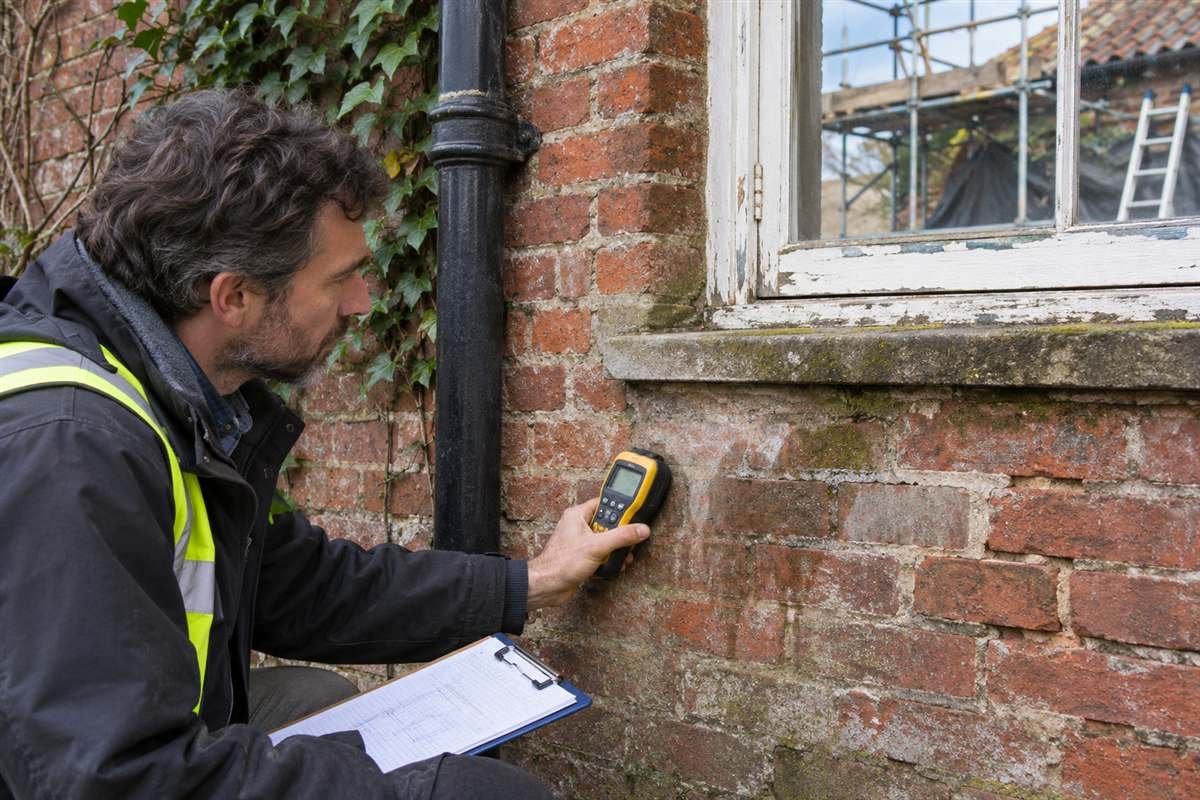
Also check whether the wall is exposed to driving rain, flooding or persistent shade. Inspect embedded timber joist ends, window lintels, fireplaces and previous coatings. If the home is listed or in a conservation area, ask the local authority about approvals before changing historic fabric. For a symptom-led checklist, see our guide to diagnosing a cold wall.
Compare Internal Solid Wall Insulation Systems
There is no universal best material. A designer should compare thermal performance, moisture behaviour, thickness, fire and acoustic requirements, fixing method, cost and future repair needs. Product labels such as “breathable” do not replace an assessment of the whole wall.
Insulated Plasterboard and Rigid Boards
Rigid boards can provide useful thermal resistance in a relatively thin build-up. Installers may bond or mechanically fix them, depending on the manufacturer’s tested system and the wall. Uneven masonry, hidden voids and poorly sealed edges can create air paths or cold spots. Specify the compatible board, fixings, joint treatment and vapour-control strategy together.

Stud Lining with Mineral Wool
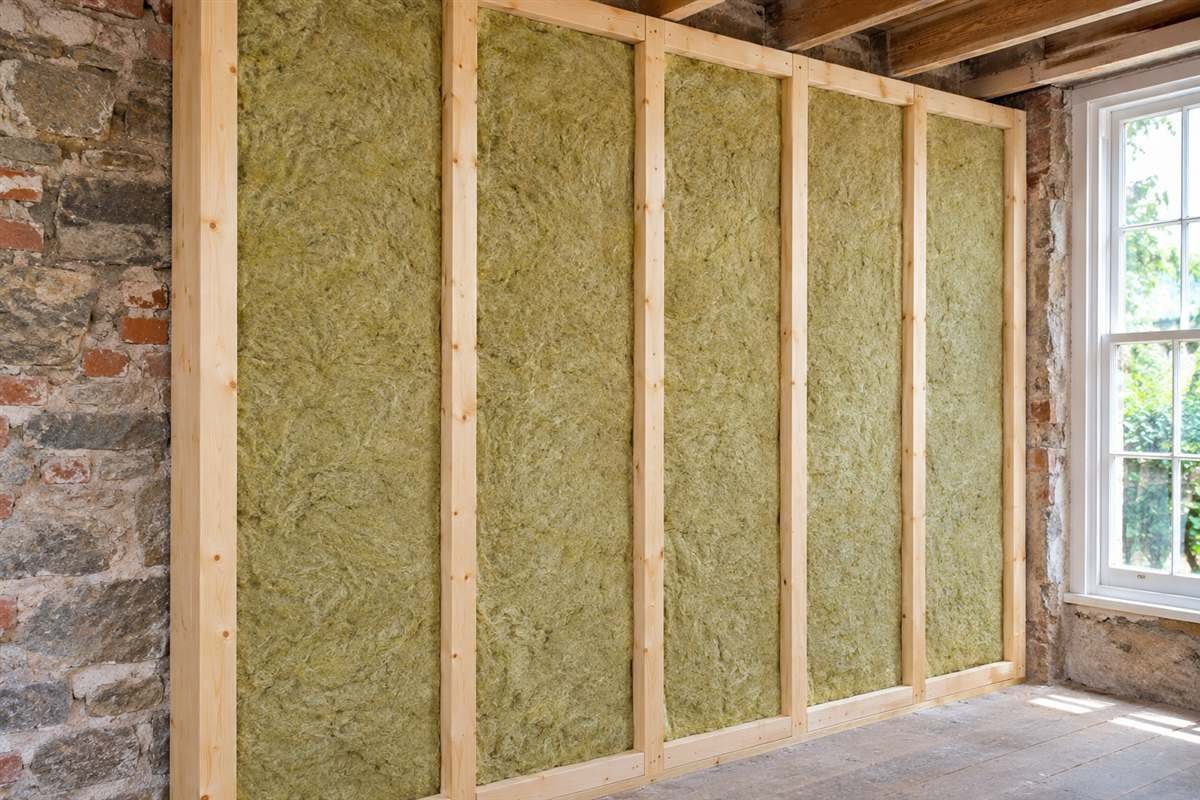
A timber or metal frame can hold mineral wool or another specified batt insulation. The frame can help level an uneven wall and provide a service zone. Still, it usually takes more room than a thin board system. Fit the insulation without gaps or compression, and detail the frame so it does not create repeating cold bridges.
Vapour-Permeable Boards and Natural Materials
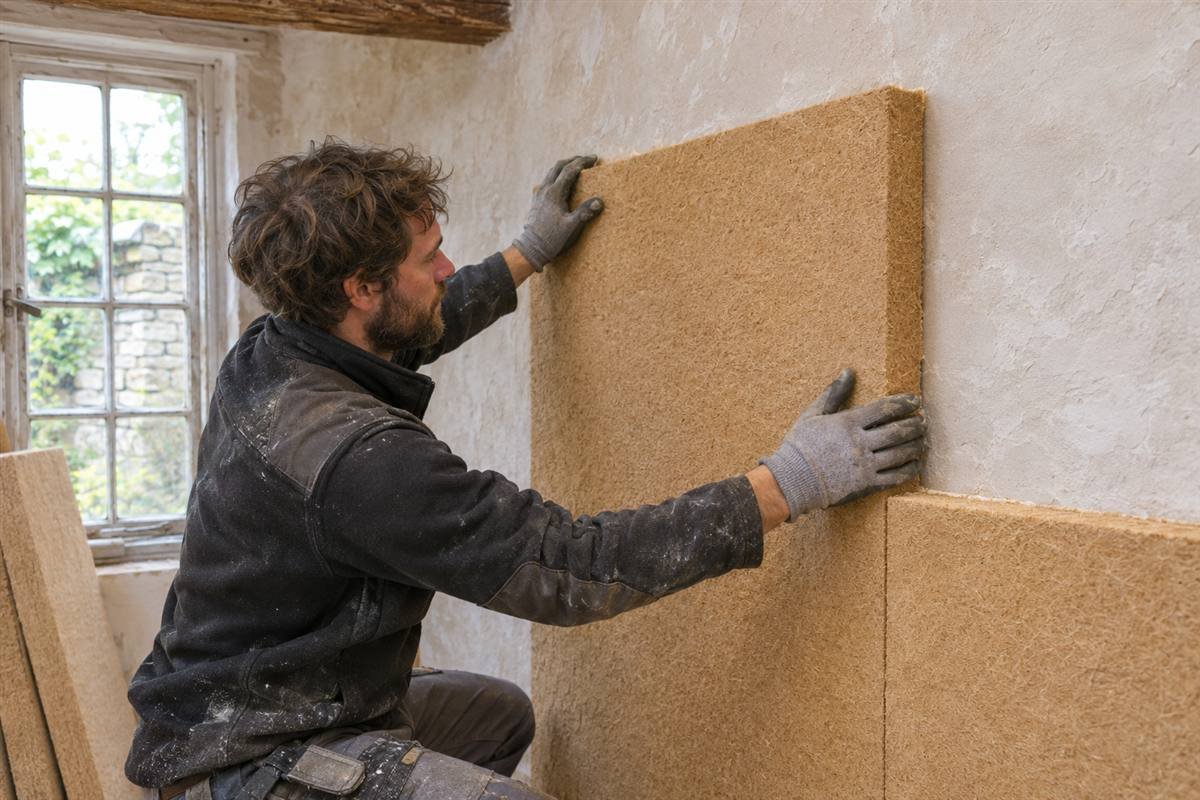
Wood-fibre and some other vapour-permeable systems may suit certain traditional walls when the masonry and exterior finish are sound. They can allow more drying through the assembly than a closed-cell system. Yet they are not automatically safe in every location. Rain exposure, wall thickness, indoor humidity and existing finishes still matter.
Ask for product data and a design that explains how the selected system handles liquid water, vapour diffusion and air leakage. Historic England notes that materials need to match the traditional wall and that moisture accumulation must be assessed. Read its internal wall insulation guidance before altering an older building.
Insulating Lime Plaster
Insulating lime plaster may help where a thicker lining would harm historic details or take too much space. It can form a continuous finish and may suit some vapour-open walls. Its thermal performance depends on the product and thickness, so compare tested figures. Thin plaster is not equivalent to a thick insulation system.
Moisture Risks in Internal Solid Wall Insulation
Moisture is the main design issue. Rain can enter through defects, while indoor water vapour can travel through materials or leak through gaps in the air-control layer. When warm, humid air reaches a colder surface, condensation may form inside the assembly. Internal insulation can make the original masonry colder, so the designer must assess the wall’s moisture balance.
Do not add a plastic vapour barrier by habit. Some systems require a vapour-control layer; others rely on permeable materials and finishes. The position and continuity depend on the wall, climate and system. GOV.UK’s retrofit internal wall insulation best-practice guide covers system assessment, material selection and moisture design. Follow the specification for the chosen assembly rather than mixing products.
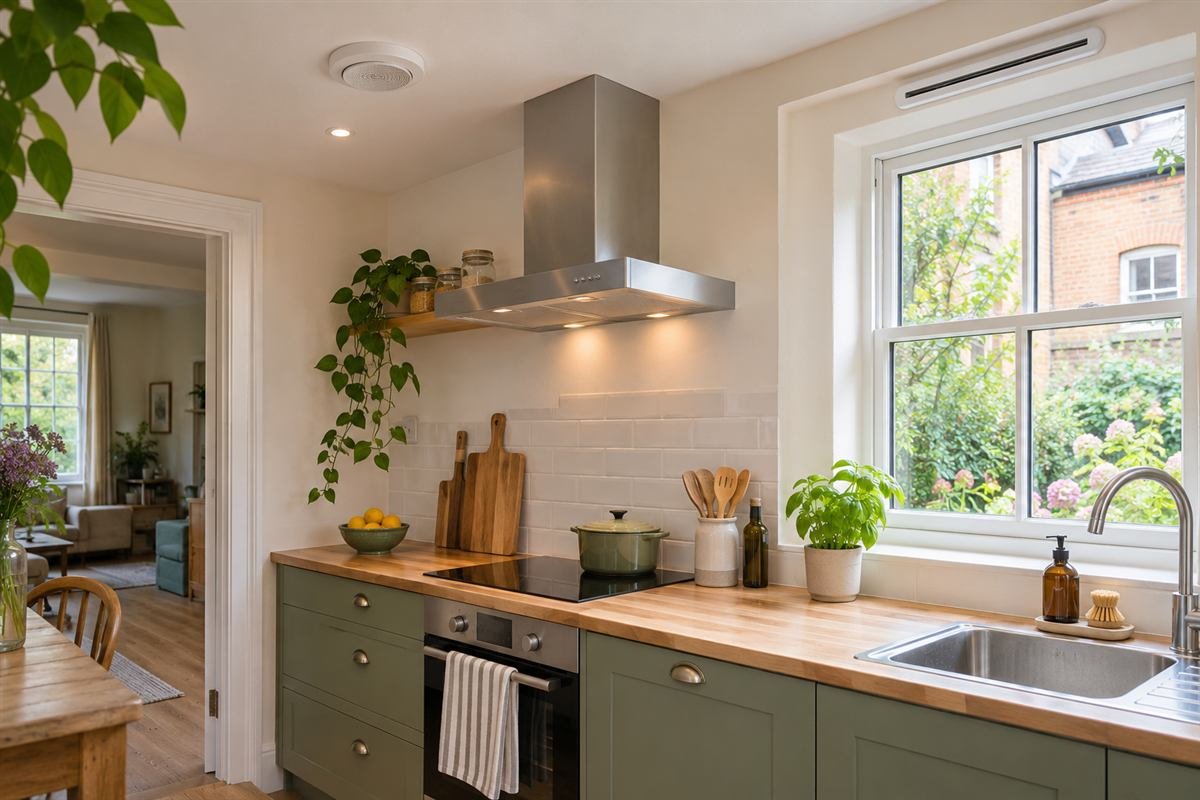
At the same time, maintain ventilation. Insulation and air sealing can reduce uncontrolled draughts, but bathrooms and kitchens still need effective extraction. Keep air bricks, trickle vents and underfloor grilles clear. The Energy Saving Trust solid-wall guide also advises checking ventilation and repairing the building before installation.
Internal Solid Wall Insulation: Window, Floor and Service Details
A wall performs as a system, not as a flat panel. Insulation should connect thoughtfully at window and door reveals, ceilings, floors, internal partitions and roof junctions. Poor transitions can leave cold bridges, which may cause cold spots and surface mould even when the main wall has insulation.

A change in material at a window, floor or partition can create a thermal bridge. These edges may need an insulation return or overlap; the correct detail depends on the wall and its moisture assessment.
Plan radiators, pipes, sockets, switches, skirting boards and door frames before the work starts. Moving services may need a qualified electrician or plumber. Keep the air-control layer continuous where the design requires it, and seal penetrations with compatible materials. Never bury an electrical junction box or ignore manufacturer clearances.

A Safe Internal Solid Wall Insulation Retrofit Sequence
Internal solid wall insulation should follow a written design. Use this sequence to organize the project; the system specification and local rules determine the actual installation details.
- 1. Survey the building. Confirm wall type, condition, rain exposure, moisture sources, services and heritage constraints.
- 2. Repair defects. Fix leaks, gutters, pointing, render and other water-entry routes; let damp masonry dry.
- 3. Compare systems. Review insulation, finishes, air and vapour control, fire performance, thickness and room-space impact.
- 4. Design junctions. Resolve window reveals, floor edges, joists, partitions, sockets and ventilation before ordering materials.
- 5. Prepare the room. Protect contents, remove planned fixtures and arrange safe isolation of electrical circuits.
- 6. Install and inspect. Follow the manufacturer’s full method, keep layers continuous and photograph concealed work.
- 7. Finish and commission. Refit services safely, use compatible finishes, test extraction and keep the design and product records.
Costs, Disruption and Choosing an Installer
The quote should cover more than insulation boards. Ask whether it includes survey work, repairs, scaffolding or access, moving radiators and sockets, window adjustments, waste removal, plastering and redecoration. Costs vary with wall area, system thickness, room layout, access and the condition of the building. Get itemized quotes so you can compare the same scope.
Request the installer’s experience with solid masonry and buildings of similar age. Ask for a written design that names the wall build-up, moisture strategy, ventilation plan, junction details, product specifications, quality checks and warranty. Energy Saving Trust recommends professional installation for internal solid-wall insulation. The government best-practice guide is useful for discussing the design with an assessor or installer.
Frequently Asked Questions
Can I install internal solid wall insulation myself?
For most solid-wall retrofits, get a qualified designer and professional installer. The moisture risks and junction details make this more complex than fitting insulation between ordinary stud partitions. DIY preparation may be possible, but do not improvise the system or alter services without qualified help.
Is a vapour barrier always needed?
No. Some systems specify one; other assemblies use vapour-permeable layers. The designer should assess the wall and explain the air and vapour-control approach. Adding a barrier in the wrong place can restrict drying.
Will insulation cause damp?
It can increase moisture risk if the wall has water ingress, poor detailing, unsuitable materials or inadequate ventilation. A sound survey, repairs and a suitable design reduce that risk. Insulation does not cure an existing leak.
How much room will the lining take?
The build-up depends on the chosen system and target performance. Boards may be thinner than a framed lining, while insulating plaster can preserve some details. Ask for the finished thickness at windows, doors and room corners before you approve the design.
Conclusion: Plan the Whole Wall, Not Just the Insulation
Internal solid wall insulation can improve comfort while preserving a home’s exterior, but the project succeeds only when the wall and every junction are considered together. Confirm the construction, repair moisture defects, compare compatible systems and protect ventilation. Then use a qualified retrofit professional to set out the materials and installation details. For more context, return to our complete wall insulation guide and review the linked official guidance before you request quotes.
2 thoughts on “Internal Solid Wall Insulation: A Retrofit Guide”