

An interior design template gives a project a repeatable structure for collecting information and explaining decisions. The right template depends on the task: a client brief, a room presentation, a product schedule, or an approval record. Choose the information you need before choosing the page style. Then adapt the layout to the actual project.
Our interior design software guide explains tools for creating plans and visuals. This article focuses on organizing the documents around those outputs, with a small toolkit you can copy and customize.
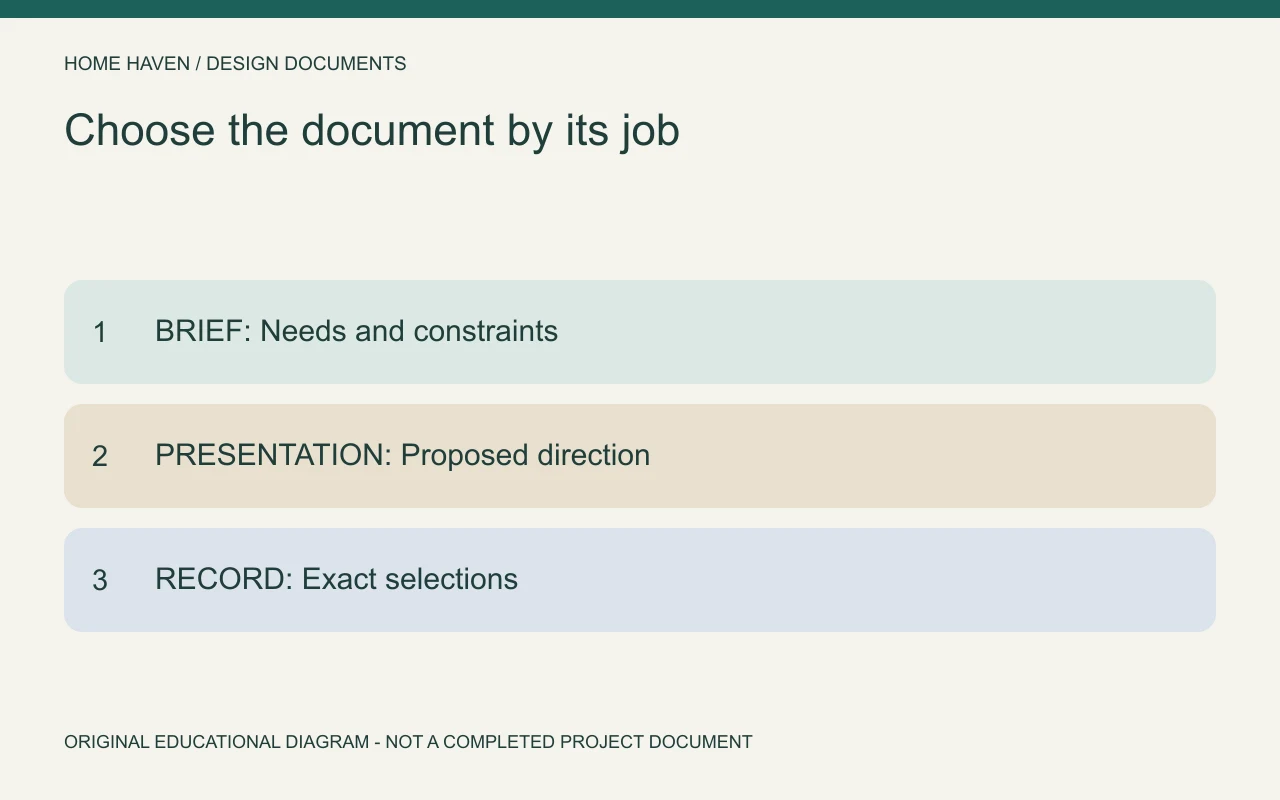
Choose the template by its job
Start by asking who will use the document and what they should do next. A client reviewing a palette needs different information from a purchaser identifying a product variant. A single attractive page rarely serves both tasks equally well.
Keep a small set of connected documents rather than one oversized master file. Use the same project name, item codes, and revision conventions across the set. That consistency helps a reader move from a presentation to the underlying selection record.
Interior design templates for the main project stages
Use a brief to establish needs, a presentation to discuss a proposal, and a selection sheet to identify products. An approval log records a decision against a specific version. Each document should have a clear purpose instead of repeating the same material in slightly different layouts.
- Brief: users, activities, priorities, constraints, and open questions.
- Layout review: room information, alternatives, and the preferred arrangement.
- Presentation: palette, visual references, and decisions requested.
- Selection record: exact products, dimensions, variants, and quantities.
- Approval log: item or document, decision, conditions, approver, and date.
- Handoff checklist: final records, responsibilities, and unresolved actions.
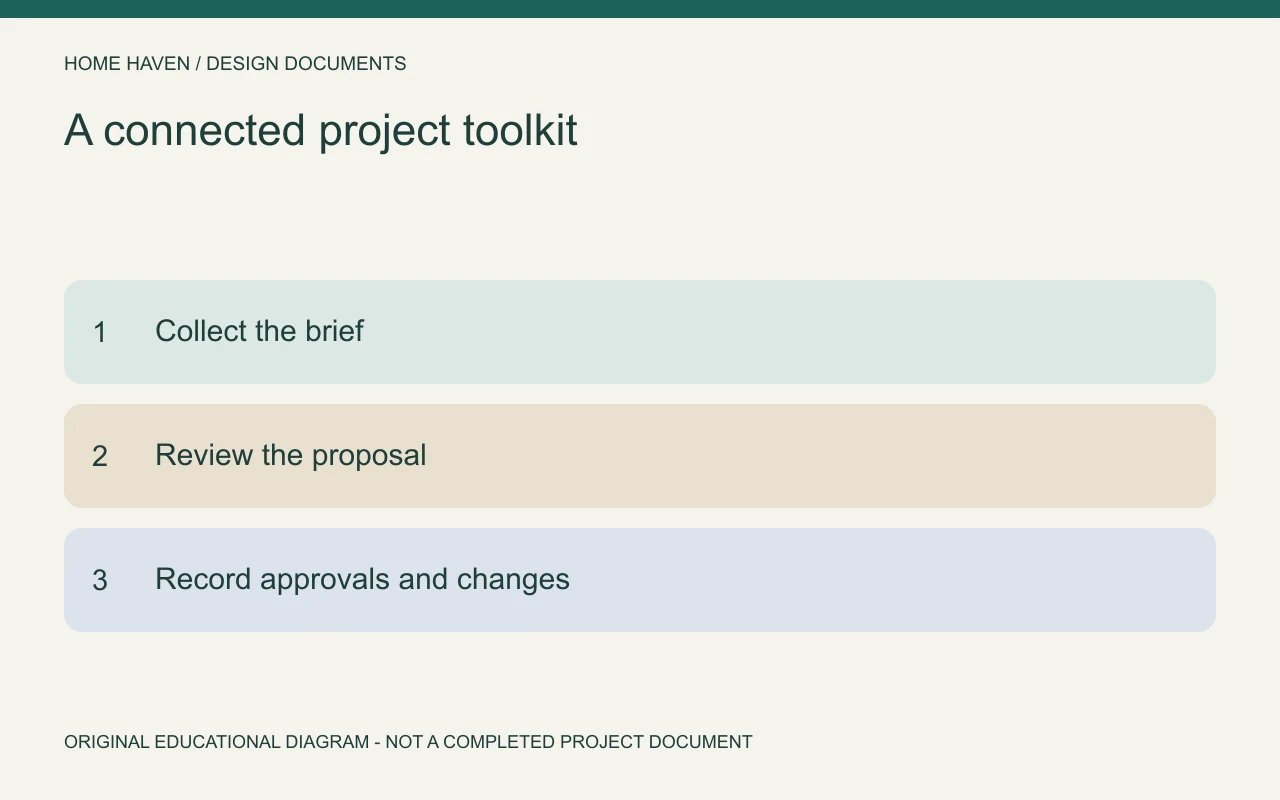
A copyable project cover sheet
Use the following fields as a starting page. Replace every bracketed field and delete sections that do not apply. Keep the source documents linked or clearly named rather than squeezing their contents into the cover.
- Project: [name or identifier].
- Room or area: [included spaces].
- Prepared for: [client or household contact].
- Prepared by: [actual author or practice].
- Issue: [date and revision].
- Purpose: [decision or information this document supports].
- Current stage: [brief, concept, review, or handoff].
- Key records: [measurement sheet, layout, selections, and approvals].
- Open actions: [question, responsible person, and next step].
Build the brief before the visual board
Record the room’s activities, retained furniture, budget, timing, and constraints. Ask what currently works and what needs to change. The answers provide a reason for the proposed design choices.
Our client questionnaire guide offers more detailed intake questions. Use its structure to prepare a conversation, then confirm the actual priorities with the client.
Make a presentation template easy to review
Use one clear message per page and readable captions. Identify whether an image is inspiration, a specific product, a rendering, or completed work. Do not let a polished layout imply that a conceptual image is a final specification.
Adobe Express provides interior design presentation templates as a starting point for visual organization. Check the assets and current terms for your intended use. Replace generic content with project-specific information before sharing.
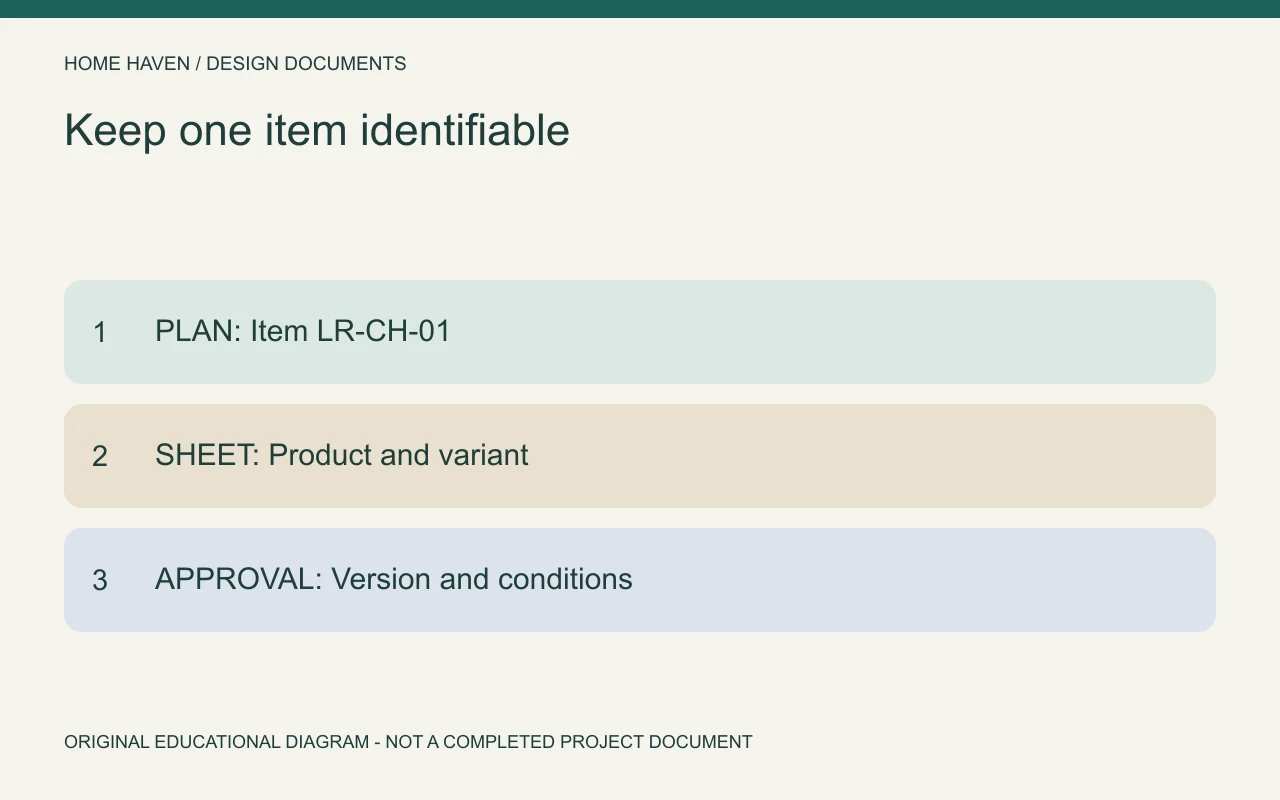
Keep selection details in their own record
A product image may not identify the exact size, finish, or model. Give important items stable codes and connect those codes to a selection sheet. Record dimensions and units explicitly, using the relevant manufacturer’s information.
For example, a hypothetical item code LR-CH-01 can identify a reading chair throughout the project. The presentation shows its role in the room, while the selection record identifies the actual product and variant. If the product changes, update the record and review the affected visuals.
Add an approval log with conditions
Use columns for the item or document, revision, decision, approver, date, conditions, and next action. Distinguish a general preference from permission to purchase. A client might prefer a chair but still need to review the fabric sample.
Keep conditions visible until someone resolves them. Do not convert approved subject to sample review into an unconditional order instruction. The template should preserve the meaning of the decision, not merely display a green status.
Use consistent units and cost labels
For a US furnishing project, feet, inches, square feet, and USD may be the practical working units. State them on the relevant document and avoid mixing systems without explanation. Check whether a dimension describes an overall size or a particular component.
Separate quoted costs, allowances, and pending information. Include relevant additional costs in the appropriate record rather than implying a product subtotal represents the whole project. Date information that can change, such as availability and supplier quotes.
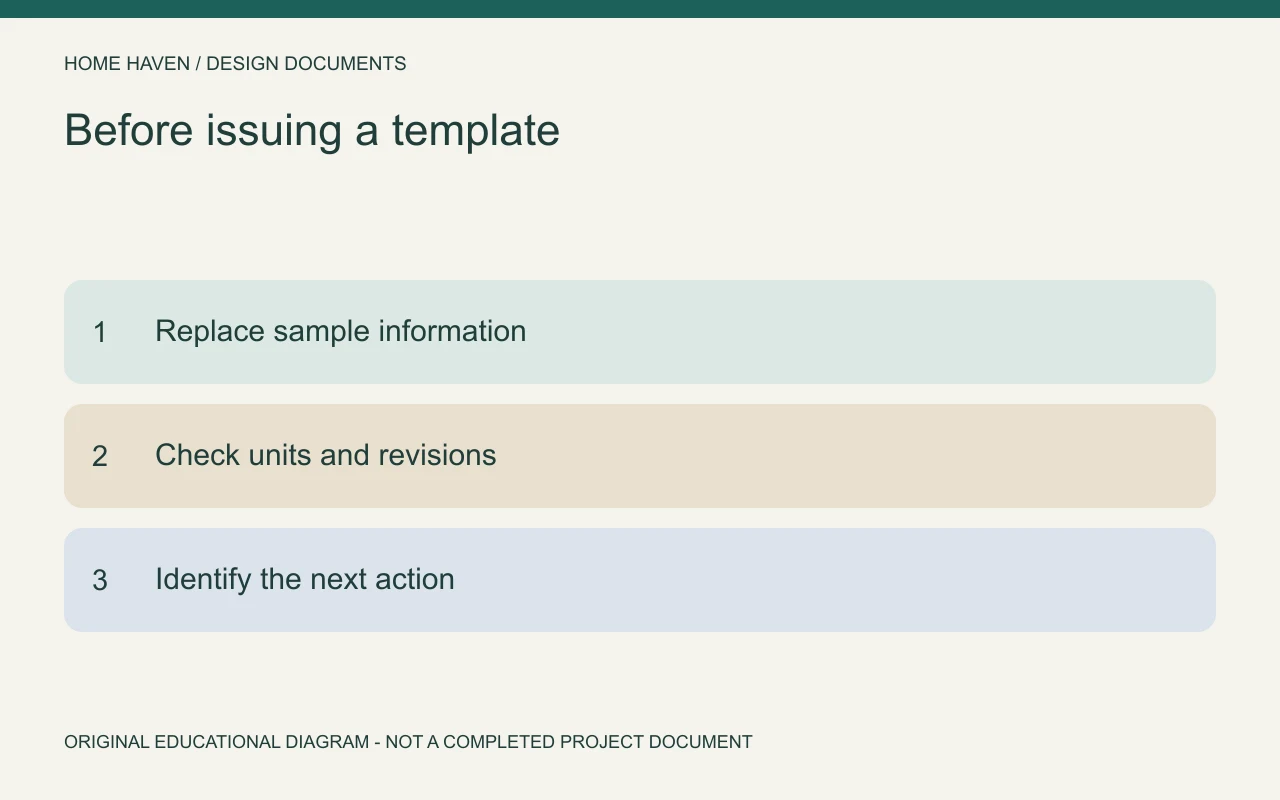
Protect the master and issue clear versions
Keep a clean, unfilled master template and create a separate project copy. Store issued versions with dates or revision numbers. Avoid sending several files called final, final-new, and final-revised with no explanation of their relationship.
When information changes, record what changed and who needs to know. A revised chair selection may affect a plan, a presentation, and a purchase record. Update the connected information deliberately instead of assuming every document follows automatically.
Review the finished toolkit
Open the actual exported files and check text size, links, image clarity, and missing placeholders. Ask someone to identify the current decision and next action without your explanation. If they cannot, simplify the document.
For technical or legal documents, use the appropriate specialist process rather than adapting a decorative template. A presentation framework does not establish construction readiness, professional credentials, or a suitable contract. Keep each document within its intended role.
Template questions
Can one interior design template cover every project?
A common framework can help, but the fields and level of detail should match the project. Remove irrelevant sections and add information the actual recipient needs.
Should templates include sample project details?
Samples can explain a field, but label them as examples and replace them before issue. Do not let fictional products, costs, or approvals appear to be real project information.
Start with the next decision
Build the smallest set of templates that keeps your project understandable. Use consistent identifiers, verified information, and clear versions. Add another document only when it serves a distinct practical need.