

Thermal Wall Paper: What Can It Realistically Do?
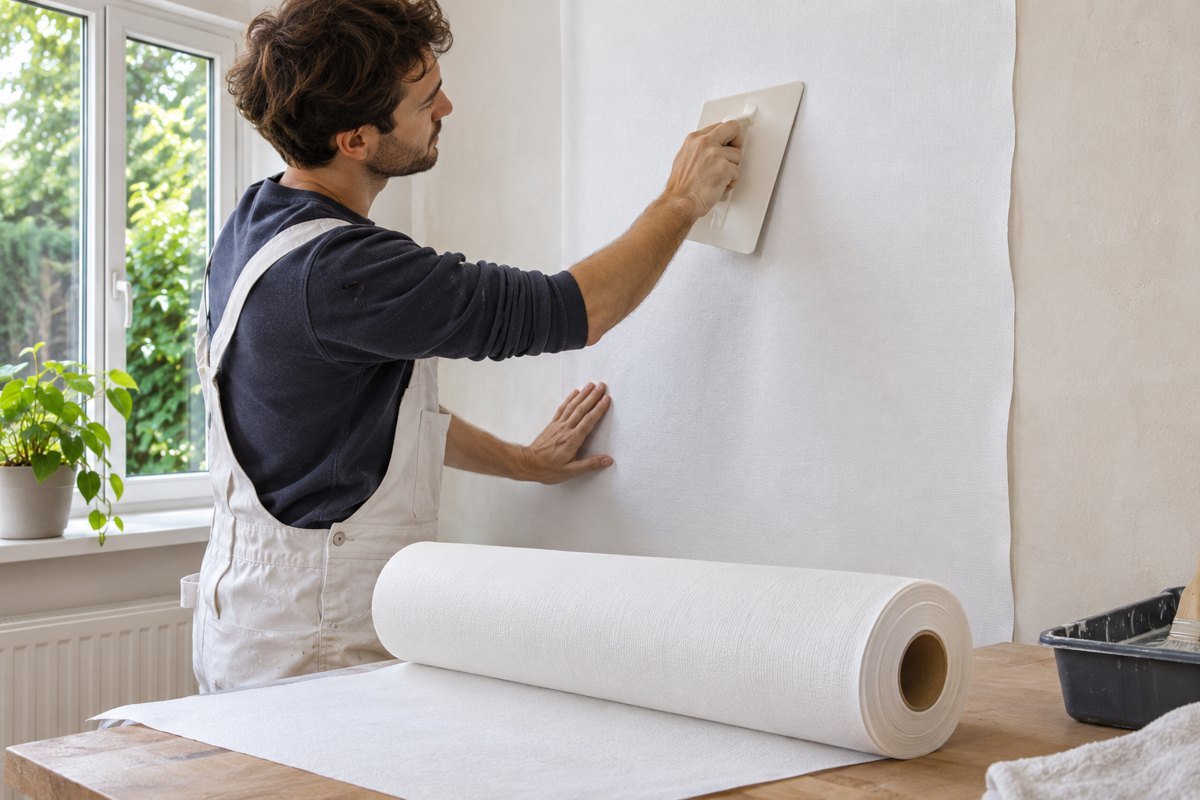
Thermal wall paper, more commonly written as thermal wallpaper, is a thin wall covering intended to add thermal resistance at an interior surface. It may improve surface comfort and reduce some heat flow. However, a few millimetres of lining should not be confused with a full wall-insulation system.
So, do these coverings help? They can offer a limited improvement in suitable conditions, especially when you are already redecorating. The useful question is how much improvement the exact product provides. Start with our wall insulation guide if you are comparing a small decorating upgrade with a larger retrofit.
What Is a Thermal Wall Covering?
A thermal wall covering is a surface lining designed to slow heat transfer to some degree. Products may use foam, textile composites, cork or other materials. Some need a separate decorative liner or wallpaper, while others have their own finishing instructions.
Ordinary lining paper mainly prepares a surface for decoration. A product marketed as insulating should provide thermal data at its actual thickness. The words “thick,” “warm” or “energy saving” do not establish measurable insulation performance.
Also, check the intended location. An interior thermal liner is not exterior insulation, shower waterproofing or a protective fire barrier over exposed foam. Each of those jobs requires a product designed for that purpose.
Why Does a Wall Feel Cold?
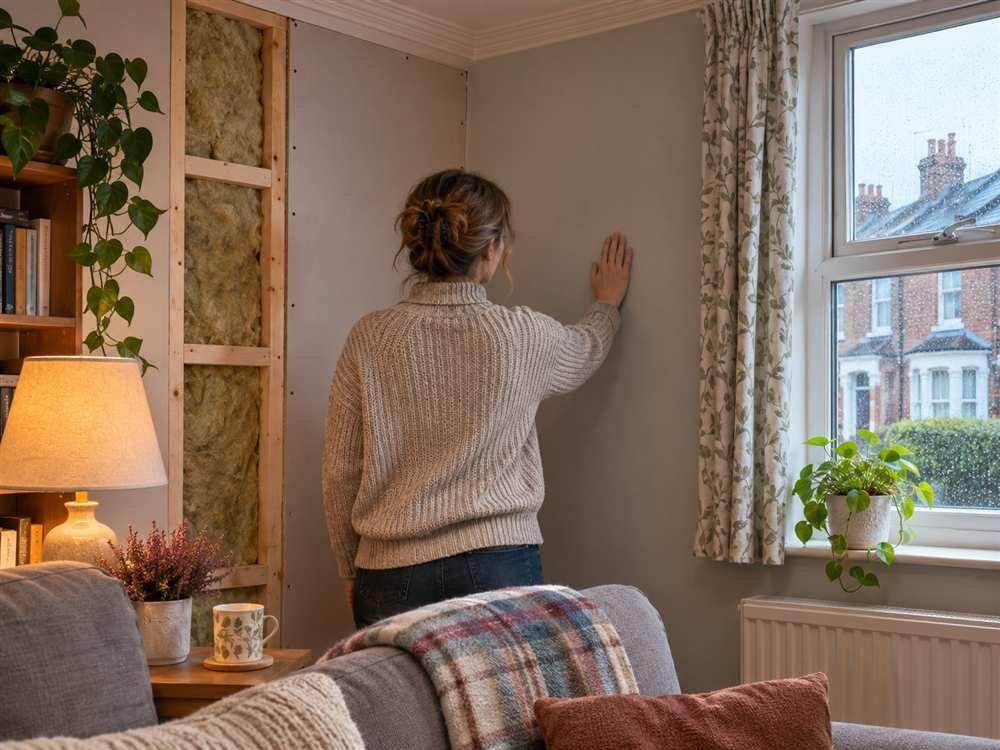
A wall can feel cold because it loses heat rapidly, because air leaks nearby, or because the room is not heated evenly. Damp materials and thermal bridges may contribute too. Therefore, the surface feeling alone does not identify the cause.
A thin lining may change how the surface feels without resolving a draft at the window or missing insulation elsewhere. For this reason, assess the room before buying. Check the heating pattern, wall condition and obvious air leaks.
If the problem extends beyond decoration, our guide to insulating a cold wall from the inside explains broader options.
How Much Insulation Does Thermal Wall Paper Add?
Compare the declared thermal resistance, usually called R-value, at the installed thickness. Higher resistance means less heat flow through that layer under the stated conditions. However, different unit systems can make numbers look very different.
For example, Erfurt MAV lists approximately 0.08 m²K/W for one Wallrock Thermal Liner product. That is about US R-0.45. These figures describe the same resistance in different units, and neither is a whole-wall rating.
Check the current data for the exact variant before ordering. Similar brand names may cover different thicknesses. Also, distinguish thermal conductivity, often shown as lambda, from the resistance of the finished layer.
A simple heat-loss example
Suppose a wall has a total resistance of 0.50 m²K/W and a liner adds 0.08. In a simplified calculation, the new resistance becomes 0.58. The U-value falls from 2.00 to about 1.72 W/m²K.
That represents roughly 14% less steady heat flow through the treated wall area under the example conditions. It does not mean a 14% reduction in the home’s total heating bill. Windows, roofs, floors, ventilation and other walls still lose heat.
This example is illustrative, not a prediction for your home. Junctions, coverage and the actual wall construction affect results. Ask for the assumptions behind a savings claim before treating it as a likely outcome.
Warm-Up Comfort and Energy Savings Are Different

A lined surface may respond differently during an intermittent heating period. However, reaching a comfortable feeling sooner is not the same measurement as reducing annual energy use. A room test cannot automatically predict every household’s bills.
When comparing claims, ask what was measured. Was it surface temperature, room warm-up time or heat flow through a sample? Also, check the starting wall, heating pattern and test conditions.
For your own decision, combine the product data with the room’s actual problem. If strong drafts dominate, surface lining alone may disappoint. Likewise, a poorly controlled heating system can make before-and-after comparisons unreliable.
Can Thermal Wallpaper Reduce Condensation?
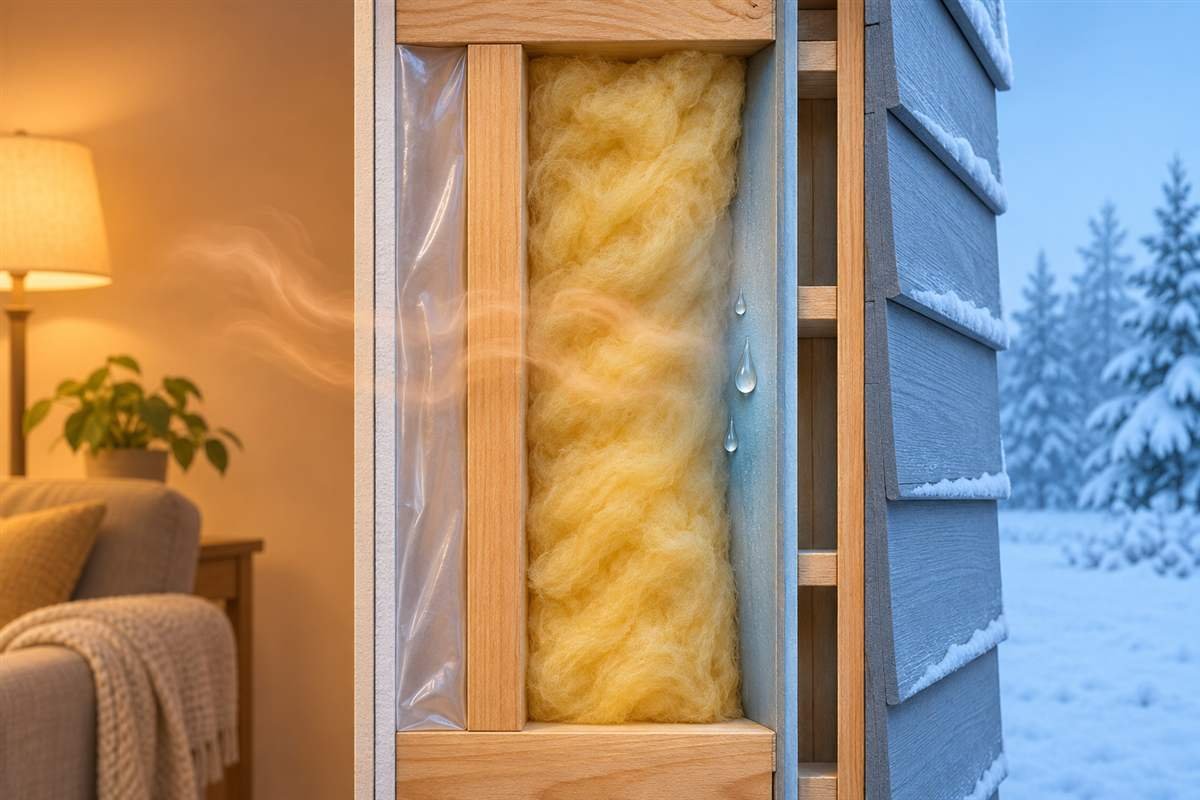
Condensation occurs when a surface is cold enough relative to the moisture in nearby air. A warmer surface may be less prone to condensation under the same indoor conditions. Nevertheless, the room’s humidity and ventilation still matter.
A thermal liner cannot repair rain penetration, a plumbing leak or a wet wall base. Nor should it conceal an existing mould problem. Identify the source of moisture before adding a covering.
Manufacturers may describe condensation benefits for particular products. Treat these as conditional performance claims rather than a guarantee that every damp room will become dry. Persistent damp needs an assessment of its cause.
Inspect Damp Before Covering the Wall

Look for staining, peeling paint, failed plaster and recurring marks. Then check whether the problem follows rain, plumbing use or periods of high indoor humidity. Those observations can help a professional investigate.
A moisture-meter reading is a clue, not a complete diagnosis by itself. Material type and salts can affect readings. Therefore, avoid deciding that a wall is ready solely because one number looks acceptable.
Repair the cause and allow appropriate drying before decorating. If the wall has a history of persistent damp, ask whether the proposed adhesive and finish suit its construction and drying needs.
Ventilation Still Matters After Lining

Cooking, washing and drying clothes add moisture indoors. A covering does not remove that moisture. Therefore, maintain the ventilation needed for the room and use extract systems as intended.
Do not cover air vents or seal intentional openings while decorating. Also, investigate a failed extractor rather than relying on a liner to compensate. In a humid room, ventilation and moisture-source control may matter more than the surface product.
Heating and furniture placement can influence local conditions too. Check cold corners and areas behind large furniture during follow-up inspections. A smooth new finish should not prevent you from noticing recurring damp.
Thermal Wallpaper vs. Other Wall Upgrades
| Option | Main role | Key limit |
|---|---|---|
| Thermal wallpaper or liner | A thin surface upgrade with product-specific thermal resistance | Usually offers limited added resistance compared with deeper systems |
| Ordinary lining paper | Prepare a surface for decoration | Should not be assumed to provide meaningful insulation |
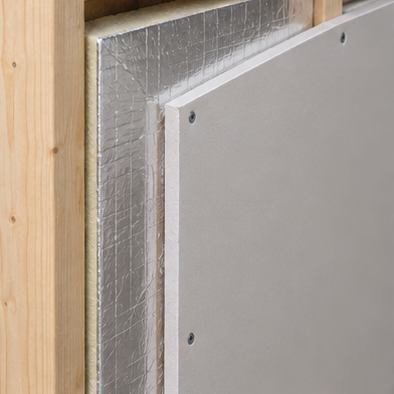
| Insulated plasterboard or panel lining | Add a deeper internal insulation system | Needs moisture, service and junction detailing |
| External wall insulation | Add a continuous insulation layer outside | Involves facade, flashing and attachment work |
| Targeted draught repairs | Reduce unwanted air leakage at suitable locations | Do not replace missing thermal insulation |
The right option depends on your goal and available space. A small decorating project may suit a limited comfort improvement. A major heat-loss problem deserves comparison with a fuller insulation plan.
When a deeper lining may be more appropriate
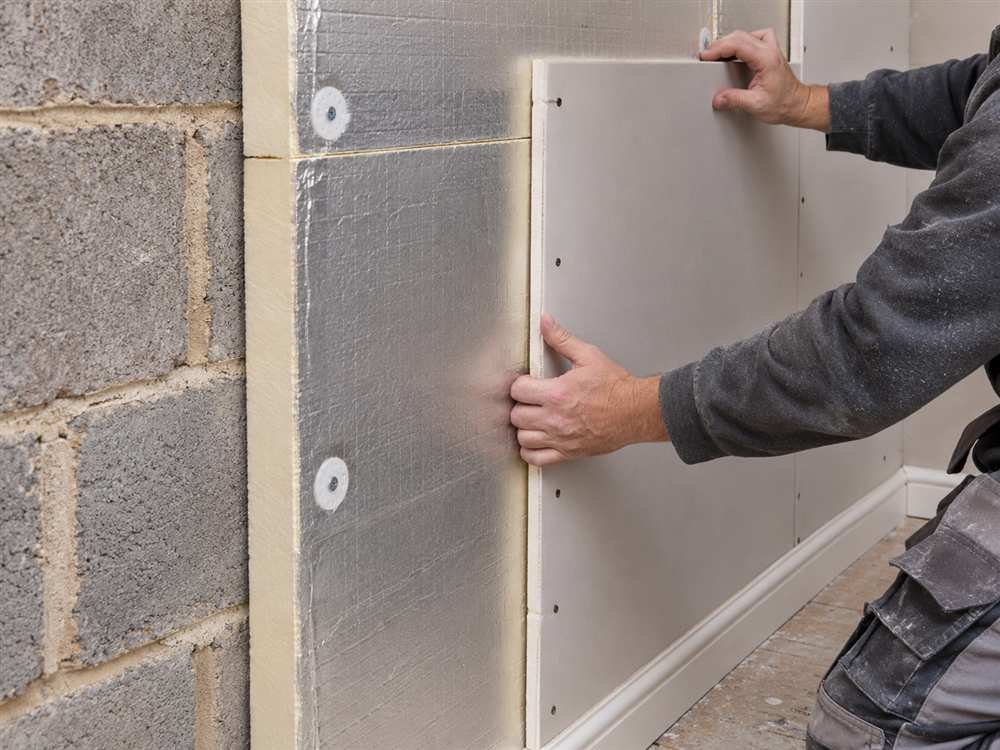
If the wall needs a substantial thermal upgrade, compare complete insulation systems. Include the board, finish, junctions and usable floor-space loss. Also, check how the new layers affect drying.
Our guide to thin wall insulation options can help you compare approaches. Thin does not always mean ineffective, but claims should rest on declared performance rather than appearance.
Application Planning: Adhesive, Seams and Finishes
First, check that the wall is sound, suitably dry and compatible with the product. Remove loose finishes and prepare the surface according to the instructions. A thick liner cannot reliably hold failing plaster together.
Next, use the specified adhesive and application method. Some products need a particular lining arrangement or drying period before finishing. Avoid substituting ordinary wallpaper paste without confirmation.
Plan seams and edges before cutting. Around sockets, radiators and trim, follow the product’s requirements and arrange qualified help where services need alteration. Do not cover electrical fittings or compromise required clearances.
Finally, confirm which paint or wallpaper finish the manufacturer allows. A finish can change the system’s drying behavior and fire performance. Approval for one combination does not automatically cover every decorative layer.
Pay Attention to Window Reveals and Edges

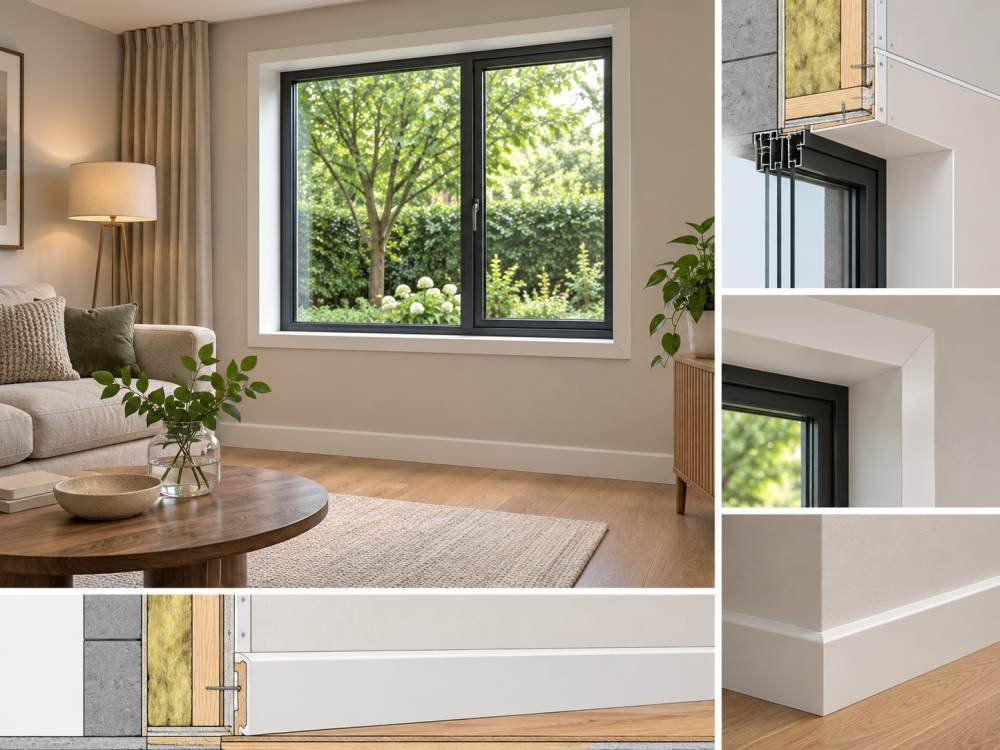
Small thickness changes can still create awkward edges at skirting, architraves and outlet covers. Test a sample against these details before ordering a full room. Also, allow for any decorative layer added over the liner.
At window reveals, make sure the proposed product suits the surface and moisture conditions. A neat visual finish alone does not resolve a cold bridge. Avoid promising that lining the main wall will remove every cold spot around an opening.
Cost and Value: Compare the Whole Decorating Job
Count rolls from the usable coverage and room layout, allowing for cuts and waste. Then add compatible adhesive, preparation, finishing materials and labor. Otherwise, a low roll price can disguise a much larger completed cost.
Ask what result would make the project worthwhile for you. Improved surface comfort while redecorating is a different goal from a major reduction in heating demand. A clear goal makes competing quotations easier to assess.
If payback is the priority, request a property-specific comparison of other upgrades. Do not calculate savings by applying a treated-wall percentage to the entire energy bill. That shortcut overstates what a small surface treatment can establish.
Check the Room After the Work
Check seams, edges and adhesion after the required drying period. Then observe the room through normal heating and weather changes. If damp patches return, investigate rather than covering them with another layer.
Keep the product label, adhesive details and purchase record. These help with warranty questions and future redecoration. Also, note which wall areas received the liner so later work can account for them.
Frequently Asked Questions
Does thermal wall paper really work?
A product with a declared thermal resistance can reduce some heat flow through the treated area. However, the effect depends on the product and wall. Expect a limited surface upgrade rather than the equivalent of thick insulation.
Will thermal wallpaper stop mould?
Do not rely on that promise. A warmer surface may reduce condensation in suitable conditions, but leaks and excessive indoor moisture still need attention. Investigate existing mould before decorating.
Can you paint a thermal wall covering?
Follow the specific product’s finishing instructions. Some liners require another lining layer or a particular preparation before paint or wallpaper. Check drying time and compatibility before applying the finish.
Is thermal wallpaper suitable for every old house?
No. Wall condition, moisture history and material compatibility matter. Older solid walls may need a careful drying assessment before adding layers. Seek appropriate advice when damp or fragile surfaces are present.
Can I install it myself?
Some products suit competent decorating work, provided the substrate is sound and the instructions are clear. However, moisture diagnosis and electrical alterations are separate tasks. Resolve those needs before fitting the liner.
Is Thermal Wallpaper Worth Considering?
Thermal wall paper can be worth assessing as a modest comfort improvement during redecoration. Choose it using measured resistance, compatible finishes and realistic expectations. Compare deeper insulation if the main goal is a major thermal upgrade.
Above all, fix damp and maintain ventilation before adding a thermal wall covering. A clean finish is useful only when the wall behind it remains sound. Match the product to the problem rather than expecting one liner to solve every issue.
References: Check the manufacturer’s current thermal liner data for the example product, and Energy Saving Trust guidance on damp and condensation for moisture considerations.
For related guidance, see Interior Wall Insulation Panels.