

What Is Spray Foam Insulation for Exterior Walls?
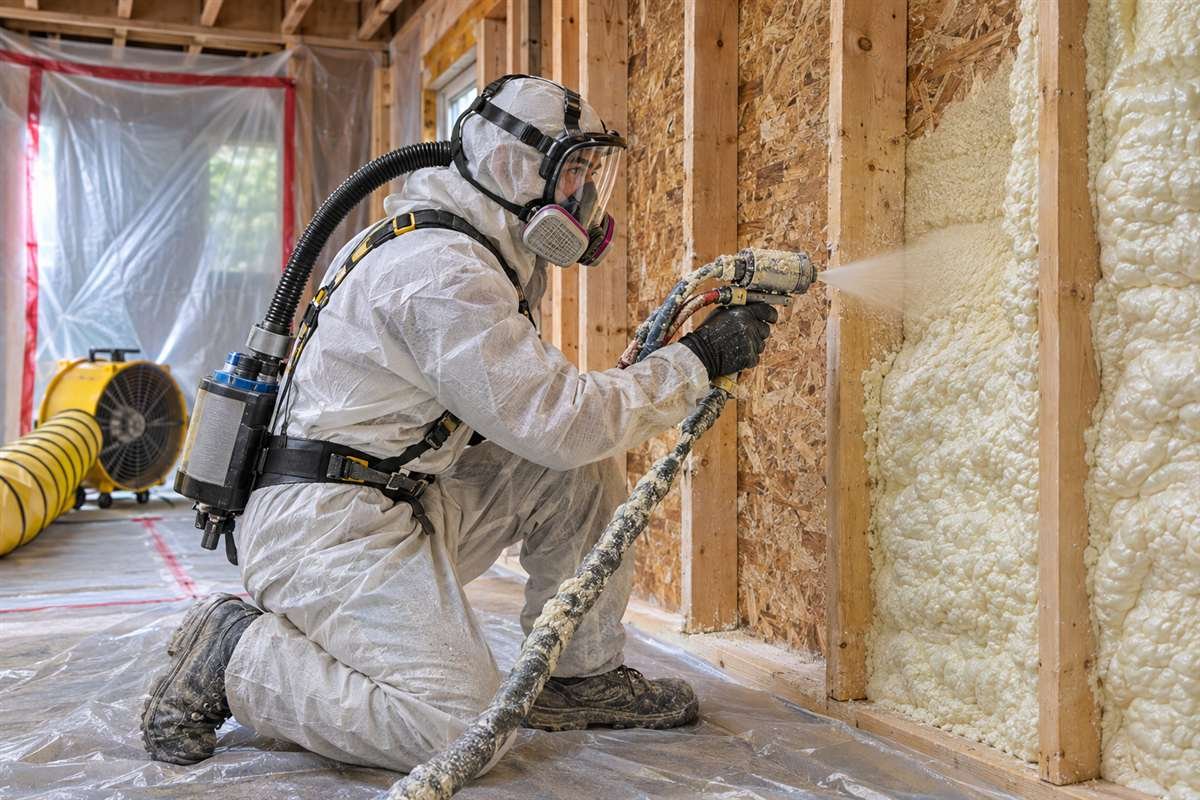
Spray foam insulation for exterior walls is a two-component material applied into suitable wall cavities or onto surfaces as part of a designed building enclosure. The foam expands and adheres to its substrate, helping reduce heat flow and uncontrolled air movement where the application forms a continuous air-control layer. Yet spray foam is not automatically a complete weather barrier. Exterior siding, flashing, drainage and the water-control layer remain essential. The safest choice depends on climate, framing, existing sheathing, cladding and the specific foam product.
For a broad comparison of options, start with our wall insulation guide. This article focuses on choosing and installing foam in exterior framed walls, including older homes.
Closed-Cell Spray Foam vs. Open-Cell Spray Foam
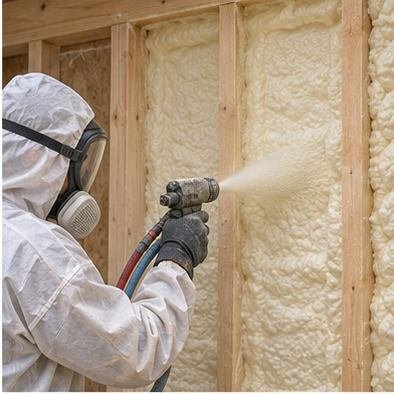
Closed-cell spray foam is denser and typically delivers a higher R-value per inch. It can provide an air barrier at an approved thickness and acts as a vapor retarder at some thicknesses. This can help when cavity depth is limited, but the lower vapor permeance may restrict drying toward the interior. Open-cell foam is lighter, usually more vapor permeable, and commonly has a lower R-value per inch. It can also serve as an air barrier at manufacturer-specified installed thicknesses. Neither option is universally better for every exterior wall.
| Feature | Closed-cell spray foam | Open-cell spray foam |
|---|---|---|
| Typical R-value per inch | Approximately R-6 to R-7 | Approximately R-3.5 to R-4 |
| Vapor behavior | More vapor resistant as thickness increases | Generally more vapor permeable |
| Air sealing | Can form an air barrier when properly applied | Can form an air barrier at specified thickness |
| Cost | Typically higher | Typically lower than closed-cell |
| Best fit | Selected space-limited, engineered assemblies | Selected assemblies with suitable drying paths |
R-values are approximate ranges, not product specifications. Therefore, request the current product data sheet and the tested performance at the planned thickness. Compare complete wall assemblies, not marketing claims alone.
How Spray Foam Insulation Works as an Air Barrier
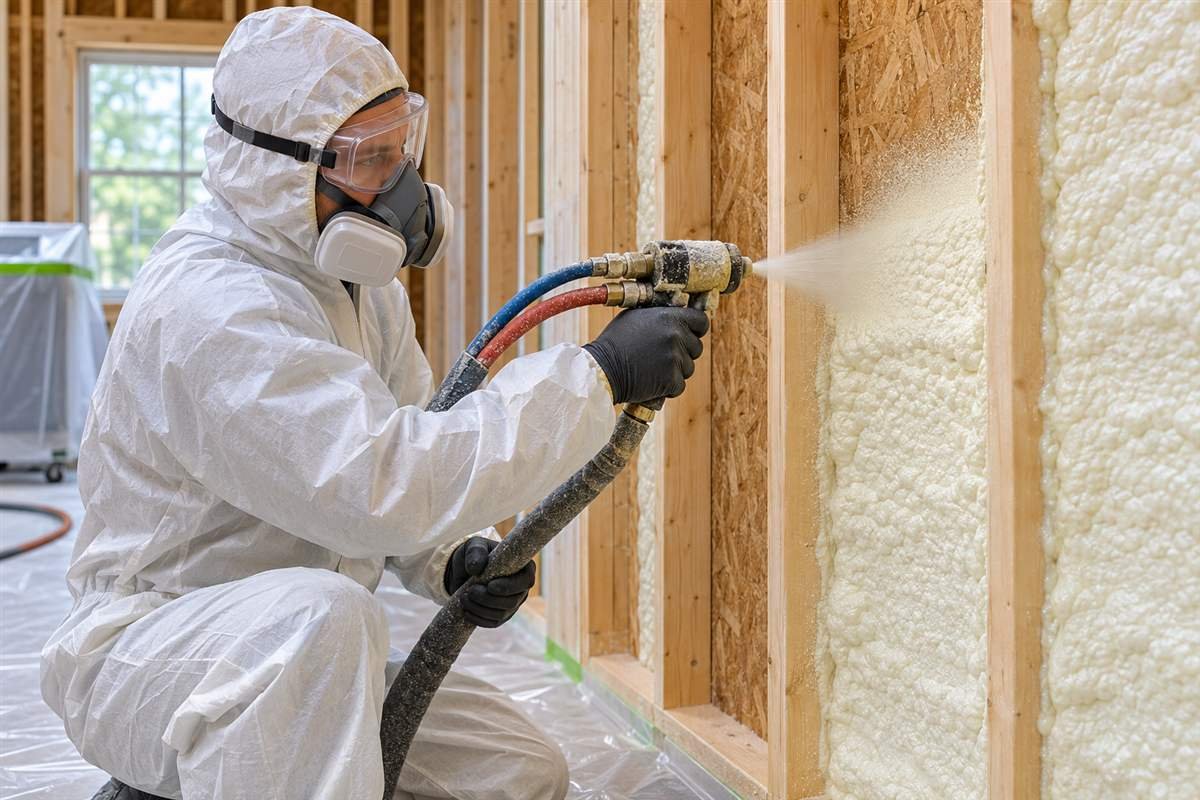
Air leakage can carry heated or cooled indoor air through gaps in walls. Properly installed spray foam may seal irregular cavities and penetrations within its coverage area, but the entire house still needs a connected air barrier. Foam inside stud bays cannot by itself seal every joint at the top plates, floor junctions, window openings, rim joists or behind hidden blocking. For this reason, plan those connections before work begins.
Air barrier versus moisture barrier
An air barrier slows air movement; a vapor retarder limits vapor diffusion; and a water-control layer manages rainwater that enters past the cladding. In other words, these are different jobs. Closed-cell spray foam may perform some of them within a suitable assembly, but it should not replace properly detailed flashing, drainage or a weather-resistive barrier merely because the foam is described as water resistant. Bulk water can still reach wood framing through a failed window flashing or siding junction.
R-Value Per Inch and Whole-Wall Performance
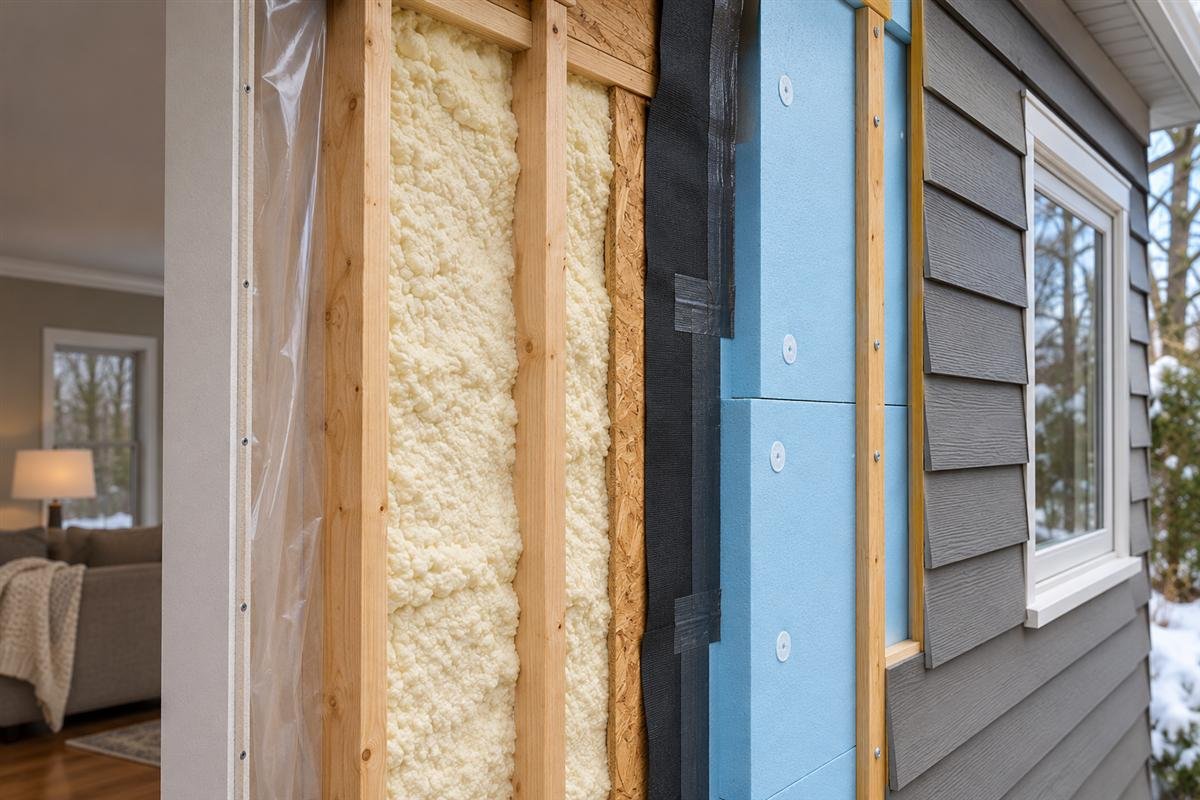
The listed R-value per inch describes heat-flow resistance through a material at a specified thickness. Actual wall performance is lower than a simple cavity calculation when heat bypasses the insulation through wood or steel framing, window headers and other elements. For example, R-19 installed between studs does not necessarily create an R-19 whole-wall assembly. A contractor should evaluate the wall configuration, framing fraction and applicable energy code rather than selecting foam by R-value per inch alone.
Why thermal bridging matters
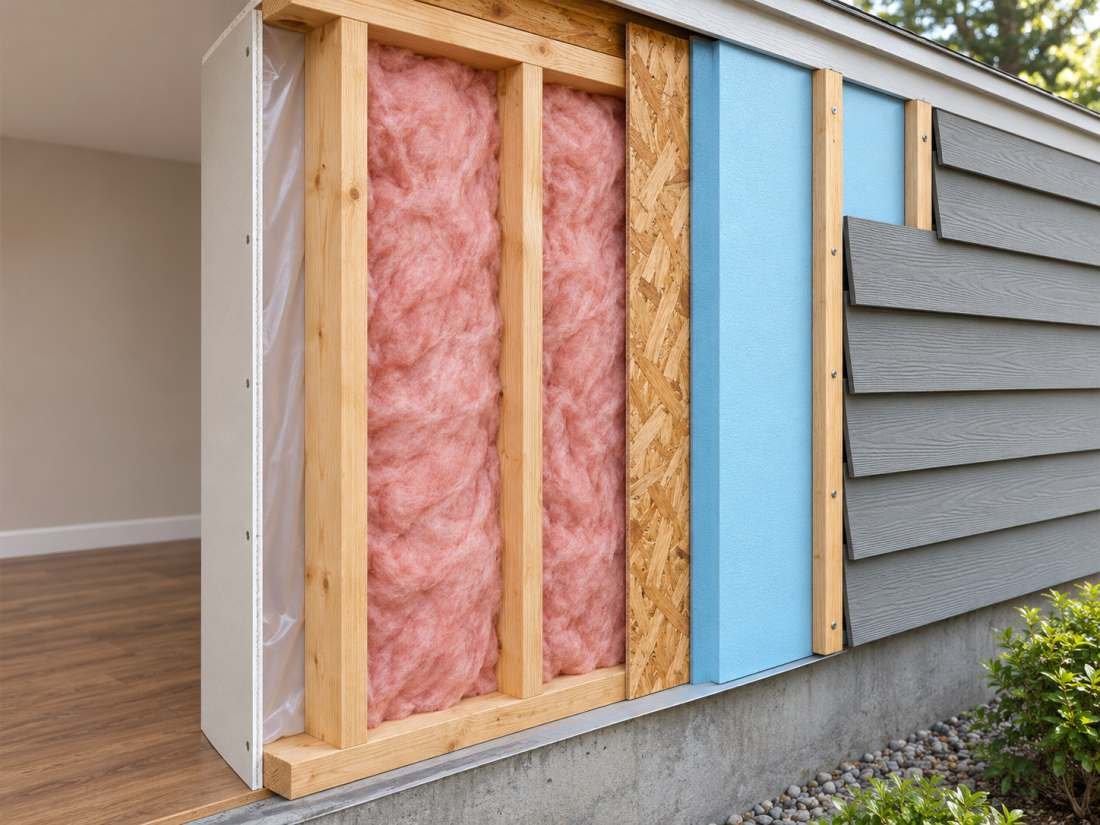
Thermal bridging occurs when heat takes a comparatively easy path through framing, metal fasteners or other conductive elements. Filling stud cavities with even high-R closed-cell spray foam does not remove the bridge through the studs themselves. Continuous exterior rigid insulation or another designed continuous insulation layer can substantially reduce this effect when installed with correct flashing and attachment details. For more detail, read our exterior wall insulation methods guide for the broader options.
Can You Spray Foam Existing Exterior Walls Without Removing Drywall?
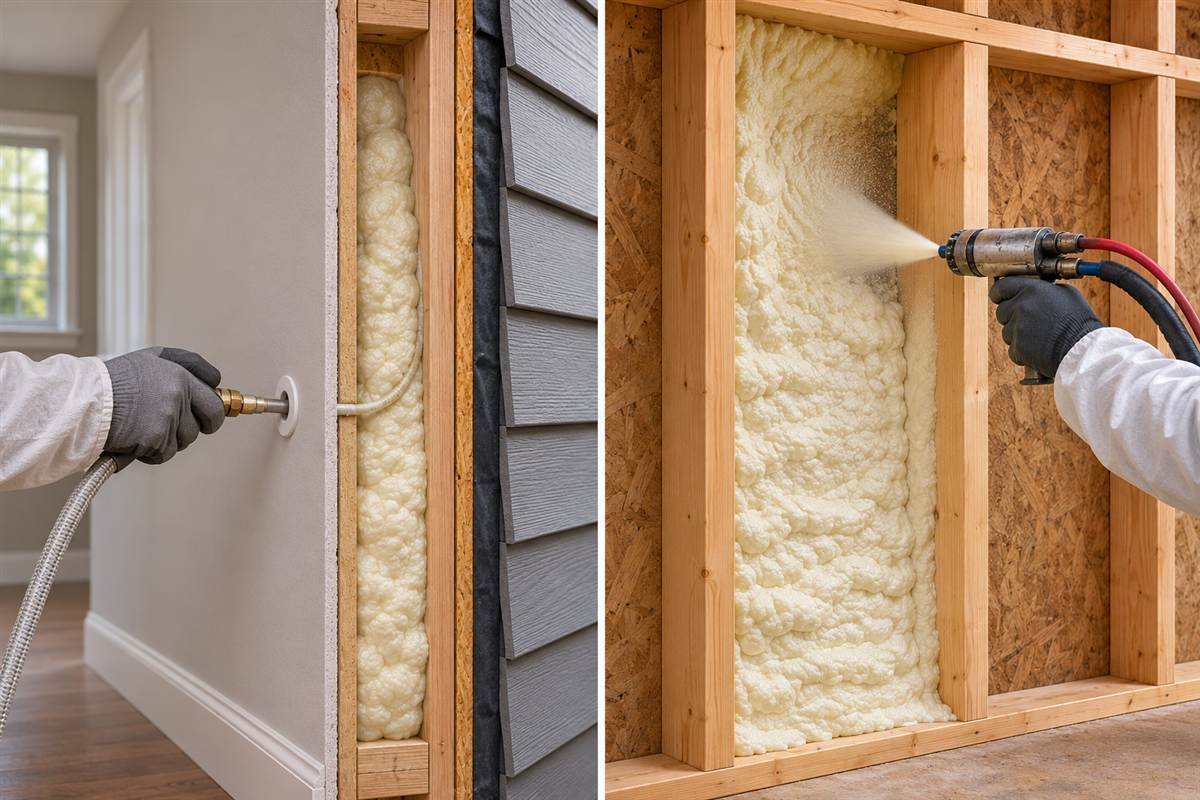
For conventional spray polyurethane foam installed into an open stud cavity, removing interior finishes is often required so installers can inspect the assembly and apply foam correctly. A few small drywall access holes are not equivalent to opening a full cavity. Injection-grade foam for closed walls uses a different, product-specific process, equipment and suitability assessment; it must not be confused with standard two-component spray foam or consumer aerosol cans.
If you want to preserve most of the drywall, first compare tested cavity-fill alternatives and a qualified installer’s survey. Our injection foam versus spray foam guide explains those distinctions. Do not drill through finished walls before locating wiring, plumbing, blocking and possible moisture damage.
Exterior Wall Covering and Spray Foam Insulation Process
Step 1: Investigate the wall and its existing layers
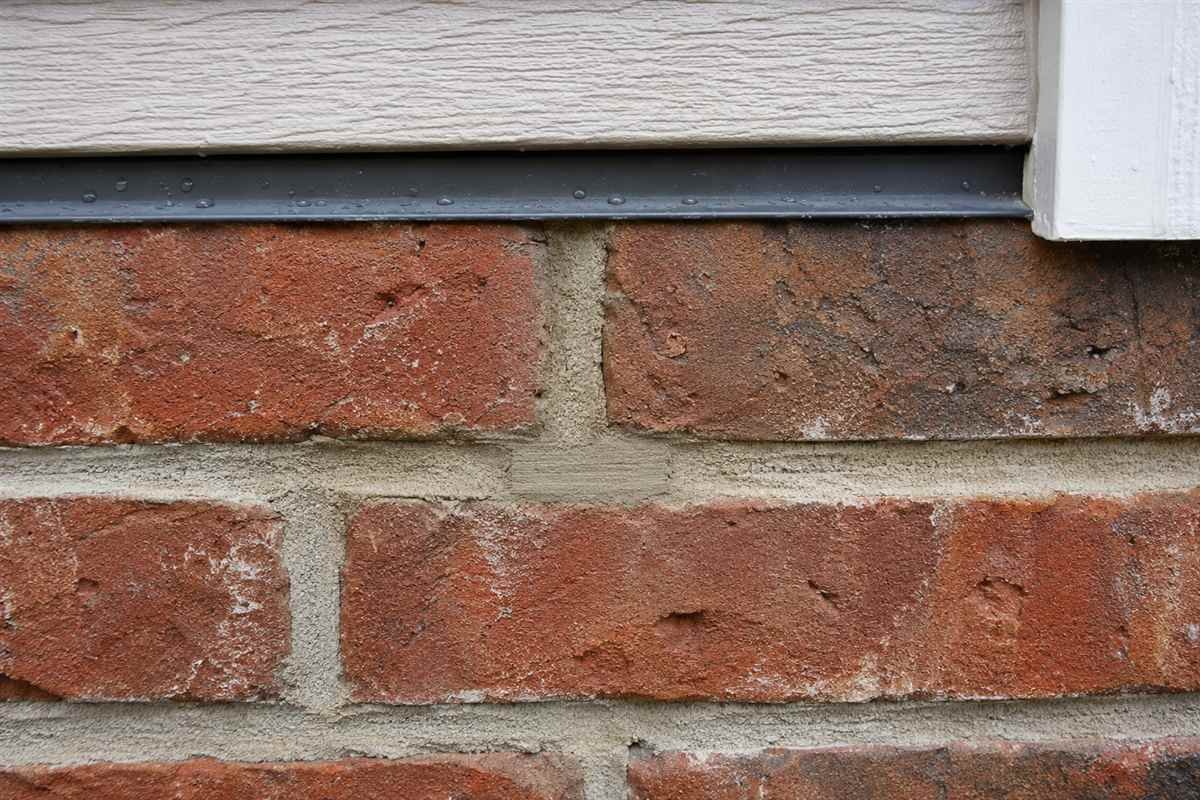
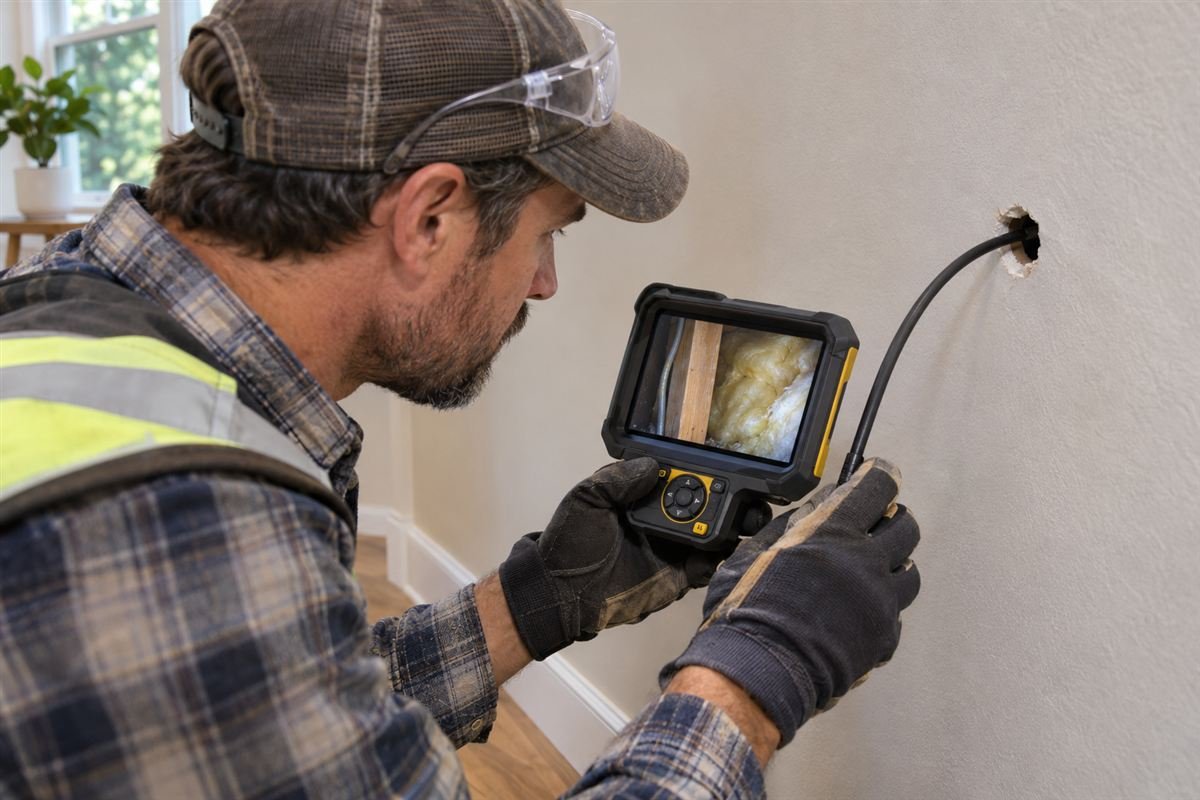
Identify the exterior cladding, sheathing, water-control layer, framing depth, existing insulation and indoor finishes. Inspect for rot, water stains, mold, wet insulation and damaged wiring. Older siding may lack a modern drainage plane. Those conditions affect whether adding foam is suitable, and damaged areas should be repaired before the insulation work proceeds.
Step 2: Check flashing and rainwater drainage

Above all, the wall must shed and drain water even after the insulation upgrade. Examine roof-to-wall intersections, windows, doors, penetrations and the cladding base. A spray foam contractor should coordinate with the building enclosure professional where flashing details are inadequate. Foam cannot compensate for water that repeatedly reaches the sheathing.
Step 3: Design air, vapor and thermal control together
Next, choose the foam type and thickness based on the full assembly and local climate. Also, review any existing polyethylene, foil facers, exterior foam and impermeable finishes. Installing low-permeance materials on both sides of vulnerable sheathing can reduce drying, so avoid adding an interior vapor barrier automatically. A documented wall design is especially important in cold climates and for masonry, stucco or OSB-sheathed walls.
Step 4: Prepare the work area and protect occupants

Qualified installers need appropriate isolation, ventilation, personal protective equipment and procedures for the exact spray foam system. Move residents and pets out of the affected area as directed by the product instructions and contractor’s written safety plan. Establish product-specific reentry and reoccupancy requirements before the job begins; there is no universal safe waiting period for every formulation and installation.
Step 5: Apply and inspect the specified foam system
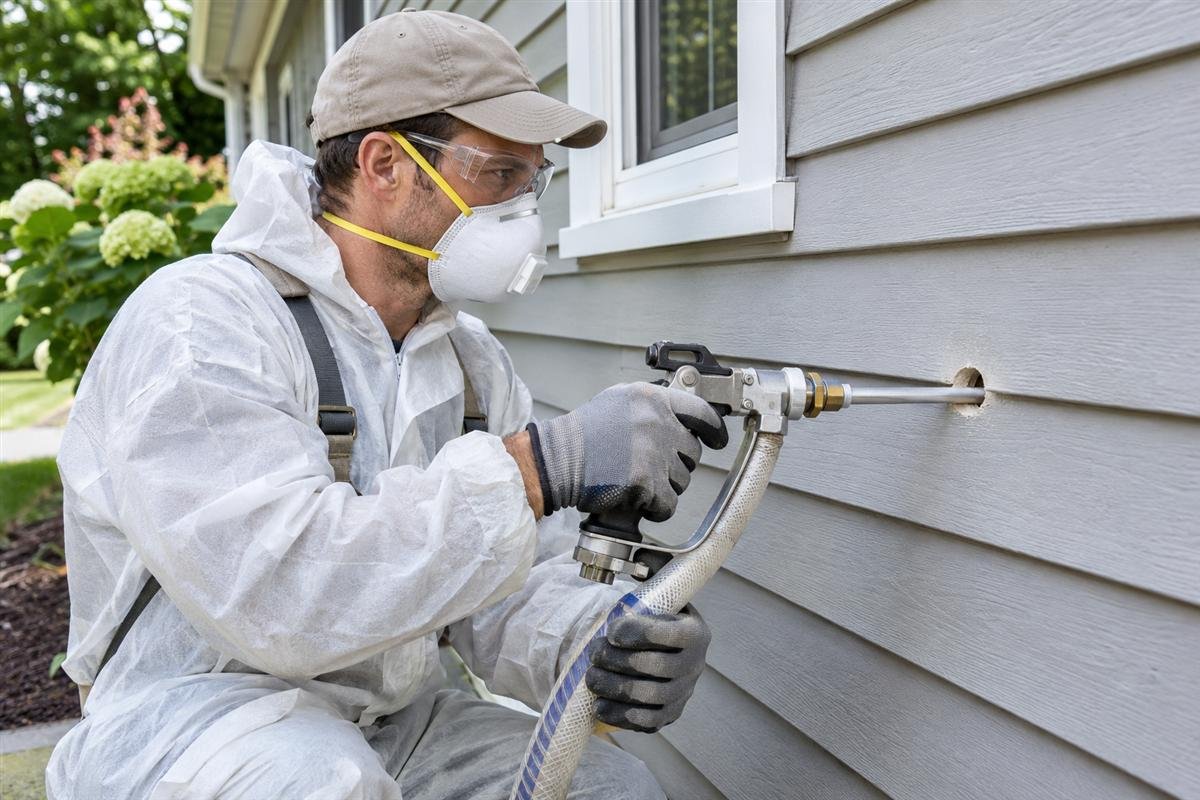
The installer should follow manufacturer limits for substrate temperature, moisture, lift thickness, mixing and curing. Then, examine the finished layer for gaps, voids, unbonded areas and the required thickness. A uniform-looking surface does not prove the wall meets its R-value, air-barrier or vapor-control design. Request the product name, installation record and any inspection documentation.
Step 6: Restore the fire protection and interior finishes
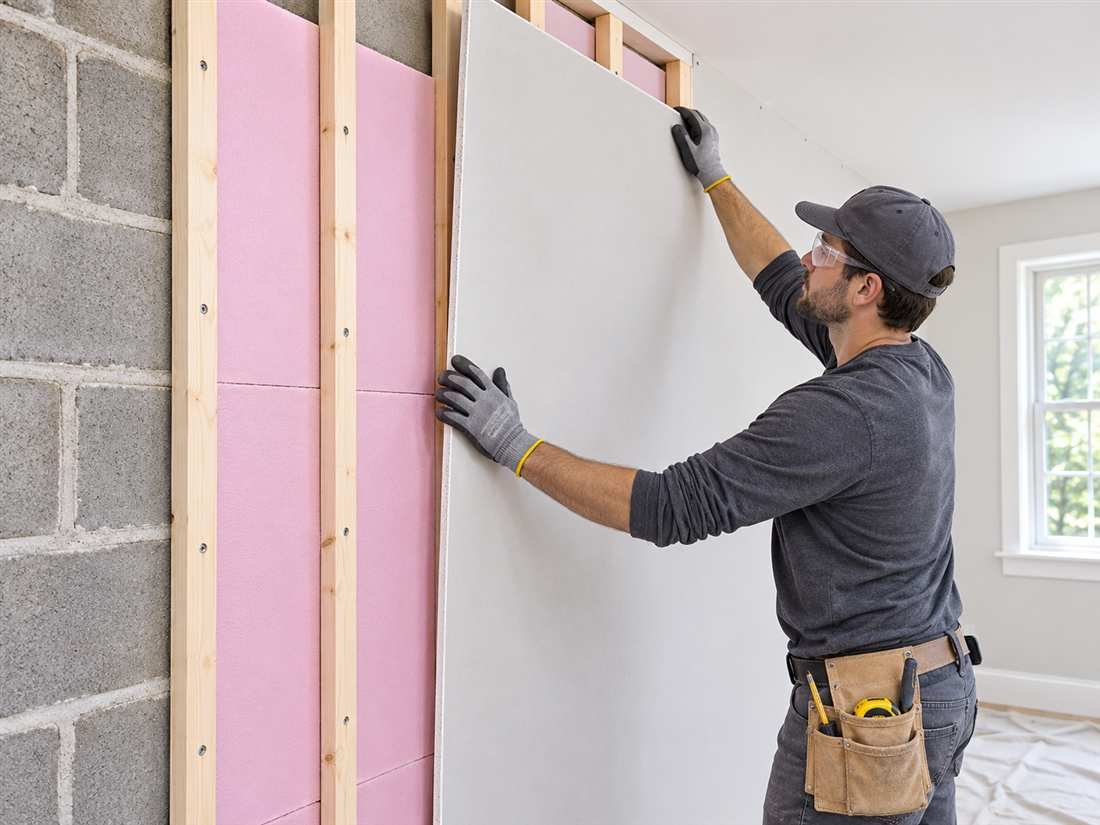
Foam-plastic insulation is subject to code requirements for thermal or ignition barriers and other protection. Many conventional occupied wall assemblies require an approved interior covering, such as specified gypsum board. Finally, confirm local code and evaluation-report conditions before closing the wall. Reconnect air-barrier transitions at openings and repair finishes without concealing unresolved moisture problems.
Spray Foam in Cold Exterior Walls: Is a Partial Retrofit Worthwhile?
A homeowner with cold bedrooms on one exposed side of a house may reasonably consider insulating only that wing. A partial upgrade can improve comfort in the treated rooms, but insulation alone may not resolve surface condensation. First investigate indoor humidity, air leakage, thermal bridges, wet sheathing and the performance of the heating system. Insulating a wall changes the temperatures within the assembly and its ability to dry. Inspect and repair any water entry before installing low-permeance foam.
In a 1960s framed home with cedar siding and no obvious housewrap, an assessor should investigate rain management and existing cavities rather than assuming spray foam will automatically replace a missing wind or water barrier. Cedar and stucco behave differently. Guidance from the U.S. Department of Energy’s Building America Solution Center specifically warns against some closed-cell retrofit configurations, including stucco-clad wood frame walls with high moisture risk.
Problems and Limitations to Consider Before Choosing Spray Foam
- Hidden moisture: Foam can reduce drying in one direction, making existing leaks more consequential.
- Thermal bridging: High cavity R-value cannot eliminate heat loss through studs.
- Application quality: Poor mixing, adhesion or coverage can cause insulation defects.
- Future maintenance: Adhered foam can complicate access to wiring, plumbing and sheathing.
- Fire protection: Foam plastic usually needs a code-compliant covering in occupied assemblies.
- Health and safety: Application may involve hazardous chemicals and requires trained personnel, ventilation and controlled reoccupancy.
- Cost: Spray foam often costs more than fibrous cavity insulation; drywall removal and reconstruction add to the project.
Spray Foam vs. Fiberglass, Mineral Wool and Exterior Rigid Foam
Fiberglass and mineral wool batts can offer a less expensive solution in open, regular stud cavities, provided they are carefully fitted and the wall air barrier is separately detailed. Spray foam can be attractive where irregular geometry and air leakage make conventional batts harder to install, but its costs and vapor behavior require review. Continuous exterior rigid foam can address thermal bridging more directly while a siding replacement creates an opportunity to restore flashing and drainage details.
Consider the entire project cost: insulation, air sealing, moisture repairs, labor, occupant protection, drywall and paint, inspections and any exterior finishing. An energy assessment can help prioritize walls, attic insulation and air leakage rather than assuming the most expensive insulation offers the best first upgrade.
Checklist Before Hiring a Spray Foam Contractor

- What exact foam product and installed thickness will you use?
- Which tested R-value, vapor permeance and air-barrier requirements apply?
- Have you surveyed the wall for leaks, existing barriers, damaged materials and wiring?
- How will window flashing and drainage continue to work?
- What will stop thermal bridging through the studs?
- Which ventilation, isolation, protective equipment and reoccupancy plan will you follow?
- Will you provide the code-required thermal barrier and inspection?
- How will you document coverage, warranty and remediation of installation defects?
Frequently Asked Questions
Is closed-cell spray foam the best insulation for exterior walls?
Not always. Its high R-value per inch and air-sealing potential can help in some assemblies, but cost, moisture risks, climate, framing and continuous insulation all affect the decision. Assess the entire wall before choosing closed-cell foam.
Does spray foam stop moisture from entering exterior walls?
No. Certain foams resist vapor diffusion and can limit airflow, but siding, flashing and the water-control layer must still manage rainwater. A leaking exterior wall needs repair before insulation is added.
Does spray foam eliminate thermal bridging?
No. Cavity spray foam does not eliminate conduction through framing. Continuous insulation over the framing is one way to reduce thermal bridging when properly integrated into the wall design.
Do you need to remove drywall to install spray foam?
For typical spray-applied foam in existing framed wall cavities, installers generally need access to open cavities. Closed-cavity injection systems are different products and processes and may be suitable only after a qualified assessment.
Can I spray foam only the cold bedrooms?
A partial retrofit may improve those rooms, but first check moisture, air leaks, heating distribution and the exterior wall’s water-management details. Treating one wing does not automatically fix every condensation problem.
How much R-value does spray foam provide per inch?
Approximate ranges are R-6 to R-7 per inch for many closed-cell products and R-3.5 to R-4 for many open-cell products. Use the chosen product’s tested values and installation thickness for an actual design.
Final Verdict: Build the Right Wall, Not Just the Highest R-Value
Spray foam insulation for exterior walls can improve comfort and reduce air leakage when a trained installer applies the appropriate product in a carefully assessed assembly. However, water management, drying potential, thermal bridging, fire protection and installation safety deserve just as much attention as R-value per inch. Start with an inspection, compare alternatives and document the wall design before any foam is sprayed.
Technical reference: U.S. Department of Energy / PNNL Building America Solution Center: Spray Foam Insulation for Cavities of Existing Exterior Walls. Always follow your local adopted codes and the manufacturer’s current instructions.