

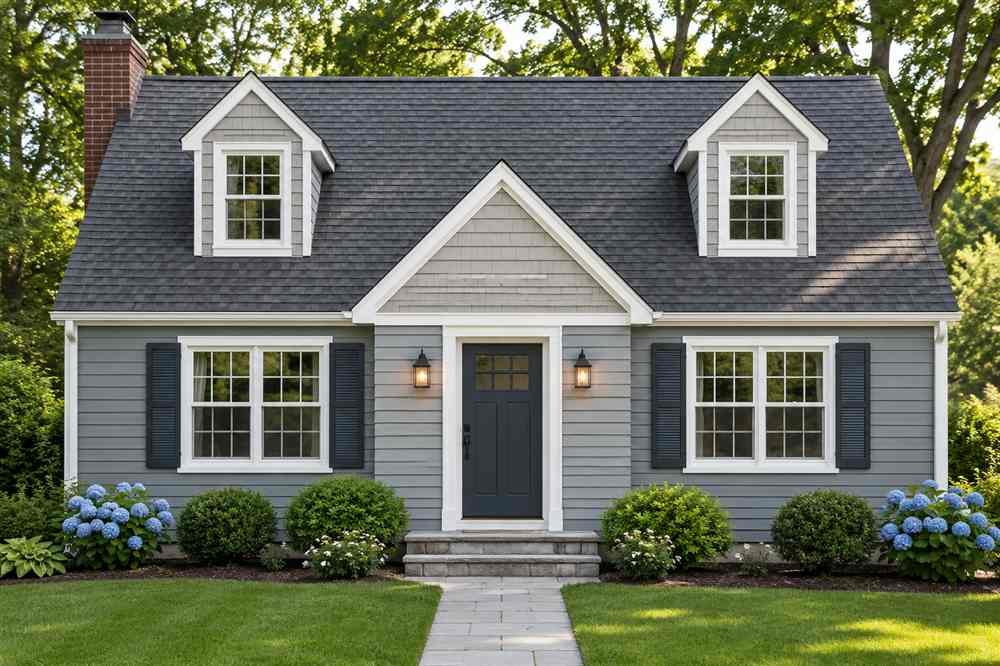
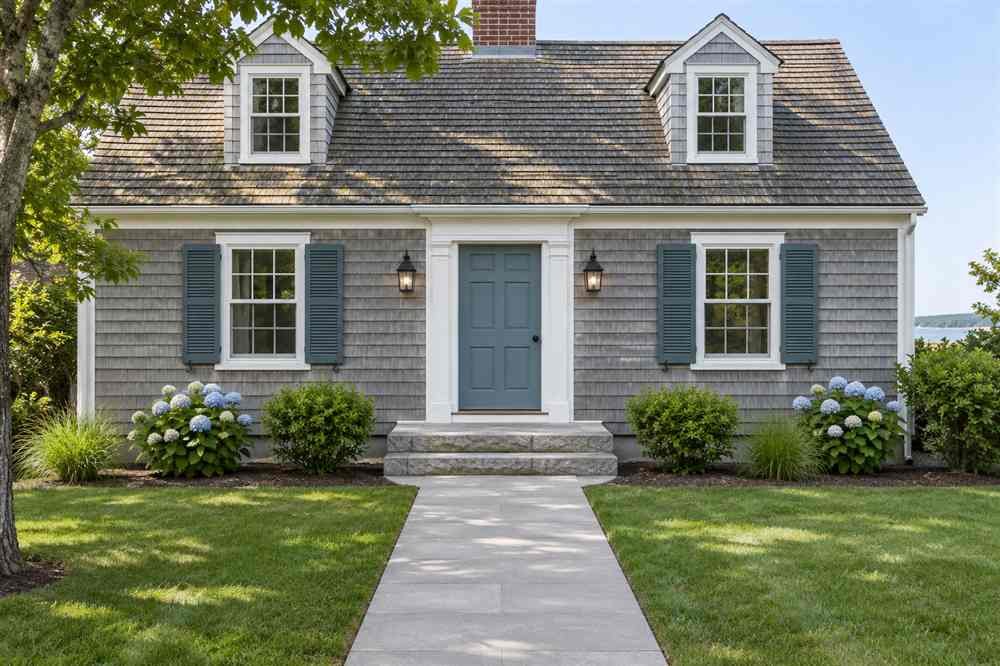
A Cape Cod house has a recognizable silhouette: a steep, simple roof, compact proportions, dormers on many examples, and a front entry that often sits near the center. Modernizing a Cape Cod house exterior works best when updates make those features clearer and improve how the home functions, instead of covering its character with unrelated details. Begin with repairs and measurements, then choose a restrained palette and plan improvements in phases.
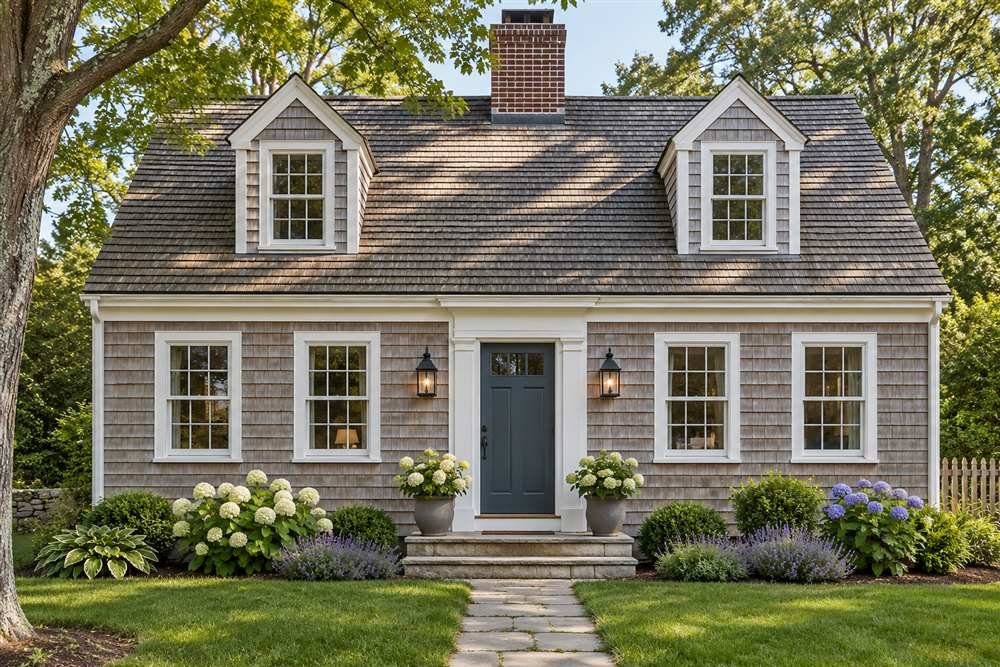
This guide focuses on exterior updates that can be scaled to a modest budget or a larger renovation. For material comparisons across home styles, see the home exterior materials guide. Images are AI-generated concepts, not actual remodel photographs or paint samples.
1. Document the original shape before changing finishes
Photograph the front and side elevations in daylight. Note roof pitch, dormer sizes, window spacing, chimney position, and any original clapboard, shingles, or masonry. Mark visible damage separately from cosmetic details. A simple elevation sketch helps show which elements should remain consistent when you change siding, trim, or the entry. Check local historic-district or HOA rules before ordering materials; approval requirements vary by location.
2. Repair water and siding problems before painting
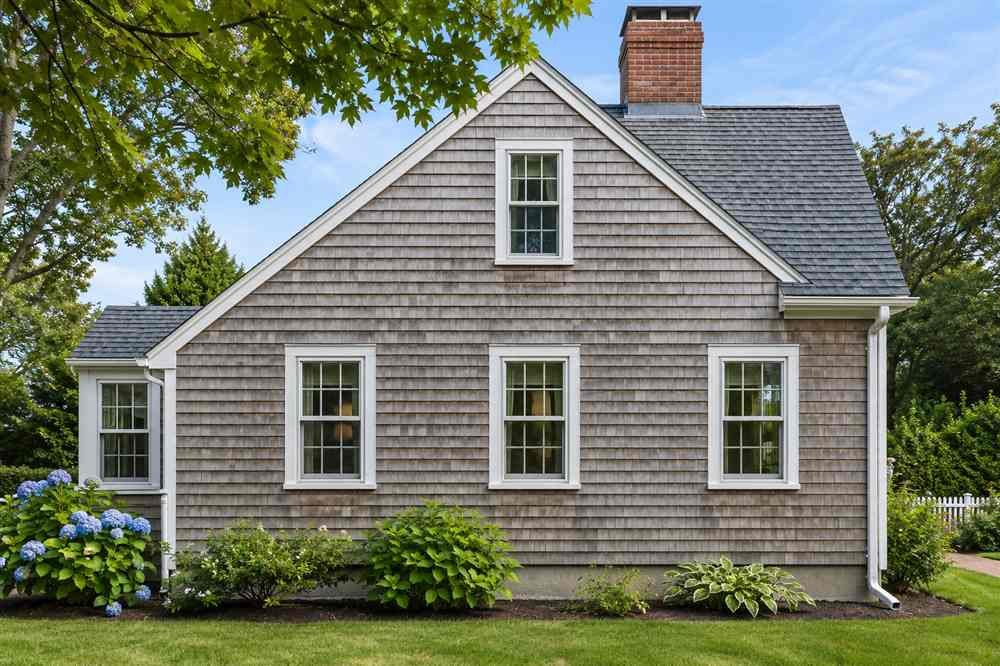
Look for peeling paint, soft wood, open joints, loose flashing, clogged gutters, and staining below windows. Resolve the water source before applying a new finish. On older homes, avoid sealing over moisture problems or covering sound original material without understanding the wall assembly. If paint may contain lead, follow EPA lead-safe guidance and use qualified help for work that disturbs it. The EPA’s lead-safe renovation guidance explains precautions for pre-1978 housing.
3. Keep the roofline visually simple
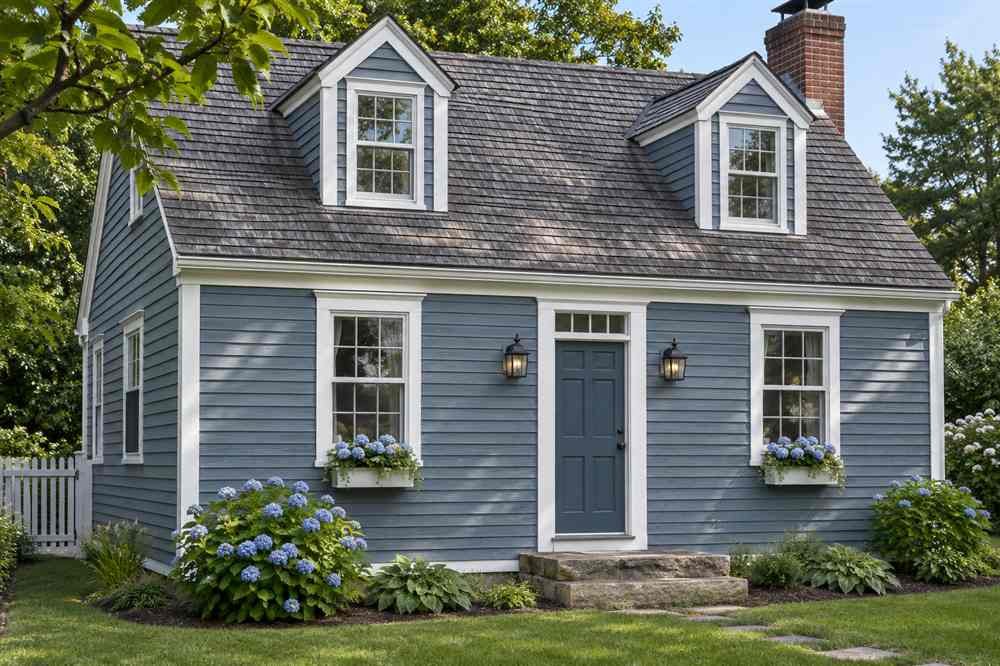
The roof is one of the defining Cape Cod features. If replacement is needed, compare shingle colors against the siding and brick chimney before committing. A medium charcoal, weathered gray, or brown can work, but the right choice depends on fixed materials and regional context. Avoid adding decorative gables or roof extensions solely to make a small house look larger; changes to structure require professional planning and may affect drainage, framing, and permits.
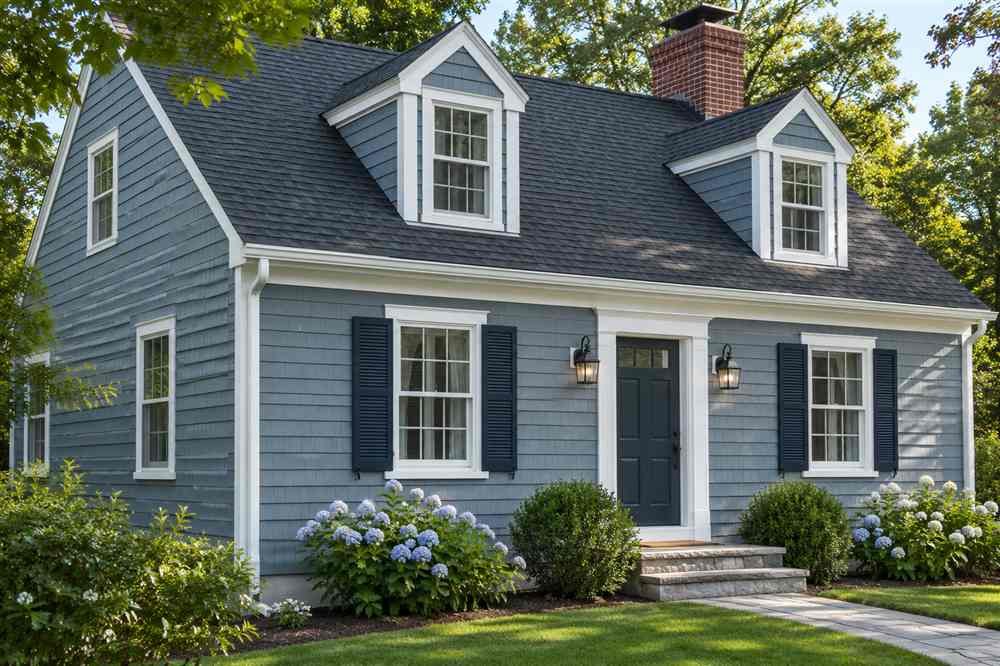
4. Refresh siding with a material that fits the exposure
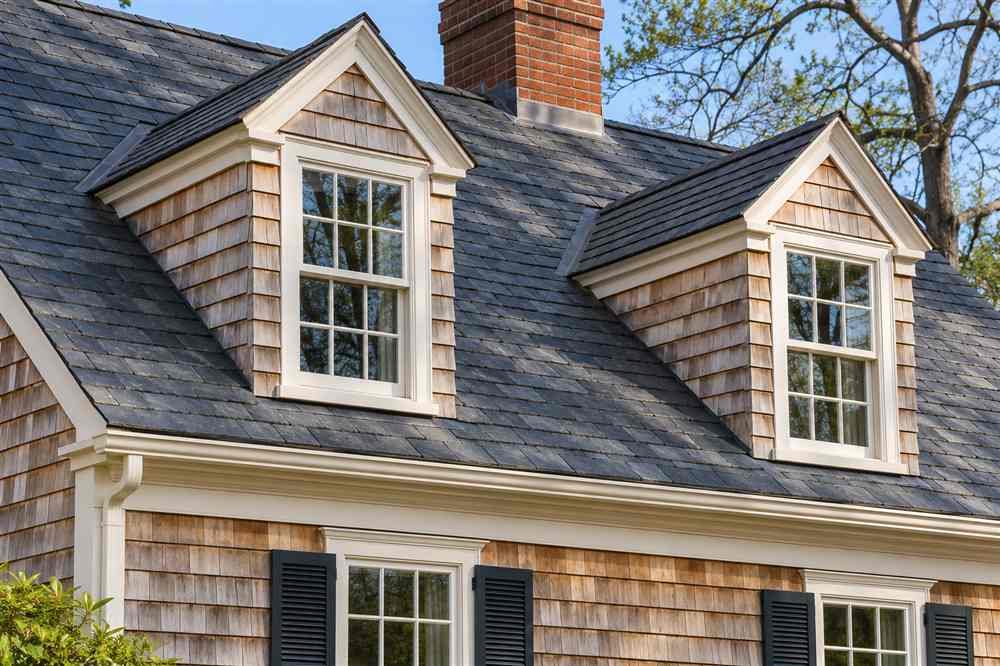
Wood clapboard and shingle siding are common, but fiber cement and other products may suit some renovations when detailed correctly. Compare maintenance, climate suitability, product warranty, and how corners, water tables, and window trim will be finished. If existing siding is serviceable, cleaning and repair may be a better first step than replacement. The broader painted-brick planning guide discusses why existing masonry deserves a separate assessment before coating.
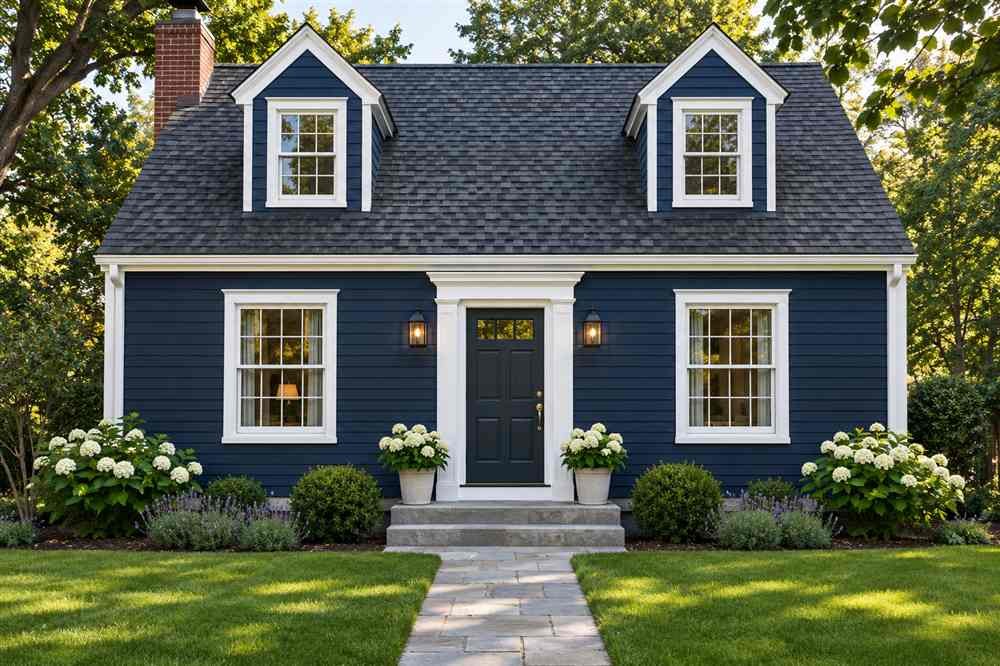
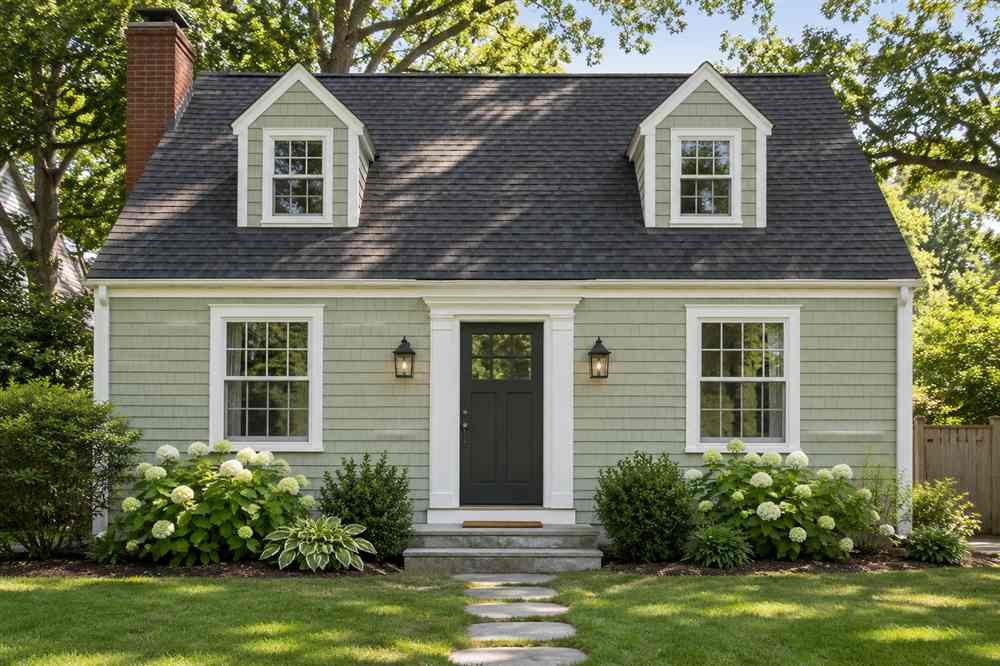
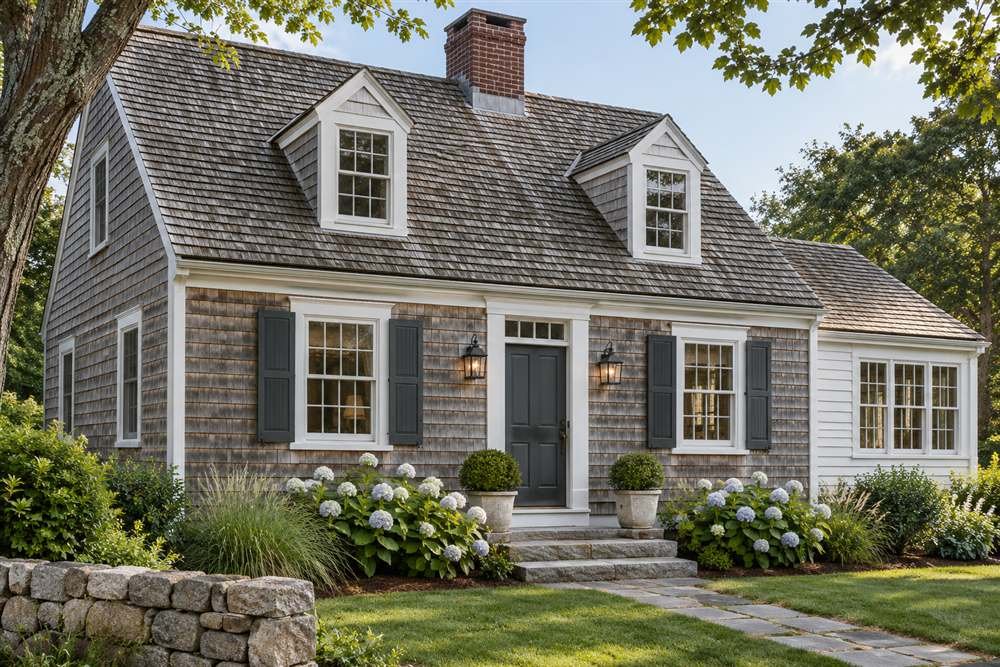
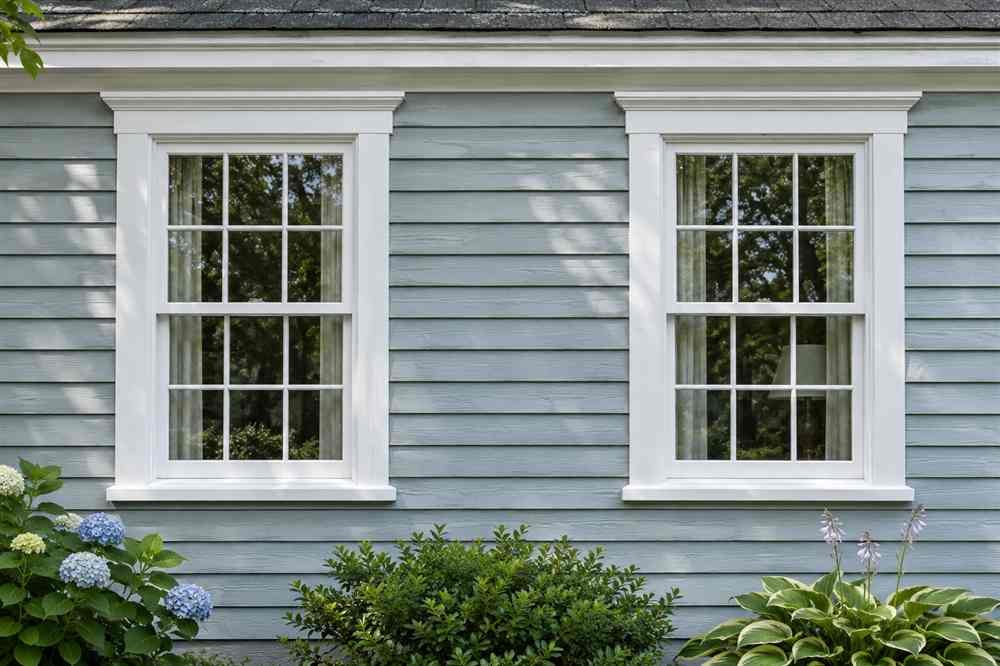
5. Use trim to define dormers and windows
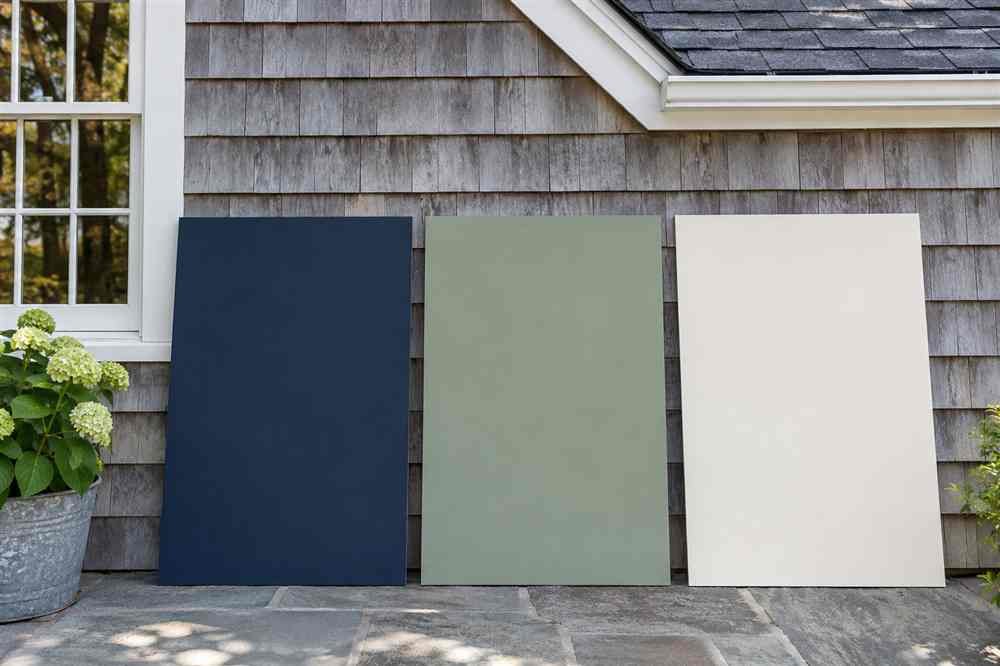
Trim can sharpen the roofline without making the facade busy. Use one primary trim color consistently around windows, corner boards, fascia, and dormers. If the house has narrow proportions, avoid oversized casing that overwhelms the openings. Sample the trim beside the siding and roof in morning, midday, and shaded light. Small chips often hide how a white or gray shifts across a large surface.
6. Give the front door a clear role
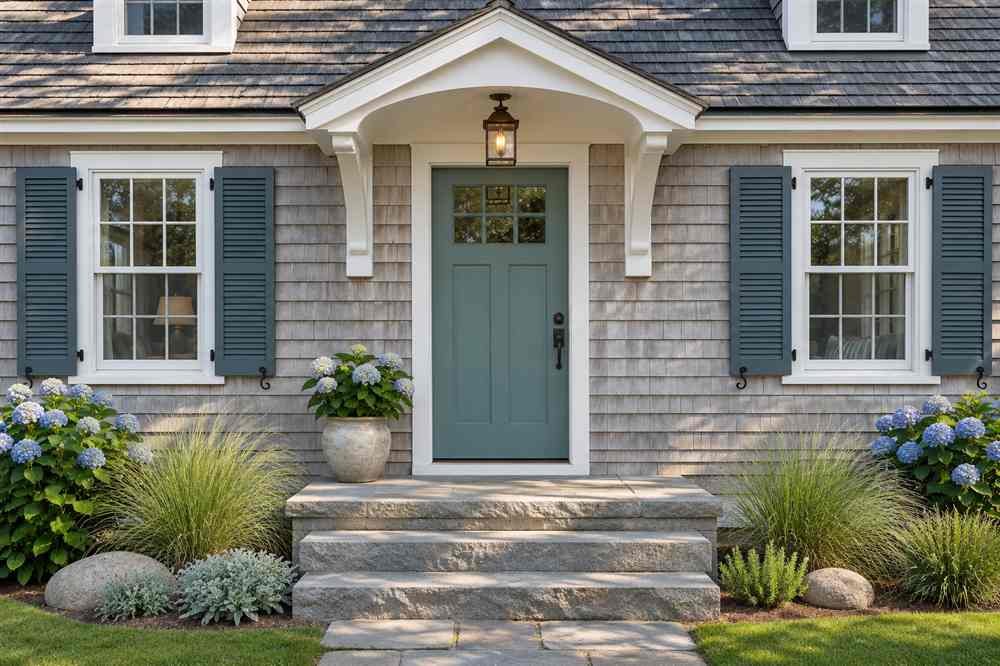
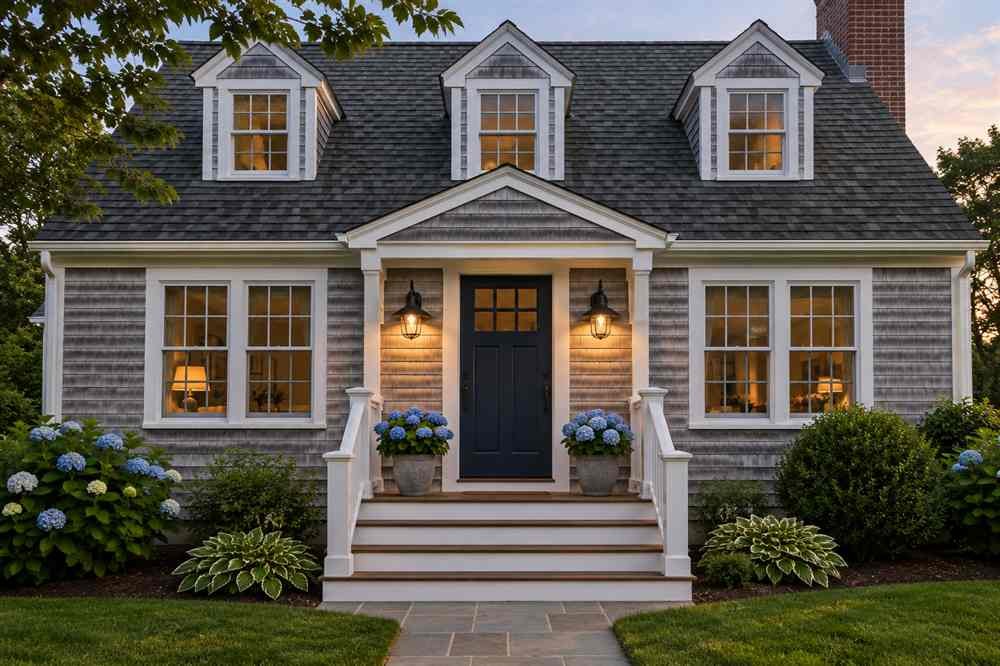
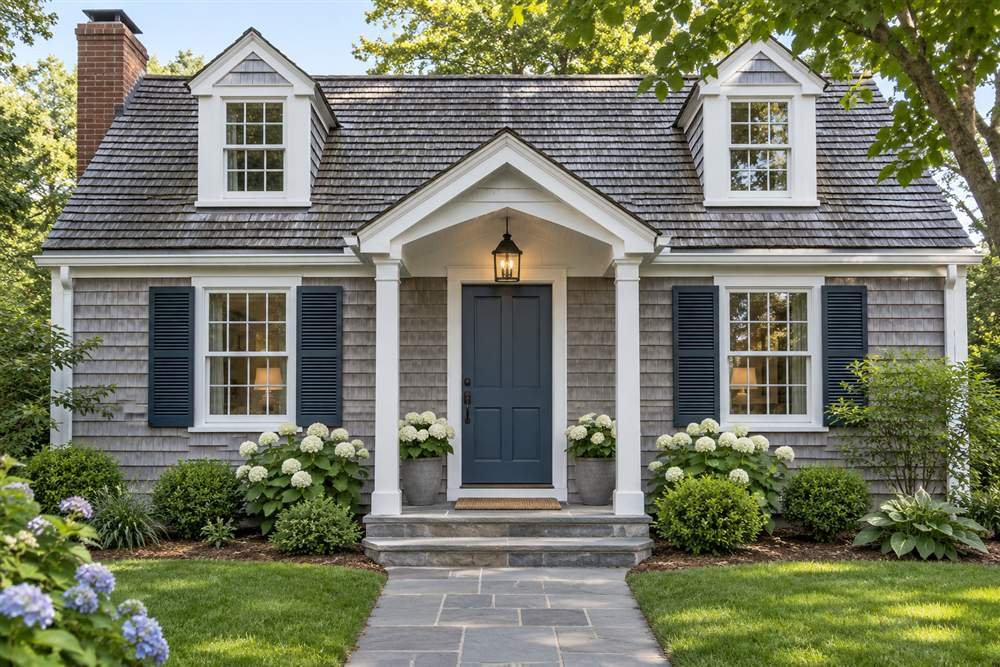
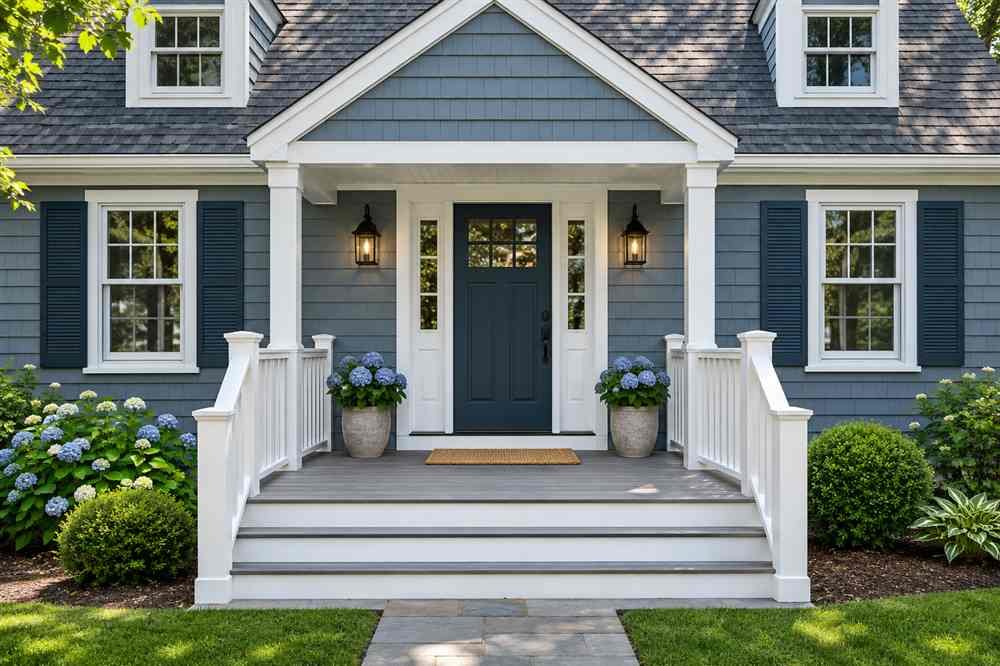
A door update is a relatively contained way to make the entry feel current. Consider a muted blue, deep green, warm wood, or another color already present in the landscape or brick. Retain a traditional panel pattern if it supports the house, and choose hardware that fits the door’s scale. Check weatherstripping, threshold condition, and lock function at the same time; a beautiful door should still close and seal well.
7. Improve the entry path and lighting
A readable path and appropriately placed exterior light make the front approach easier to use. Repair uneven steps, add a handrail where needed, and keep shrubs from blocking the route. Choose fixtures with shielded light aimed toward the entry rather than the street or neighbors’ windows. Confirm wiring and outdoor ratings with a qualified electrician, particularly when replacing older fixtures or adding new circuits.
8. Update windows carefully
Before replacing windows, check whether the existing units can be repaired, weatherstripped, or repainted. If replacement is justified, compare frame dimensions, operation, energy ratings appropriate for the local climate, and the visual rhythm of the facade. Avoid changing window sizes without planning headers, flashing, and interior finish consequences. For energy performance guidance, consult the U.S. Department of Energy’s window repair and replacement overview.
9. Coordinate shutters, gutters, and foundation color
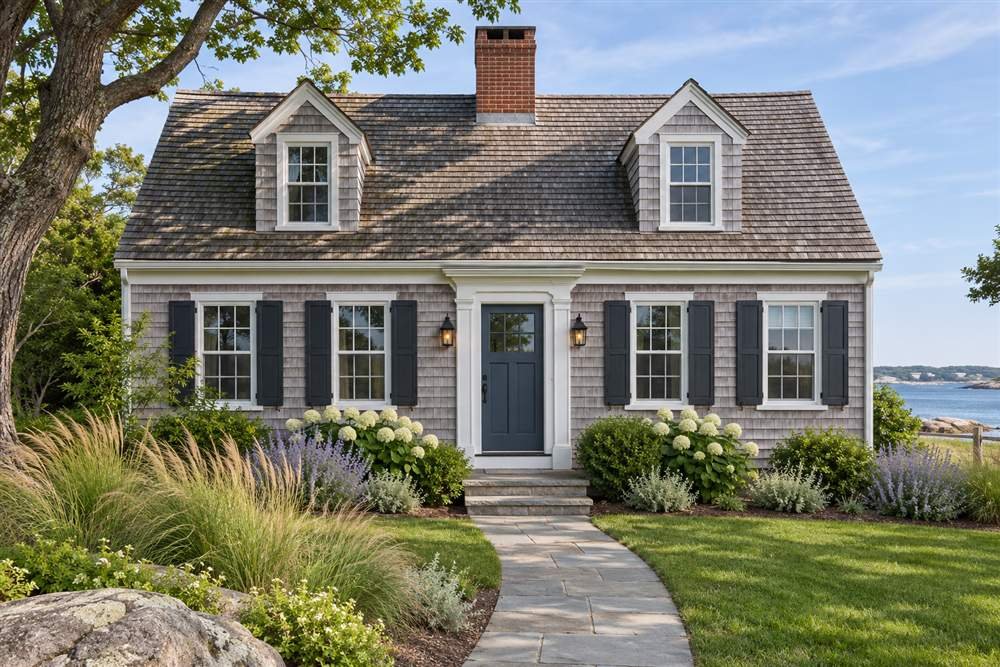
Shutters should look proportionate to the windows and, when operable, should be sized to cover them. If decorative, keep their placement believable rather than using tiny accents that float beside large windows. Gutters and downspouts can either blend into the trim or recede against the siding; choose consistently. A foundation color can visually ground the house, but ensure masonry remains able to manage moisture.
10. Simplify the planting near the facade
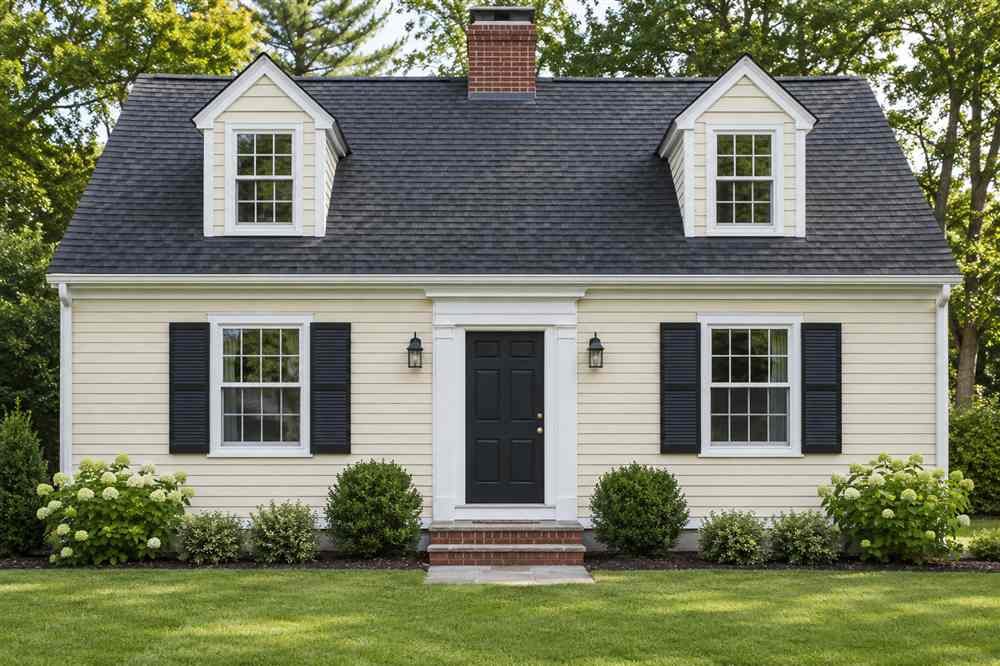
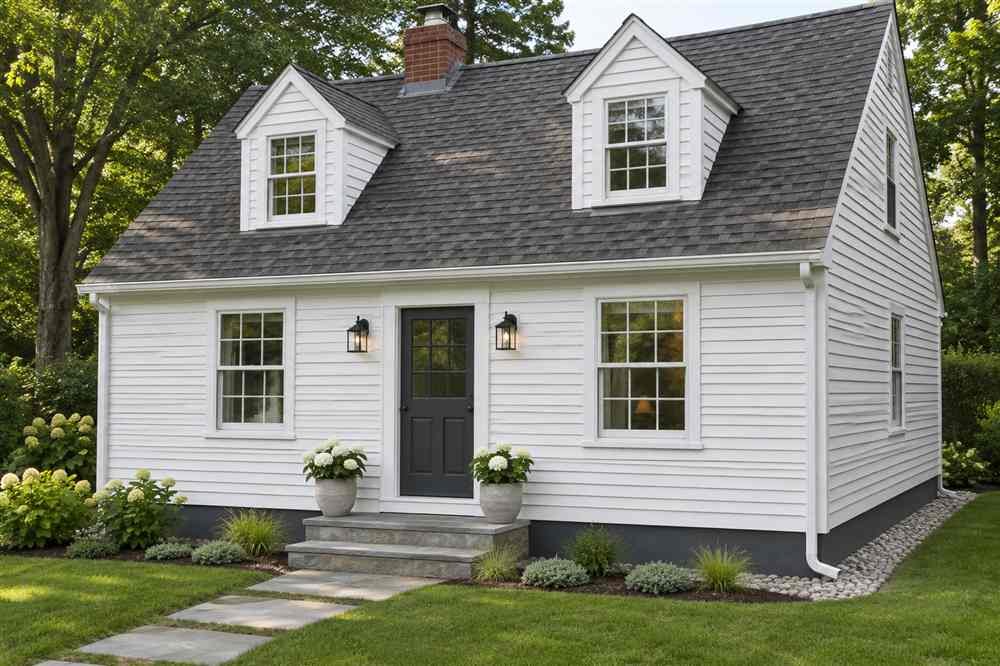
Use foundation plants that leave access to siding, vents, meters, and drainage points. Keep mature plant size in mind, not just the nursery pot. A clear walkway, a few layered plants, and a maintained lawn edge can make a small Cape Cod appear more intentional without obscuring the house. Select species suited to local sun, rainfall, and soil, and avoid directing irrigation toward the foundation.
11. Add contrast in measured places
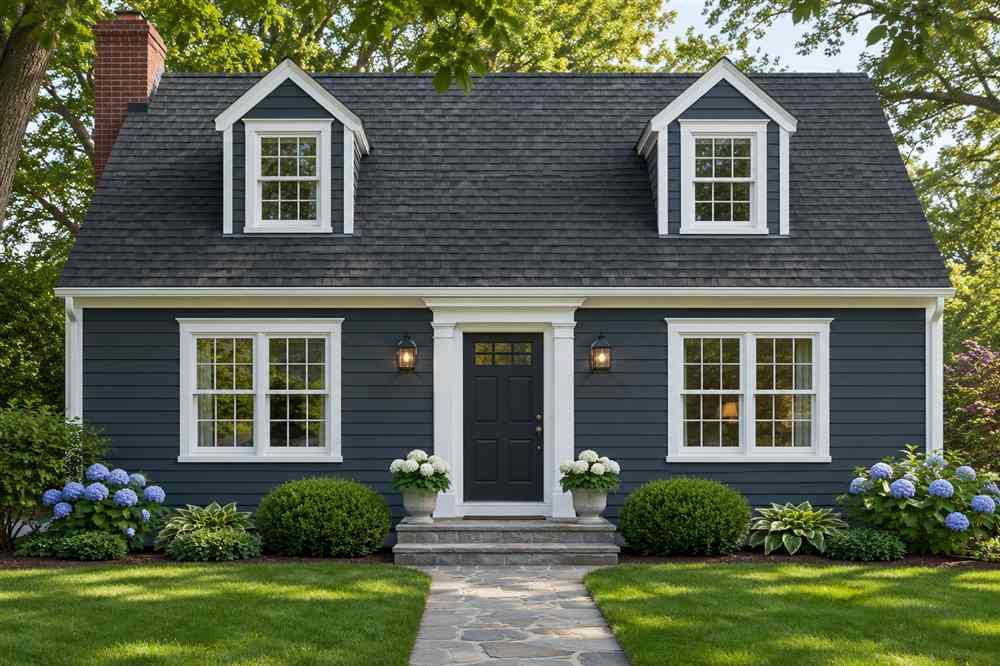
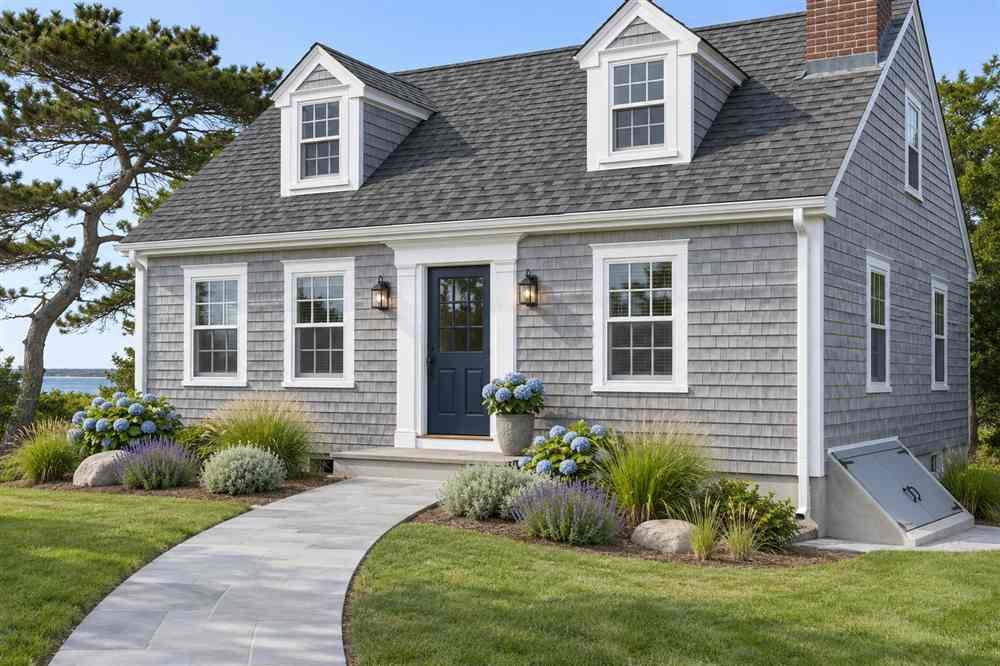
A simple base color, one trim color, and one restrained accent are usually enough to clarify a compact facade. Repeat an accent on the door, shutters, or a small gable detail rather than adding several unrelated colors. For another example of exterior color planning, see Tricorn Black exterior paint combinations. Evaluate dark finishes on the actual surface; sunlight, shade, and substrate can change how they read.
12. Make accessibility and maintenance part of the plan
A more modern exterior should be easier to maintain and navigate. Address loose stair treads, slick surfaces, poor drainage, and hard-to-see house numbers. Where a ramp or wider landing is needed, work with a qualified professional to fit it to the site and local code. Choose finishes whose cleaning and repainting needs you can realistically maintain over the next decade.
Practical project sequence
Use this order to avoid paying twice for work: inspect structure and water management; repair roof, flashing, siding, and steps; finalize windows and doors; paint or install cladding; then complete lighting, house numbers, and planting. Get written scopes from contractors and ask what is excluded, how hidden damage will be handled, and which permits or inspections apply. Costs depend on region, labor, house condition, and material choices, so get local bids rather than relying on a generic online estimate.
Sources and related guides
For a historic property, review the National Park Service rehabilitation guidelines before changing character-defining exterior features. For broader makeover planning, see our home exterior before-and-after ideas and guide to house exterior materials.
FAQs
How can I modernize a Cape Cod exterior without losing its character? Keep its roofline and window rhythm recognizable, repair the envelope first, and use restrained siding, trim, and entry updates.
What siding is best for a Cape Cod house? There is no universal best choice. Compare existing material, exposure, maintenance, moisture detailing, climate, and local preservation rules.
Do Cape Cod houses need shutters? No. Shutters are optional. If used, choose a scale that fits the openings and avoid adding them where they would not function or look plausible.
A thoughtful Cape Cod refresh is a sequence of compatible decisions. Preserve the proportions, repair the causes of visible wear, and let a small number of coordinated updates make the original form easier to appreciate.