

Dental office interior design needs to connect a reassuring patient experience with a workable clinical environment. Start with services, equipment, staff routines, and the requirements that apply to the practice. Then organize arrival, consultation, treatment, and support spaces. Decorative finishes should support that plan rather than conceal unresolved workflow or building-system questions.
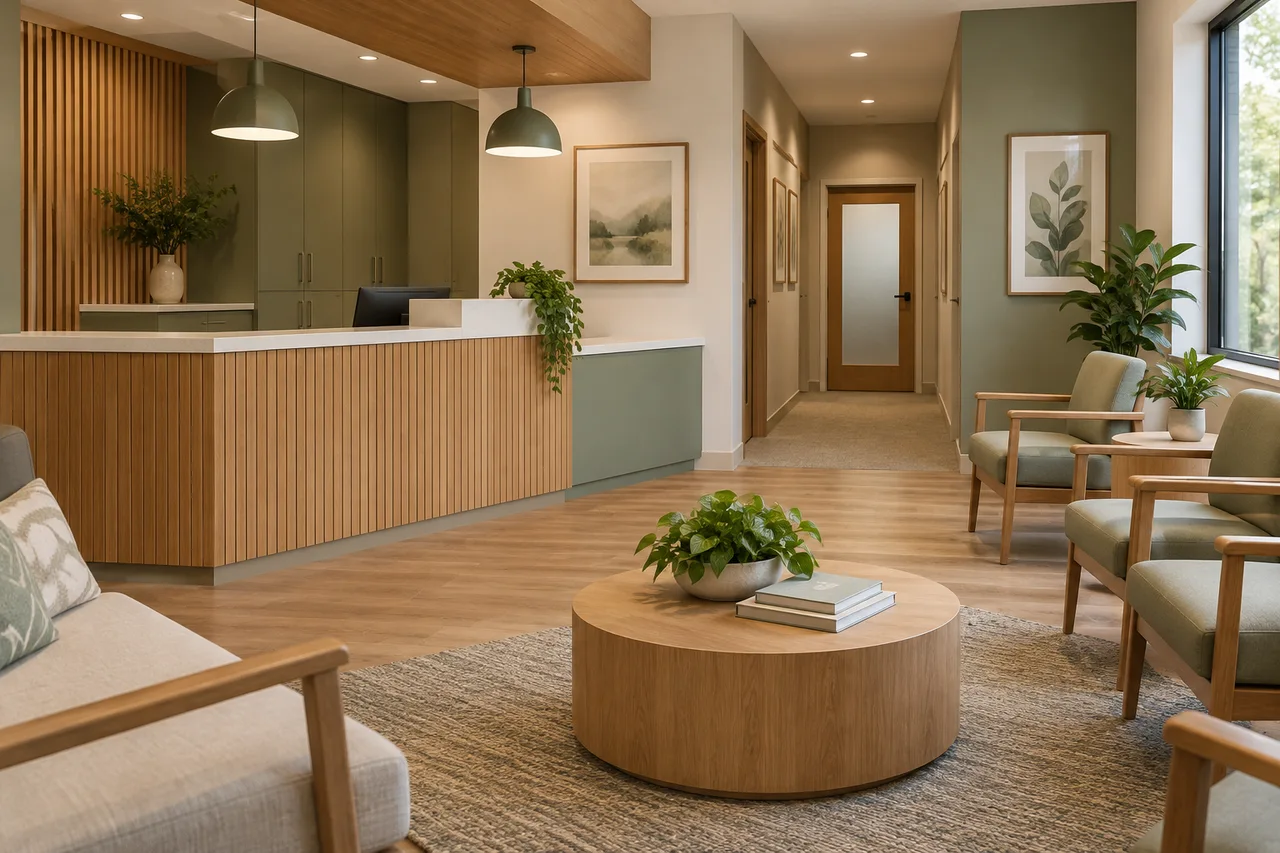
Establish the clinical brief before the style
List the services the practice offers and the staff involved in delivering them. Identify equipment that needs specific utilities, installation conditions, maintenance access, or manufacturer clearances. Include future plans only when the project can realistically accommodate them.
A general dental office, specialty practice, and surgical setting may need different arrangements. Ask the clinical team to describe actual procedures and support activities. The interior designer should not infer clinical requirements from a photograph of another practice.
Our space planning interior design guide provides a basic measurement framework. Dental office planning also requires coordination with the dentist, equipment specialists, infection-prevention personnel, and professionals responsible for applicable building and accessibility requirements.
Map dental office interior design around workflow
Draw separate activity sequences for patients, staff, supplies, and used instruments. Identify where those movements interact and where the clinical team needs separation or controlled handling. Do not interpret a decorative floor plan as an infection-control design.
Walk through a complete appointment, including room preparation and turnover. Include staff movement while a patient occupies the chair. A room that fits equipment outlines may still leave the team without practical working positions.
The CDC’s dental Standard Precautions guidance addresses infection-prevention practices in dental settings. Use it with the clinical team’s current protocols and relevant requirements. A material palette or appealing layout cannot establish that a practice meets those obligations.
Make the arrival area calm and understandable
Give patients a clear first point of contact. Arrange the reception counter, waiting seats, and approach to consultation or treatment without unnecessary obstacles. Keep the entrance usable when a patient arrives with a companion or belongings.
Choose waiting furniture for the expected users and cleaning process. Test a range of suitable seats rather than specifying identical low lounge chairs everywhere. Include places for belongings that do not spill into circulation.
Protect conversations and information
Review what can be seen and heard at check-in and checkout. Position screens, paperwork, and conversation areas with privacy in mind. Ask the practice’s responsible advisers to assess its privacy obligations rather than assuming a small divider resolves them.
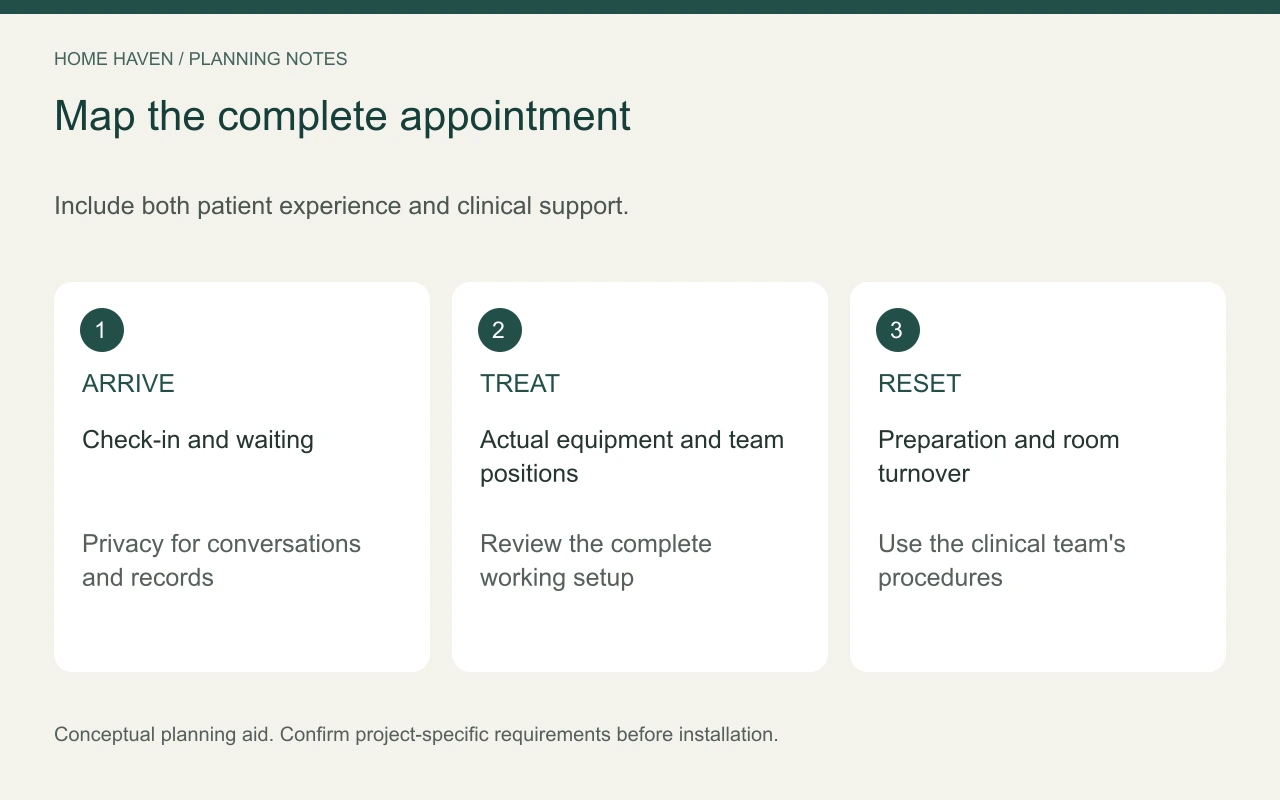
Coordinate treatment spaces with equipment
Obtain current equipment drawings from the supplier. Include chair movement, delivery systems, staff positions, cabinetry operation, and service access. Confirm dimensions in feet and inches for the project documentation and use the manufacturer’s exact specifications.
Build a full-size mock-up where practical before finalizing fixed cabinetry. Let the clinical team review reaching, sitting, standing, and equipment adjustment. Do not substitute a generic internet clearance for the needs of the actual system.
Plan utilities with the appropriate licensed professionals. Equipment can involve electrical, plumbing, ventilation, or other specialized connections. Verify installation and maintenance requirements before signing off on cabinetry that might obstruct access.
Give support functions deliberate space
Instrument processing, supply handling, staff facilities, records, and cleaning all affect the plan. Let the clinical team define appropriate workflows and storage arrangements. The design should support those procedures instead of asking staff to improvise around missing space.
Avoid treating an unused corner as a permanent solution for every support task. A countertop can become crowded quickly when unrelated activities compete for it. Record what belongs at each location and who uses it.
For dental clinic interior design, visual tidiness and suitable practice are different questions. Closed cabinetry can reduce visible clutter, but its location, construction, contents, and handling procedure still need appropriate review.
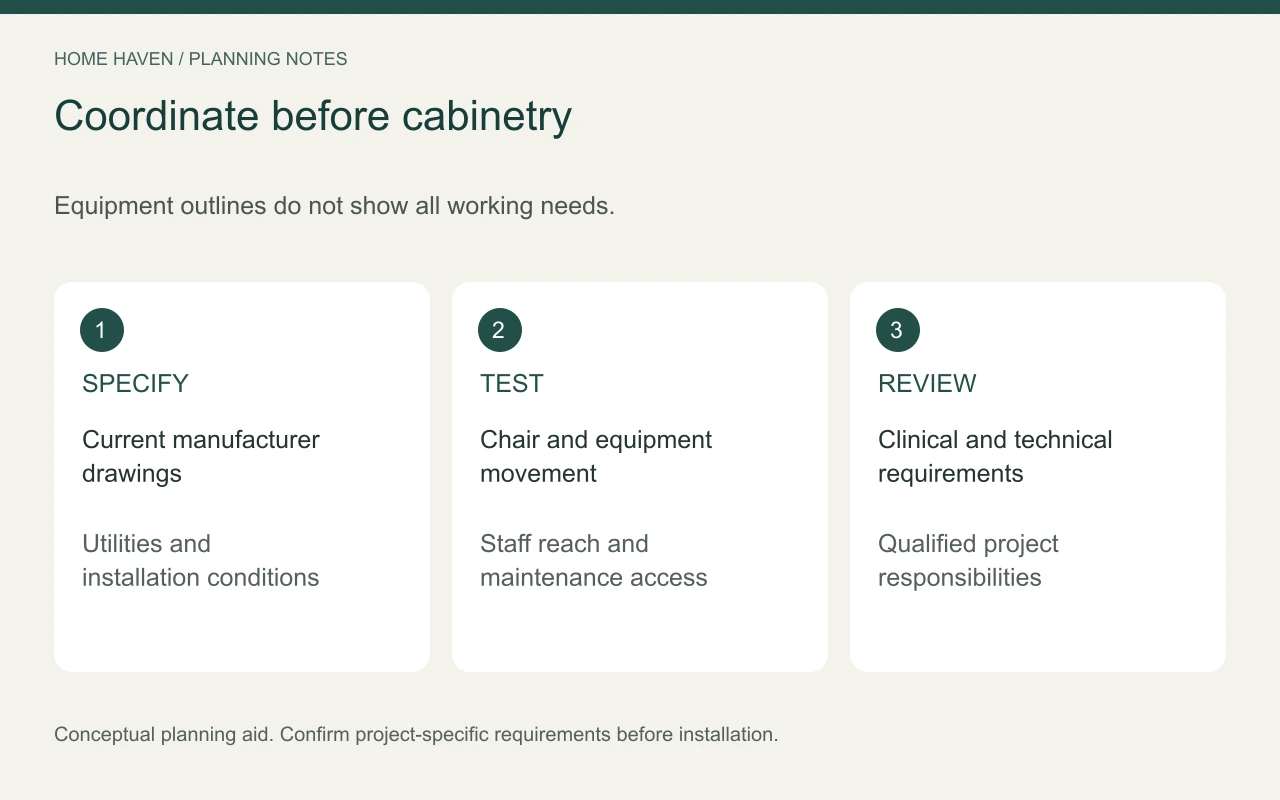
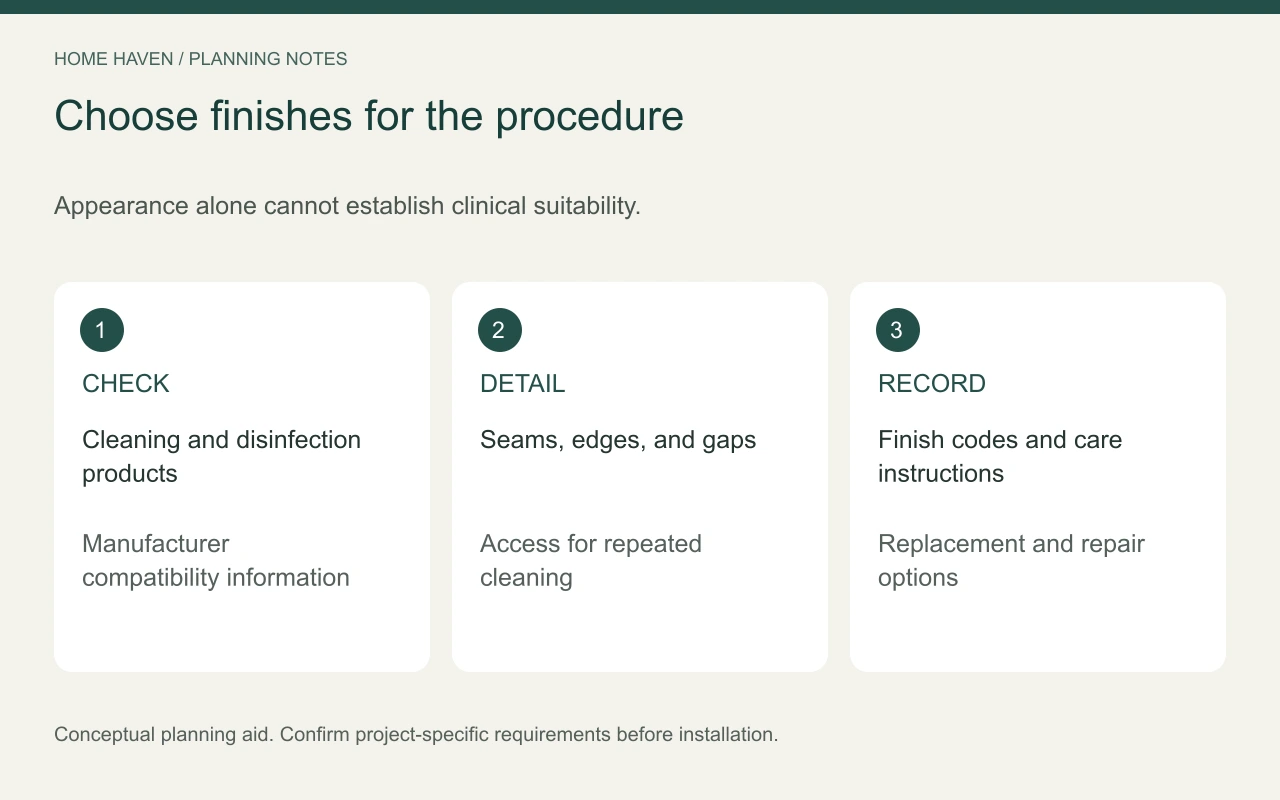
Specify finishes for the intended care process
Ask how each surface will respond to the cleaning and disinfection products the practice uses. Review manufacturer instructions rather than assuming a material is suitable because it looks smooth. Check seams, edges, joints, and hard-to-reach gaps.
Compare samples with the team responsible for maintenance. A pale upholstery choice may look welcoming but require a care process the practice cannot support. A different surface may be more suitable without making the waiting room feel impersonal.
Keep decorative items away from clinical work surfaces unless the clinical team approves their location. Use artwork and color in places that do not interfere with cleaning or essential access. Do not describe a decorative finish as antimicrobial without verified, relevant evidence.
Plan lighting for distinct jobs
Waiting, consultation, treatment, administration, and cleaning each involve different visual tasks. Coordinate general lighting with clinical equipment and specialist needs. A decorative pendant should not substitute for appropriate task or treatment lighting.
Check reflections and glare from the seated patient’s position as well as the staff viewpoint. Test finish samples under the proposed fixtures. Have the appropriate lighting and electrical professionals review permanent installations.
Create useful control zones where the project supports them. Staff should understand which controls serve each activity. Avoid complicated arrangements that create confusion during preparation or cleanup.
Check the property before committing
Before a lease or major renovation, confirm the proposed use and necessary approvals with the project team. Review utility capacity, access, equipment delivery, and any constraints of the building. An affordable-looking space can become unsuitable if important requirements remain unresolved.
Ask for an itemized USD budget that separates design, permits, construction, equipment, installation, and ongoing maintenance assumptions. Compare proposals using the same scope. Keep essential clinical and building needs ahead of decorative upgrades.
Frequently asked questions
Can a small dental office feel welcoming?
Yes. Clear arrival, comfortable appropriate seating, restrained finishes, and useful lighting can improve the experience. The clinic still needs sufficient space and systems for its actual services.
Is an open treatment layout always better?
No. Evaluate privacy, clinical workflow, equipment, infection-prevention needs, and applicable requirements with the responsible professionals. Another practice’s arrangement is not proof that the same approach suits yours.
What should a dental office interior design brief include?
Include services, equipment specifications, staffing, patient needs, support workflows, maintenance procedures, and the project team’s responsibilities. Resolve these before selecting a final visual concept.
Approve the coordinated plan first
Review the complete appointment and the support work around it before approving fixed finishes. Confirm who checks each clinical, technical, and regulatory question. A well-planned dental office supports a dependable working day as well as a reassuring first impression.