
Blown-in wall insulation problems usually trace back to incomplete coverage, a blocked or damp cavity, the wrong material or fill density, or overlooked wiring and fire blocking. Blown-in insulation can improve comfort when a suitable cavity is filled evenly with an appropriate material. Before adding more, inspect the wall and confirm the cause; a cold room alone does not prove the insulation failed.
This guide explains the most common blown-in wall insulation problems, what signs to look for, when a repair is possible, and when another retrofit method is safer. It also separates practical concerns from blanket claims that all blown-in insulation settles or causes damp.
AI Overview: What Problems Can Blown-In Wall Insulation Cause?
Poorly planned blown-in wall insulation can leave empty pockets, settle or compress, miss cavities behind obstructions, create moisture risks in an unsuitable wall, or conceal unsafe wiring and framing defects. Correctly specified and professionally installed insulation can perform well. The key checks are wall type, cavity condition, material and fill density, moisture exposure, fire blocking, and proof that each bay was filled. For broader wall-type choices, see our main wall insulation guide.
Signs of a Blown-In Insulation Problem
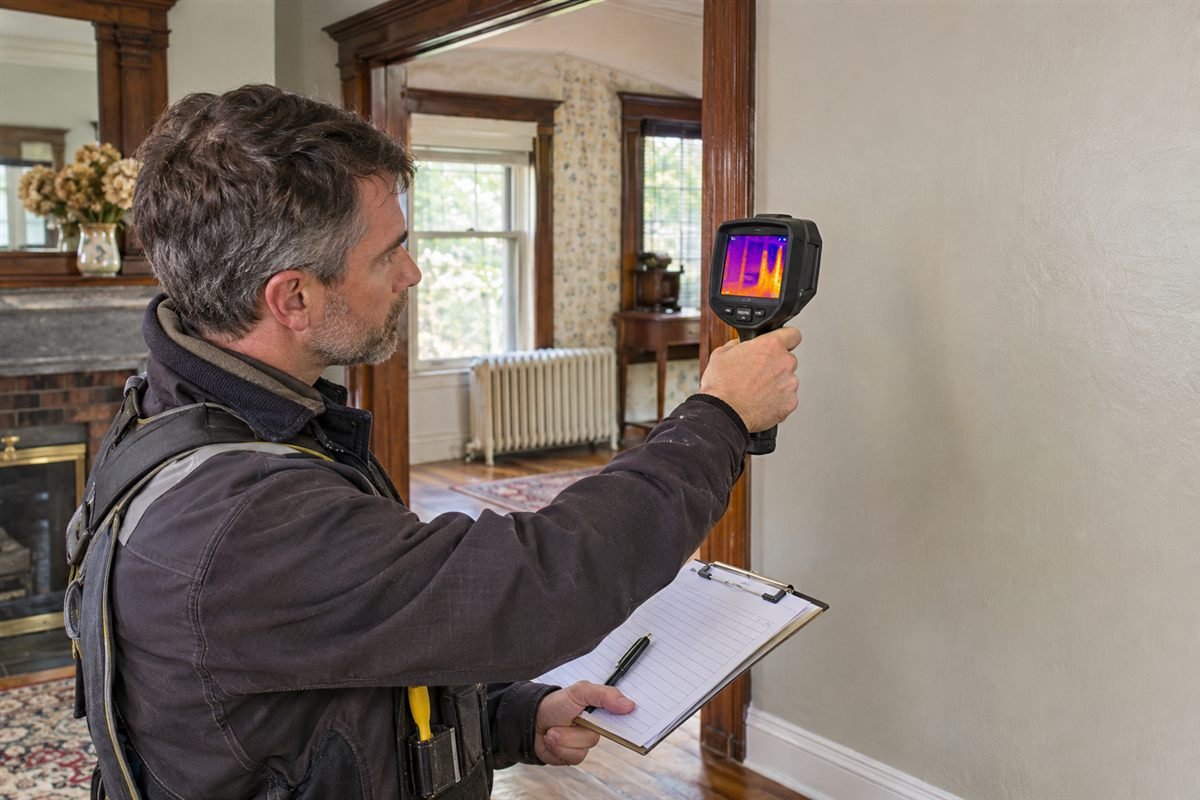
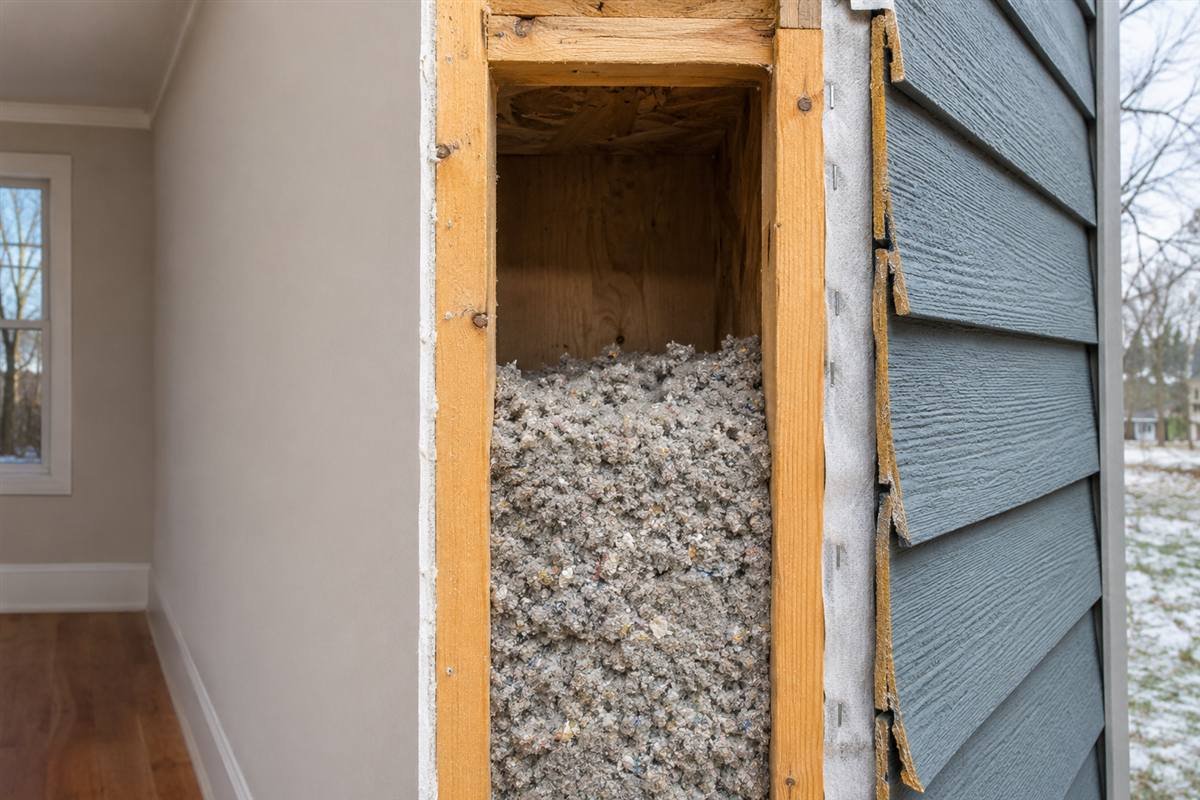
A problem may show up as one persistently cold strip or room, uneven temperatures, drafts near outlets or trim, higher heating demand, or a thermal image with cold areas between studs. These signs are clues, not a diagnosis. Windows, air leaks, heating imbalance, roof or floor losses, and thermal bridges can create similar symptoms.
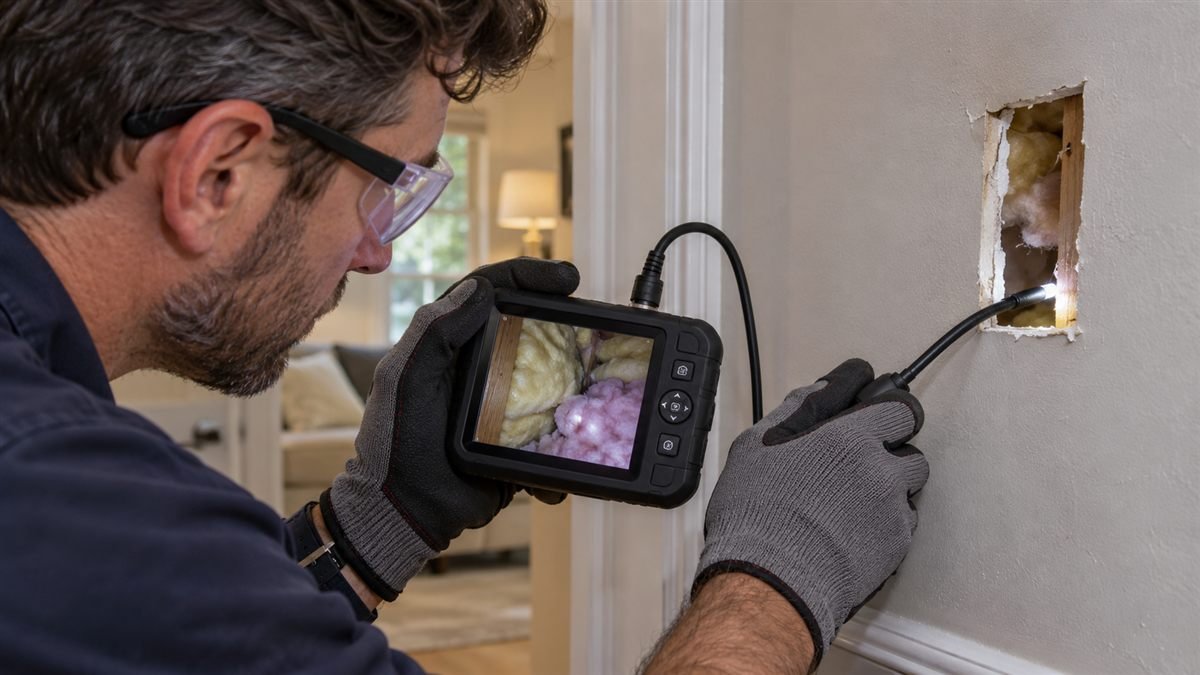
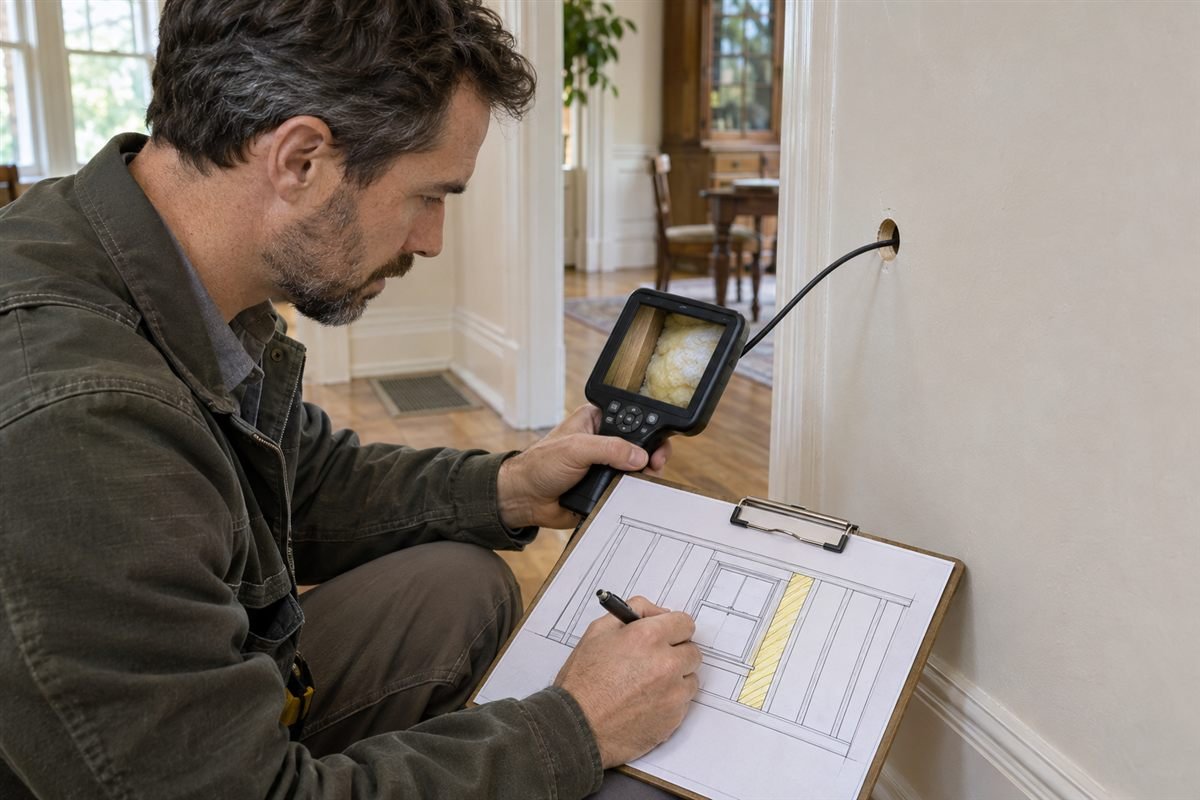
Other warning signs include damp patches, musty smells, recurring condensation, paint bubbling, or a sudden change after insulation work. Do not assume insulation caused every moisture issue: roof leaks, plumbing, rain penetration, and indoor humidity may also be responsible. A thermal camera can reveal temperature patterns, while a borescope or selective opening can show the actual cavity condition.
Common Blown-In Wall Insulation Problems
1. Gaps and incomplete coverage
Insulation may not reach every part of a wall bay if the installer misses an access point, stops before the cavity is full, or cannot move material past blocking and wiring. A wall can then feel uneven even when some sections contain insulation. Loose fill can also move or compact if the wrong product or installation method is used. Ask for the material specification and how the contractor checked coverage.

2. Existing insulation blocks the cavity
A cavity may already contain batts, old loose fill, debris, or remnants from previous work. Adding another material without checking can squeeze batts, bridge moisture-sensitive layers, or leave voids around obstructions. A borescope inspection or carefully chosen access point can show whether the bay is clear enough for a new fill.
3. Moisture and condensation risk
Adding insulation changes the temperature of the wall layers and can affect how the assembly dries. In cold climates, interior insulation may make exterior sheathing or masonry colder. If rainwater or indoor air leaks into the assembly, moisture can accumulate and damage timber or finishes. Blown-in insulation does not waterproof a wall and should not cover an active leak, wet materials, or unresolved damp.
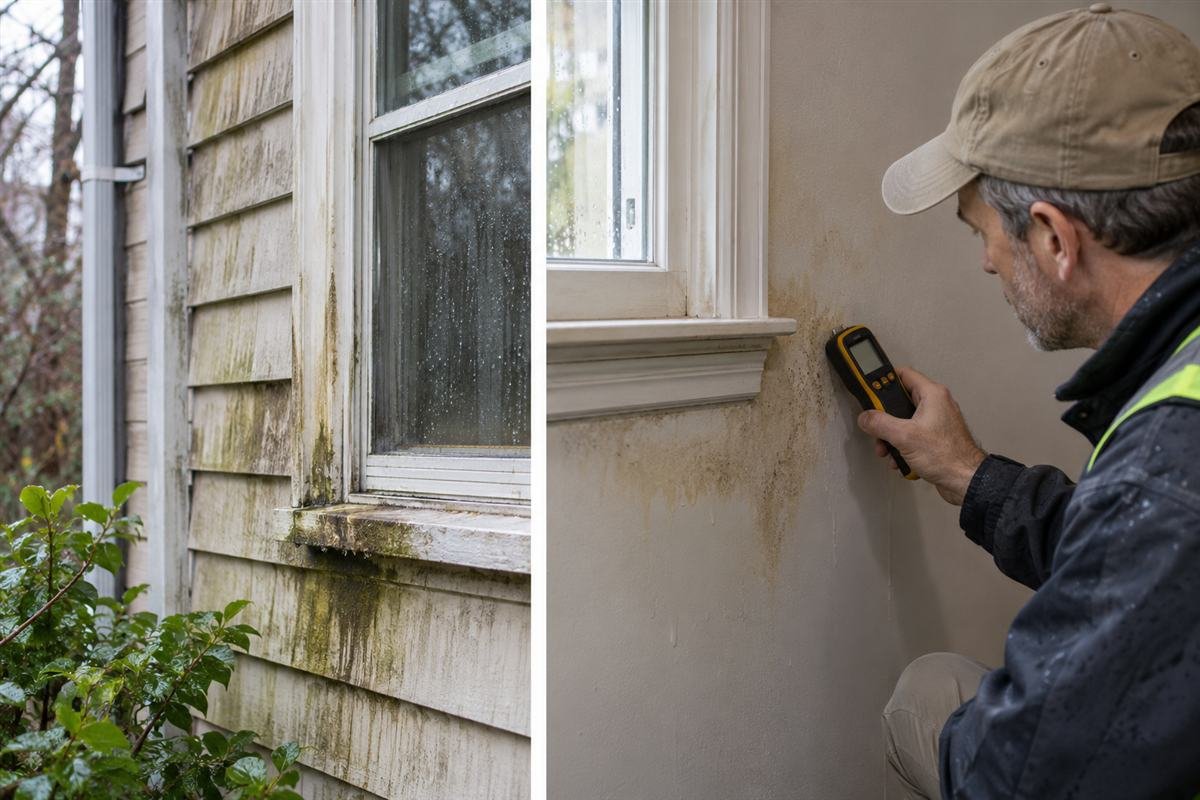
The Building Science Corporation guidance on masonry retrofit insulation explains that moisture sources, movement, temperature, and material susceptibility all matter when insulating existing walls. The design must fit the climate and construction; adding a vapor barrier or foam layer by habit can worsen performance if the whole assembly is not considered.
4. Material is packed around wires, pipes, or braces
Hidden services divide cavities into smaller spaces. Loose fill may flow around them unevenly, while dense packing can compress around an obstruction or fail to reach a pocket beyond it. Electrical wiring, junction boxes, plumbing, diagonal braces, and fire stops also affect how an installer should work. Never drill based only on stud spacing: locate services and follow local electrical and fire requirements first.

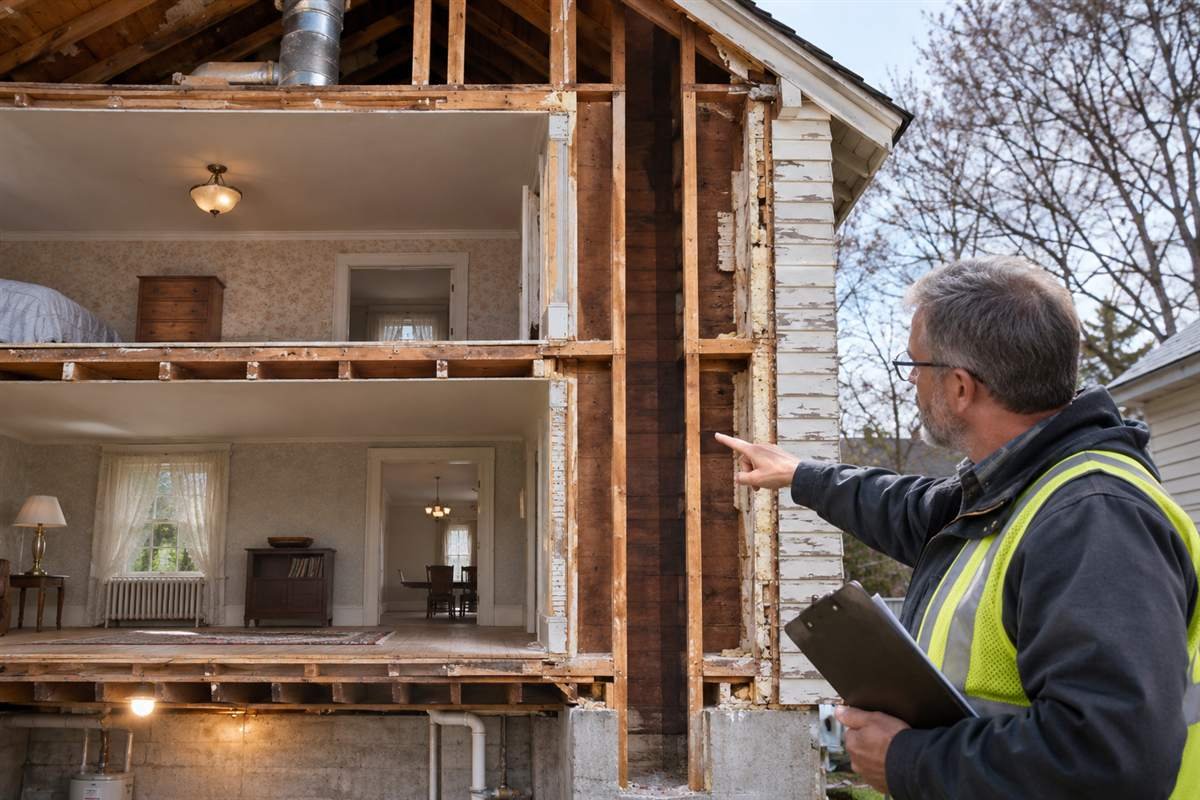
5. Older framing lets insulation escape
Some older houses use balloon framing, where wall cavities can run past floor levels. Without suitable blocking, insulation may spill into the attic, basement, or another hidden void. Other houses have irregular stud spacing, narrow cavities, or concealed fire stopping. A contractor should inspect these details and block cavities where required before dense-pack work.
6. Overfilling, damage, or a poor patch
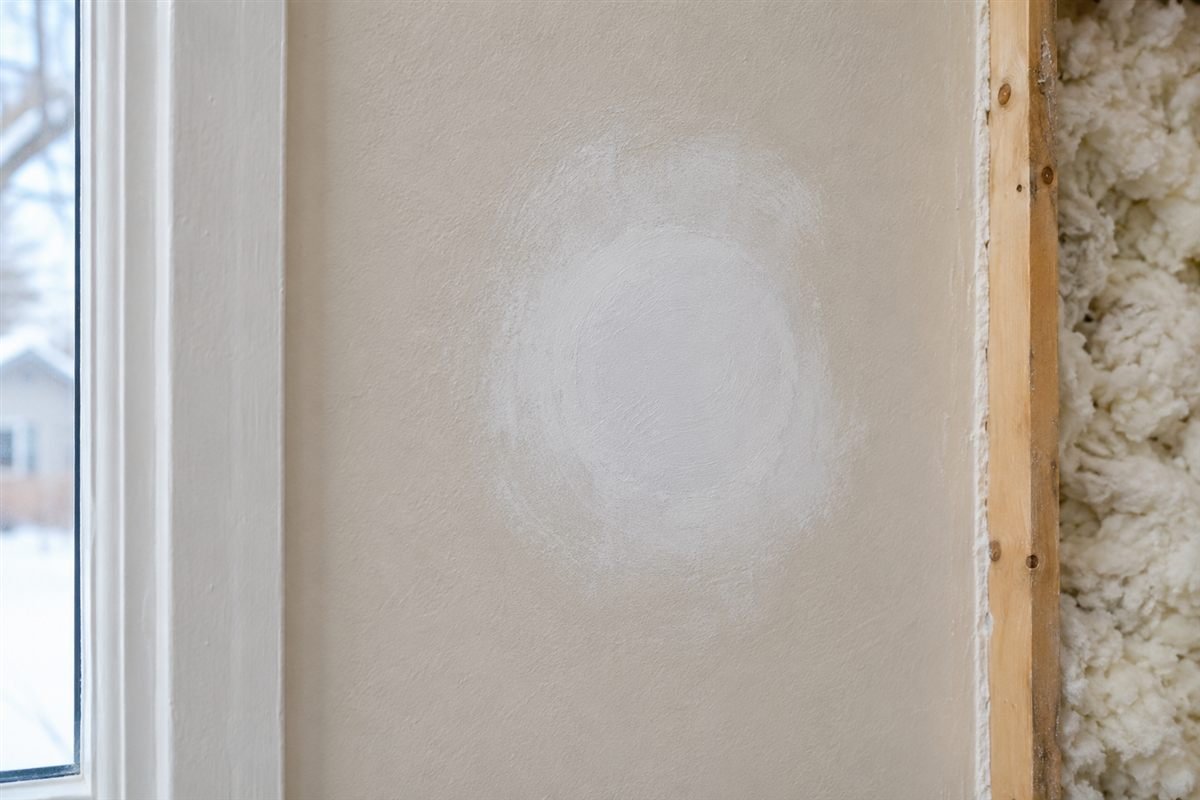
Too much pressure or a fill method unsuited to the wall can bow drywall, push material into unintended spaces, or damage finishes. Poorly restored access holes can leave air leaks and visible patches. These issues are less about the insulation material itself and more about equipment, fill density, access planning, and workmanship.
Are Blown-In Insulation Problems a Material Issue or an Installation Issue?
Cellulose and fiberglass are common loose-fill options, but neither is automatically right for every wall. Performance depends on the product’s intended use, the cavity, local climate, moisture control, and installation quality. Dense-pack systems need the correct material and target density; a product designed for attic top-up is not automatically suitable for a closed wall.
Foam injection is a separate system with different expansion, pressure, and curing behavior. It should not be treated as interchangeable with cellulose or fiberglass. Ask for the manufacturer’s technical documents, the installer’s experience with that exact wall assembly, and any inspection or warranty terms. If an installer cannot explain how they will verify coverage, pause before approving the work.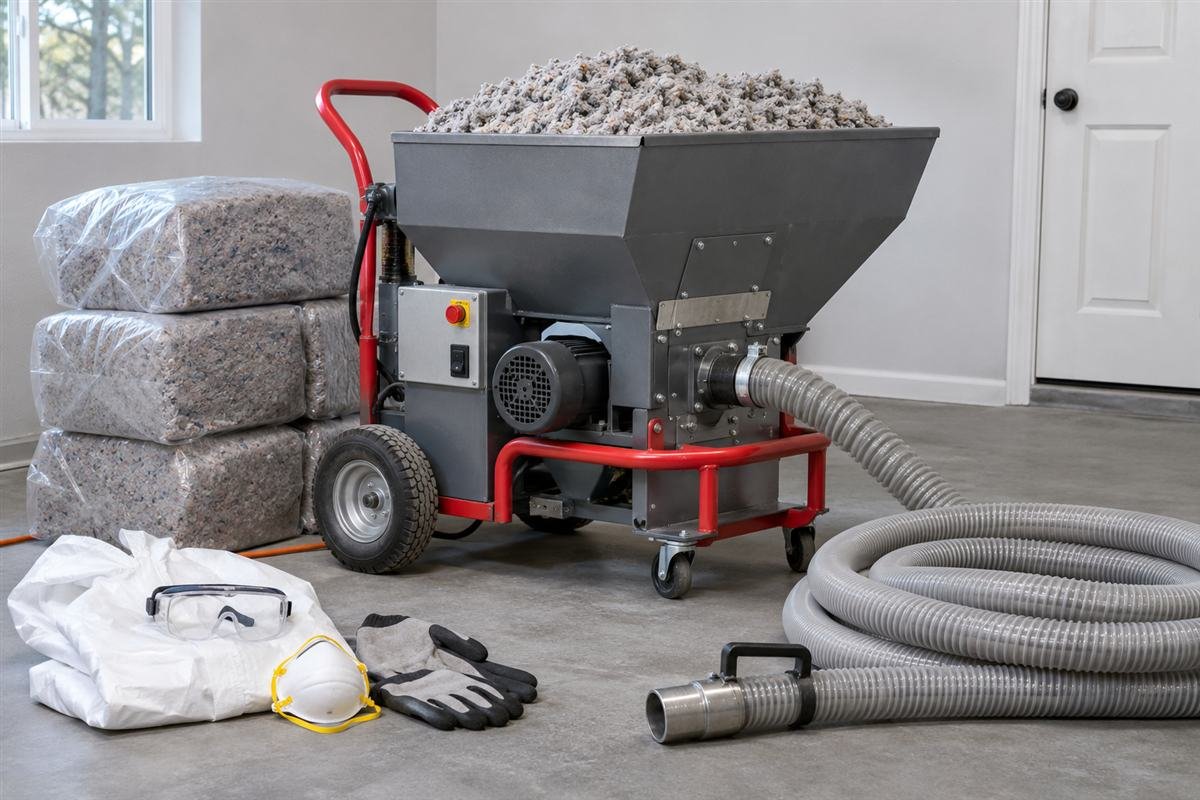
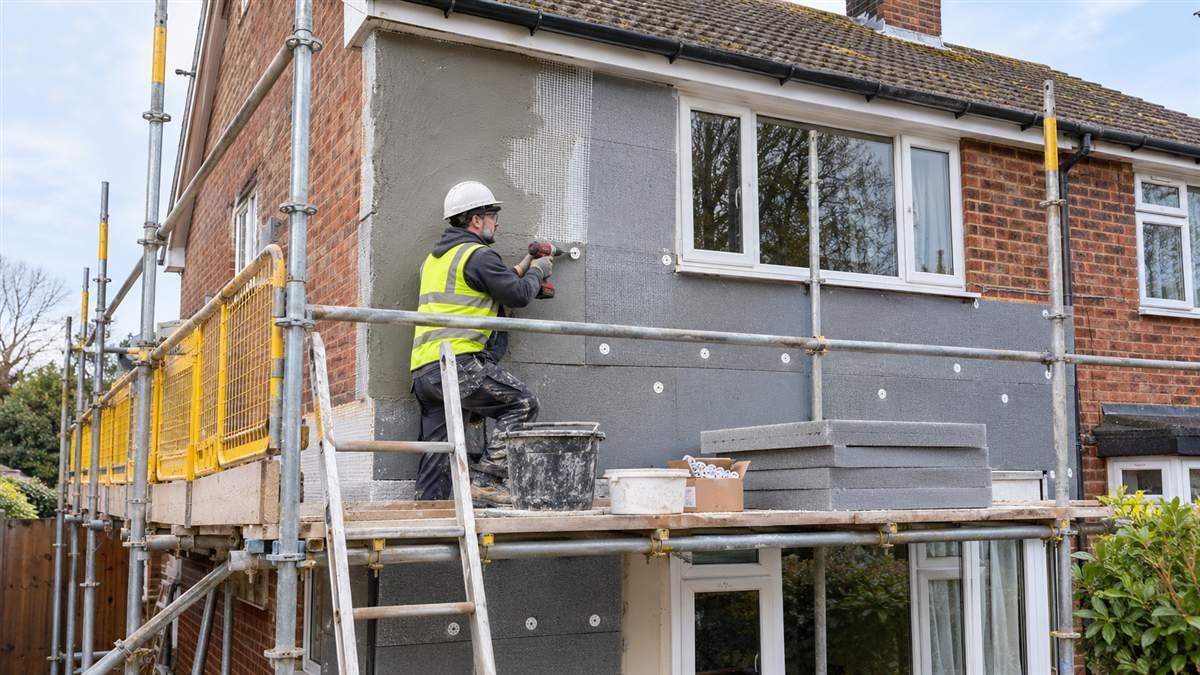
The U.S. Department of Energy Building Upgrade Guide says wall insulation choices depend on construction, existing insulation, and available space. For accessible framed cavities, blown-in material may be considered; for masonry or other wall types, interior or exterior surface insulation may be more appropriate.
How to Inspect and Fix Blown-In Wall Insulation
Start with a whole-wall assessment rather than asking a contractor to add more material immediately. Review any prior invoice or insulation certificate, inspect the exterior for leaks and damaged siding, and compare cold areas with windows, outlets, and framing. A professional can use thermal imaging to locate anomalies, then use a borescope or selected openings to confirm whether the cavity has gaps, moisture, or obstructions.

The repair depends on what the inspection finds. A missed bay may need a properly placed fill point. A wet wall needs the water source fixed and the assembly dried before insulation work. A collapsed or poorly installed fill may require removing material or opening part of the drywall so a contractor can correct it. Do not cover mold, wet framing, or damaged wiring with a new layer.
- Ask for a written diagnosis and photos from inside representative wall cavities.
- Confirm the proposed material is approved for the wall and is compatible with existing insulation.
- Require a plan for wires, pipes, fire stops, air sealing, moisture, and ventilation.
- Ask how installers will verify fill coverage and protect the drywall or exterior cladding.
- Keep the invoice, product details, warranty, and before-and-after inspection records.
When Blown-In Insulation Is Not the Best Choice
Choose another method if the wall is solid masonry with no cavity, if existing insulation blocks reliable filling, if framing is damaged, or if moisture problems remain unresolved. An insulated lining over the interior surface or external insulation may suit some walls, but each requires a design that controls condensation, thermal bridges, fire safety, and weather exposure. For an overview of these options, read our guide to wall insulation methods and materials.
If your main question is how to add insulation to existing walls without removing the drywall, our guide to insulating existing walls through small access openings explains what must be confirmed first. It covers cavity fill and alternatives, while this article focuses on identifying and correcting problems after blown-in insulation.
Frequently Asked Questions
Does blown-in wall insulation settle over time?
Some materials can settle or shift under certain conditions, but settlement is not inevitable. Product type, cavity geometry, fill density, installation technique, and obstructions all matter. Ask an installer to identify the material and verify the actual wall condition before assuming that more insulation is needed.
Can blown-in insulation cause damp or mold?
It can contribute to moisture trouble if installed in a wet or unsuitable assembly, or if air leakage and ventilation are not addressed. However, a damp patch may come from a separate leak or humidity source. Find the moisture source, repair it, and assess the wall before covering or refilling it.
How do I know if my wall insulation has gaps?
Cold areas can suggest missing insulation, but they can also result from drafts, framing, or other building defects. Thermal imaging helps locate patterns; a borescope or selective opening confirms what is in the cavity. Use both inspection and a review of the original installation details when possible.
Conclusion
Blown-in wall insulation problems usually trace back to the wall condition, incomplete coverage, hidden obstructions, moisture, or an installation method that does not fit the cavity. A proper inspection can tell whether a small correction, a larger repair, or a different insulation system is needed. Diagnose first, then choose a fix that suits the whole wall.