

Classroom interior design should help a teacher organize the activities that happen throughout the school day. Start with instruction, independent work, group tasks, storage, and movement. Then choose furniture and visual displays that support those needs. A lively room can still be clear, practical, and manageable without filling every wall or corner.
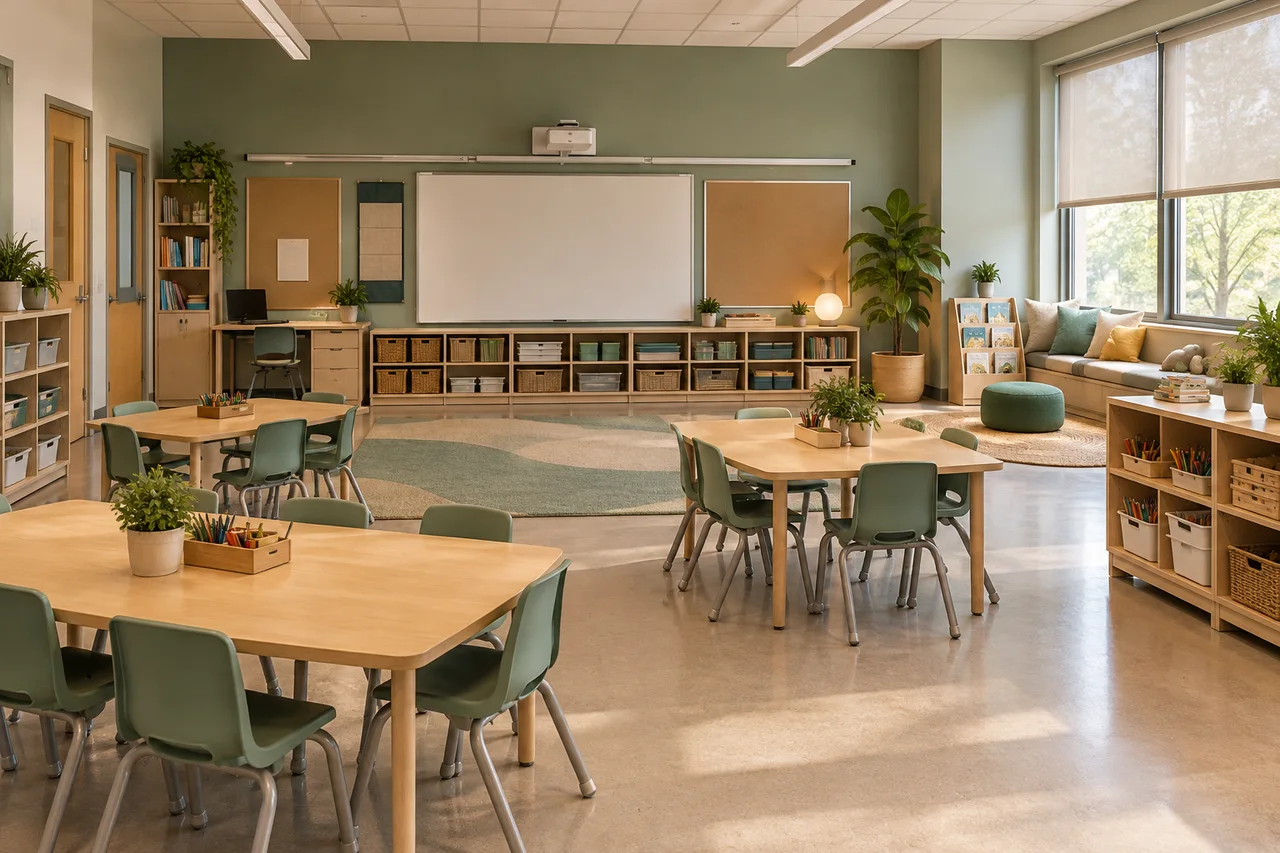
Begin with the teacher’s daily sequence
Record the age group, teaching activities, class routines, equipment, and student needs. Ask where students enter, collect materials, sit, work together, and return supplies. Include the transitions between tasks rather than planning only the lesson itself.
Consult the school team about accessibility, supervision, safety, and any individual support requirements. Classroom planning is not a substitute for those assessments. Avoid assuming that one furniture arrangement suits every age group or teaching approach.
Use our space planning interior design guide to document dimensions and compare layouts. For a school, coordinate proposed changes with the people responsible for facilities, teaching, and applicable requirements.
Build classroom interior design around activities
Identify the activities that need a permanent location and those that can share space. A reading corner may deserve its own setup, while occasional group work could use movable tables. Do not add a labeled zone unless the routine and available room support it.
Check how different activities happen at the same time. A quiet reading seat beside a busy supply station may not serve either purpose well. Place frequently visited storage where it does not interrupt students using another area.
Keep the main teaching view useful
Review sightlines from actual seated positions. Check the instruction surface, demonstration area, and any screen with the proposed furniture in place. Tall storage and decorative dividers can create blind spots even when the plan looks organized from above.
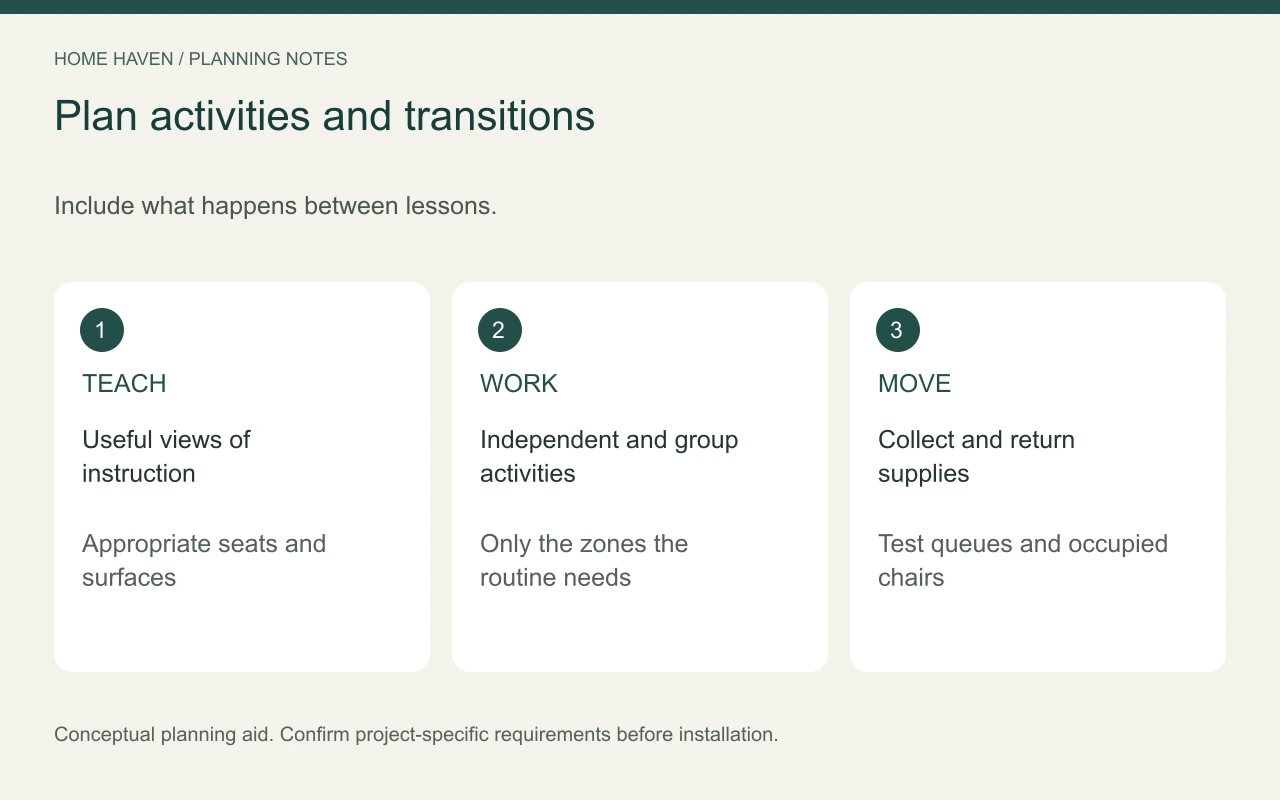
Plan routes for real transitions
Map the movement from the entrance to seating, materials, shared equipment, and exits. Draw chairs in use rather than perfectly tucked beneath tables. Include the belongings and equipment expected in the room.
Ask the teacher to simulate a transition between two typical activities. Where do students line up? Where do bags and coats go? Does collecting supplies create a queue across the teaching area?
Have the appropriate school professionals review occupancy, egress, accessibility, and other requirements. A classroom photograph or general online clearance should not determine capacity. Keep approved routes usable as displays and furniture change through the year.
Choose furniture for the actual users
Compare dimensions, adjustability, durability, and intended use. Furniture designed for a different age group may not suit the students using the room. Use appropriate trials and school purchasing guidance rather than judging comfort from appearance.
Check table and chair combinations together. Review whether students can use surfaces and storage appropriately, with the relevant support where needed. Discuss specialized requirements with the professionals responsible for them.
Choose flexible furniture only when the team can move and manage it safely. Heavy tables that require several adults to rearrange may not provide useful daily flexibility. Confirm locking, storage, and handling instructions for movable pieces.
Give supplies a simple return system
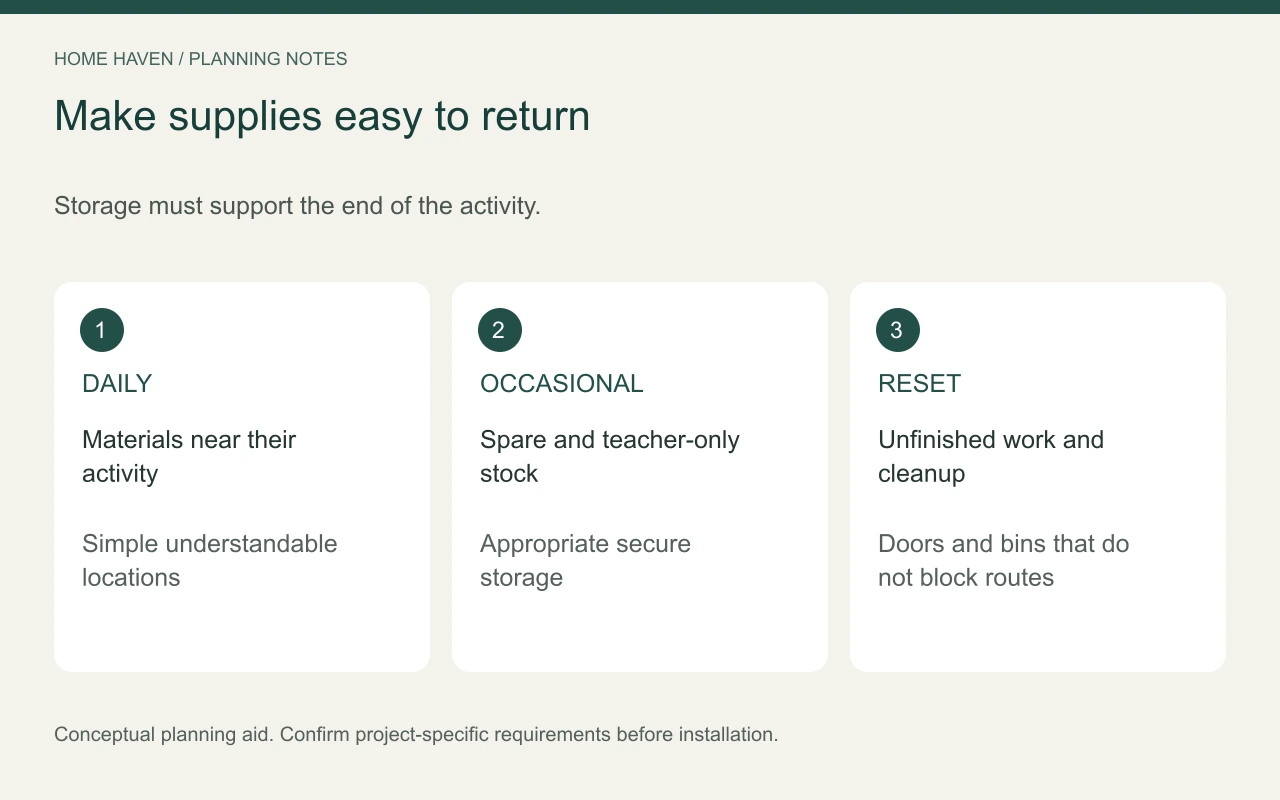
Store materials close to the activities they support. Group daily supplies separately from occasional stock and teacher-only materials. Keep the system understandable enough that returning an item does not require repeated explanation.
Review cabinet and bin operation. Check whether open lids or drawers interfere with nearby seating and routes. A deep storage unit may hold a great deal while making frequently used items hard to find.
For classroom interior design, cleanup belongs in the planning brief. Test where unfinished work, shared equipment, and cleaning supplies go at the end of the day. Coordinate secure or restricted storage with school procedures.
Balance displays with useful visual space
Decide which wall areas support current teaching and which can remain visually quiet. Group related information instead of scattering many small displays around the room. Review what is visible from seated positions.
A classroom does not need every surface covered to feel welcoming. Leave room for students’ work and change displays when their purpose changes. Avoid claiming that a particular decorating style guarantees better attention or learning outcomes.
Keep display methods appropriate to the building and school policies. Do not cover essential controls, signs, equipment, or ventilation openings for a more coordinated appearance. Confirm installation methods before attaching heavy objects.
Coordinate lighting and indoor conditions
Check daylight and artificial light at the times the room is used. Look for glare on screens and work surfaces. Ask facilities staff about window controls and any permanent lighting adjustments.
The EPA’s Indoor Air Quality Design Tools for Schools addresses issues relevant to construction and renovation. Coordinate materials, maintenance, and building systems with the responsible team rather than treating decor as an air-quality solution.
Keep vents and equipment access clear. Report leaks, musty odors, or persistent comfort problems through school procedures. Adding a rug, plant, or fragrance should not replace investigation of a building issue.
Test the room before repeating purchases
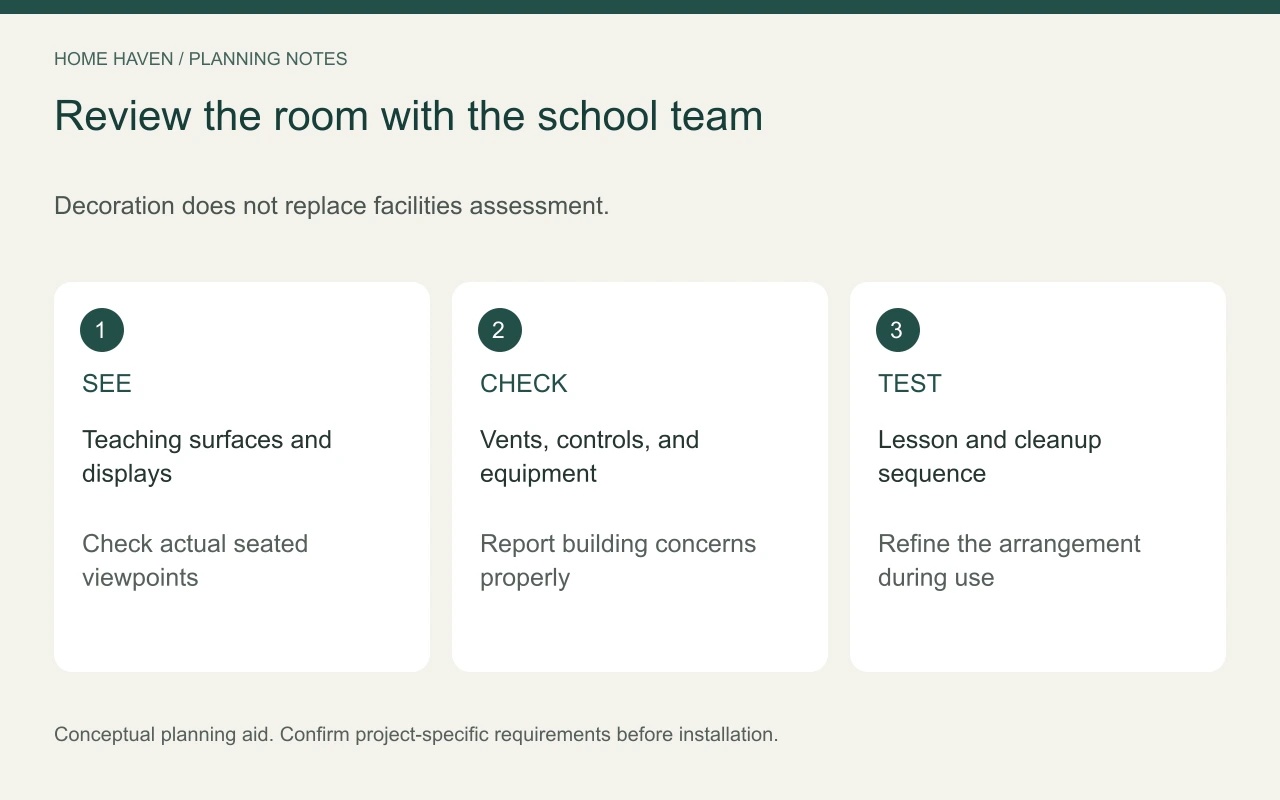
Use a small trial or mock-up where practical. Have the teacher review instruction, group work, independent activity, material collection, and cleanup. Record what creates unnecessary movement or confusion.
A short review can ask:
- Can students find the intended activity areas?
- Are teaching surfaces visible from the planned seats?
- Can materials be collected without blocking a route?
- Does storage support the daily cleanup?
- Can staff maintain the room using approved procedures?
Use the answers to refine the arrangement before expanding an order. Compare USD quotes using the same furniture specifications, delivery, assembly, warranty, and replacement terms.
Frequently asked questions
Should desks always face the front?
Not necessarily. Match the arrangement to instruction and student needs while retaining useful sightlines and movement. The teacher and school team should evaluate the proposed setup.
Does a classroom need a separate reading corner?
Only if the activity, supervision needs, and room support it. A small useful setup may serve better than a large themed area that crowds essential workspaces.
Can low-cost changes help?
Yes. Repositioning existing furniture, simplifying storage, and editing displays can address specific problems. Check school procedures and relevant requirements before changing fixed features.
Review the setup during actual use
Observe where queues form, which supplies stay scattered, and which areas students or staff avoid. Ask the teacher what takes extra effort. Classroom design becomes more useful when the daily routine, rather than the first photograph, guides the next adjustment.