

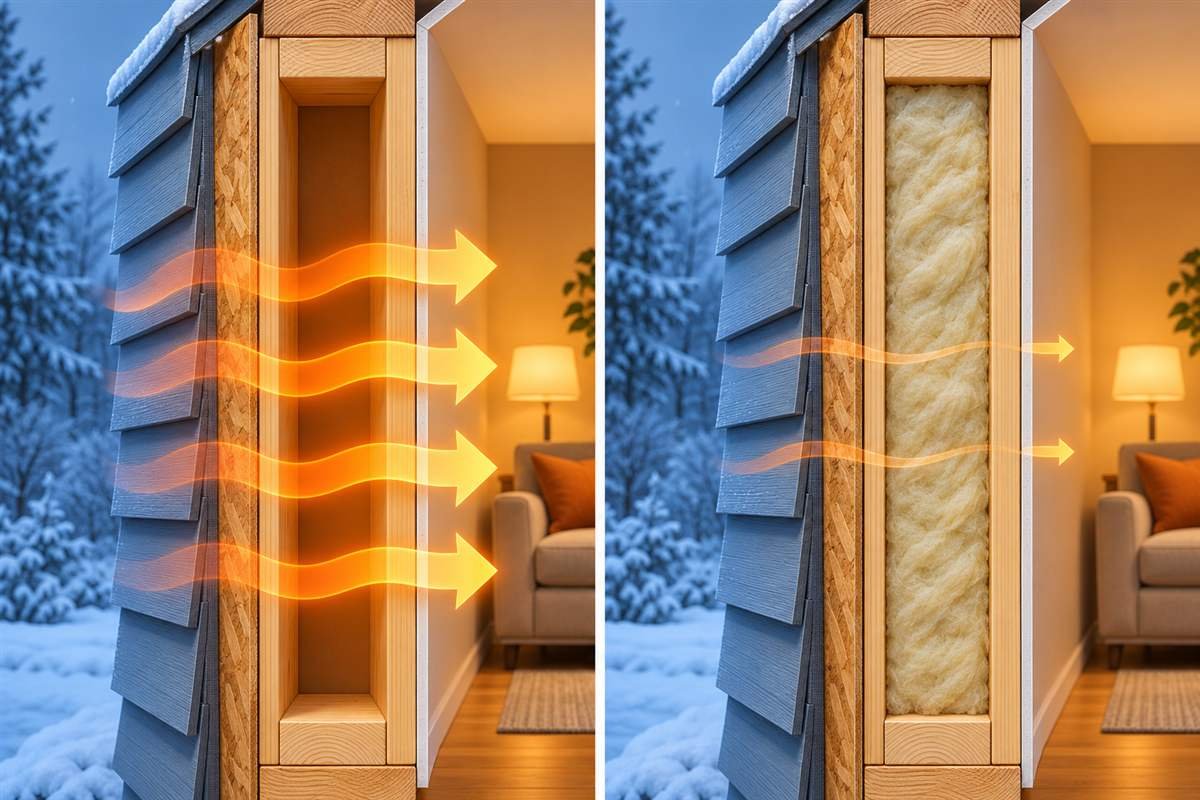
DIY wall insulation can improve comfort when the wall is accessible, dry, and safe to work on. This step-by-step guide focuses on open framed walls, where you can inspect each cavity. Finished walls, wiring hazards, moisture damage, and spray foam need extra care and often call for a qualified installer. Before starting, check local building rules and product instructions.
Decide Whether DIY Wall Insulation Is a Good Fit
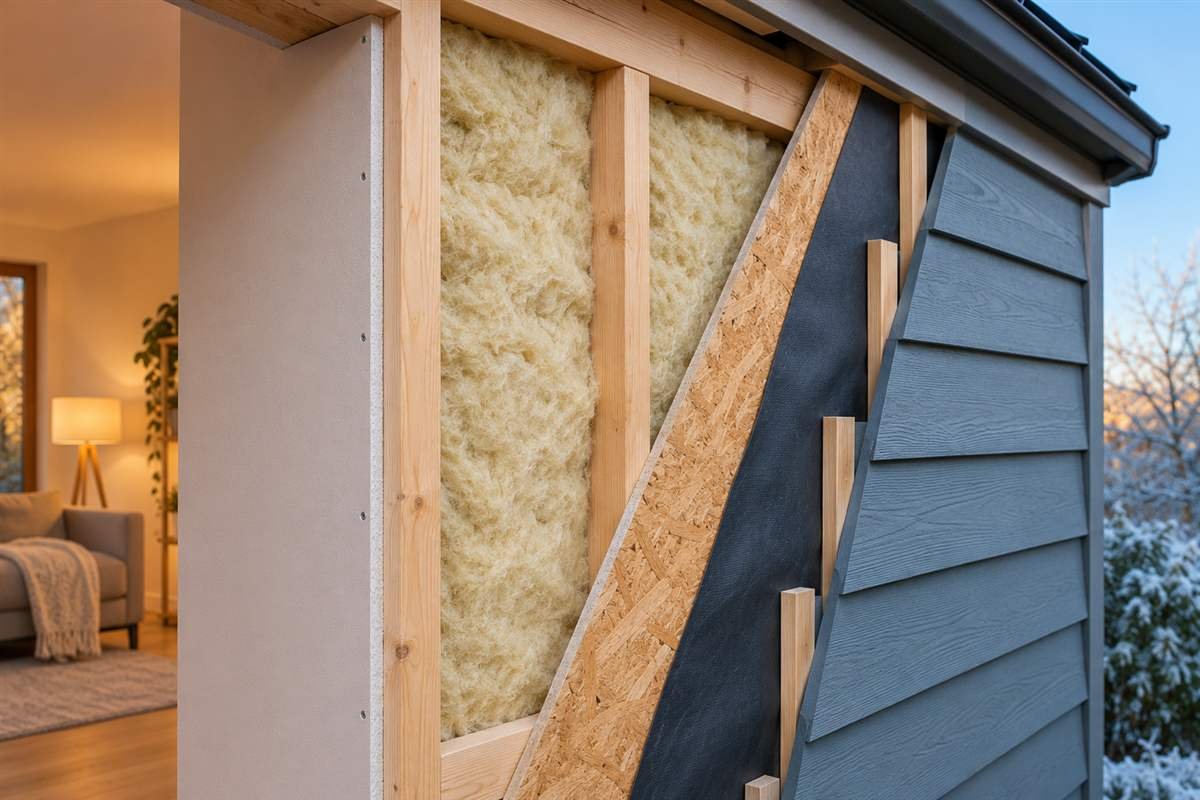
A homeowner with an open, dry stud wall may be able to install batts. You need safe access, basic measuring and cutting skills, and a plan for air sealing. The work becomes more complex when the wall is closed, masonry, historic, or exposed to wind-driven rain. Do not drill into a finished wall unless you know its construction and can locate wiring, plumbing, and fire blocking.
Stop and get help if you find active leaks, mold, damaged wiring, vermiculite insulation, or suspect asbestos or lead-containing finishes. Do not disturb materials you cannot identify. Hire a qualified professional for dense-pack filling, spray foam, exterior insulation, or any work involving electrical changes. See our complete wall insulation guide for a comparison of methods.
Inspect the Wall Before You Buy Materials
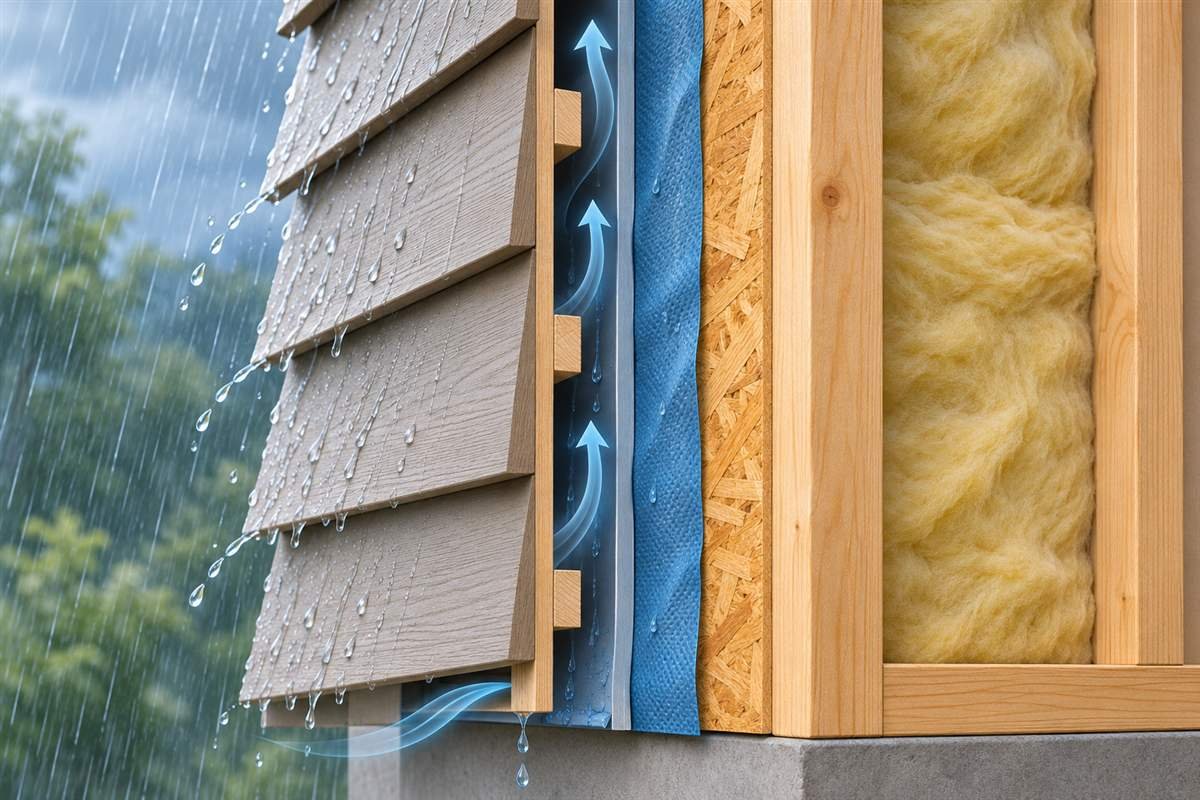
Check the framing depth, stud spacing, wall height, and the area you plan to insulate. Look for water stains, peeling paint, musty odors, cracked exterior joints, or damp sheathing. Repair the source of moisture and let the assembly dry before closing the wall. The EPA explains that moisture control is central to preventing mold in its home moisture guide.
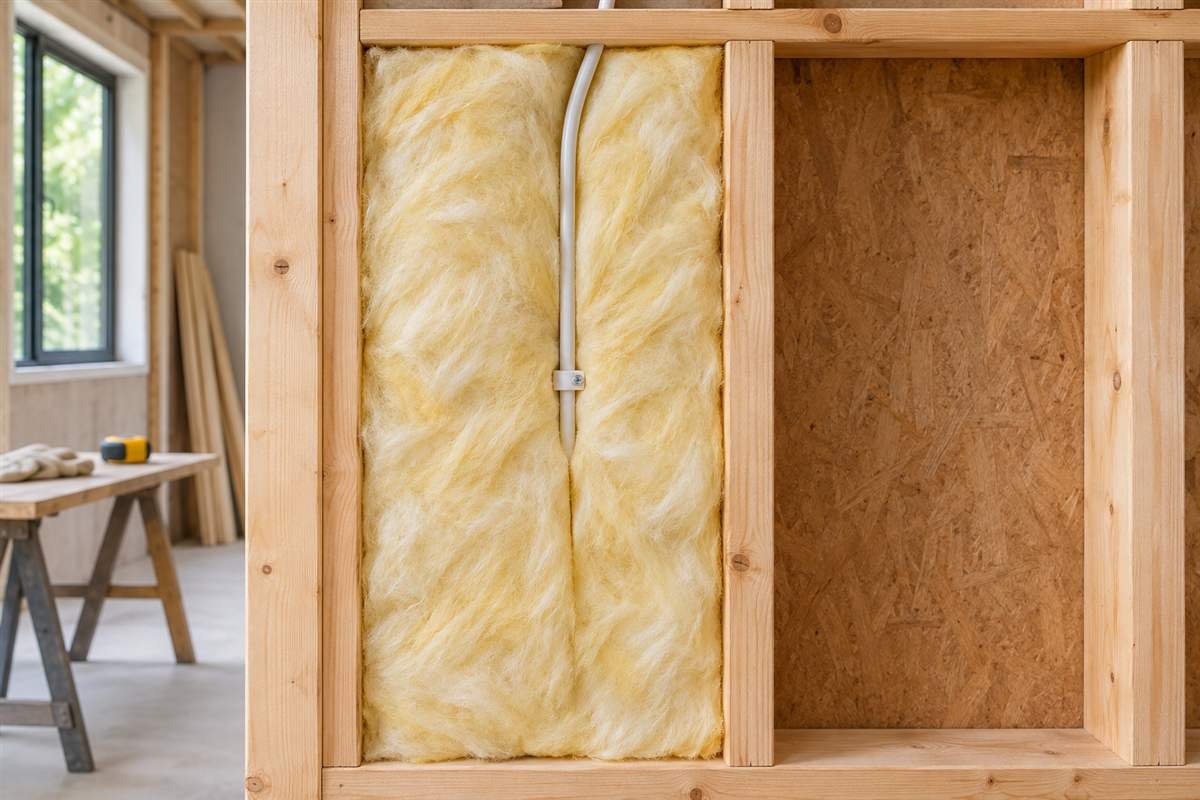
Find out whether the wall already has insulation. Inspect cavities carefully and note pipes, cables, junction boxes, braces, and fire stops. Never cover electrical equipment or block required vents. If you cannot confidently identify an obstruction, ask an electrician or building professional to assess it before work begins.
Choose the Right Insulation and Protective Gear
Pick a material for the cavity
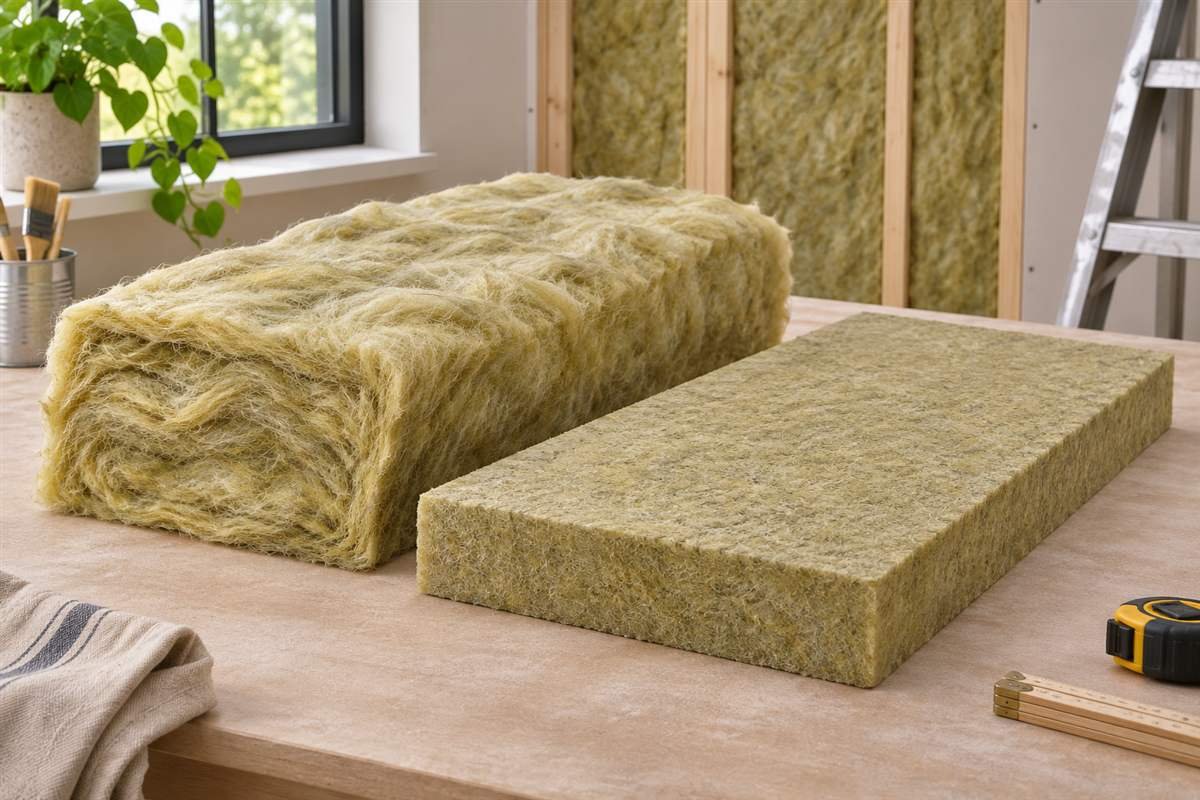
Fiberglass batts are common and easy to cut for accessible framed walls. Mineral wool batts can offer different fire and sound properties, depending on the product. Select a batt thickness and R-value that match the cavity and local requirements; do not force a thicker batt into a shallow space. For guidance, consult the U.S. Department of Energy’s insulation overview and local energy code.
Gather tools and wear protection
Gather a tape measure, straightedge, sharp insulation knife, stable work surface, stapler when the product requires one, and a bag for scraps. Follow the package label for gloves, eye protection, clothing, and respiratory protection. Keep the work area ventilated, and avoid skin or eye contact with fibers. Use a suitable work light so you can see the entire cavity.
Estimate Coverage Before You Start
Measure the height and width of each wall section, then note doors, windows, and other openings. Use the insulation package’s stated coverage and cavity dimensions to estimate the number of batts. Because framing can vary, check each bay instead of assuming every opening is identical. Buy only what you can store dry and handle safely, and follow the seller’s return policy for unopened packs.
Before purchasing, compare R-value, thickness, facing, fire guidance, and the manufacturer’s installation notes. Do not choose by price alone: a batt that does not fit the cavity or clashes with the wall’s moisture plan can underperform. Ask a building professional if the required rating or assembly details are unclear.
DIY Wall Insulation: Step-by-Step Installation
Once the wall is dry, the cavities are clear, and the material is on site, work one bay at a time. Keep insulation away from heat-producing equipment and follow required clearances. The exact details vary by product and local code; use the manufacturer’s current instructions.
- Prepare the area. Move furniture, protect floors, and set up good lighting. Keep children and pets away from the work zone.
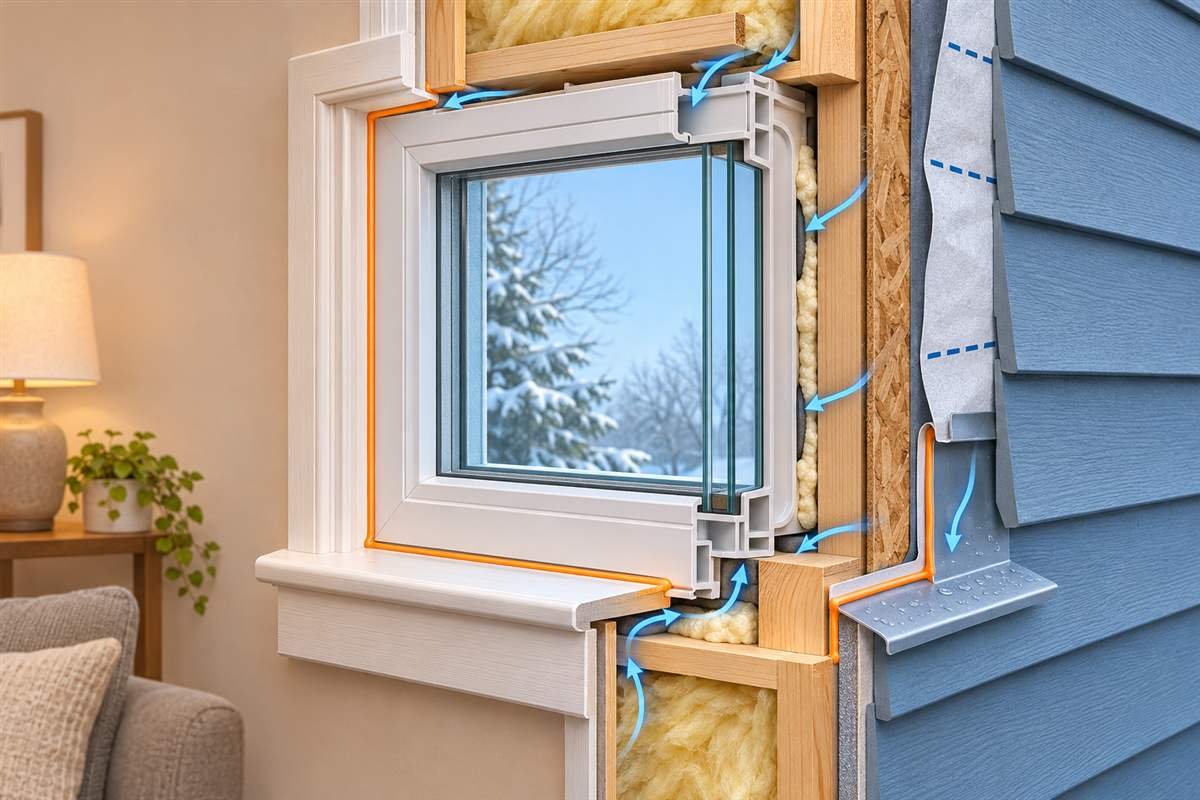
- Seal appropriate gaps. Use compatible caulk or foam around suitable cracks and penetrations. Do not seal required vents or block combustion air.
- Measure each cavity. Record the height and width at multiple points because old framing may not be uniform.
- Cut the batt. Place it on a stable surface and cut slightly longer than the measured bay only when the product instructions call for a snug fit.
- Fit around services. Split or notch the batt so it sits behind and around wires and pipes without crushing them. Do not push insulation into electrical boxes.
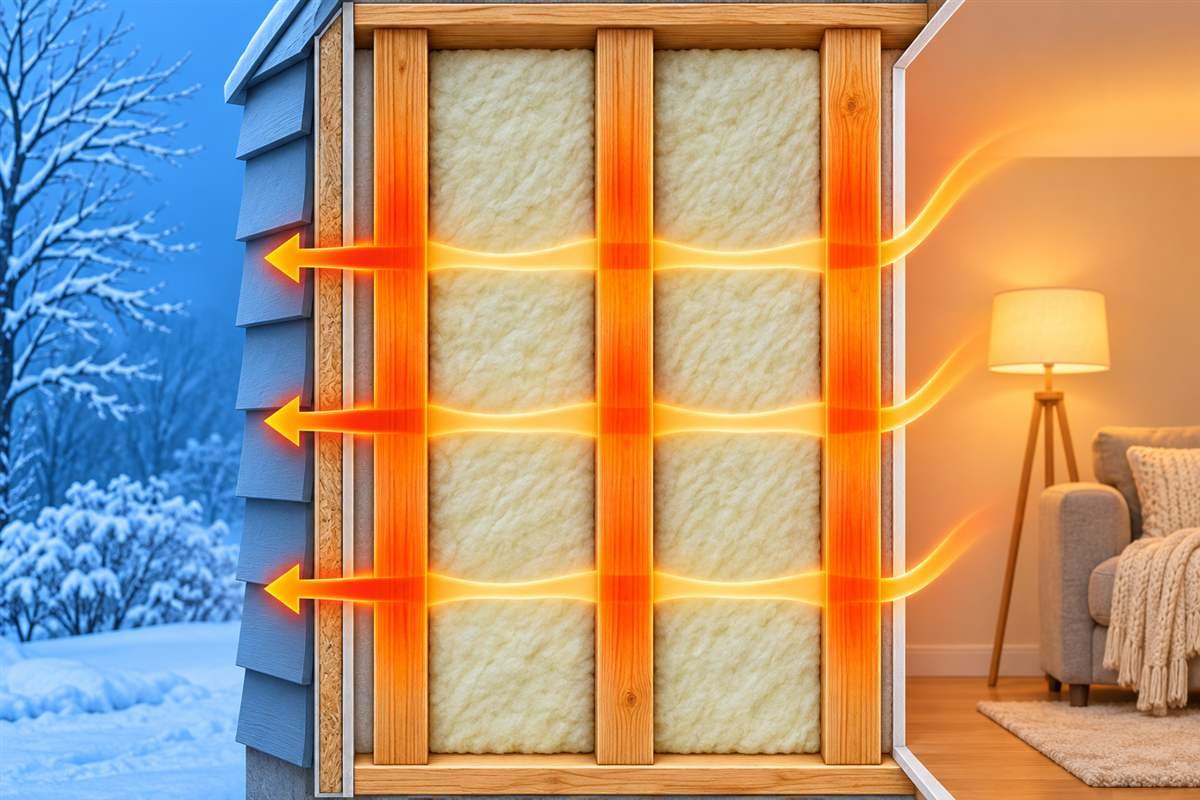
- Fill the cavity evenly. Place the batt flush with the inside edge of the studs. Avoid gaps, folds, voids, and compression.
- Inspect before covering. Check every bay, edge, and corner. Photograph the work and fix missed areas before drywall or another finish goes on.
Air Seal Carefully and Keep the Wall Dry
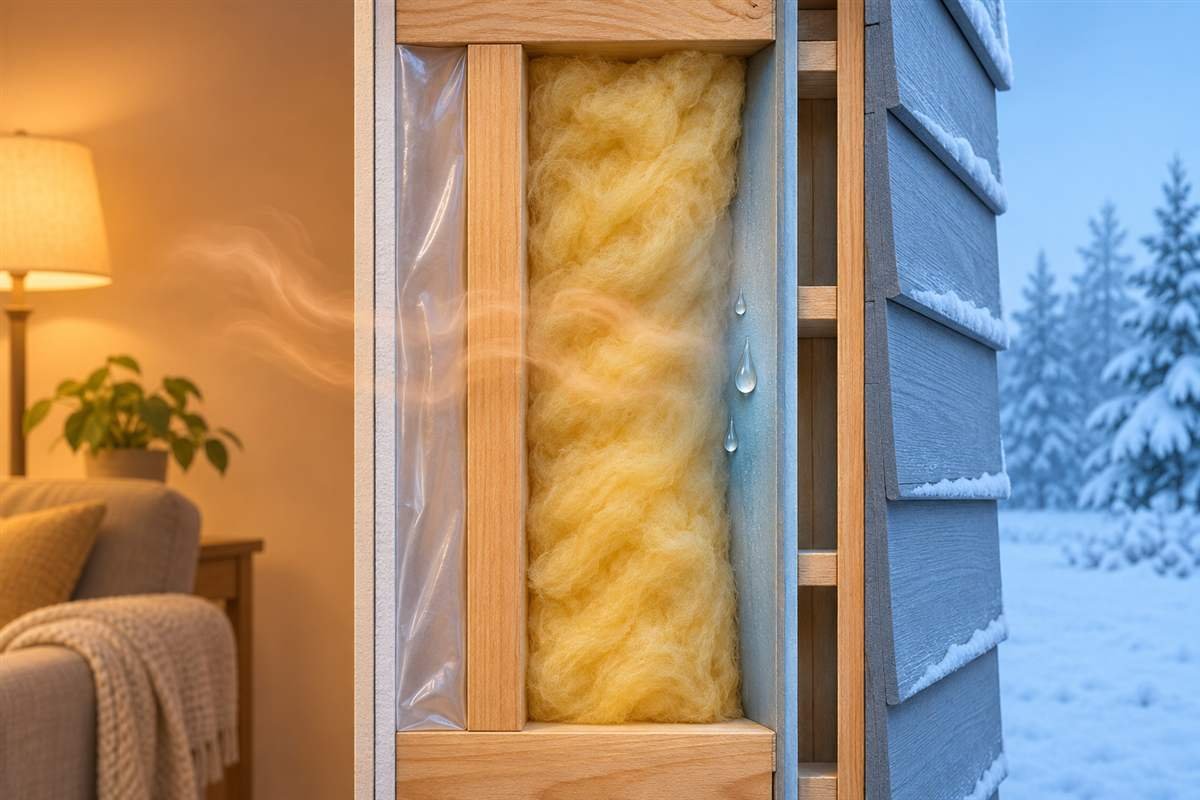
Fibrous insulation does not automatically stop air leaks. Seal suitable cracks around framing and openings before adding the material, while keeping required ventilation paths open. The DOE’s air-sealing guide describes common leak locations and safe weatherization priorities. If the wall design uses a vapor retarder, follow the local climate guidance rather than adding plastic by default.
What to Do With a Finished Wall
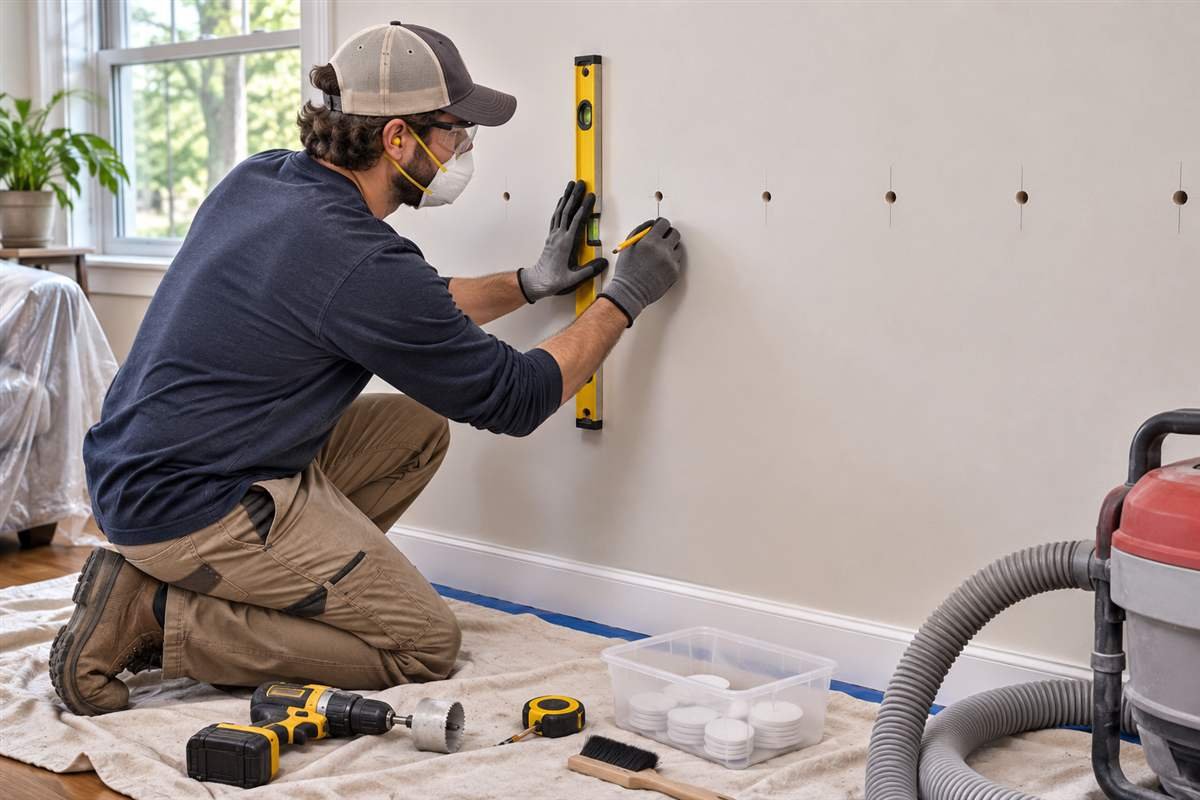
You can sometimes insulate a finished framed wall through small holes, but that is a specialized cavity-fill job. Hidden wiring, fire stops, and existing insulation can prevent uniform coverage. The installer must choose a material and fill method designed for that wall, then patch the openings. Do not pour loose insulation into a cavity or inject foam without a qualified assessment.
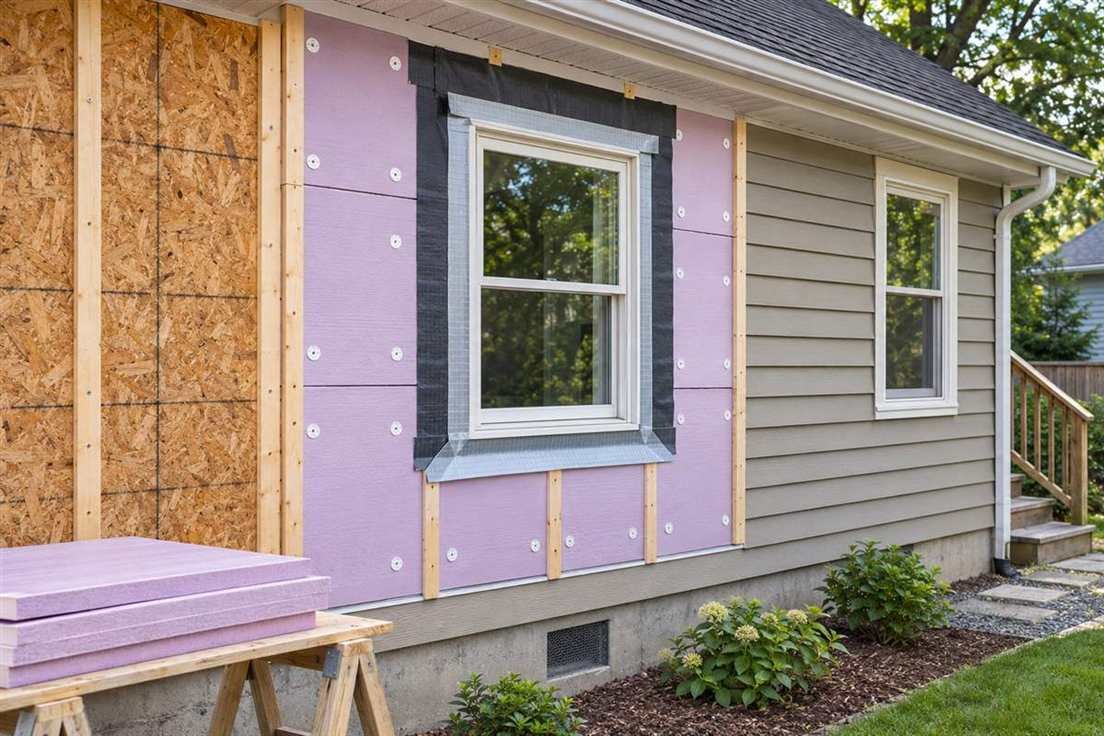
For an exterior retrofit, crews may remove siding and install continuous insulation with new drainage, flashing, and cladding details. That work changes window and trim dimensions and can affect water management. It is usually not a simple weekend DIY task. Learn how professional options compare in our guide to wall insulation installation.
Common DIY Mistakes to Avoid
Do not cover wet framing, compress batts to force them into a cavity, leave voids around wiring, or assume that insulation alone stops drafts. Avoid blocking vents, flues, junction boxes, or access panels. Do not add a vapor barrier without understanding how the existing wall dries. Finally, photograph the open wall and check local inspection requirements before installing drywall.
Cost, Results, and When to Hire a Professional
Material cost depends on wall area, product type, thickness, and local prices. The full project can also require air-sealing supplies, protective gear, waste disposal, drywall, paint, or electrical work. Compare the total project cost rather than the batt price alone. Savings vary with climate, energy prices, existing insulation, air leakage, and heating equipment; avoid promises of a fixed payback.
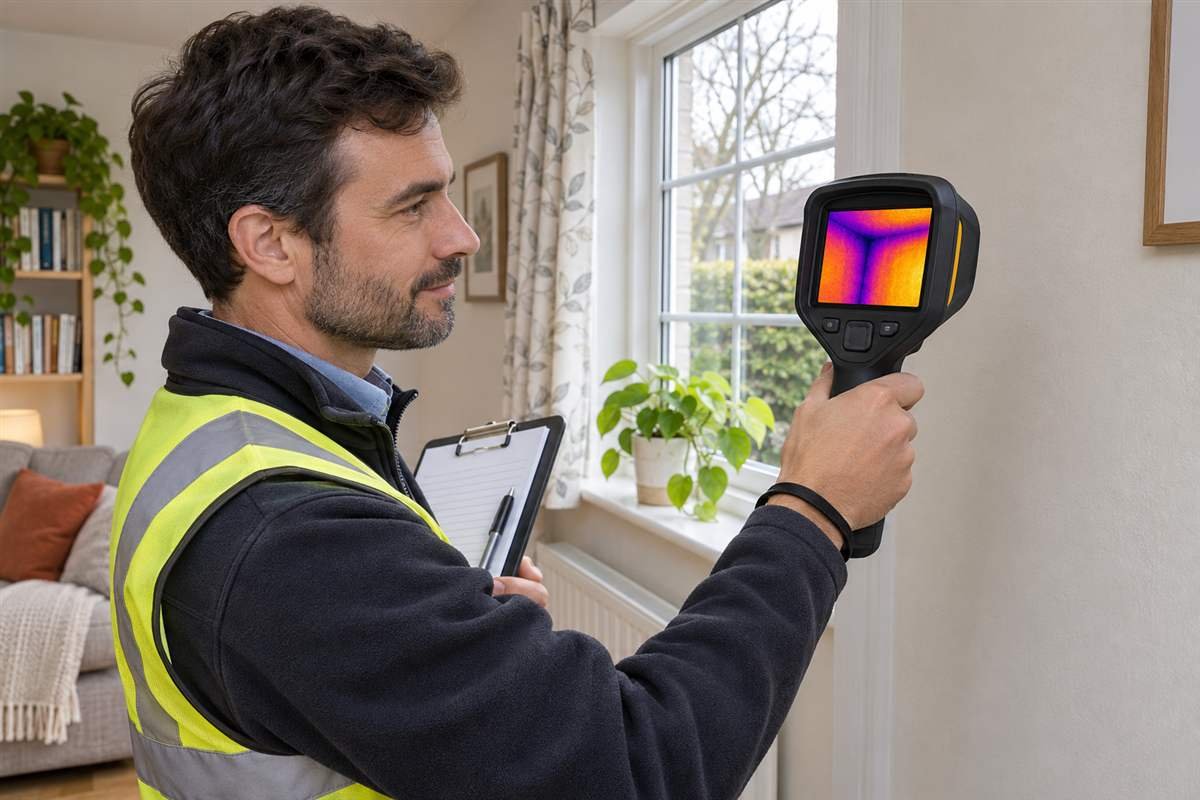
Hire a qualified installer if the wall is closed, wet, historic, masonry, or difficult to inspect. Get a written scope covering materials, air sealing, moisture details, coverage checks, cleanup, repairs, and permits. The right choice may be a professional retrofit rather than a DIY installation, especially when mistakes could hide damage or create safety risks.
Frequently Asked Questions
Can I install wall insulation myself?
Often, yes, in an open, dry, accessible framed wall using a suitable batt and following product and local code instructions. Closed cavities and complex assemblies usually need professional assessment.
Should I install insulation or air seal first?
Seal appropriate accessible leaks before installing insulation, but do not block required ventilation or combustion air. Plan air sealing and insulation together.
Can I add insulation over old insulation?
Only after checking the old material’s condition, moisture, coverage, and compatibility. Do not cover wet, contaminated, or unidentified material; get expert advice if you are unsure.
Conclusion: Make Safety and Wall Condition the First Steps
DIY wall insulation is most manageable in a dry, open wall with clear cavities and a suitable batt. Inspect first, fix moisture, plan air sealing, use the right protection, and check every bay before closing the wall. For finished, historic, wet, or complex walls, get a professional assessment. Careful preparation helps the insulation perform and protects the home.