

An interior design presentation template should guide the client from the room problem to a small set of clear decisions. Show the brief, layout, materials, selections, and next steps in a logical order. Use images to explain the proposal rather than fill space. End by stating exactly what needs approval.
Our interior design software guide explains tools for creating the plans and visualizations that feed a presentation. The template here focuses on organizing that information for a useful review meeting.
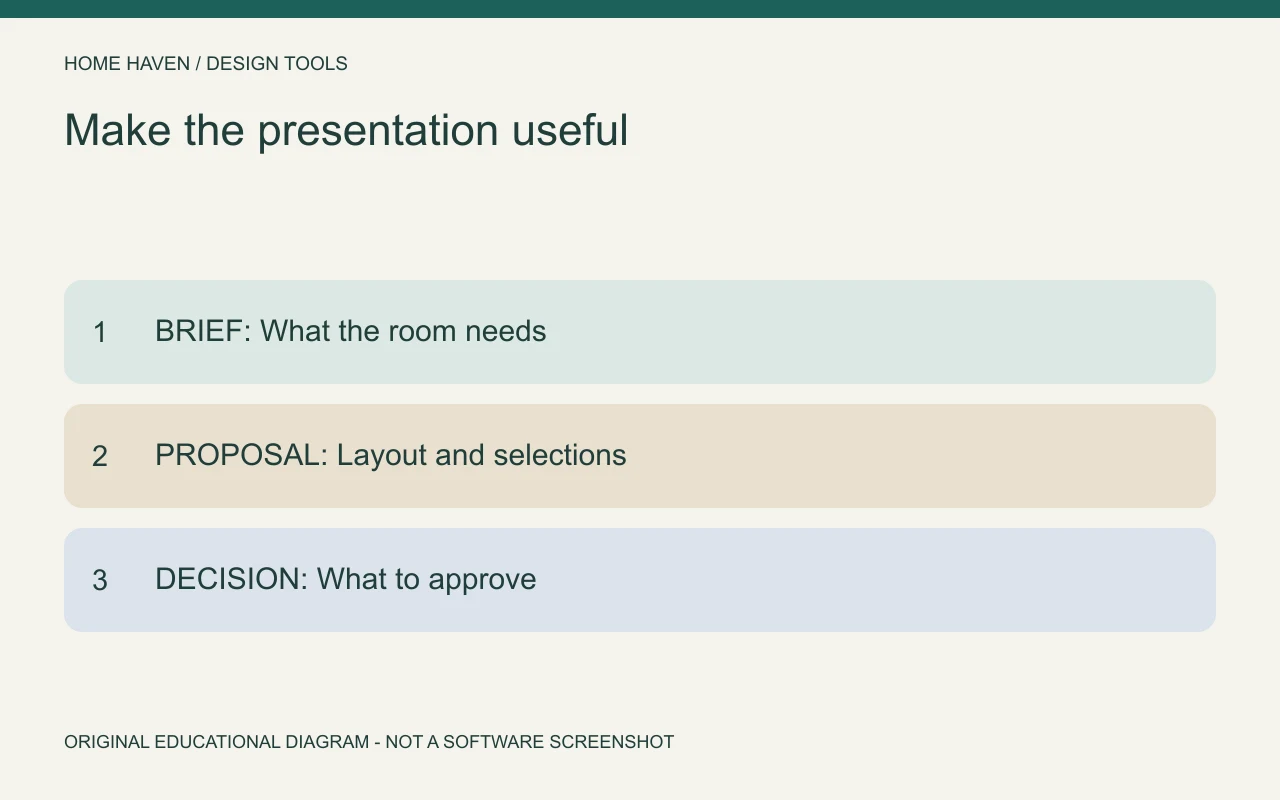
Start with the meeting’s decision
Before building slides, write the decision the meeting should reach. You might need agreement on a furniture arrangement, a palette direction, or a product shortlist. Avoid presenting every project detail when only one stage is ready for review.
Name what remains open. If the layout is conceptual, say so. If product availability still needs confirmation, keep that separate from the approval request. A presentation becomes confusing when preliminary ideas look indistinguishable from final selections.
Interior design presentation template: the core sequence
Adapt this outline to the project rather than adding slides mechanically. Some small reviews need only a few pages. A larger project may need separate sections for several rooms, but the decision sequence should remain clear.
- Cover: project, meeting purpose, date, and revision.
- Brief: users, activities, priorities, and constraints.
- Existing conditions: relevant photographs and measured information.
- Proposed layout: furniture relationships and practical use.
- Visual direction: palette, materials, and reference images.
- Selections: identified products and important alternatives.
- Cost status: known costs, allowances, and pending information.
- Decision page: approvals requested and questions still open.
- Next steps: responsibilities, checks, and the following stage.
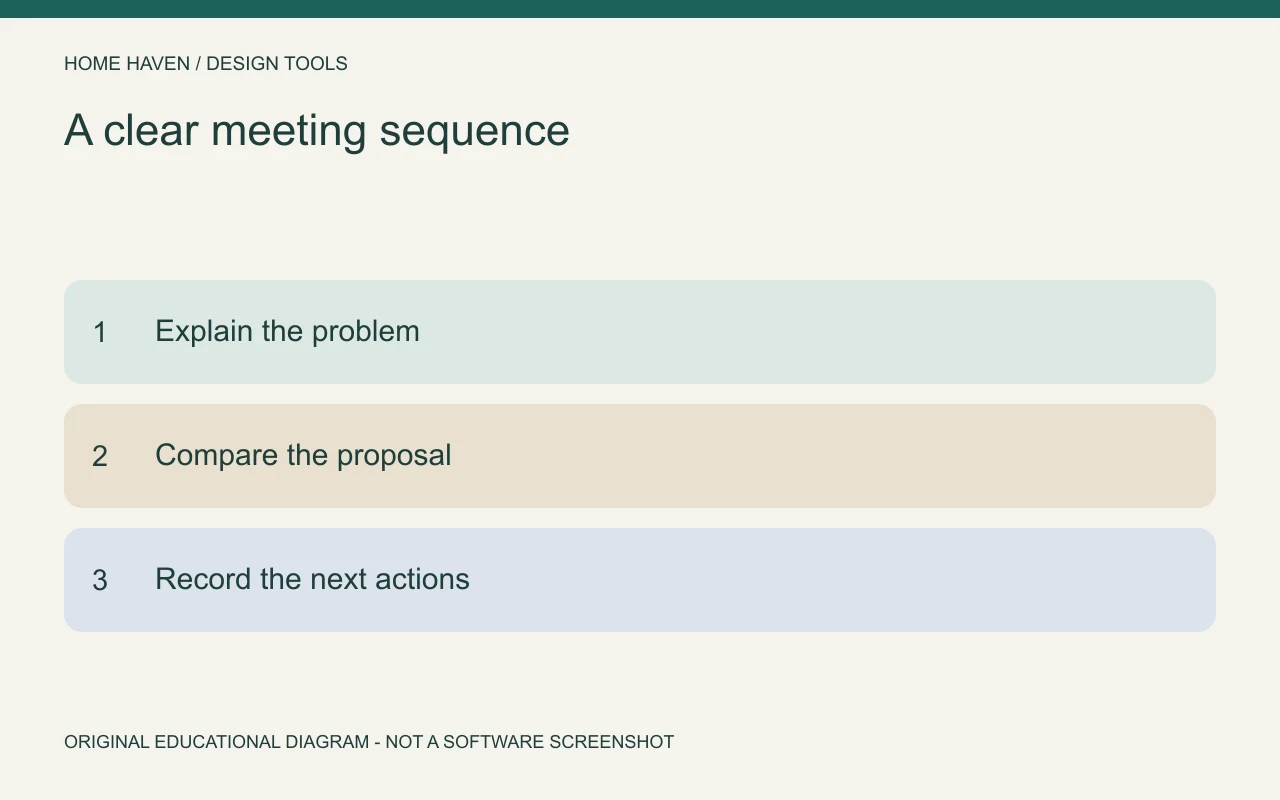
Explain the layout before the décor
Use a readable plan to show how the room supports its activities. Identify the entry, important furniture, storage, and relevant routes. Include only the dimensions necessary for the discussion, while retaining the detailed record elsewhere.
Then connect the visual direction to that arrangement. A palette should support the intended room rather than distract from an unresolved furniture conflict. If two layouts remain under consideration, compare them with the same scale and labels.
Make each visual answer a question
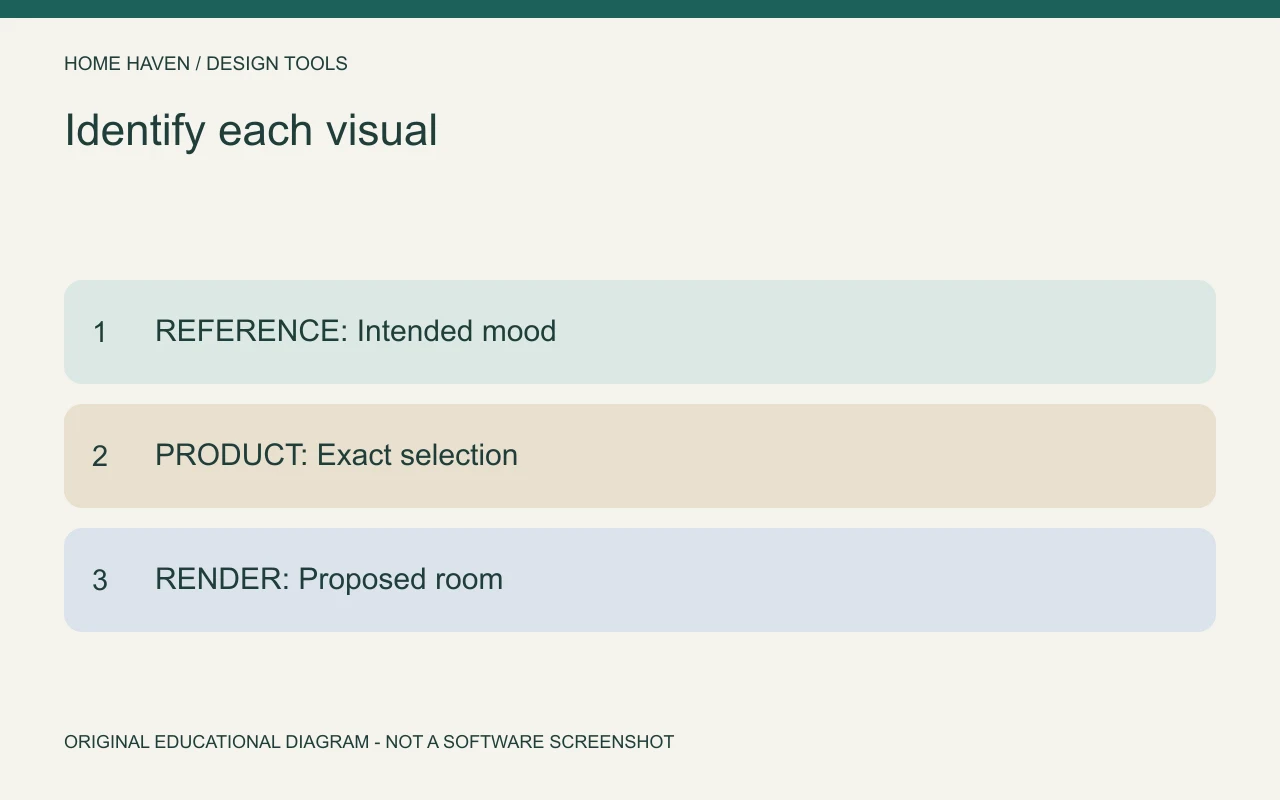
A rendering might explain the height relationship between shelves and seating. A material board might compare warmth and contrast. A product image might identify a specific finish option. State the purpose in the caption or surrounding text.
Do not mix a generic inspiration photograph with a selected product without explaining the difference. The client should know whether an image shows a mood, an actual item, a proposed room, or completed work.
Use a restrained page system
Choose consistent margins, heading sizes, caption styles, and image placement. Avoid putting several competing palettes on one page unless comparison is the purpose. Give the reader enough space to see the information and enough context to interpret it.
A presentation platform such as Canva can provide a starting layout system for visual work. Select the tool by export, collaboration, and editing needs. A ready-made design does not remove the need to simplify the actual content.
Show selections with stable identifiers
Give important products an item code and connect that code to the selection or specification record. Include the manufacturer and variant when the decision depends on them. A small image alone may not reveal which size or finish the client is approving.
If you show alternatives, explain the tradeoff. One may fit the budget better; another may offer a different material or lead time. Verify current information before presenting availability or price as settled.
Keep the cost page honest
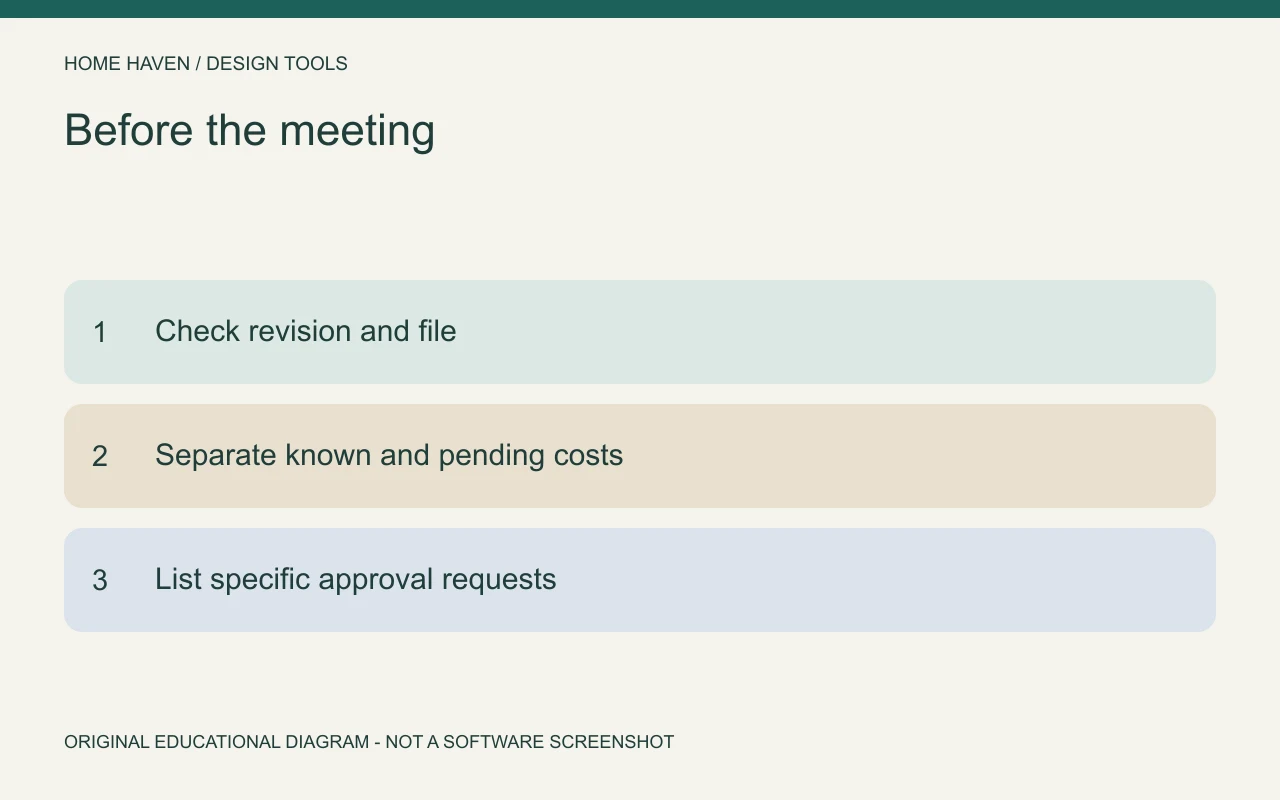
Separate confirmed figures, estimated allowances, and items still awaiting quotes. State whether the displayed total includes relevant shipping, taxes, assembly, or installation. Do not let a clean slide imply a more complete budget than the information supports.
For a hypothetical sample, a cost table can use columns for item, quantity, known unit price, additional costs, and status. Use labeled placeholders until real figures are verified. Avoid invented market averages merely to make the table look finished.
Design the approval page carefully
List the specific decisions requested at the meeting. For example, approve layout B for further development, choose palette direction 1, and confirm the budget target. Keep these distinct from permission to place orders if purchasing approval requires another step.
Record the client response and relevant conditions. If they approve a chair subject to checking the fabric sample, the condition belongs in the project record. A general positive reaction to the presentation should not become an unqualified purchase instruction.
Prepare for remote and printed review
Test the file at the size the client will see. Text that looks readable on a large design monitor may be too small during screen sharing. Check image resolution, page order, and links in the exported version.
Keep an editable master and an issued copy with a visible revision date. For printed boards, confirm the paper size and inspect a representative page before producing the whole set. For online review, identify how comments and approvals will be collected.
Rehearse the story without adding filler
Explain the brief, the response, and the decision in plain language. If a page does not help that sequence, remove it or keep it as supporting material. Avoid reading long paragraphs from slides while the client tries to inspect the images.
Prepare answers about the main tradeoffs. You should be able to explain why a layout or product suits the brief without relying on broad phrases such as elevated or timeless. Specific reasoning builds a more useful conversation.
Presentation questions
How many slides should the template have?
Use the number needed for the decisions and evidence. A small room review may be concise; a multi-room project may need separate sections. Length alone does not establish quality.
Should every presentation include a rendering?
No. Include one when it clarifies a relationship that the plan or material board does not explain well. Label conceptual imagery and keep measured decisions tied to the plan.
Finish with an actionable record
Send the issued presentation with a short decision summary and the next responsibilities. Keep unresolved questions visible. A useful presentation leaves the project clearer than it was before the meeting.