

A limewash brick house can feel lighter without losing all the color and texture that made the masonry interesting. The strongest results begin with suitable brick, a representative sample, and a clear decision about how much original color should show through. Choosing the whitest bucket first is rarely a useful plan.
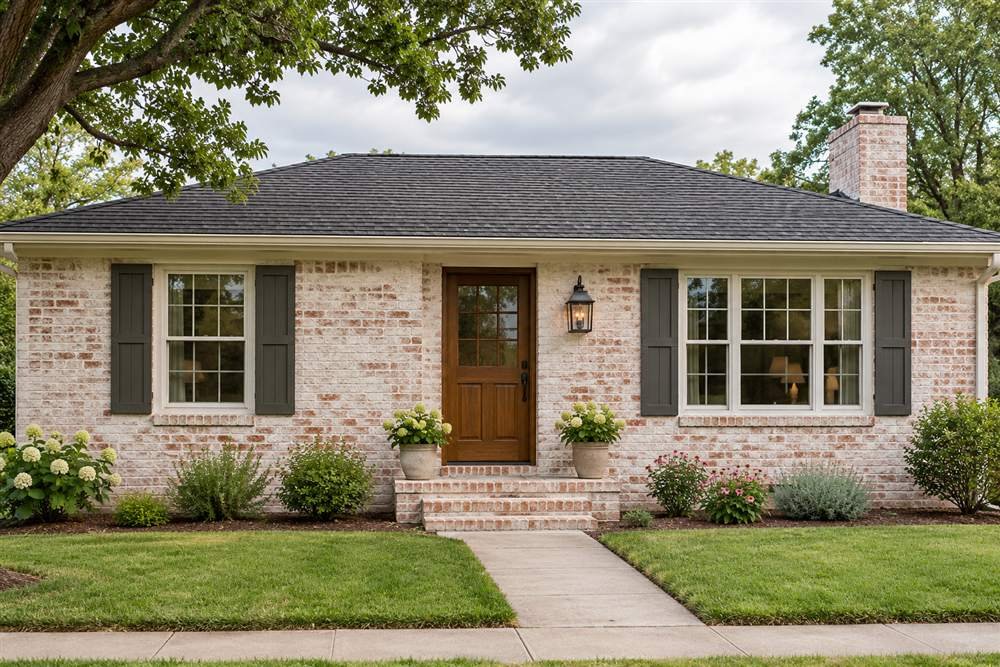
This guide brings together 16 design directions, practical questions to ask an applicator, and ways to evaluate limewash brick before and after images. Illustrations are AI-generated design concepts, not photographs of completed client renovations or exact product-color samples.
Quick answer: is a limewash brick house right for you?
Consider limewash if you want a matte, naturally varied finish and accept that its appearance can change with exposure. First confirm that the product suits your actual masonry and existing coatings. Pause when there are unresolved water problems, damaged brick, uncertain sealers, or historic restrictions. Limewash is a finish choice, not a substitute for repairing a wall.
If you are deciding between changing the finish and keeping natural masonry, start with our exterior materials for homes guide. Keep one design option that leaves the brick alone, so you can compare the value of the change.
Your limewash brick house decision checklist
Keep natural brick in the running if your main concern is the surrounding palette. Compare a door, trim, and planting refresh before changing the masonry. Choose a limewash sample when you want visible texture and an evolving finish. If you want a consistently opaque appearance, compare an appropriate masonry coating system instead.
Pause the decorative work when the wall condition or previous treatment is uncertain. Ask the manufacturer or applicator to confirm the substrate and proposed preparation in writing. Once that is clear, choose the coverage level with a sample rather than a whole-house commitment.
What is lime paint for brick?
Lime paint for brick generally refers to a lime-based mineral finish rather than ordinary exterior paint diluted with water. The Society for the Protection of Ancient Buildings describes traditional limewash as a matte lime-and-water coating that may contain additives and suitable pigments. Commercial formulations and application systems differ.
On an appropriate surface, limewash can soften the original brick color while keeping texture apparent. The result depends on the product, brick, coverage, and application technique. Some finishes look lightly washed; others are much fuller. A product photograph cannot tell you how your repaired mortar or several kinds of brick will respond.
A useful buying question is: “What exact product produces this look on my substrate?” That is more informative than asking for “the whitewash from this picture.”
Limewash, whitewash, paint, and German smear are different
| Finish | Typical visual direction | Check before choosing |
|---|---|---|
| Limewash | Matte variation; exposed brick depends on the system | Absorbency, substrate suitability, and acceptance of patina |
| Diluted-paint whitewash | Translucent paint effect | Actual ingredients and product instructions |
| Mineral masonry paint | More uniform, opaque coverage | Compatible substrate, preparation, and coating system |
| Mortar wash / German smear | A mortar layer with stronger texture | Permanent intervention and an experienced masonry applicator |
| Natural brick | Original color and texture | Repair, cleaning, and changes to surrounding colors |
The Brick Industry Association’s Technical Note 6 distinguishes limewash, mineral paints, mortar wash, stains, and diluted-paint effects. It recommends considering maintenance, permanence, the assembly, and sample panels when selecting a treatment.
Names used in inspiration posts are not always precise. Ask whether “whitewash” means limewash or diluted paint. Likewise, a thick-looking finish in a rendering does not establish that German smear was used. Record the actual material before comparing costs, care requirements, or suitability.
For opaque color schemes and a broader painting decision, see our painted brick homes guide. This article focuses on limewash’s variation, exposed brick, and sampling decisions rather than repeating that guide.
16 limewash brick house ideas to compare
These are visual directions, not named paint-color specifications. Use the examples to choose a coverage level and a relationship between brick, roof, trim, and the entrance. Then test that direction on the actual materials.
1. A lightly distressed limewash brick house
Allow a generous amount of original red or tan brick to remain visible. The effect can soften a strong color without making the wall read as a single white surface. Keep the pattern irregular rather than repeating identical exposed patches. Stand back frequently when judging the sample.
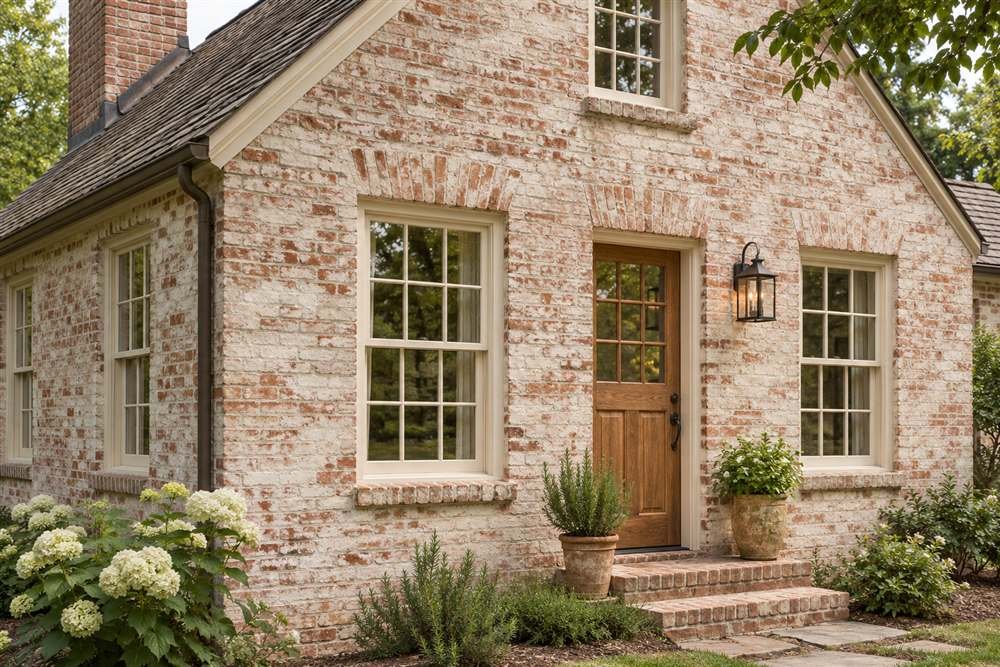
2. Warm-cream limewash on a traditional house
A warm cream direction can feel gentler beside brown roofs or warm paving than a crisp blue-white. Compare the dried sample with the window frames and mortar. A wall that looks softly neutral on screen may appear yellow against cool trim, so evaluate the full group outdoors.
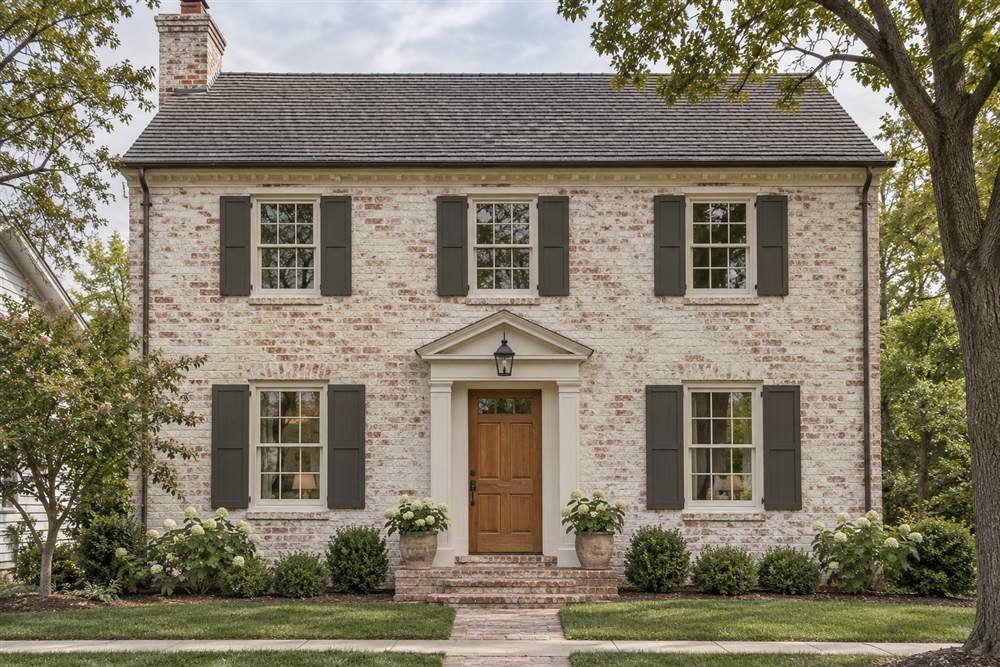
3. A limewash brick ranch with a clear entrance
Keep the long façade calm and make the doorway easy to find. A wood door, defined path, and correctly scaled lights can provide focus while the wash reduces visual heaviness. Our modern ranch exterior guide explains the wider proportions and update sequence.
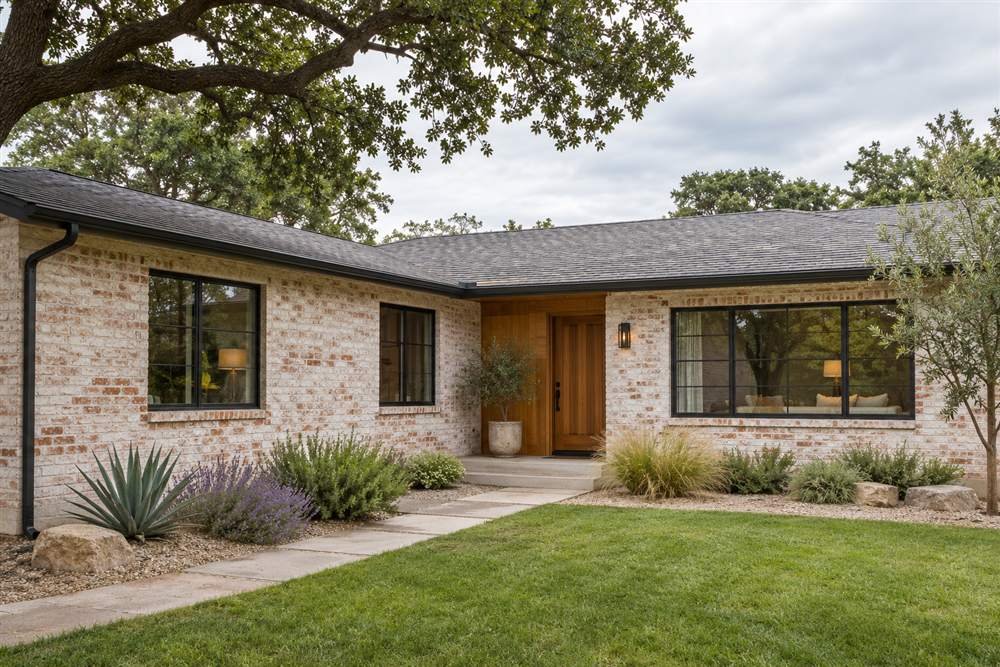
4. Limewash brick with restrained black accents
Black windows or hardware can frame a pale, textured wall, but there is no need to outline every edge. Choose a small number of contrasting details and repeat them deliberately. Keep the garage from becoming the strongest feature unless it genuinely deserves the attention.
5. A limewash brick house with a wood front door
Natural wood can connect a light wall finish to a warmer roof or porch ceiling. Think about the door’s tone and the surrounding brick together. The right balance may be a slightly warmer wash rather than a darker door or extra decorative timber.
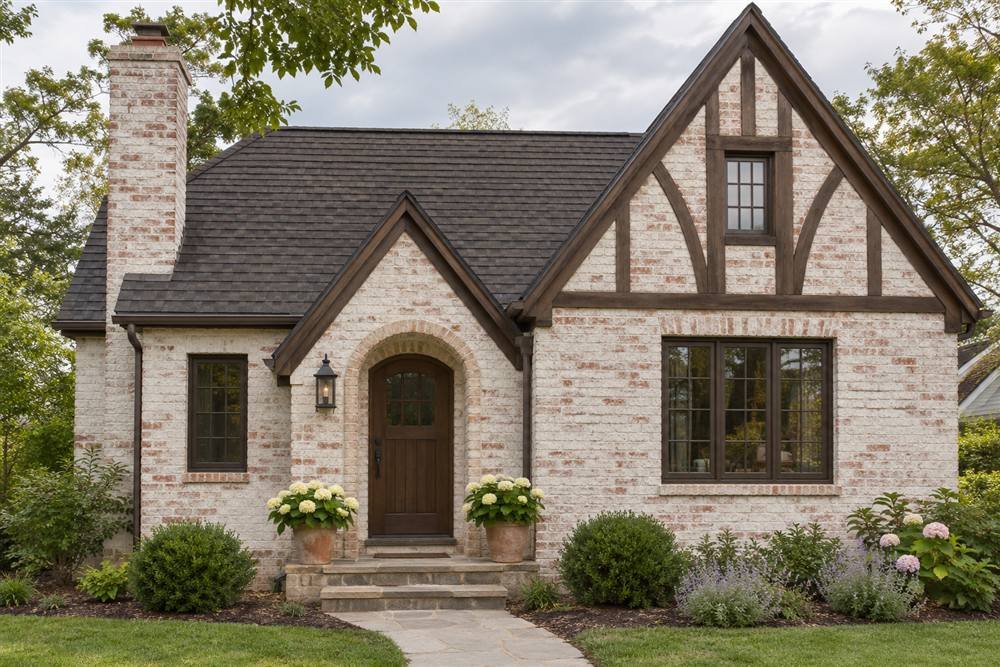
6. A limewashed Tudor that retains its character
Let the masonry and timber remain distinct. Softening the brick does not require eliminating every contrast or historic detail. Before modifying older masonry, check the building’s history and any preservation requirements. Keep an unaltered-brick design option in the comparison when the original material contributes to its character.
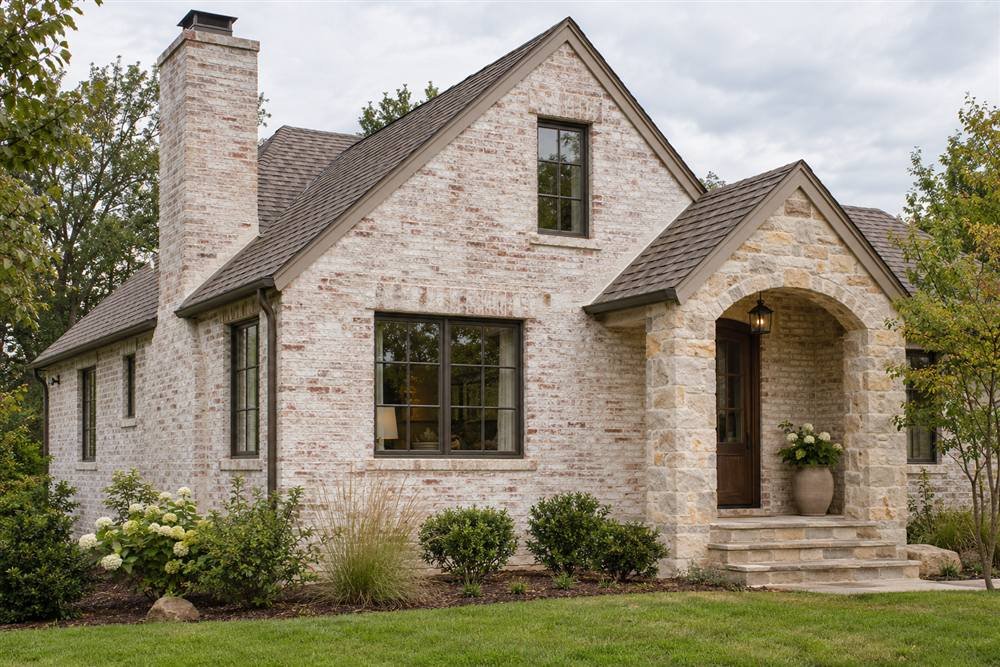
7. Limewash brick with natural stone left visible
A brick-and-stone exterior does not need both materials coated to feel coordinated. Try a brick finish that relates to an undertone in the stone, then leave the stone as the feature. Ask separately about each substrate; visual similarity does not establish identical absorption or treatment requirements.
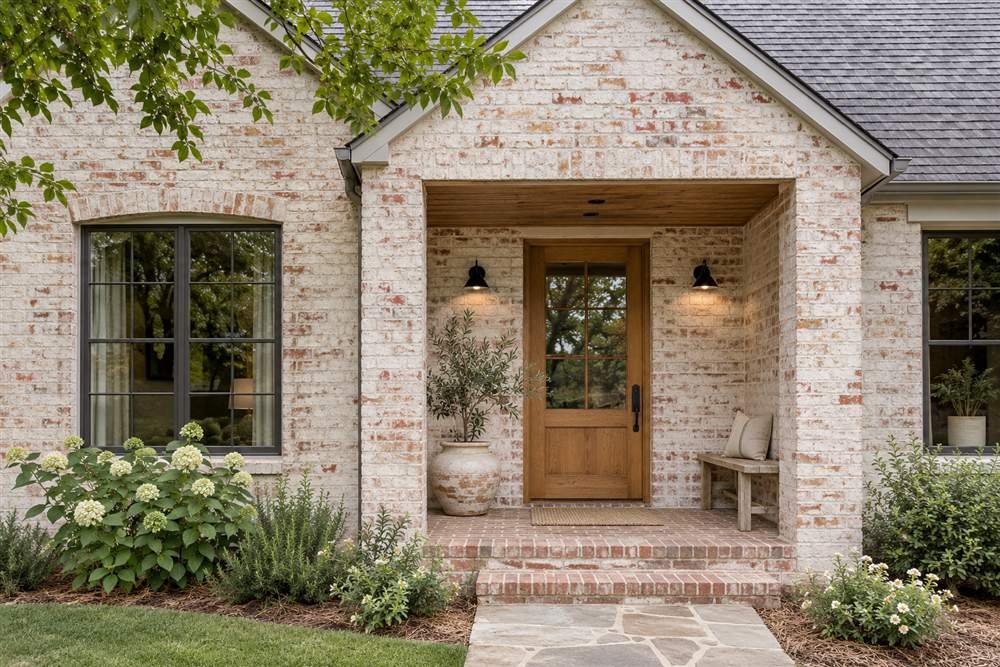
8. A limewash brick porch that feels brighter
A recessed entry may look darker than the rest of the wall even when the finish is identical. Test the actual shaded corner, not only the sunny front. Consider lighting, the ceiling, and overgrown planting before adding a second wall color or assuming more coverage is necessary.
9. A fuller limewash look with selective brick exposure
If a very distressed sample feels too busy, compare a fuller finish with smaller areas of original brick showing. Evaluate it from the sidewalk as well as close up. Confirm that the selected product is intended to deliver the appearance you want rather than forcing an unsuitable finish.
10. A softer contrast with bronze details
Bronze or dark brown details can give a pale limewash brick house definition without the sharpness of black. Use the existing windows as the starting point. Repeat a related tone at the entry light or hardware rather than adding multiple competing metals.
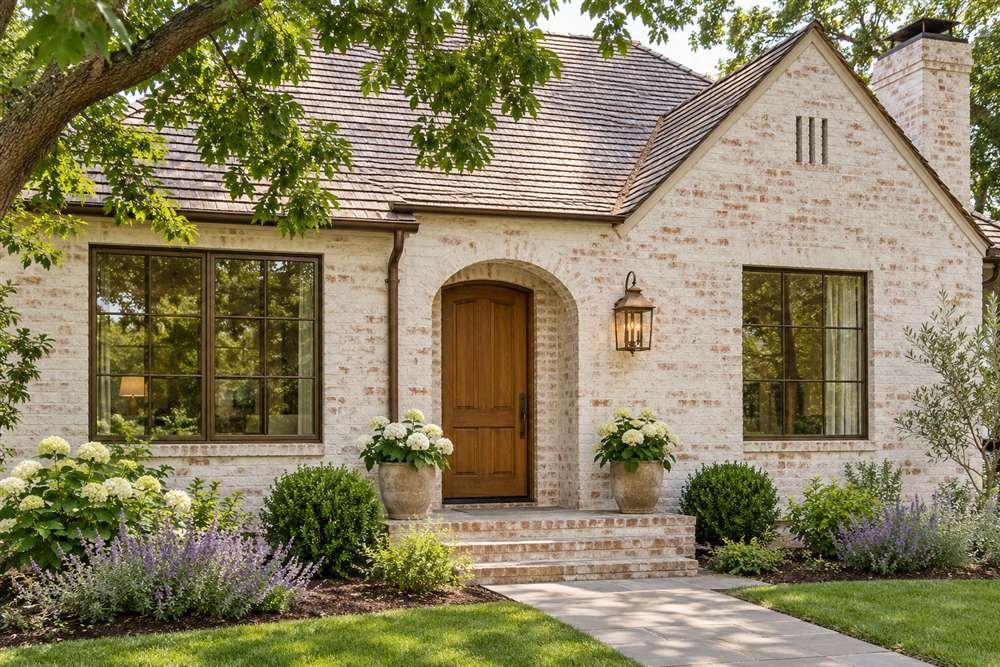
11. Limewash brick with a charcoal roof
A neutral pale wash can support a dark roof when the undertones work together. Compare warmer and cooler samples beneath the eaves. Keep the trim related to the chosen palette, and assess whether the roof remains balanced with the foundation and front door.
12. A limewash brick house with a warm brown roof
Avoid choosing an icy white simply because it looks fresh in another home’s photograph. A warmer wash may connect more naturally to brown shingles or clay-colored paving. Put samples near the fixed roof tone where possible, while remembering that shadows change how both surfaces appear.
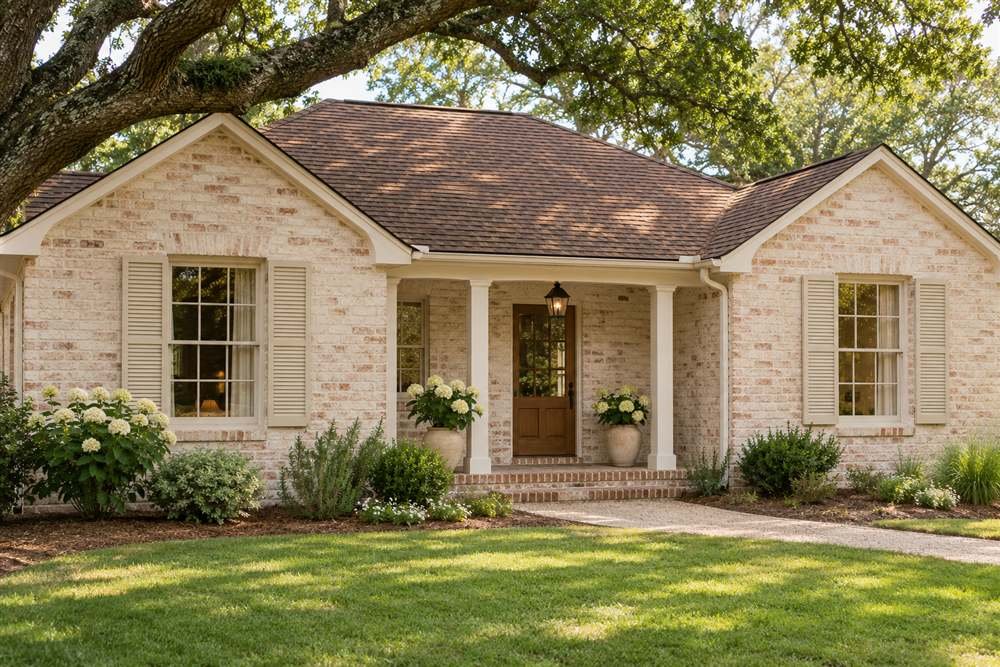
13. A coordinated brick-and-siding exterior
Pick a shared undertone rather than applying the same product to everything. Siding and trim need their own compatible coating systems. Our exterior trim materials guide can help you identify the materials before discussing the scope with a contractor.
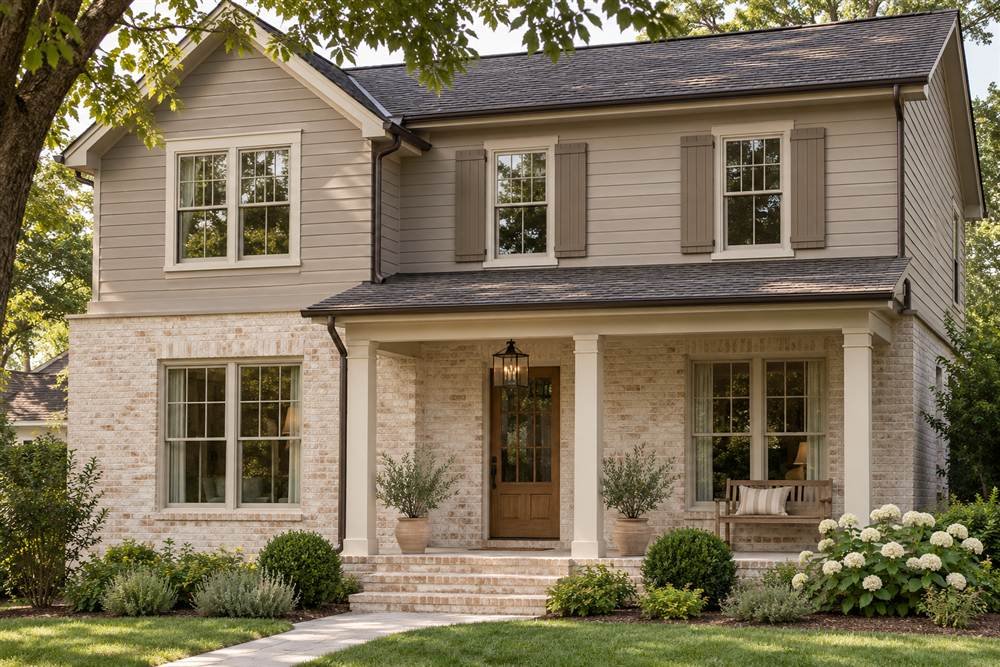
14. A small limewash brick house with a quiet palette
On a compact home, too many accent colors can make a simple façade feel fragmented. Keep body, trim, and garage choices restrained, then give the entrance enough contrast to be readable. Spend attention on the path and planting before adding decorative features that crowd the entry.
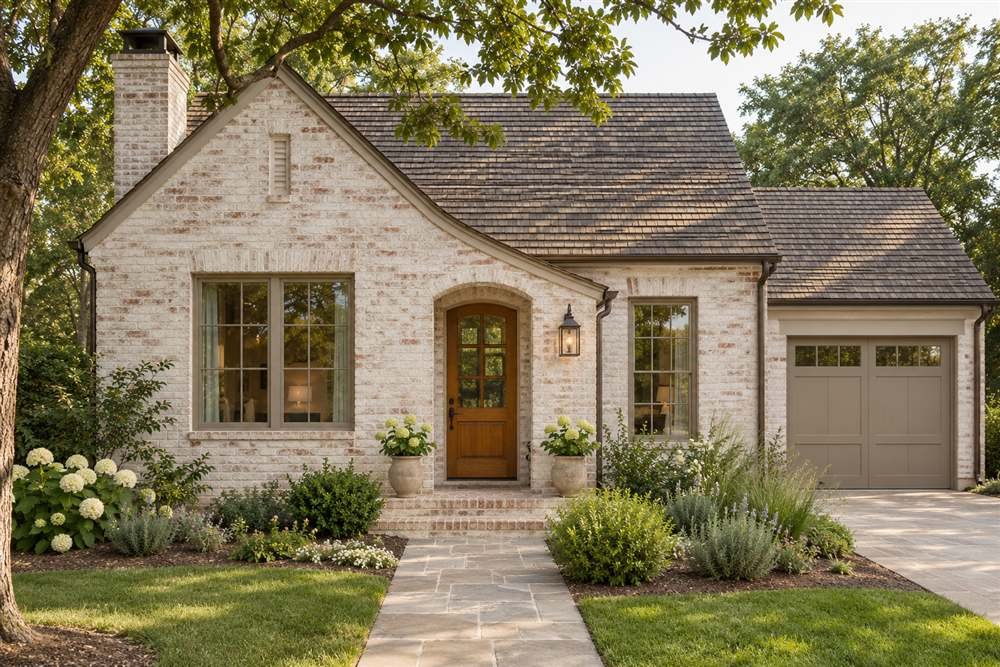
15. A chimney or entry feature with selective emphasis
Decide which architectural detail should draw attention. Sometimes the strongest composition leaves a sound brick chimney natural while softening surrounding masonry. Compare that with treating the whole wall consistently. The difference should look intentional rather than as if one part of the project was forgotten.
16. A retain-the-brick option before committing
Create one concept that changes only the door, trim, lights, or landscaping. Compare it beside the limewash direction. If the original brick already works once the surrounding palette is improved, retaining it may meet your goals with less intervention. Good design includes knowing when to leave a material alone.
Limewash brick before and after: compare fairly
Before-and-after images are useful for composition, but they rarely isolate the finish. A new porch, different windows, landscaping, lighting, and camera exposure can transform the same photograph. Note what changed before attributing the entire improvement to limewash.
Use our home exterior before-and-after guide to separate cosmetic choices from repair and construction work. Ask for actual completed-project photographs when choosing an applicator, not just digital concepts.
Save three references: a coverage level you like, a roof-and-trim combination similar to yours, and an example you dislike. Explain the specific reason for each choice. “Less exposed red brick” or “warmer next to the roof” gives an applicator a clearer brief than “make it look expensive.”
Keep the same viewing distance and lighting when photographing your own samples. A close-up that exaggerates texture and a distant bright photograph can make identical coverage seem very different.
Before limewashing, check the surface and the wall
Confirm whether the brick is bare, painted, sealed, glazed, or previously treated. Identify repairs and mixed materials. A quick water observation may help reveal absorption differences, but it does not diagnose the wall or replace manufacturer advice.
Romabio’s current Classico Limewash information specifies vertical, unsealed, unpainted, absorbent masonry. Do not assume that guidance for that product describes every limewash system, or that an interior decorative preparation method is suitable outside.
Treat persistent staining, crumbling joints, damaged brick, and recurring dampness as reasons to investigate before coating. Check gutters, downspouts, ground contact, and surrounding details with a suitable professional. A new surface appearance does not demonstrate that a water problem has been solved.
On historic masonry, treatment selection should reflect the building and its condition. The National Park Service masonry brief provides a framework for careful assessment and cleaning. Confirm local historic-district or HOA approvals before buying materials.
Make a sample panel that answers real questions
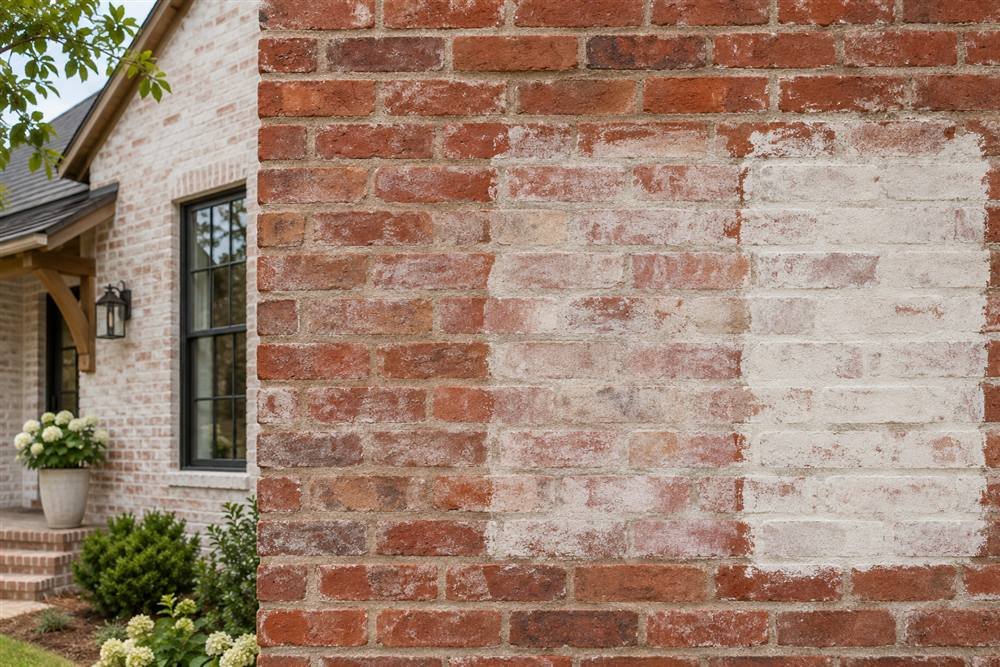
Bauwerk’s brick surface guide recommends samples on the same material or a discreet area and warns that a test patch may remain visible. Agree on the sample location and final treatment before starting.
Test a light, medium, and fuller coverage direction using the selected product’s permitted method. Record the product, dilution, application approach, and conditions. Do not change several variables without noting what changed, or the preferred sample will be difficult to reproduce.
Let the samples dry as directed. View them close up, from the path, and from across the street. Check sun, shade, and the relationship with roof and trim. Photograph them for comparison, but make the final choice in person.
Agree on one approved reference area before the full project. A written description such as “warm neutral, moderately exposed original brick, no regular repeated distress pattern” helps explain the target without pretending a handmade finish will be perfectly identical everywhere.
Copy this sample-approval brief
Use this short brief when asking for a sample or comparing bids. Fill in the blanks with your applicator and keep a photograph of the approved test area. This is a planning worksheet, not a completed-project record.
Surface and scope: elevations included ___; existing coatings identified ___; repairs to finish first ___; brick and mortar variations to test ___.
Finish target: exact product and color ___; permitted application method ___; preferred original-brick exposure ___; roof and trim to compare beside it ___.
Approval record: sample location ___; application and review dates ___; photographs in sun and shade ___; approved reference area ___; changes requested before full application ___.
Handover: final product and batch records ___; cleaning and touch-up instructions ___; access and cleanup included ___; written warranty terms and exclusions ___.
Application planning for a limewash brick house
Follow the chosen product, not a universal recipe
Limewash formulations differ. Use the current label, application guide, technical data sheet, and safety data sheet for the actual product. Preparation, tools, coat count, dilution, and timing should be consistent with that system.
Romabio’s Classico application guide illustrates a product-specific sequence of checking absorbency, mixing, dampening suitable masonry, applying, and controlling the wash-off effect. Those steps should not be copied automatically to another brand.
Plan weather and access before opening the bucket
Confirm temperature limits, rain protection, drying conditions, and how the team will work around sunny elevations. For example, Romabio’s current Classico page specifies 50–88°F and warns against heavy rain during the initial bonding window. Recheck the exact instructions when scheduling work.
A one-story façade and a tall chimney require different access plans. Include safe access, protection of windows and planting, nearby vehicles, and cleanup in the quote. Keep children and pets away from the work area and follow the product’s protective-equipment instructions.
Address old paint safely
If work on a pre-1978 home will disturb existing paint, including nearby windows or trim, follow EPA lead-safe renovation guidance. Do not scrape or wash old coatings as if they were harmless dirt.
Ask the applicator how adjoining materials will be protected and how runoff or debris will be handled. A coating project should not create a second repair job on the driveway, windows, or garden.
Limewash brick house costs: build a comparable budget
The cost depends on actual masonry area, access, preparation, repairs, product, coverage, and the amount of decorative work. Interior floor area is not the same as exterior brick area. A façade-only estimate is not comparable with all elevations and a chimney.
Angi’s cost guide, updated July 9, 2026, reports professional limewashing at $1.50–$5.00 per square foot. The examples below simply multiply that published range by measured brick area; they are not local quotes. Repairs, difficult access, and the agreed scope can change the total. See the Angi cost reference.
| Measured brick area | Illustrative professional range |
|---|---|
| 500 sq. ft. | $750–$2,500 |
| 1,000 sq. ft. | $1,500–$5,000 |
| 1,500 sq. ft. | $2,250–$7,500 |
Request written quotes that separate wall repairs, surface preparation, materials, application, access equipment, and cleanup. State which elevations are included and which are excluded. If a price changes after inspection, ask which condition or task changed.
For DIY material planning, use the current manufacturer’s coverage for your product and test surface. Romabio’s Classico page lists 80–100 square feet per liter for one coat; roughness and the selected application still affect consumption. Divide the measured wall area by the conservative coverage rate before checking available container sizes.
| Measured wall area | Calculated liters at 80–100 sq. ft./liter, one coat |
|---|---|
| 500 sq. ft. | 5–6.25 liters |
| 1,000 sq. ft. | 10–12.5 liters |
| 1,500 sq. ft. | 15–18.75 liters |
Quantity examples use the stated product’s published coverage, before test panels, waste, or rounding to available pack sizes. Confirm the current label and actual sample consumption before ordering.
Do not treat a calculated paint quantity as the total project cost. Add sample materials, appropriate tools, protection, access, and any approved repair work. If the required sample consumes more product than expected, revise the estimate before coating the full house.
Maintenance: expect variation, investigate recurring problems
A limewash brick house should be selected with its changing appearance in mind. Weathered variation may be desirable, but a finish you hoped would stay uniformly white can become a disappointment. Decide that preference before the project, not after the first exposed corner changes.
Keep the exact product and application records. Ask the manufacturer how to clean or touch up that system, and test a discreet area first. Do not assume aggressive washing, a generic sealer, or an unrelated paint will improve it.
Romabio’s limewash FAQs discuss touch-ups and product-specific care. Their masonry-paint warranty should not be applied to limewash by analogy. Read the terms for the actual product rather than borrowing a durability claim from a different finish.
When a patch repeatedly discolors or loses its finish, photograph the location and conditions. Investigate the source of water or incompatibility with the applicator. Repeating touch-ups without understanding the cause may hide a problem and consume materials without resolving it.
Questions to settle with your applicator
Ask the same questions of each contractor: is my surface suitable, what repairs are excluded, which exact product is proposed, and what sample will I approve? Then discuss the intended exposure of original brick and how variations around repairs will be handled.
Confirm access equipment, weather delays, protection, cleanup, and the handover instructions. Ask whether portfolio images are actual completed work. Get any workmanship warranty and exclusions in writing, and do not confuse a design visualization with evidence of long-term coating performance.
Keep the broader project modest when possible. Our small front porch ideas can help improve the entry without assuming every improvement requires another finish or a new structural feature.
Limewash brick house FAQs
Can you limewash brick that has already been painted?
Do not assume it will bond to the existing coating. Identify the finish and ask the chosen manufacturer for an exterior-compatible system. Some products are intended for bare absorbent masonry; advice for a different product or interior wall is not interchangeable.
Does limewash come off easily if I dislike it?
Do not promise yourself a risk-free reversal. Adjustment or removal can be time-sensitive and surface-dependent. Ask about the approved sample process before application. Pressure washing to remove a finish can be inappropriate for fragile masonry, so seek guidance rather than copying a removal shortcut.
Is lime paint for brick the same as thinned exterior paint?
No. A lime-based mineral product and a diluted conventional paint can create different films, appearances, and maintenance needs. Ask for the actual product name and technical information instead of relying on a decorative label such as whitewash.
How much original brick should show through?
There is no universal percentage. Compare samples from the street and beside fixed materials, then approve a coverage direction. Repaired joints, different bricks, and shaded areas may respond differently, so do not expect a printed photo to specify the result.
How long does a limewash brick house last?
There is no single interval for every system and exposure. Some finishes are intended to weather and develop patina. Follow the manufacturer’s care advice, inspect changes, and choose a different system if your goal is permanently uniform opaque coverage.
Can I limewash steps, patios, or a driveway too?
Check explicit manufacturer approval for each application. A coating intended for vertical walls should not be extended to walking surfaces or areas with pooling water simply to match the color scheme.
Will limewash fix damaged brick or damp walls?
No finish should be used to conceal unresolved masonry or moisture problems. Have damaged areas assessed and repairs specified before decorative work. The appearance of a freshly finished wall does not prove that the assembly is sound.
Which trim colors work with a limewash brick house?
Warm white, cream, charcoal, bronze, and wood can be useful starting points depending on the roof and original brick. Test the actual group outdoors. Our warm white exterior paint guide can help narrow the trim direction.
Conclusion: approve the surface, sample, and scope
A successful limewash brick house begins with a suitable wall and an agreed visual target. Decide how much brick character to retain, test the real product on representative masonry, and compare written scopes before work starts.
The right finish should complement the roof, entry, and surrounding materials while matching your maintenance expectations. Keep natural brick in the comparison, treat before-and-after images as design references, and let the sample—not a trend—make the final decision.