

Interior design photography should explain the room, its relationships, and the details that matter. Start with a purpose and a short shot list before choosing an angle. Keep the camera view believable, review the light, and edit without misrepresenting the space. A useful photograph shows more than an attractive collection of objects.
Our principles of interior design guide explains balance, emphasis, and contrast. Those ideas can help you decide what each photograph should communicate without turning every image into the same composition.
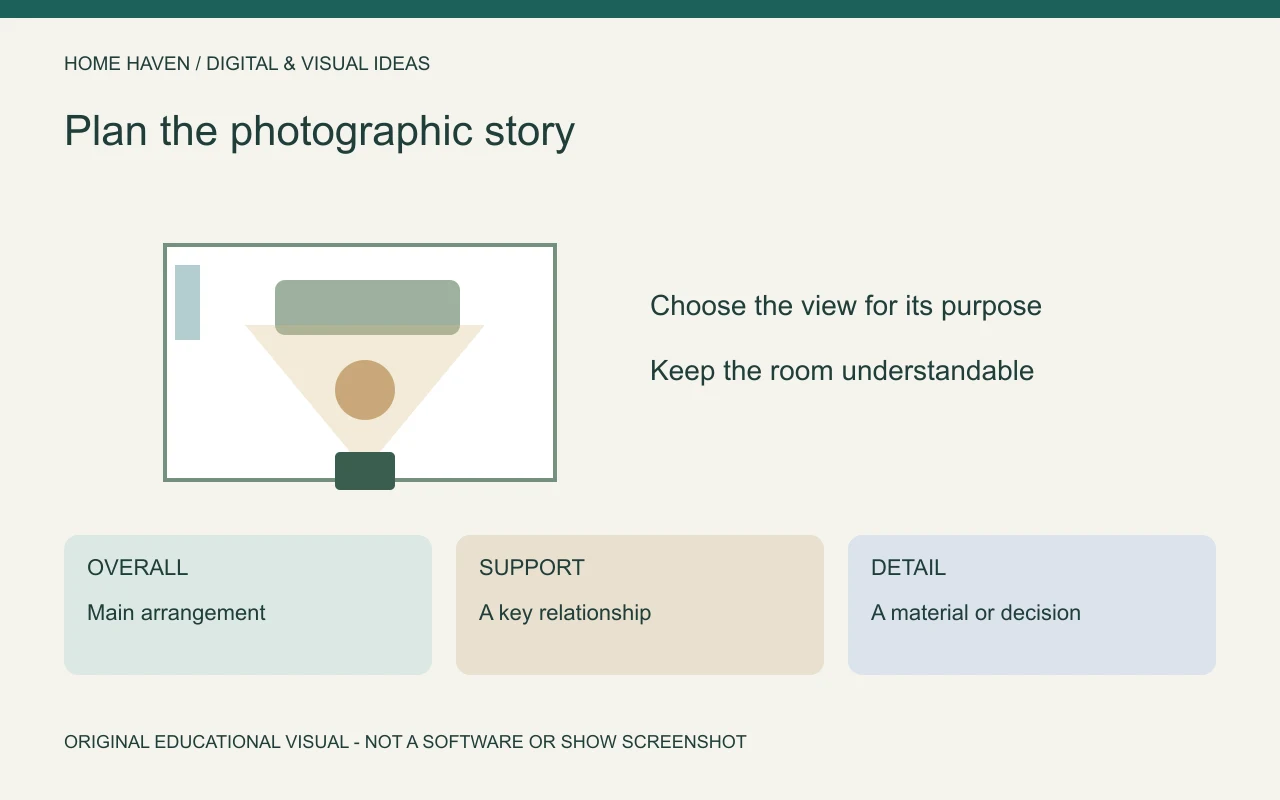
Define the purpose of the photographs
A designer’s portfolio, a room-progress record, and a property listing may need different images. Identify the audience and the information the pictures should provide. A tightly framed material detail cannot explain the complete layout, while a wide view may not reveal a finish relationship.
Ask who will use the images and where they will appear. Confirm the required orientation, dimensions, and delivery format before the shoot. This is more reliable than taking many pictures and hoping one suits every use.
Create an interior design photography shot list
Choose a small sequence that tells the room’s story. Begin with an overall view, then add a supporting relationship and relevant details. Give each image a purpose so you can recognize when the set is complete.
For a hypothetical living room, the overall view might show the seating group and its connection to the entry. A supporting view could explain the storage wall. A detail could show the relationship between upholstery, wood, and a selected finish.
- Overall view: explain the main arrangement.
- Supporting view: show a relationship missing from the first image.
- Detail: record a material, junction, or deliberate design choice.
- Reference view: keep useful context for project records.
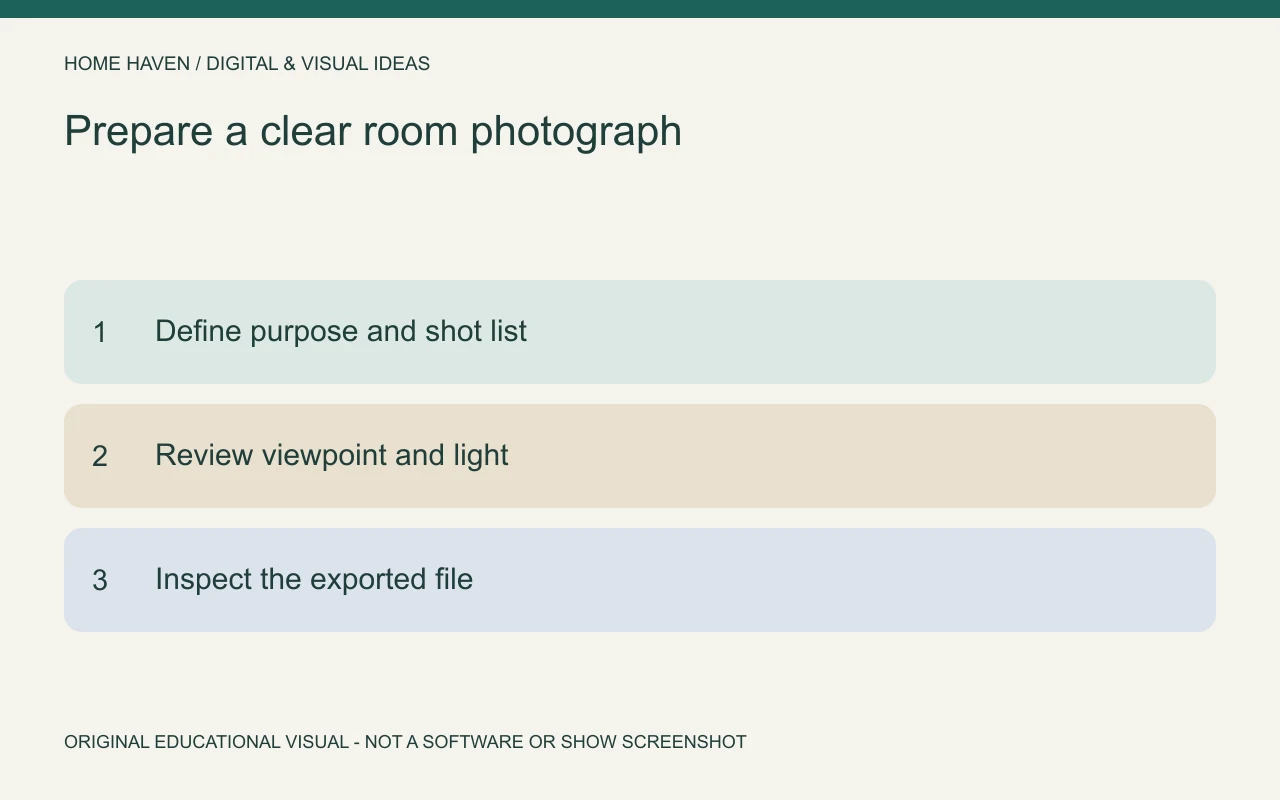
Prepare the room without disguising it
Remove temporary clutter and objects the owner does not want visible. Straighten items that distract from the intended design story. Keep a record of moved pieces so you can restore the room afterward.
Do not conceal a permanent problem or remove an important feature merely to create a misleading impression. If the images serve a listing or professional claim, follow the relevant disclosure and presentation requirements. Styling should clarify the room rather than invent another one.
Choose a viewpoint with readable geometry
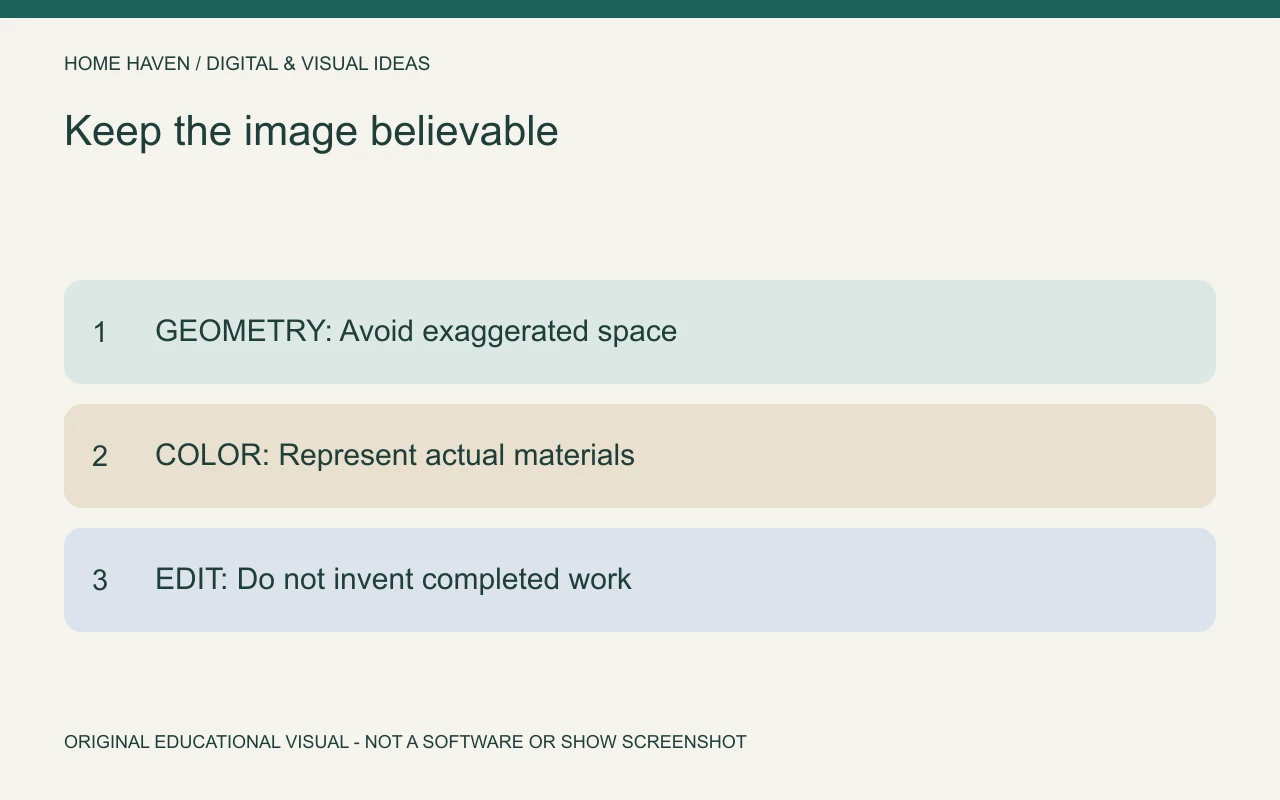
Inspect the frame for tilted verticals, awkward cropping, and exaggerated foreground objects. A level camera and careful placement can help keep the room understandable. A tripod can support repeatable framing when the setup allows it.
Adobe’s interior photography guidance discusses stable camera placement and the effect of camera angle. Use the technique to communicate the actual space, not to make the room appear artificially larger.
Use a wide view only when it helps
Move and reframe before automatically choosing the widest available setting. Very wide views can stretch objects near the edges and overstate the distance between foreground and background. Compare whether the extra coverage explains something important.
On a phone, test the standard camera before using an ultra-wide option. With a camera, choose according to the room, sensor, lens, and intended image. There is no single focal length that suits every interior and every presentation purpose.
Review the light before changing settings
Observe where daylight enters and how it falls across the room. Compare a few suitable times when the schedule allows it. A bright window and a darker interior may create a scene that is difficult to represent in one straightforward exposure.
Adobe’s architecture photography overview emphasizes the importance of viewpoint and changing light conditions. Use that as a starting consideration, then make decisions for the actual room instead of copying fixed settings from another scene.
Keep color comparisons consistent
Inspect the image for unwanted color casts when daylight and artificial sources mix. If the light combination makes materials difficult to represent, review which sources should be on for the intended image. The decision depends on the photographic purpose.
Check the edited result against known materials and, where appropriate, a consistent reference. Do not push a wall or fabric toward a fashionable color that the actual product does not have. Accurate communication matters when images support design or purchasing decisions.
Choose settings through a controlled test
For a camera with manual controls, take a test image and inspect sharpness, exposure, and the areas that need detail. Adjust deliberately rather than treating an online aperture or ISO suggestion as a complete recipe. The room, equipment, and output needs affect the choice.
For a phone, stabilize the device and review the result at a useful size. Avoid assuming automatic processing preserves every highlight, shadow, and material accurately. Check the actual file rather than judging only the small live preview.
Edit to clarify the photograph
Make restrained adjustments to exposure, color, crop, and geometry where needed. Recheck the room after correction so objects retain believable shapes. Keep an original file and an identifiable edited version.
If you combine exposures or use generative changes, consider the purpose and appropriate disclosure. Do not present invented furniture or altered architecture as an unmodified photograph of completed work. A visually polished image can still communicate inaccurate information.
Check permissions, privacy, and credits
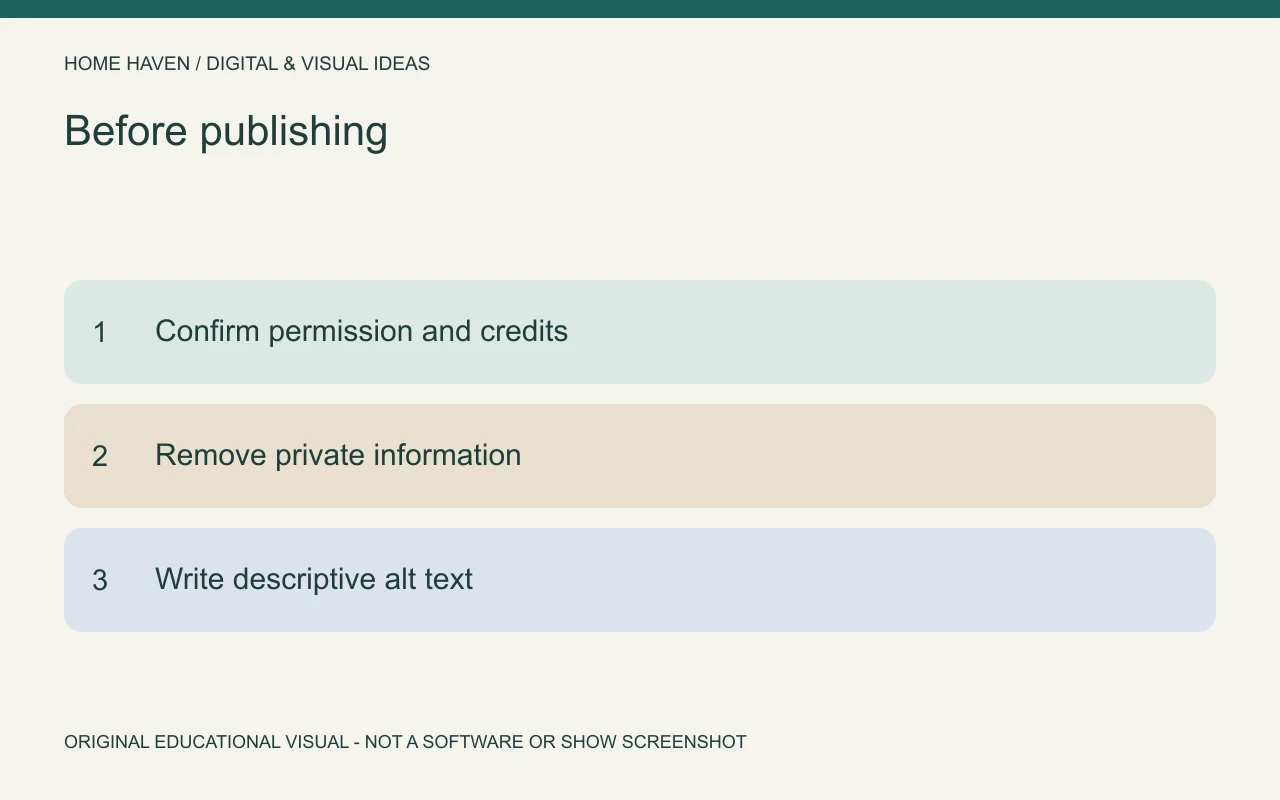
Confirm permission to photograph the space and the intended use of the images. Remove private paperwork, identifying details, and other information that does not belong in the published set. Permission to enter a room does not automatically settle every publication or image-rights question.
Record the photographer, designer, and other relevant credits accurately. If the images belong in a portfolio, explain your role in the project. Do not imply that producing a photograph also makes you the designer of the interior.
Review the set before delivery
Open the actual exported files and check sharpness, color consistency, crop, orientation, and image order. Test the files in their intended viewing context. A desktop portfolio page and a phone-sized social image may require different crops.
Use descriptive filenames and concise alt text that describes the visible image. Our portfolio template guide explains how to connect visuals with project roles and decisions. Keep the photographic story consistent with the project evidence.
Photography questions
Do you need a professional camera to begin?
Not for learning composition and a basic room record. Start with the equipment you have, inspect the files carefully, and identify the specific limits before investing in more gear.
Should every room photograph show the whole room?
No. An overall view and selected supporting images can work together. Give each photograph a purpose rather than forcing every frame to include every object.
Make the room understandable
Plan the sequence, choose honest viewpoints, and review the light and exported files. Keep edits and credits appropriate to the purpose. Strong interior photography helps someone understand the design without promising a room that does not exist.