Introduction
The Recycle Bin is more than just a desktop icon; it is a critical component of the Windows File System that acts as a temporary buffer for deleted data. For most users, it’s a simple safety net. For power users, it’s a tool that can be optimized for better disk space management and data security.
In this guide, we dive into the technical mechanics and pro-tips that go beyond the basic “right-click to empty” routine. This blog post is structured to establish topical authority by integrating key semantic entities (like Operating System, Metadata, and Data Recovery) that search engines use to understand context and relevance.
How the Recycle Bin Actually Works
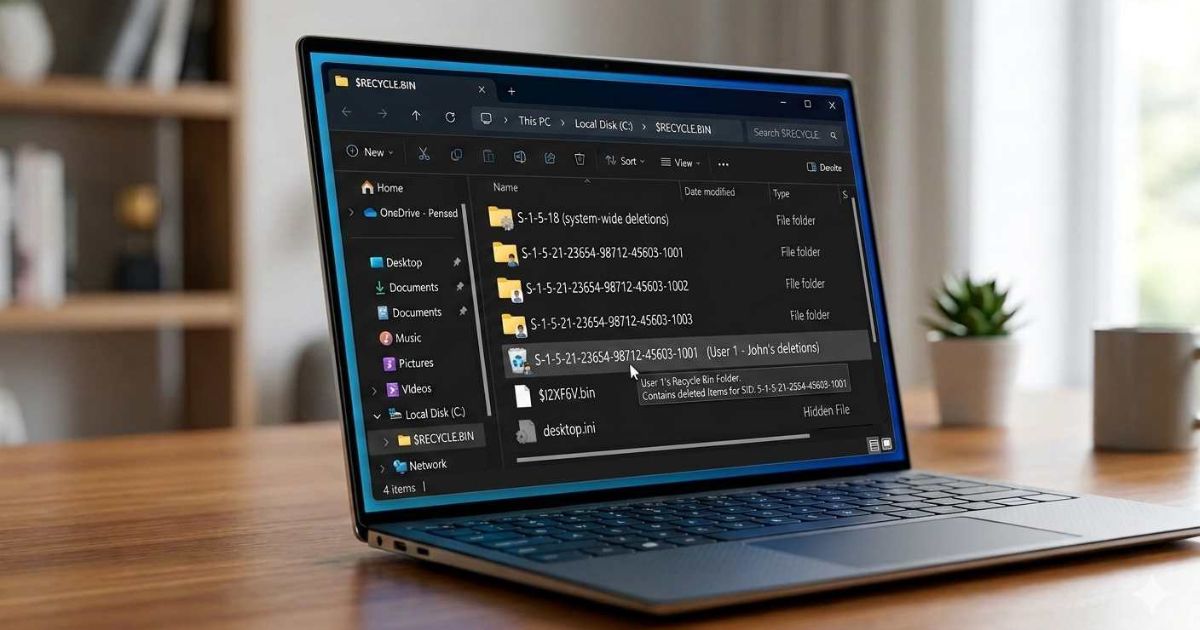
When you delete a file, Windows doesn’t immediately erase the data from your Hard Drive (HDD) or Solid State Drive (SSD). Instead, the file is moved to a hidden system folder—historically known as $RECYCLE.BIN.
- Metadata Storage: Windows creates two distinct files for every item sent to the bin. The $I file stores the metadata (original file name, size, and deletion date), while the $R file contains the actual data.
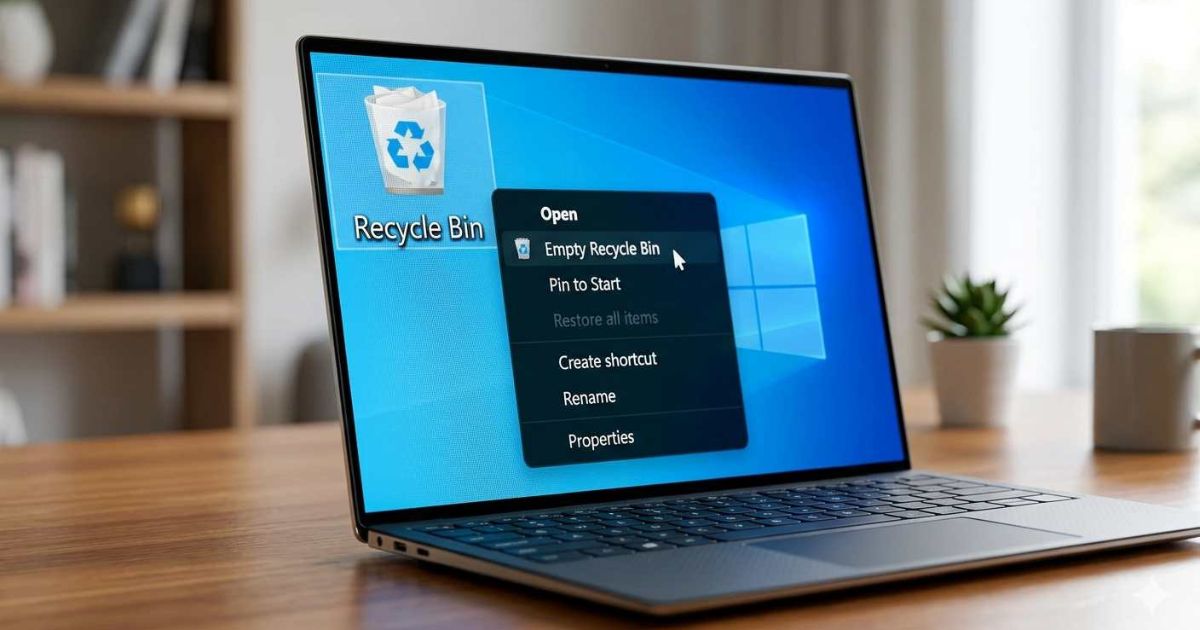
- The Desktop Metaphor: The icon you see on your Desktop is a graphical shortcut to this aggregated system folder.
Understanding the Windows Operating System behavior helps users realize that deleted files are not truly gone until overwritten. This knowledge is the foundation of both successful recovery and secure deletion.
Pro Shortcuts for File Management
Efficiency in File Explorer often comes down to knowing your shortcuts. These keyboard commands save time and give you granular control over how files are removed from your system.
- Shift + Delete (Permanent Deletion): If you want to bypass the bin entirely and free up space instantly, use this command. It marks the file’s sectors as “free” immediately. Use this when you are confident you no longer need the file.
- Restoring to Original Location: Double-click the bin, right-click your file, and select Restore. Windows uses the stored metadata to return the file to the exact directory it came from. This works because the $I file retains the original path information.
These shortcuts transform how you interact with the File System daily, making file management faster and more deliberate.
Automation: Never “Empty” Manually Again
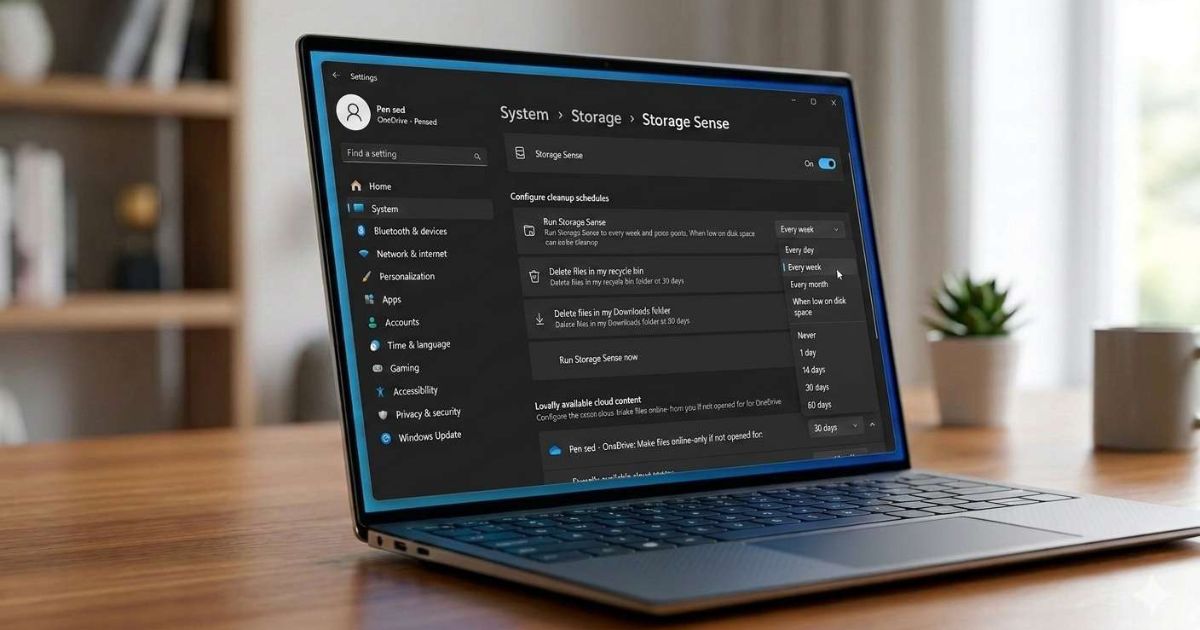
Managing storage can be tedious. You can use Storage Sense, a built-in Windows utility, to automate the cleanup of your temporary files and Recycle Bin contents.
- Step-by-Step: Go to Settings > System > Storage > Storage Sense.
- Configuration: You can set your bin to automatically purge files that have been sitting for 30 days, ensuring your drive stays lean without manual intervention.
Additional automation options include:
- Configuring Storage Sense to run weekly or monthly
- Setting automatic deletion of Downloads folder contents
- Enabling cleanup of temporary app files alongside Recycle Bin items
Pro Tip: You can also adjust the maximum size of your Recycle Bin for each drive. Right-click the Recycle Bin icon > Properties > select a drive > choose “Custom size” to limit how much space deleted files can occupy.
Why Some Files Bypass the Recycle Bin
A common frustration for users is when a file “disappears” without going to the bin. This typically happens for two reasons based on how the Windows Operating System handles different storage media:
- Removable Media: Files deleted from USB Flash Drives or External Hard Drives are usually deleted permanently by default and do not enter the Recycle Bin. The system treats these as temporary storage without the same safety net.
- Network Drives: If you delete a file from a shared company folder or NAS, it is often gone instantly unless the server has its own “Trash” feature enabled.
Additional scenarios where files bypass the Recycle Bin:
| Scenario | Behavior | Why |
|---|---|---|
| Files deleted via Command Prompt | Permanent deletion | No Recycle Bin integration |
| Files larger than bin capacity | Permanent deletion | Exceeds configured size limit |
| Files from SD cards | Permanent deletion | Treated as removable media |
| Files deleted by third-party cleaners | Permanent deletion | Bypasses Windows protocols |
Understanding these exceptions helps prevent accidental data loss and informs better backup strategies.
What to Do if You Emptied the Bin by Mistake
If you’ve emptied the bin and realized you need a file back, don’t panic—but act fast. Because the operating system marks that space as “available,” any new file you save could overwrite your deleted data.
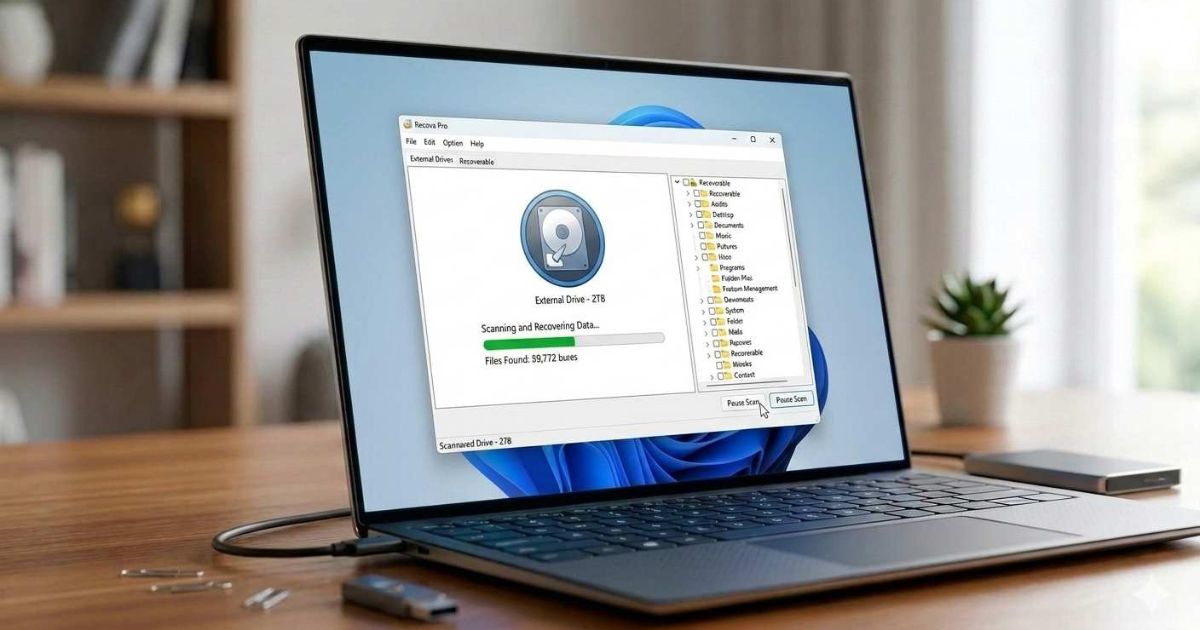
- Data Recovery Software: Tools like Recuva or specialized forensic software can often scan the drive’s “free” clusters to find and rebuild files before they are overwritten.
Immediate steps to take after accidental emptying:
- Stop using the computer immediately to prevent data overwriting
- Do not install recovery software on the same drive (use a USB bootable tool)
- Run recovery software as soon as possible
- Save recovered files to a different drive
How recovery works: Programs scan for file signatures (headers and footers) in the raw data. Even if the $I and $R files are gone, the actual content may still reside on the drive until overwritten. This is why acting fast is critical.
Key Benefits of Mastering the Windows Recycle Bin
Understanding the Recycle Bin (Computing) offers several important advantages:
- Data safety: Recover accidentally deleted files within minutes
- Disk space management: Control exactly how much storage deleted files consume
- Automation: Eliminate manual cleanup with Storage Sense
- Security: Use Shift+Delete for sensitive files that should never enter the bin
- Forensic readiness: Understand metadata trails for compliance or investigations
- Cost savings: Avoid expensive data recovery services for simple mistakes
Tips for Advanced Recycle Bin Management
To maximize your control over the File System and deleted data, follow these steps:
- Adjust bin size per drive to match your storage capacity and deletion habits
- Enable deletion confirmation dialogs to prevent accidental permanent deletes
- Schedule monthly manual audits of bin contents before auto-cleanup
- Use Group Policy (Windows Pro) to enforce Recycle Bin behavior across multiple users
- Combine with backup software for a complete data protection strategy
- Create a restore test by deleting a dummy file and practicing recovery
Example: Real-World Application
A small business owner accidentally emptied the Recycle Bin containing six months of invoices. By immediately stopping work on the computer and running Recuva within 30 minutes, they recovered 95% of the files intact. The metadata stored in the original deletion allowed full restoration of file names and folder structures.
Internal and External Resources
For more insights on digital organization and data management, check this internal guide:
➡️ Zero Waste Living Definition 2026-2027: Our Guide
For professional data recovery tools and forensic software, visit:
➡️ https://www.lenovo.com/us/en/glossary/how-to-recover-deleted-files-in-windows-10/ (external link)
Conclusion
The Recycle Bin is far more than a desktop icon. It is a sophisticated component of the Windows File System that manages metadata through $I and $R files, supports automation via Storage Sense, and enables data recovery when accidents happen. By mastering shortcuts like Shift+Delete, understanding which files bypass the bin, and knowing how to act after emptying it by mistake, you transform from a basic user into a power user. As digital storage continues to grow, these skills will save you time, money, and frustration.
FAQs
What is the $RECYCLE.BIN folder?
It is a hidden system folder where Windows stores deleted files along with their metadata ($I and $R files) before permanent removal.
Can I recover files after emptying the Recycle Bin?
Yes, using data recovery software like Recuva, provided the space hasn’t been overwritten by new data.
Why don’t USB drive files go to the Recycle Bin?
Windows treats removable media differently by default, performing permanent deletion instead of moving to the bin.
How do I automate Recycle Bin cleanup?
Use Storage Sense in Windows Settings > System > Storage to automatically purge files after a set number of days.
What does Shift+Delete do?
It permanently deletes a file immediately without sending it to the Recycle Bin, marking the disk space as available for new data.